
How to Accept Stripe and PayPal Payments in the Portal
The portal supports two payment gateways: Stripe and PayPal. Connect one or both so portal users can pay from the portal.
Note: This feature is available on selected plans. See Pricing.
Before you start
- You need access to the CRMJetty admin portal. Only the super admin receives the OTP that opens the Stripe and PayPal settings pages.
- Have your gateway credentials ready:
- Stripe: secret key, publishable key and, if you use one, a webhook secret key.
- PayPal: client ID, secret ID, payee email address and merchant ID.
- Have an exchange rate API key. The portal uses it to get exchange rate data for payment transactions.
- Use sandbox or test credentials first, and switch to live credentials once payments work.
Connect Stripe
- Sign in to the admin portal.
- Go to Settings → Integration → Stripe.
- Enter the OTP sent to the super admin’s registered email address.
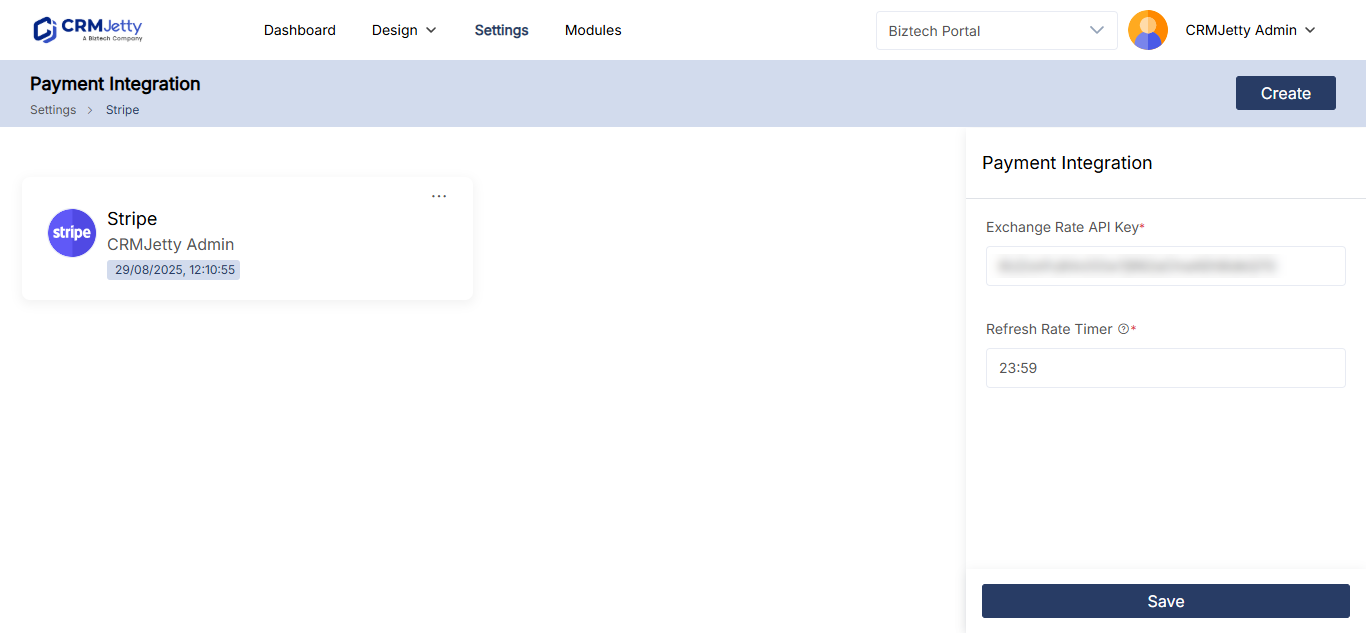
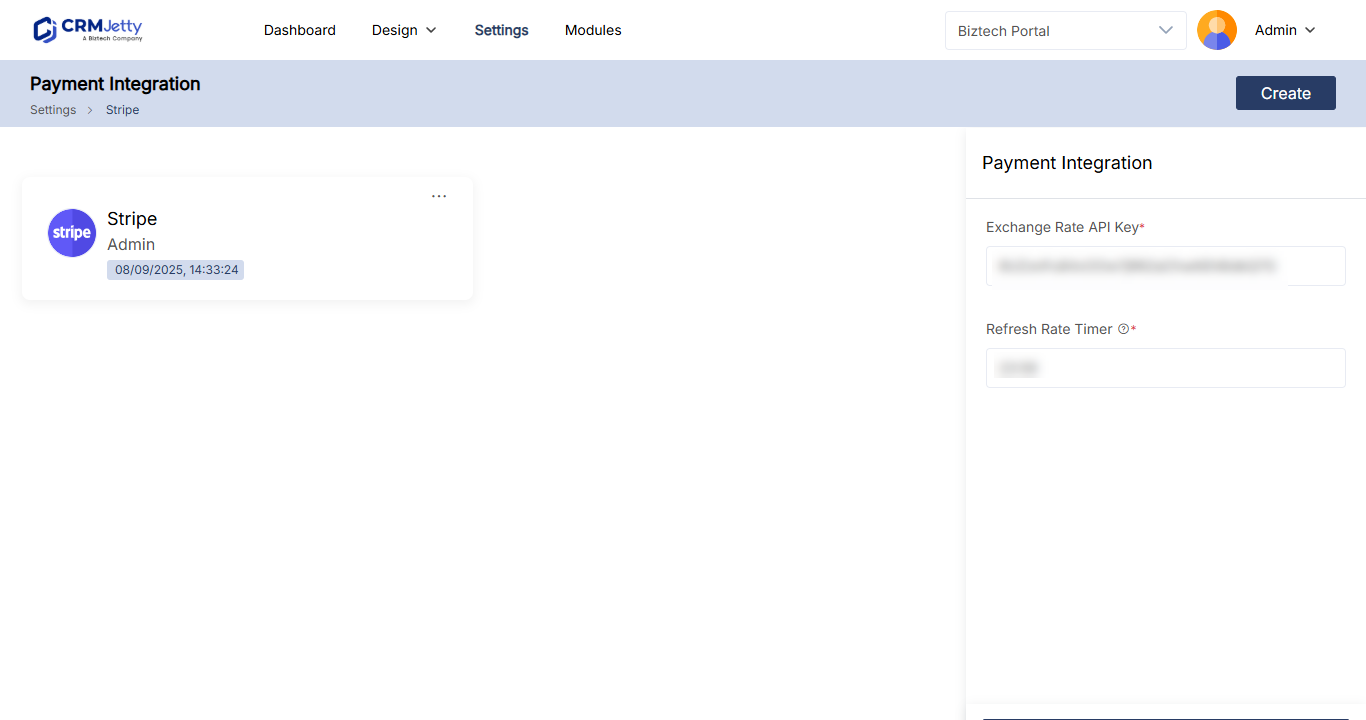
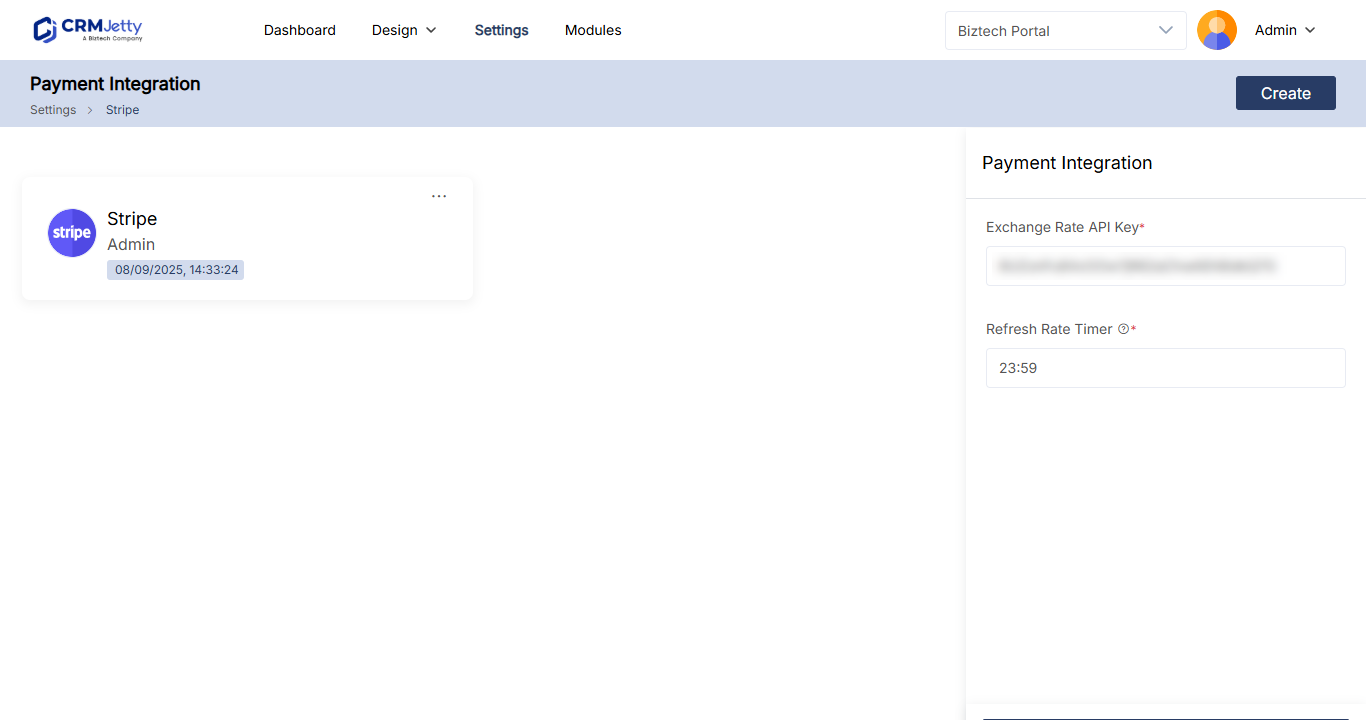
- Enter the Exchange Rate API Key and Refresh Rate Timer (see the table below).
- Select Create to add a Stripe account.
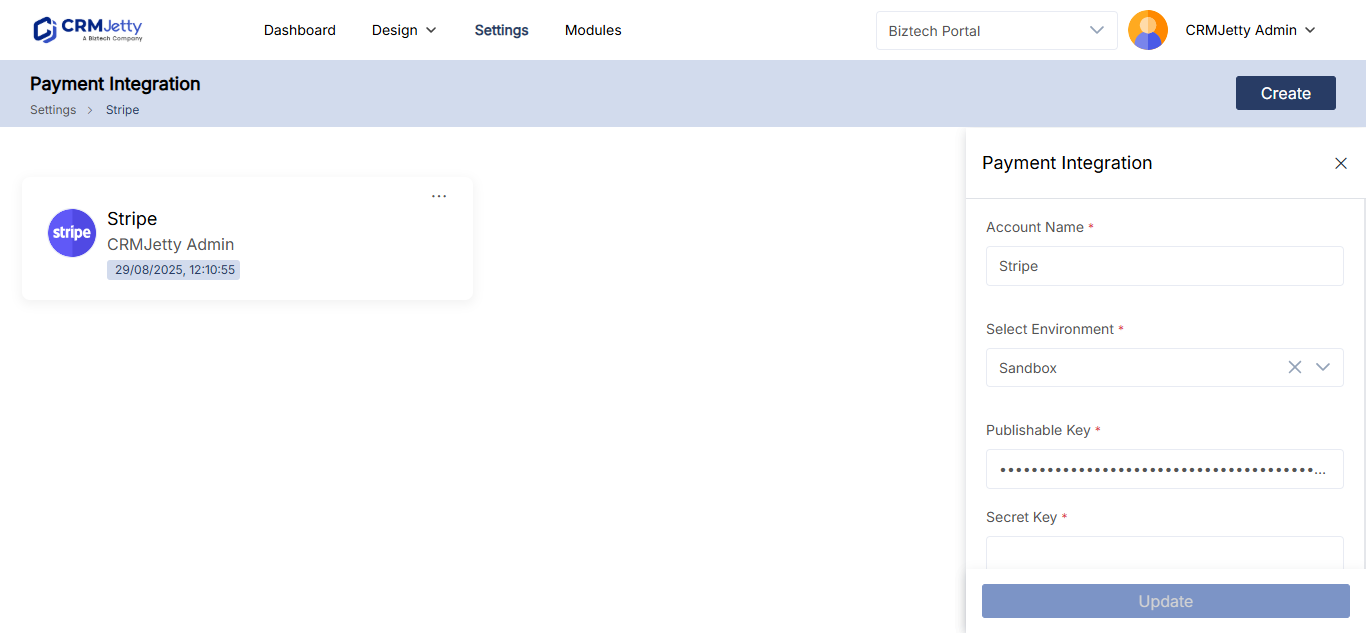
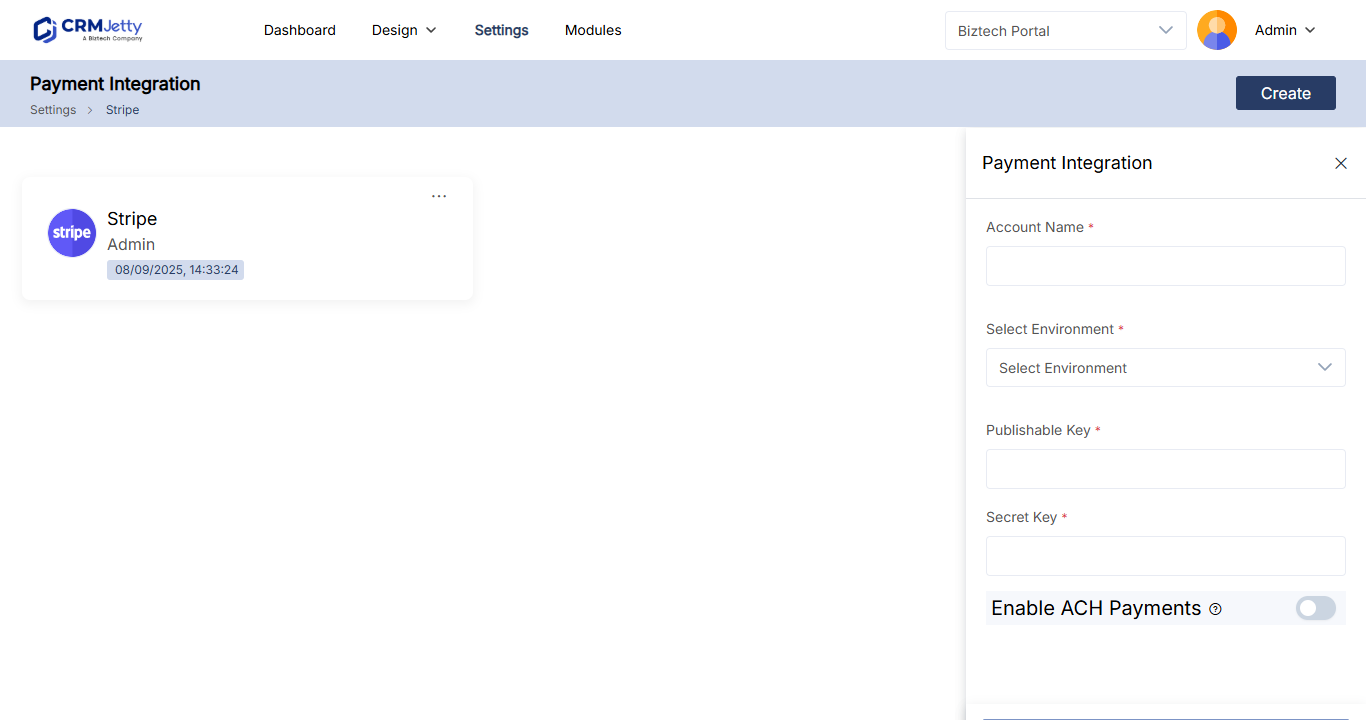
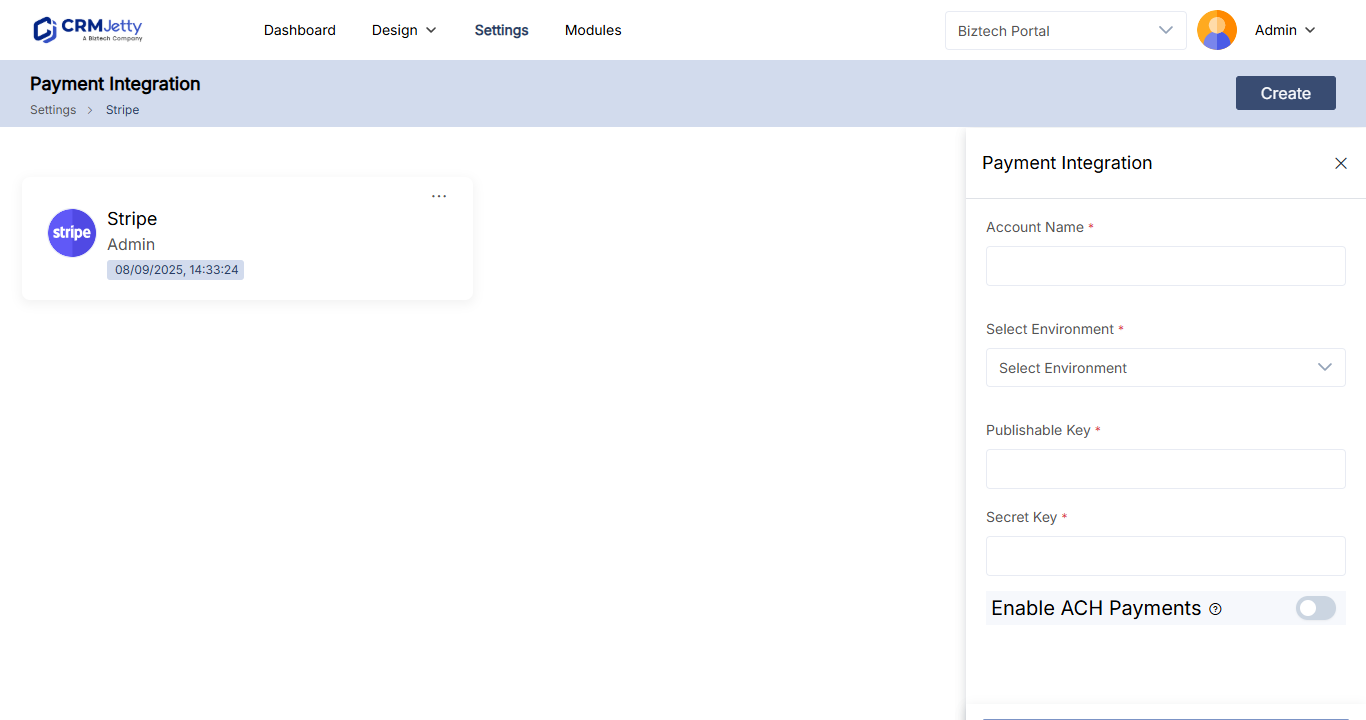
- Fill in the account fields and select Save.
| Field | What to enter |
|---|---|
| Exchange Rate API Key | The API key used to access exchange rate data for payment transactions. |
| Refresh Rate Timer | How often, in seconds, the exchange rate data refreshes. 3600 refreshes it every hour. |
| Account Name | A name that identifies this Stripe account in the portal. |
| Secret Key | The secret key of your Stripe account. |
| Publishable Key | The publishable key provided by Stripe. |
| Select Environment | Test for testing or Live for real payments. |
| Enable ACH Payment | Turn on to let portal users pay directly from a bank account through Stripe. ACH is available only for US bank accounts in USD. |
| Add Webhook Secret Key | The secret key used to verify payments. |
Connect PayPal
- Go to Settings → Integration → Paypal.
- Enter the OTP sent to the super admin’s registered email address.
- Enter the Exchange Rate API Key and Refresh Rate Timer, as for Stripe.
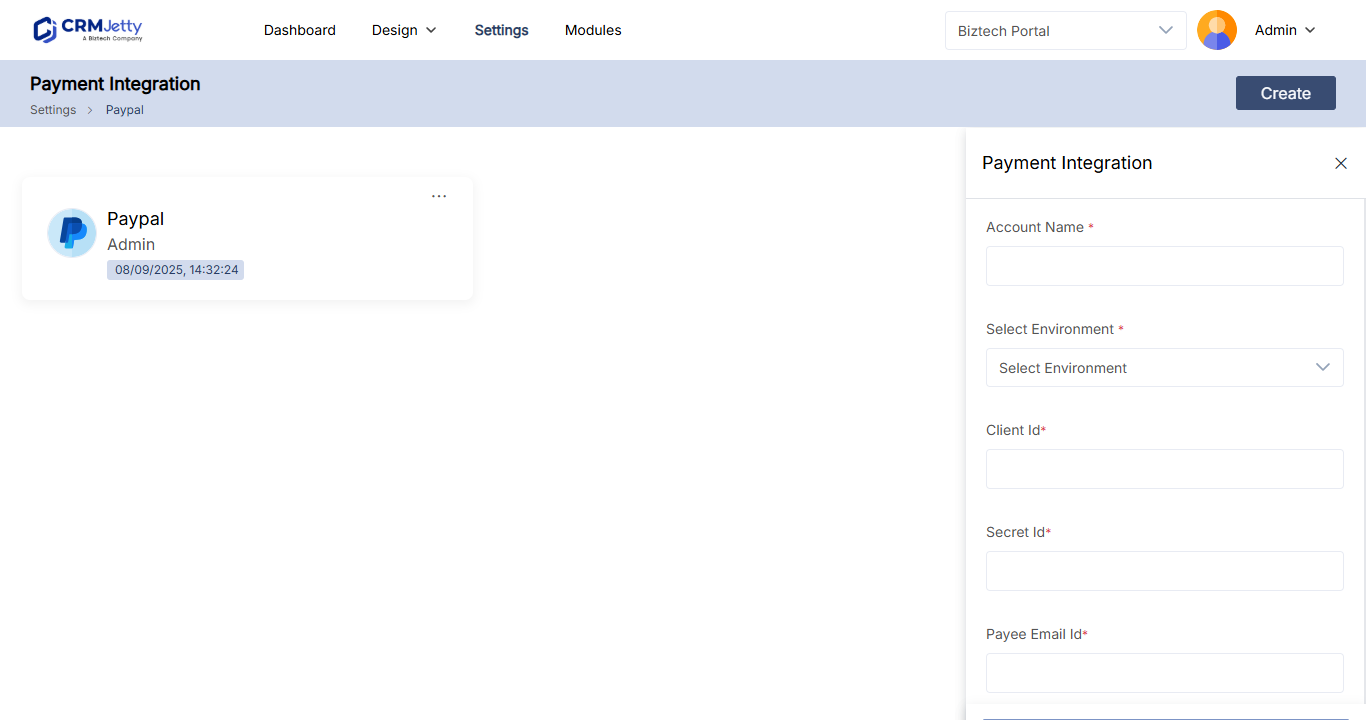
- Select Create to add a PayPal account.
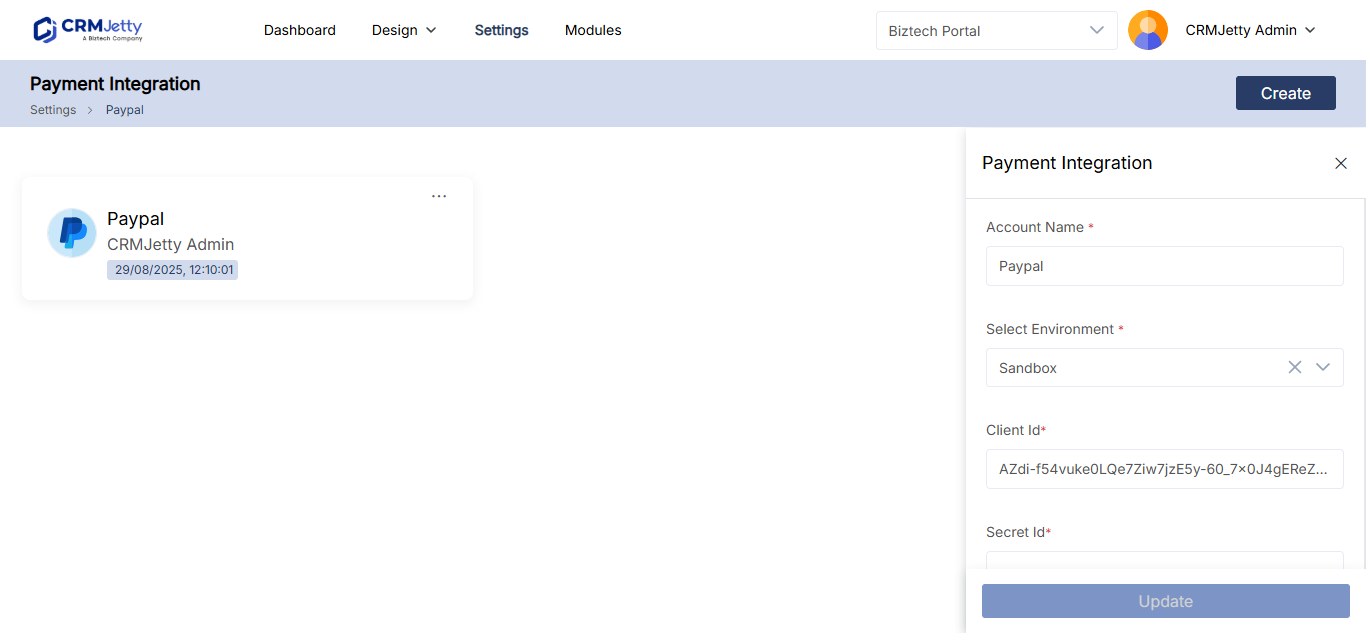
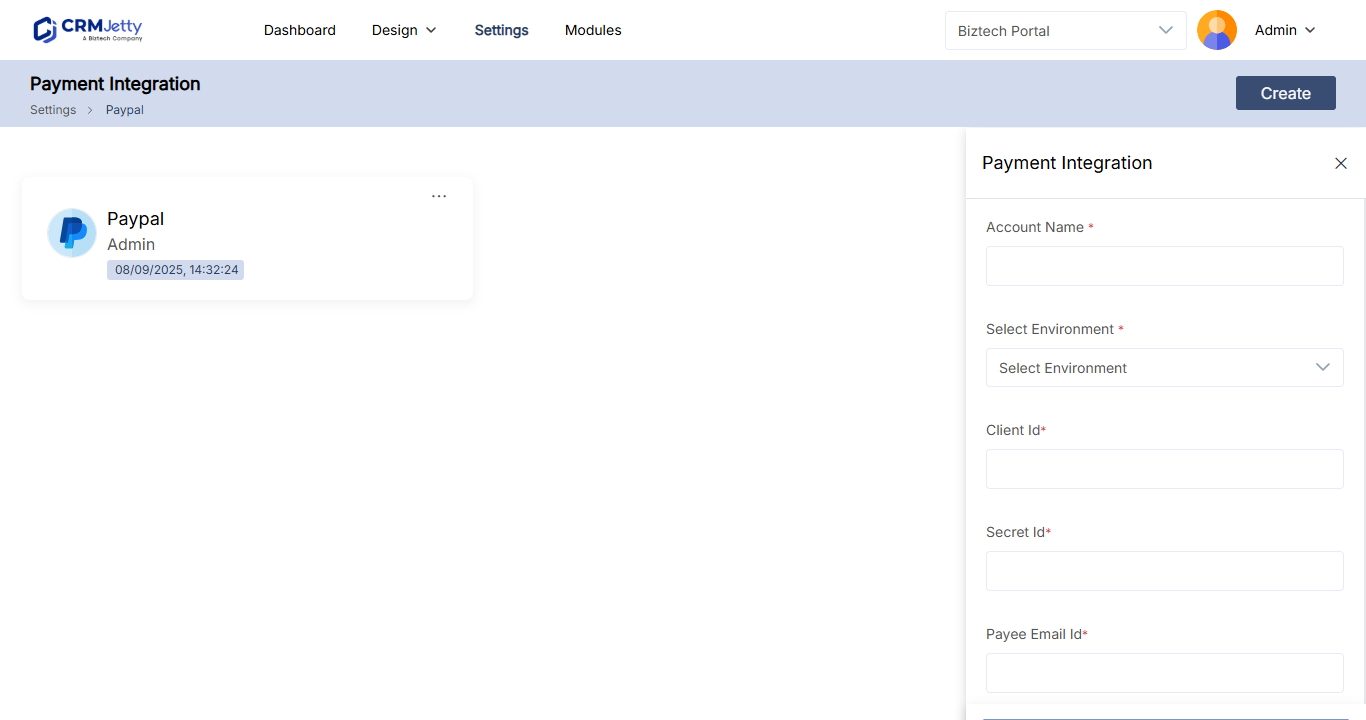
- Fill in the account fields and select Save.
| Field | What to enter |
|---|---|
| Account Name | A name that identifies this PayPal account in the portal. |
| Client ID | The client ID of your PayPal account. |
| Secret ID | The secret key that goes with the client ID. |
| Payee Email ID | The email address registered with your PayPal account, where payments are sent. |
| Select Environment | Sandbox for testing or Live for real payments. |
| Merchant ID | The merchant ID of your PayPal account. |
Tip: Watch the PayPal setup video for a walkthrough of the PayPal gateway.
Edit or delete a payment account
You can change or remove Stripe and PayPal accounts on the same pages.
- Edit: Select the Edit icon next to the account. Update the details in the side panel and select Save.
- Delete: Select the Delete icon next to the account, then select OK to confirm. Select Cancel to keep the account.
Important: Deleting an account removes it permanently.
Select the payment account for your site
Each portal site uses the payment account you select in its settings.
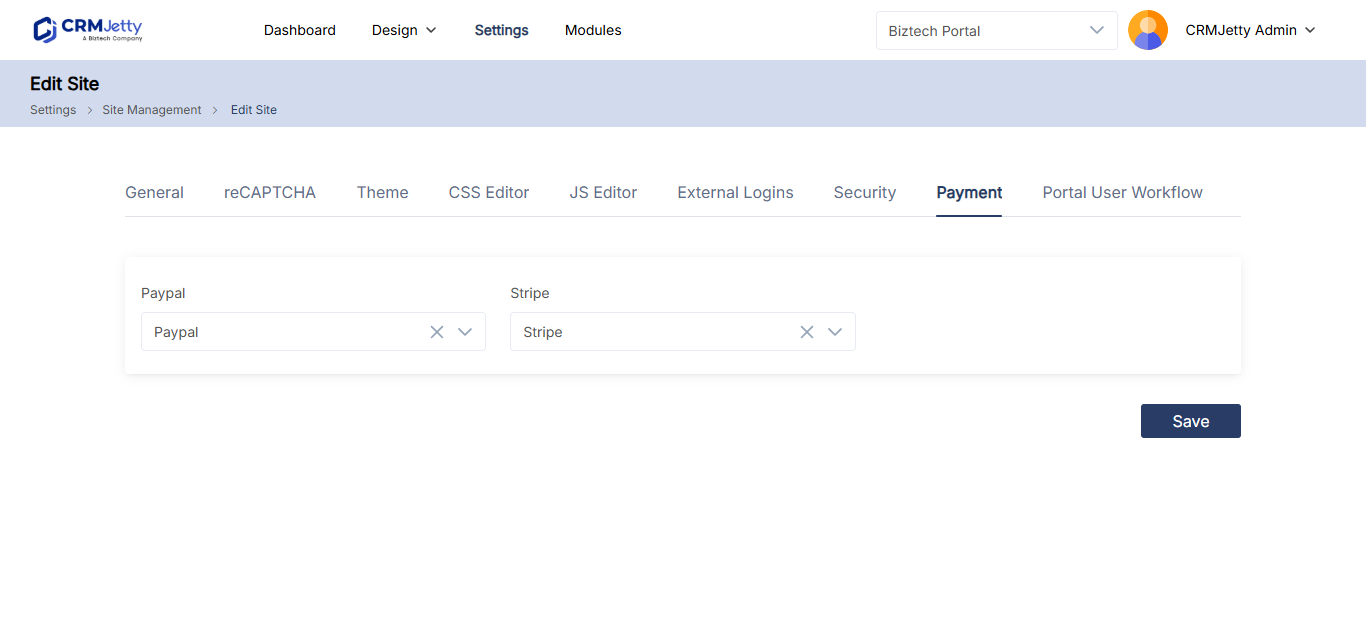
- Go to Settings → Portal Settings → Site Management.
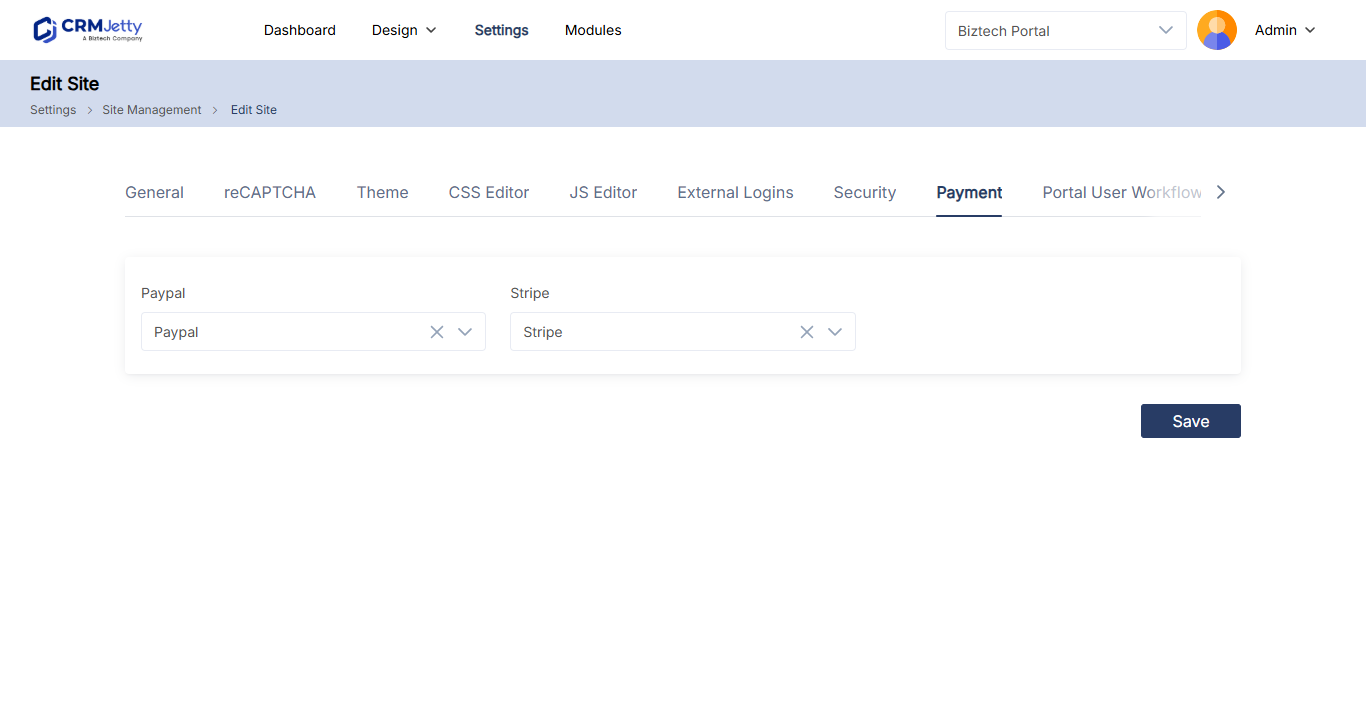
- Edit your site and open its Payment settings.
- Select the Stripe or PayPal account the site should use. Only accounts you set up under Settings → Integration are listed.
- Save the site settings.
Let portal users pay
Connecting a gateway does not add a payment option to any page by itself. To let portal users pay, set up one or both of these:
- Payment-enabled forms: turn on Payment configuration on an add, edit or detail form to show a pay button on records. See How to Add a Pay Now Button to Portal Records.
- Payment widget: add the Payment widget to a page and choose which payment methods portal users can select. See How to Set Up the Portal Payment Widget.
Business Central: The portal logs the payment in Business Central. Your finance team then applies it to the invoice in Business Central.
Note: When you import a page, the portal checks whether integrations such as Stripe and PayPal are configured. If the page or one of its widgets needs payments and payment is not set up, you are asked to complete the payment configuration.
Related articles
- How to Add a Pay Now Button to Portal Records
- How to Set Up the Portal Payment Widget
- How to Let Customers Download Invoice PDFs
- How to Add Admin and Sub-Admin Users to the Portal