
How to Add Custom JavaScript to the Portal
Custom JavaScript lets you change how a portal page, form or list looks or behaves beyond the settings in the builders, for example to highlight a section or adjust the layout to match your theme. Each page, form and list has its own code editor, and the code runs only where you add it.
Important: Custom JavaScript runs in your portal users’ browsers, inside their signed-in session. A mistake can break a page, hide data or stop forms from submitting. Test every script before it reaches portal users, and add only code you understand and trust.
Before you start
- You need access to the Design menu in the admin portal.
- To target a specific widget or section, give it an HTML ID or class first. See How to Add Custom HTML IDs and CSS Classes to Widgets.
- For styling only, use custom CSS instead of JavaScript. See How to Add Custom CSS to CRMJetty Portal.
Where you can add JavaScript
| Where | Editor | Save with | Then |
|---|---|---|---|
| A page in Design → Page Builder | Code Editor | Save | Publish the page. |
| A form in Design → Form Builder | Code Editor | Apply | Publish the form. |
| A list in Design → Lists | JS Editor | Apply | Publish the list. |
Card templates under Settings → Portal Settings → Template Scripting → Card Template also have their own HTML, CSS and JavaScript sections.
Add JavaScript to a page
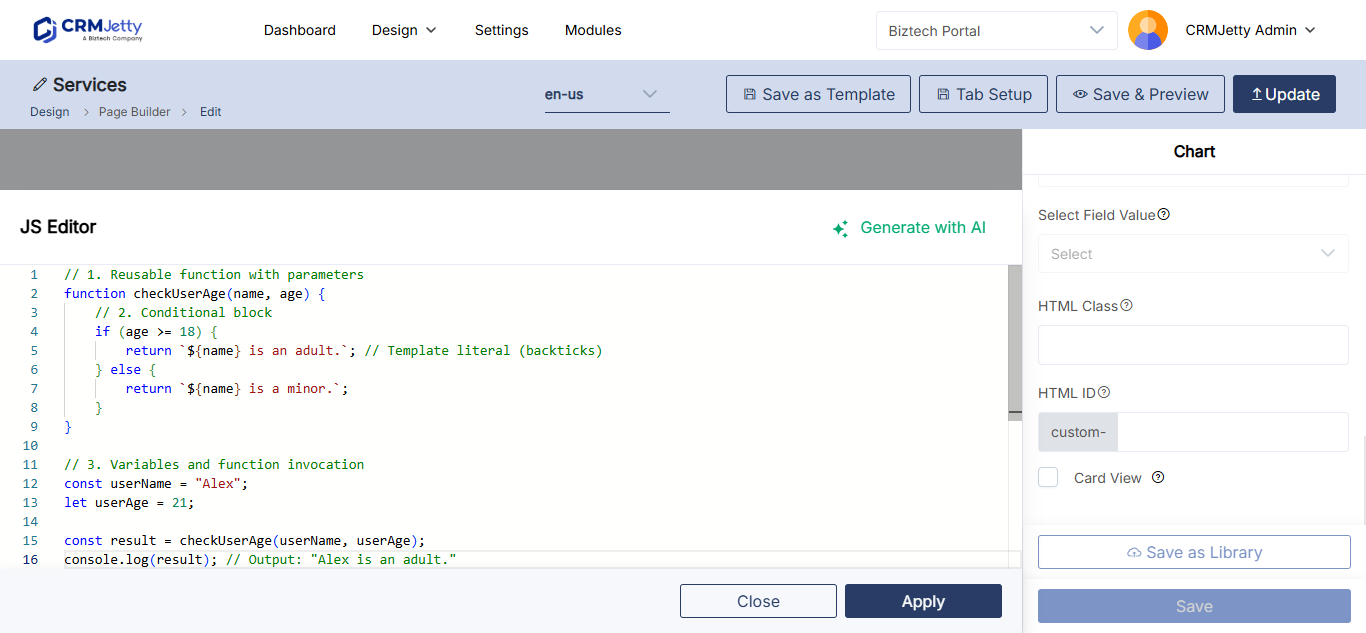
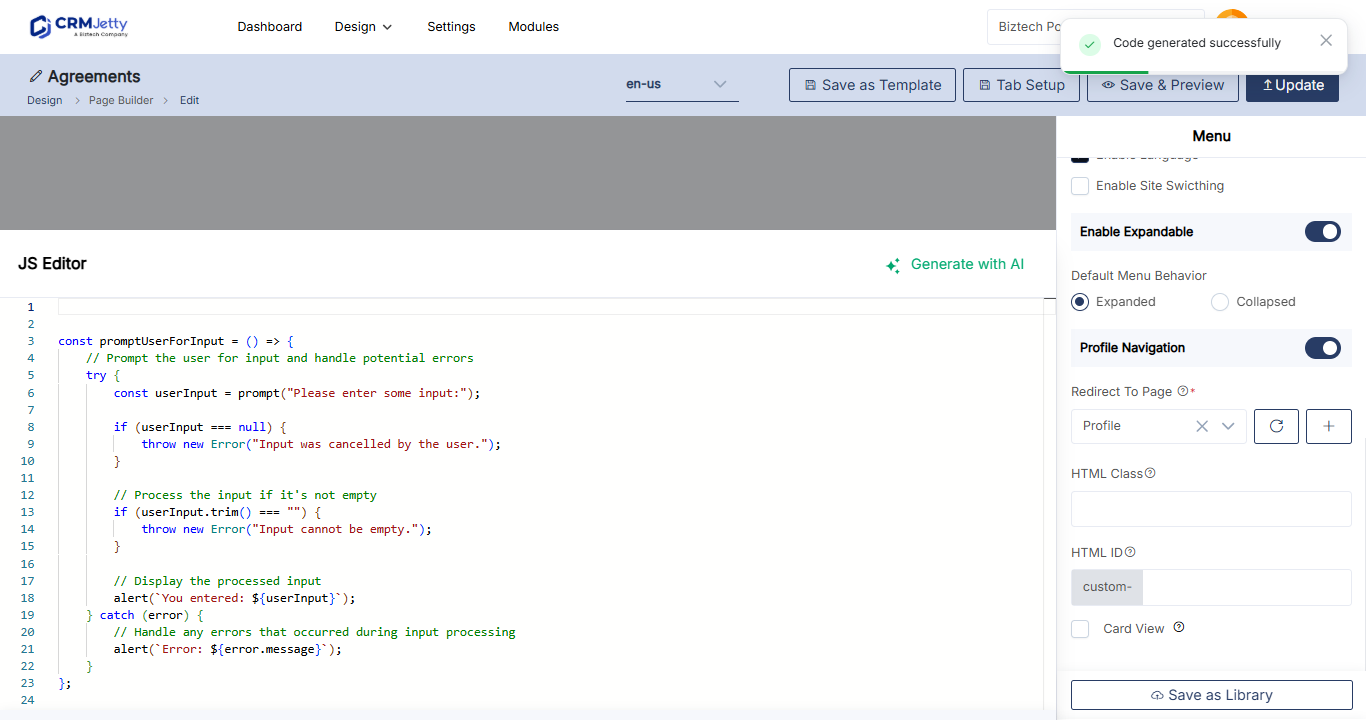
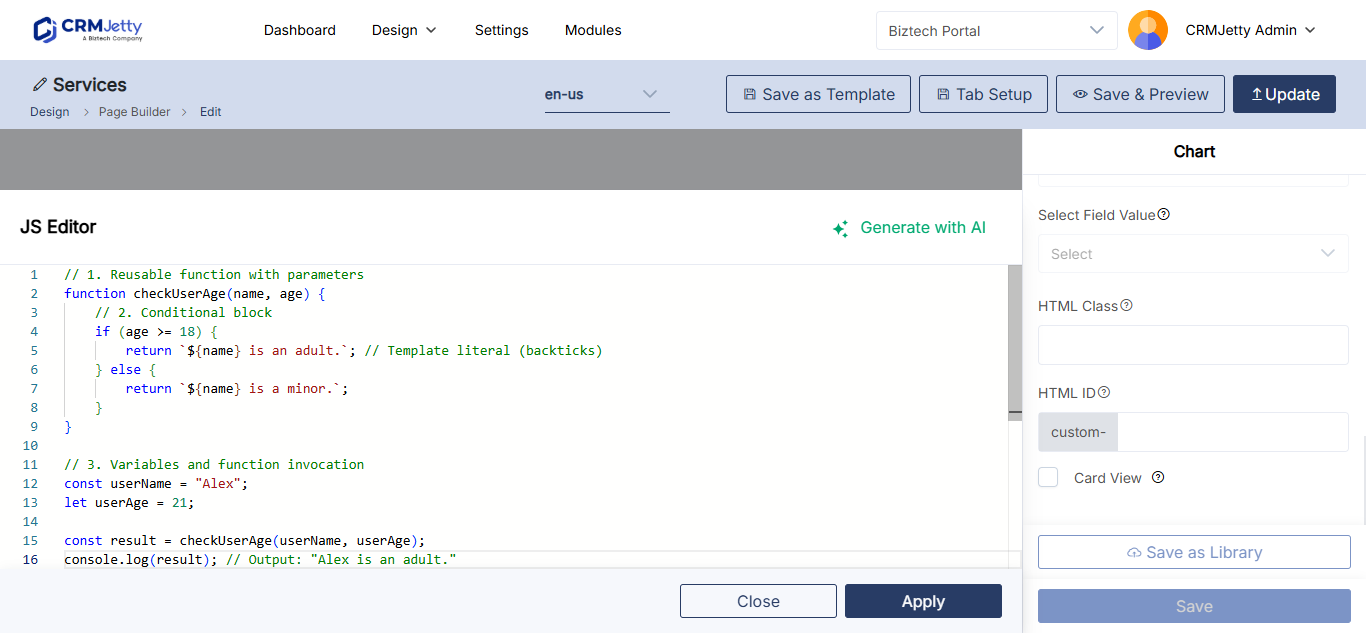
- Go to Design → Page Builder and open the page in edit mode.
- Select Code Editor.
- In the pop-up, paste or edit your JavaScript.
- Select Save.
- Publish the page.
Add JavaScript to a form
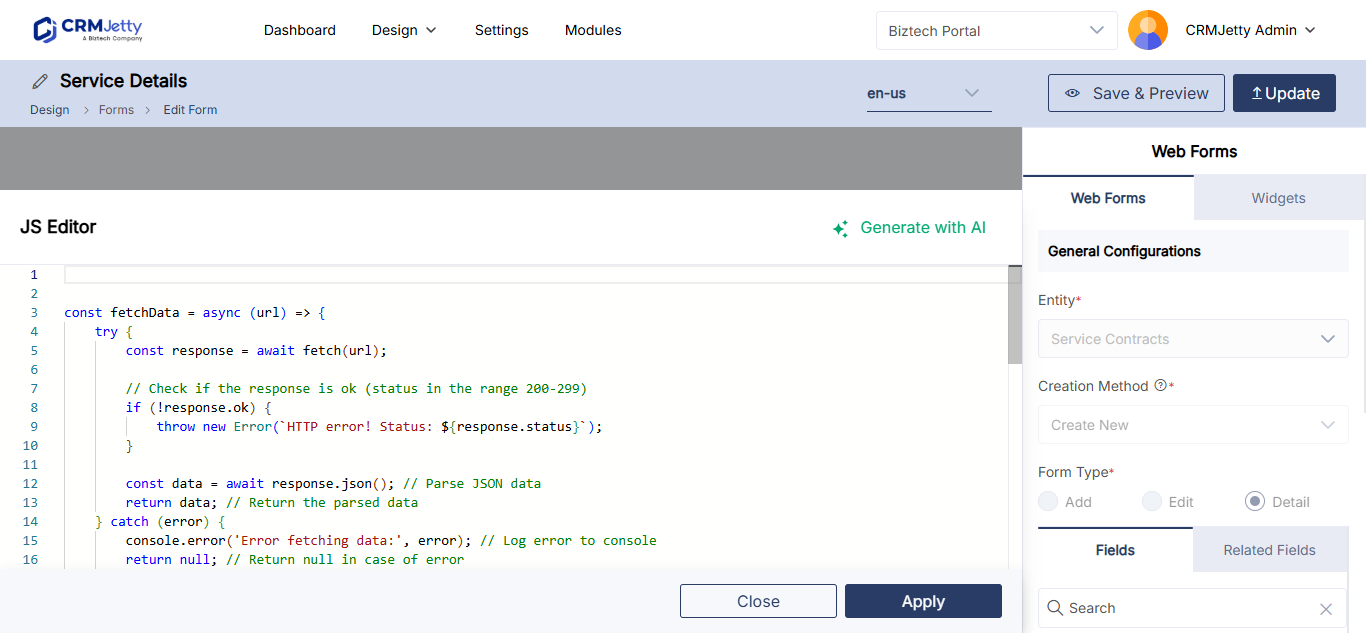
- Go to Design → Form Builder and open the form.
- Select Code Editor.
- In the pop-up, paste or edit your JavaScript.
- Select Apply.
- Publish the form.
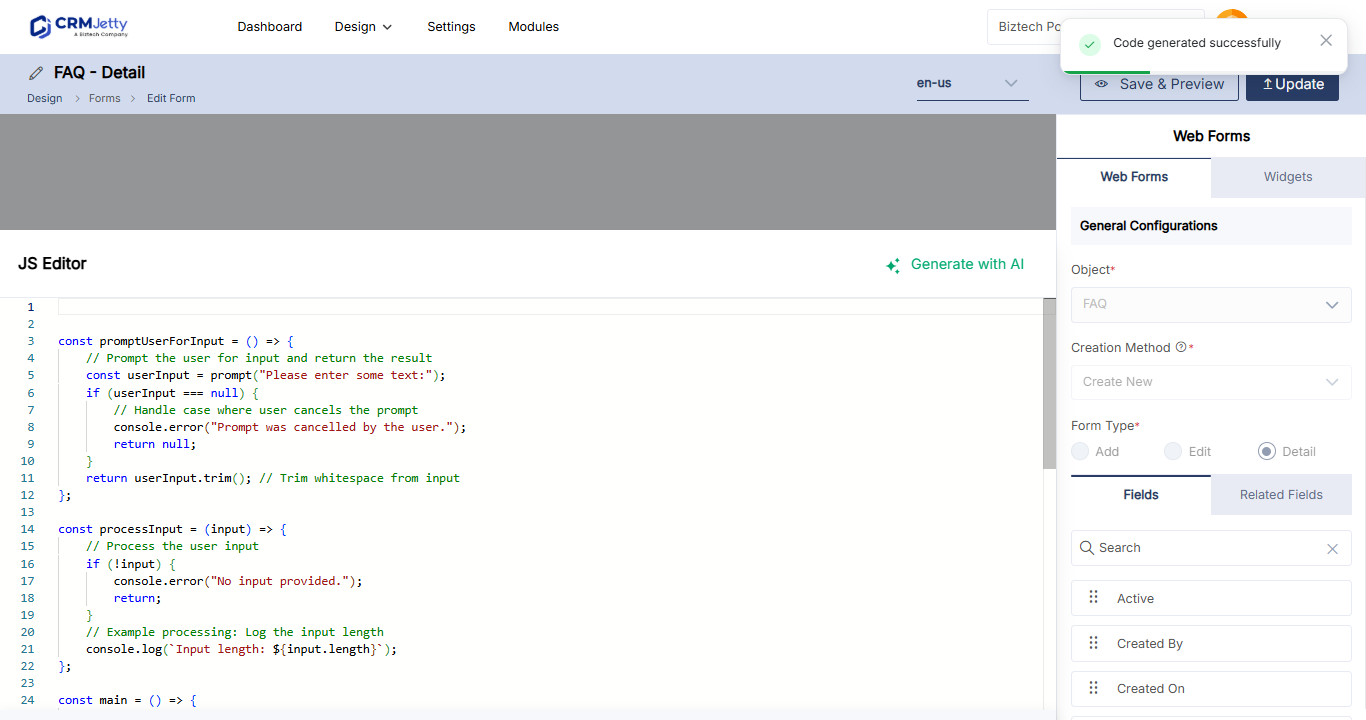
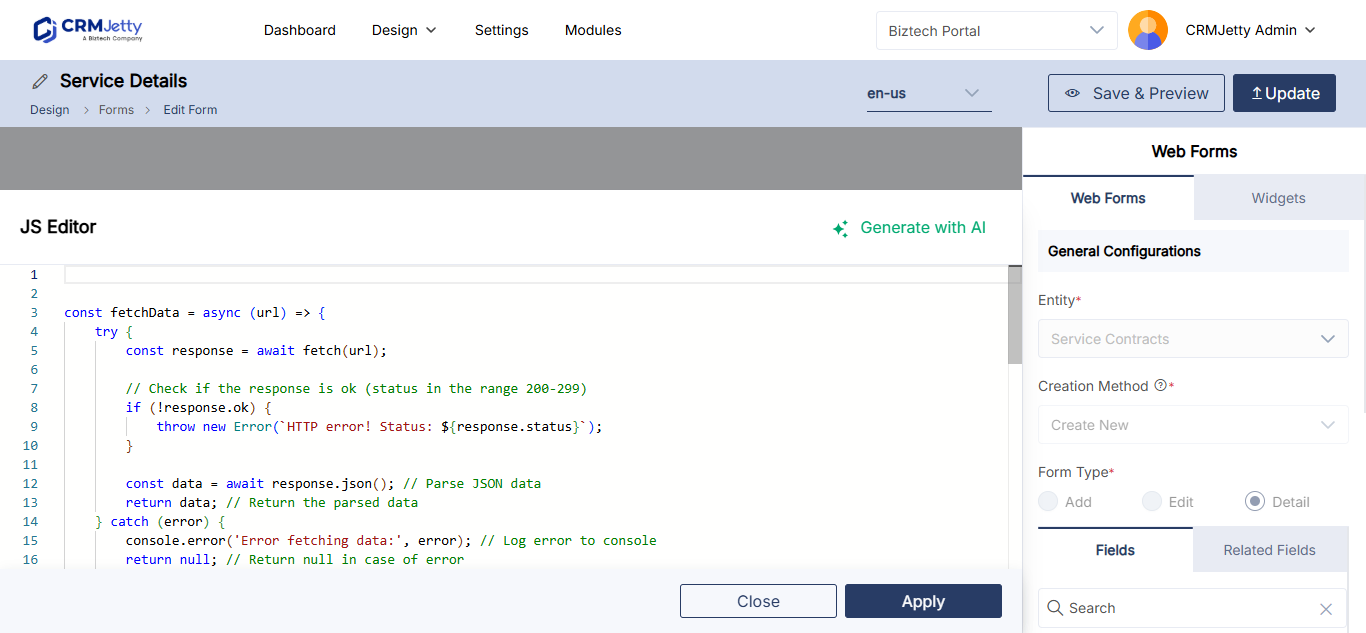
Add JavaScript to a list
- Go to Design → Lists and open the list.
- Select JS Editor.
- In the pop-up, paste or edit your JavaScript.
- Select Apply.
- Publish the list.
Example: highlight a section
This example adds a CSS class to a page section whose HTML ID is welcome-banner, which the portal renders as custom-welcome-banner. It checks that the element exists first, so the script does nothing on pages without it.
(function () {
  function highlightWelcomeBanner() {
    var banner = document.getElementById('custom-welcome-banner');
    if (!banner) {
      return;
    }
    banner.classList.add('is-highlighted');
  }

  if (document.readyState === 'loading') {
    document.addEventListener('DOMContentLoaded', highlightWelcomeBanner);
  } else {
    highlightWelcomeBanner();
  }
})();
Then style the class in your custom CSS, for example .is-highlighted { border-left: 4px solid #0a66c2; }.
Follow the same pattern in your own scripts:
- Wrap the code in a function so its variables don’t clash with the portal’s own scripts.
- Target elements by the IDs and classes you set, not by the portal’s built-in markup, which can change in portal updates.
- Check that an element exists before you change it.
Test your script
- Try the script on a copy of the page first. Duplicate the page, add the code to the copy and check it before you change the live page. See How to Publish, Draft and Duplicate Portal Pages.
- If you have a sandbox portal, test there before you change your live portal. See How to Switch the Portal Between Sandbox and Live CRM.
- Open the page as a portal user and check the browser’s developer console for errors.
- Test with each portal user role that uses the page, and on desktop and mobile.
- On forms, submit a test record to check that the form still saves to your CRM.
- Keep a copy of your code outside the portal, and retest it after portal updates.
Risks of custom scripts
- Security. Never put passwords, API keys, tokens or other secrets in JavaScript. Anyone who can open the page can read the code in their browser.
- Third-party code. Do not paste scripts or load files from sources you don’t trust. A script on a portal page can read what the portal user sees on that page.
- Breaking changes. A script error can stop other scripts on the page, including the portal’s own. If a page stops working after you add code, remove the code and publish again.
- Data. JavaScript changes only what the browser shows. It does not change which records a portal user can access. Use roles and workflows to control access. See How to Filter Which Records Portal Users See.
Troubleshooting
The script has no effect: Check that you saved or applied the code and then published the page, form or list. Check the browser console for errors, and that the ID in your script includes the custom- prefix.
The page or form stopped working after you added code: Open the code editor, remove or fix the code, and publish again.
Related articles
- How to Add Custom HTML IDs and CSS Classes to Widgets
- How to Add Custom CSS to CRMJetty Portal
- How to Create Pages in CRMJetty Portal
- How to Publish, Draft and Duplicate Portal Pages