
How to Restrict Record Access with Conditional Workflows
Role permissions apply to every record of an entity a portal user can reach. An Update Assigned Rights workflow takes away a right only for records that match conditions. For example, let customers delete their orders, but not orders that are complete or cancelled.
Note: Portal workflows restrict or filter records. They don’t send notifications; triggers do. See How to Automate Portal Emails with Triggers.
Before you start
- You need admin access to Settings → Portal Settings.
- Give the role the rights you want to restrict, for example Edit or Delete, in Entity Permissions (Business Central: Table Permissions). See How to Set Add, Edit and Delete Permissions by Role.
- Show the records in a widget that supports this workflow: List, Data Card, Recent Activity, a form or a sub-grid.
What the workflow can restrict
| Operation | When disabled for matching records |
|---|---|
| Edit | Portal users can’t edit the record. |
| Detail | Portal users can’t open the record’s detail view. |
| Delete | Portal users can’t delete the record. |
The workflow applies only to rights the user’s role already gives. It can’t grant a right the role doesn’t have. Records that don’t match the conditions keep the rights from the role.
Create an Update Assigned Rights workflow
- Go to Settings → Portal Settings → Workflow Management.
- Select + Create.
- In Title, enter a name, for example
No delete on closed orders. - In Roles, select the portal user roles the restriction applies to.
- In Entity (Business Central: Table), select the entity, for example Order.
- In Action Type, select Update Assigned Rights.
- In Select CRUD Operations to disable access, select Edit, Detail or Delete. You can select more than one.
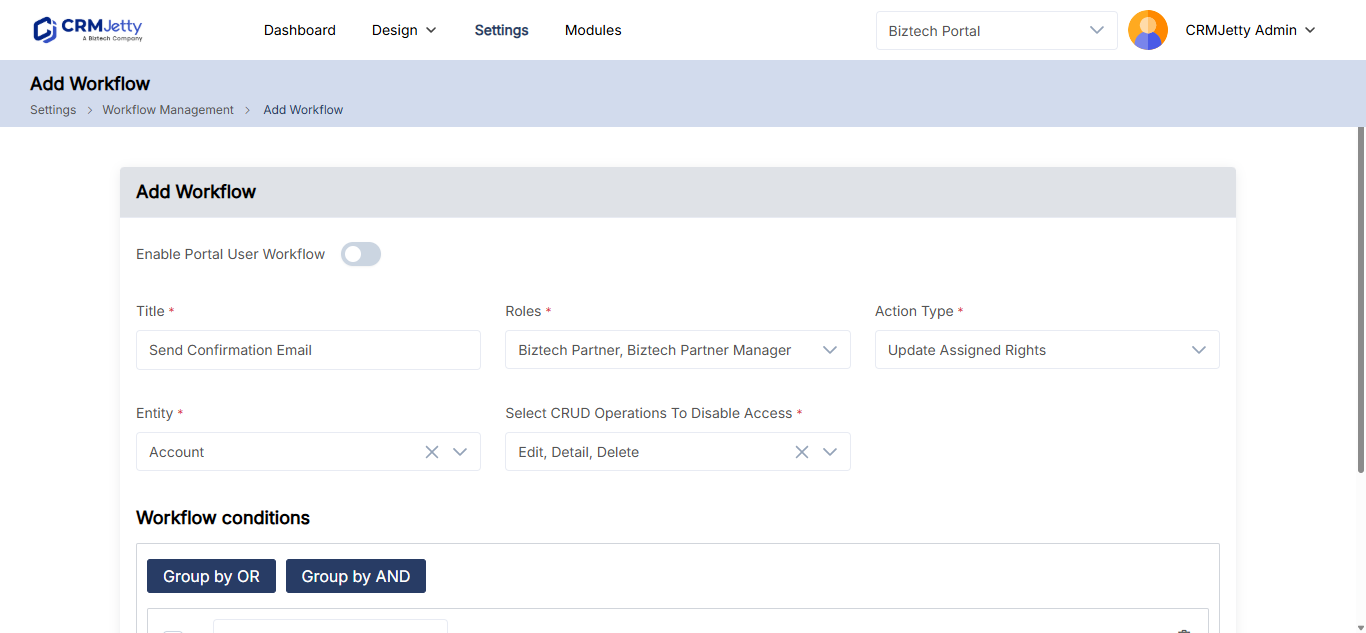
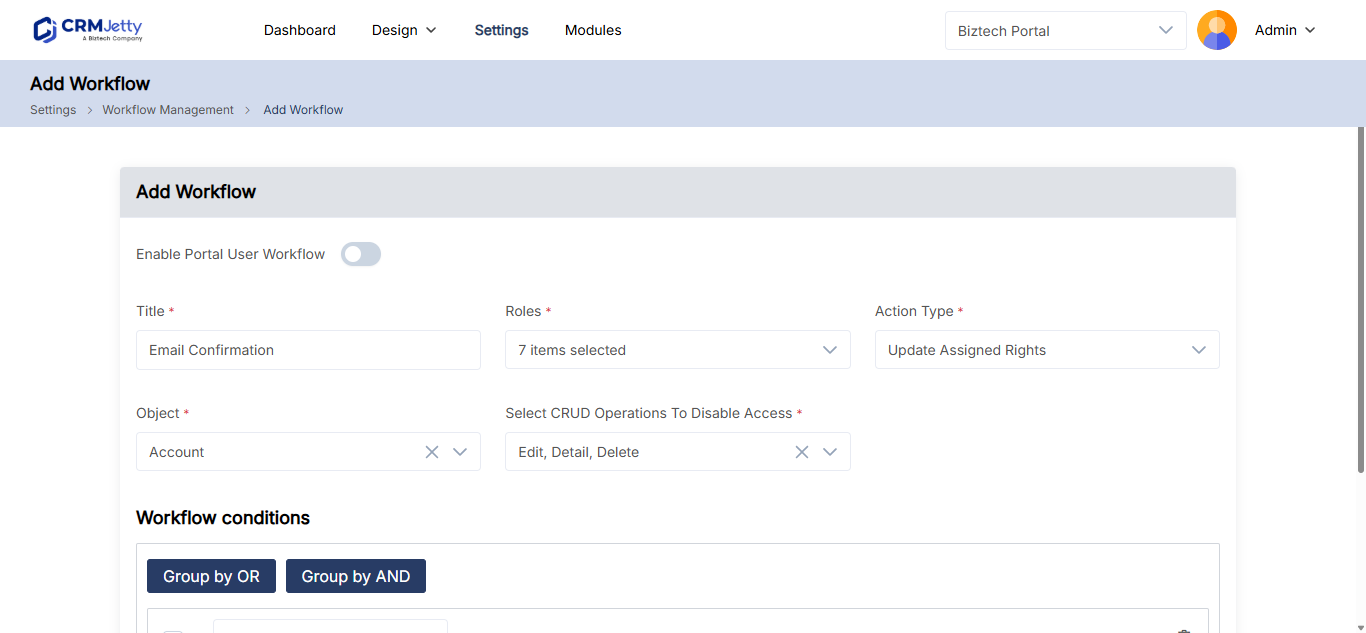
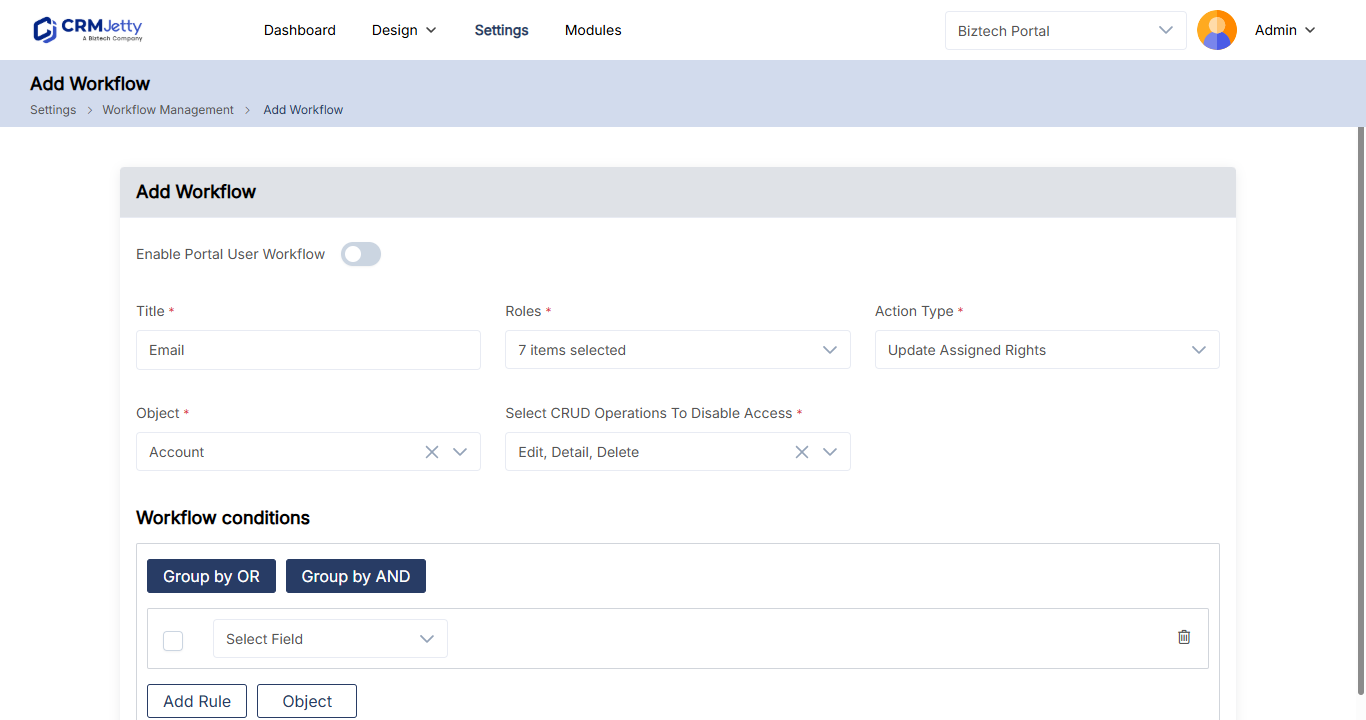
Add the conditions
- In Field, select the field to check, for example Status.
- In Operator, select how to compare, for example Equals.
- Select the values, for example Complete and Cancelled.
- To add more conditions, select Add Rule, and group rules with AND or OR.
- Select Save.
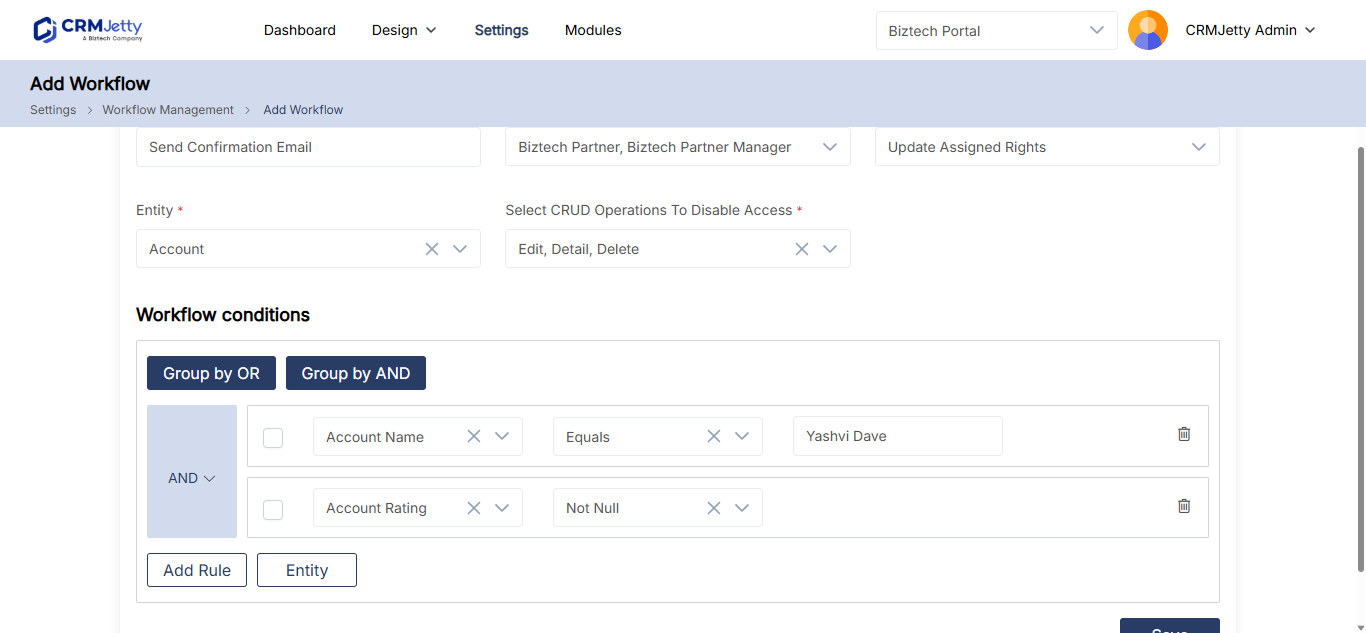
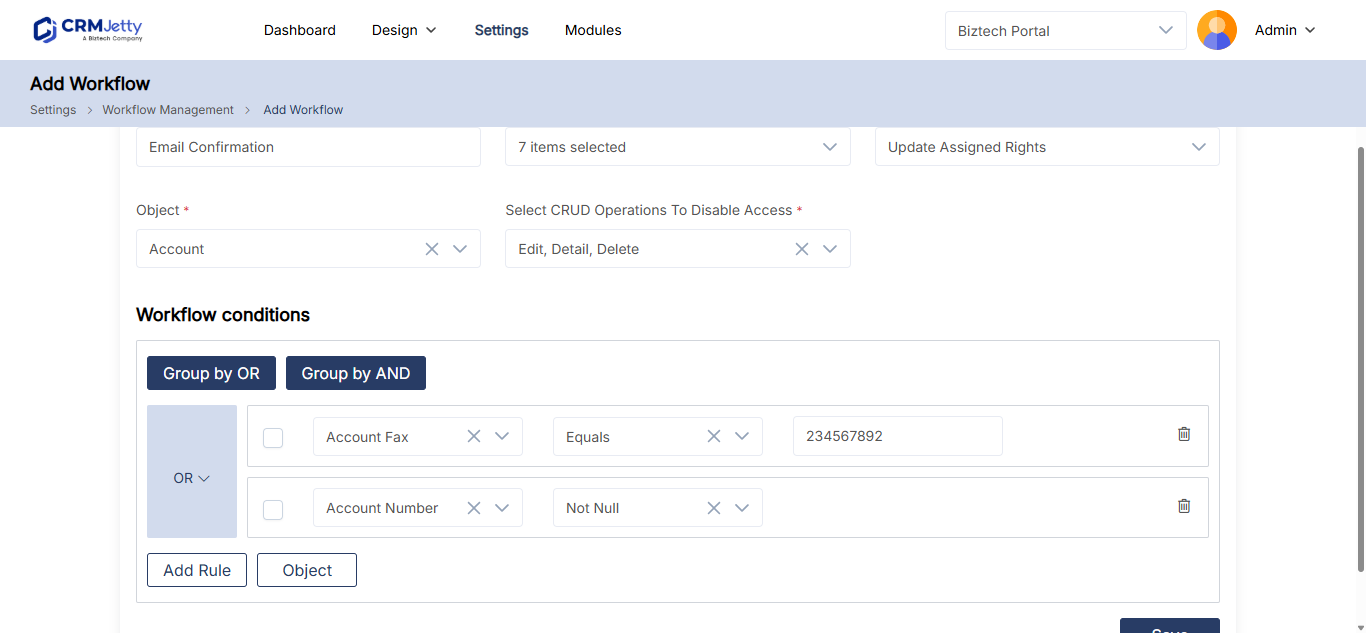
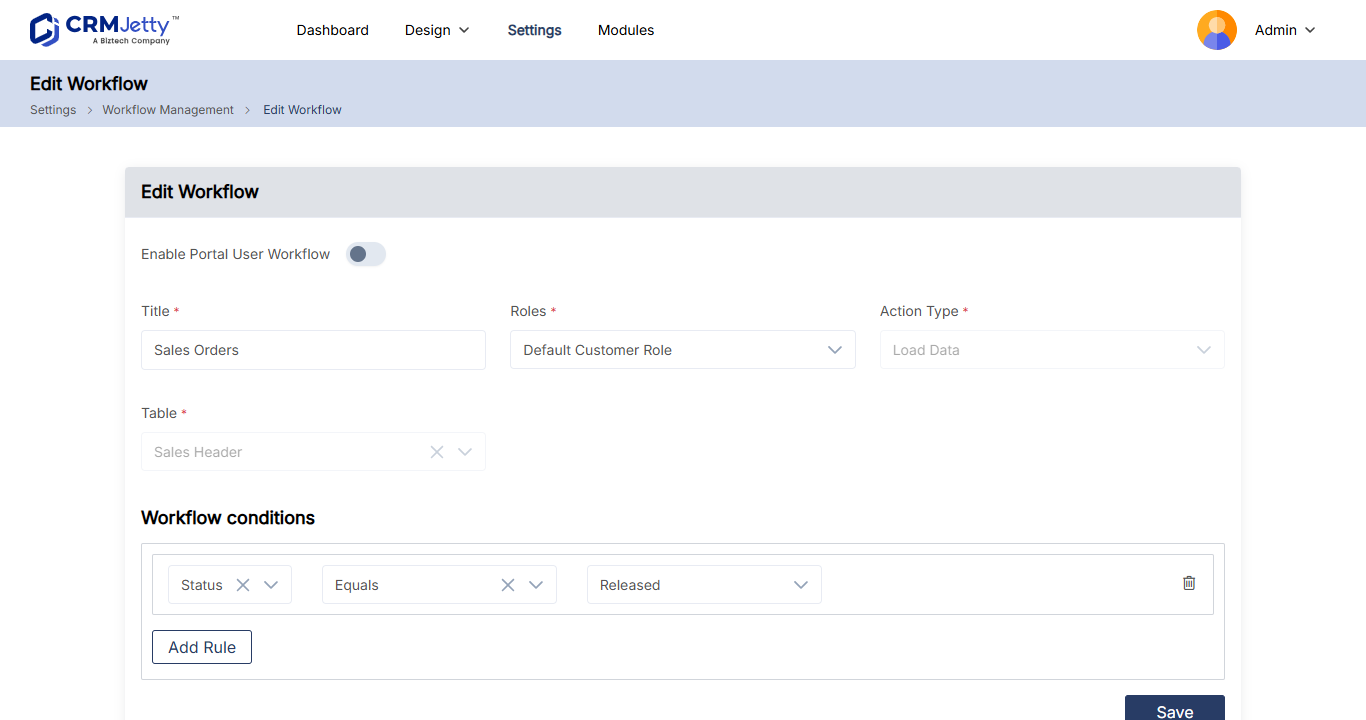
For more on operators, value types and grouping, see How to Filter Which Records Portal Users See.
Example
| Setting | Value |
|---|---|
| Entity | Order |
| Action Type | Update Assigned Rights |
| Operations to disable | Delete |
| Condition | Status equals Complete or Cancelled |
Portal users can still delete orders in other statuses, if their role has Delete. Complete and cancelled orders have no delete option.
Apply the workflow to a widget
- Go to Design → Page Builder and open the page in edit mode.
- Select the Settings icon on the widget that shows the records.
- Under Workflow Setting, select the workflow in Update Assign Rights Workflow.
- Select Save.
- Publish the page.
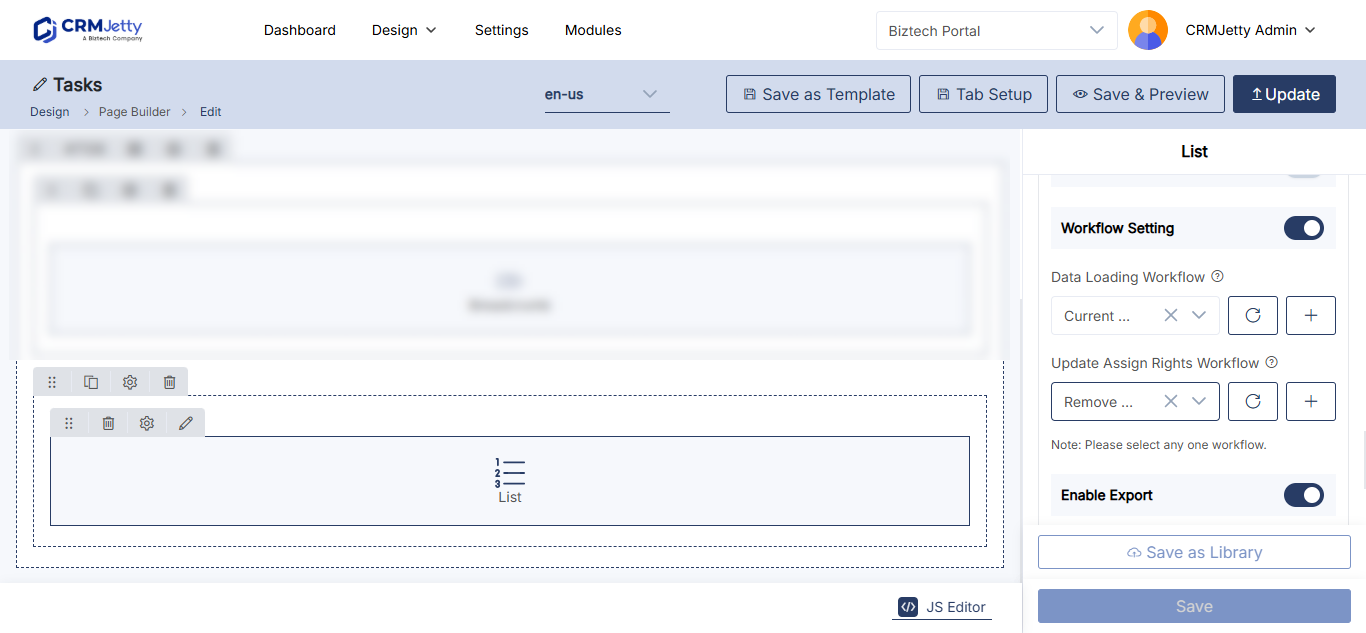
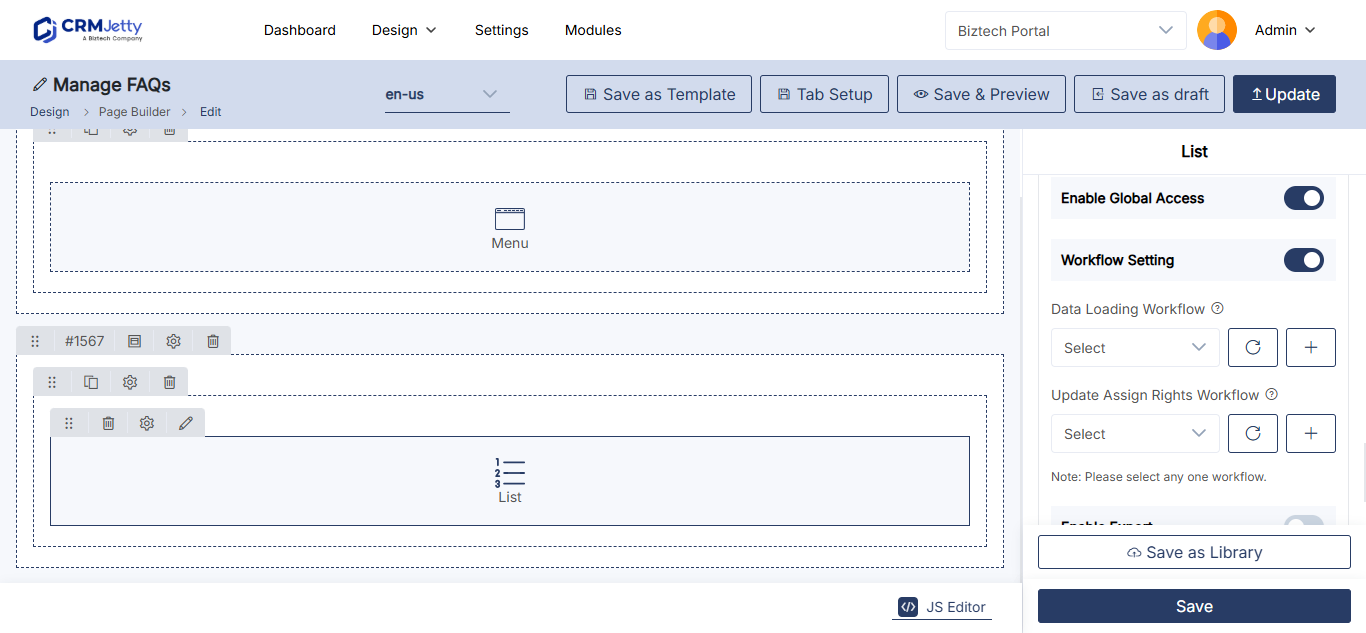
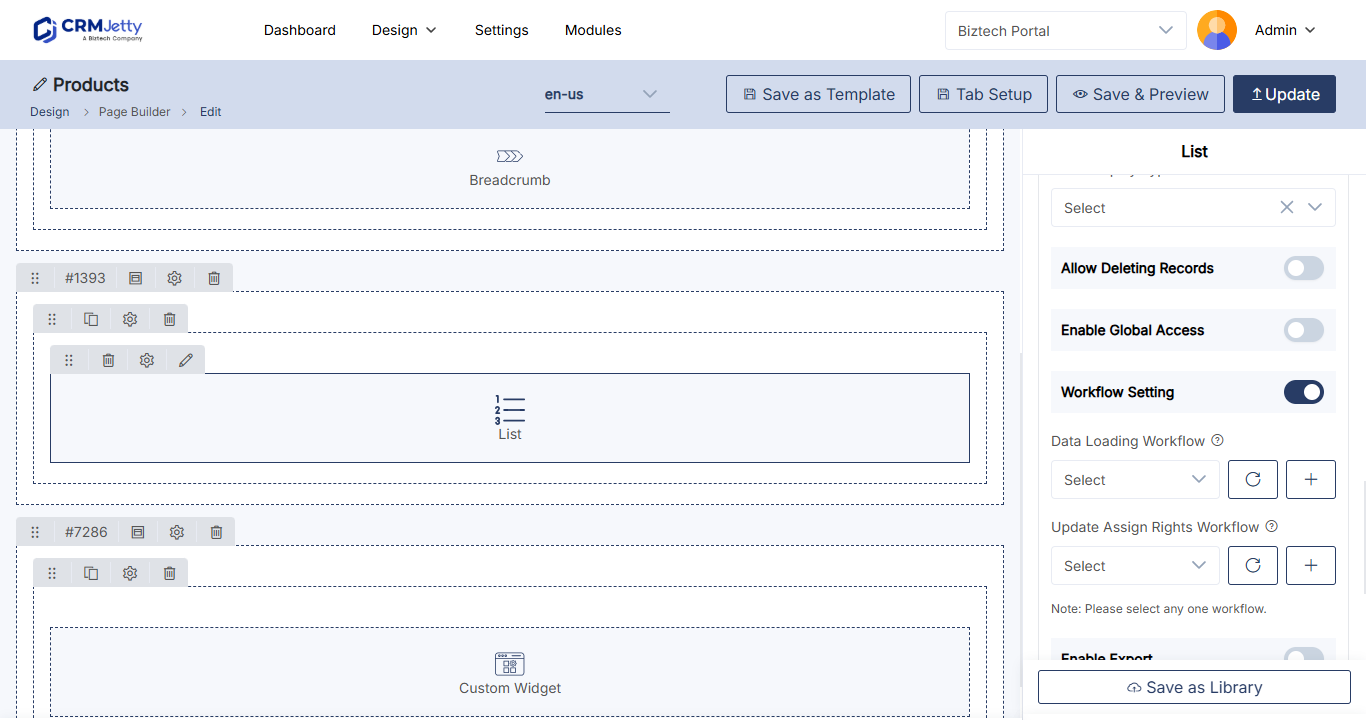
For the setting in each widget, see How to Apply Workflows to Portal Widgets.
Combine filtering and restrictions
You can use both workflow types on the same widget. For example, for a support team role on the Case entity:
| Workflow | Condition | Result |
|---|---|---|
| Load Data | Priority equals High or Urgent | Only high and urgent cases show. |
| Update Assigned Rights | Priority equals High or Urgent; disable Delete | Those cases can’t be deleted. |
Restrict child records in a sub-grid
In a sub-grid, Select Workflow Restriction lets you choose a parent workflow that controls access rights to the child records. See How to Add Sub-Grids to Portal Forms.
Troubleshooting
Portal users can still edit or delete matching records: The workflow isn’t selected in the widget’s Update Assign Rights Workflow setting, or the page wasn’t published after you selected it. Also check that the user has one of the workflow’s roles.
A record has no delete option although the role has Delete: The record matches an active Update Assigned Rights workflow. Check the workflow’s conditions in Workflow Management.
Related articles
- How to Filter Which Records Portal Users See
- How to Apply Workflows to Portal Widgets
- How to Set Add, Edit and Delete Permissions by Role
- How to Let Portal Users Delete Records in Bulk
- Portal Roles vs CRM Roles Explained