
How to Use Existing CRM Forms and Views in the Portal
You don’t have to rebuild your CRM layouts in the portal. With Use Existing, a portal form or list starts from a form or view that is already configured in your CRM, with the same fields. You can then add, remove and relabel fields for the portal without changing anything in your CRM.
Before you start
- You need access to the Design menu in the admin portal.
- The entity (Dynamics 365), object (Salesforce) or table (Business Central) must be synced with the portal. See How to Enable CRM Entities and Custom Objects in the Portal.
- If you recently changed the form or view in your CRM, sync the changes to the portal first. See How to Sync CRM Layout Changes to Your Portal.
Use an existing CRM form
- Go to Design → Form Builder.
- Select + Create, enter a Title and select Save. To change an existing form, select Edit on it instead.
- Add a section and a grid to the layout.
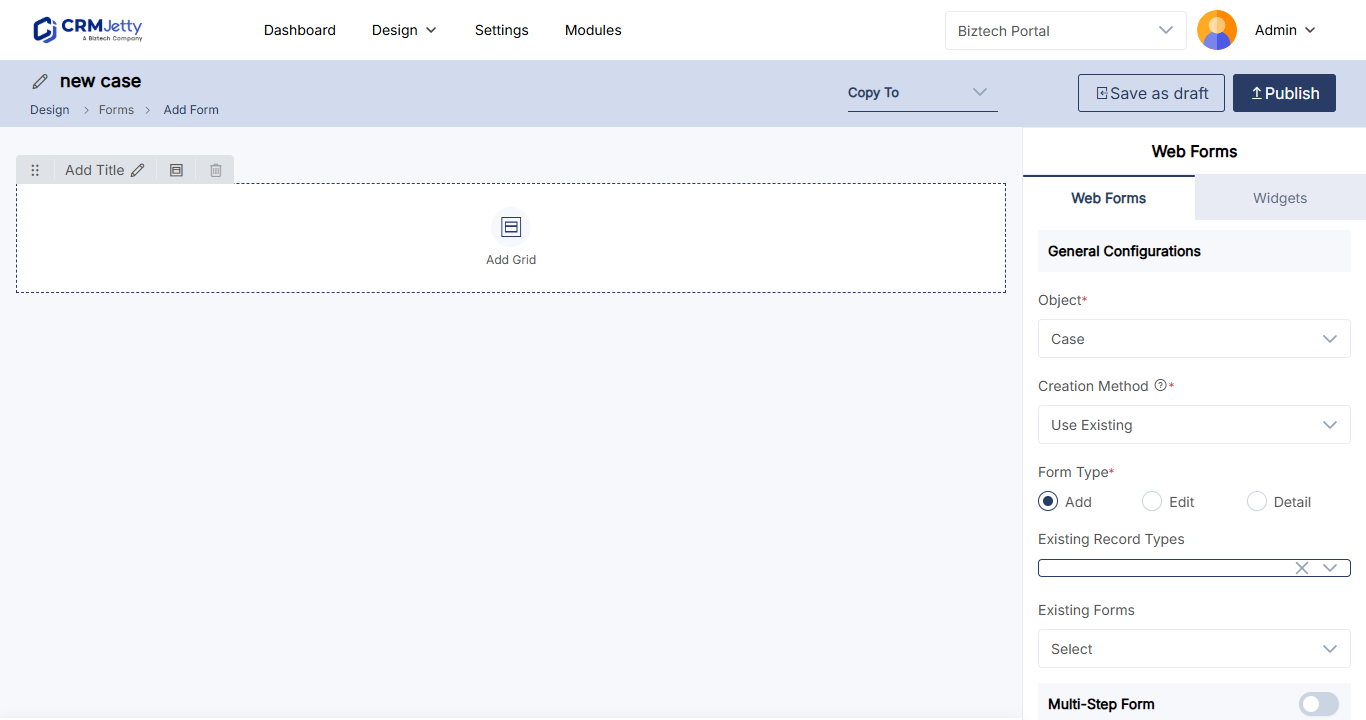
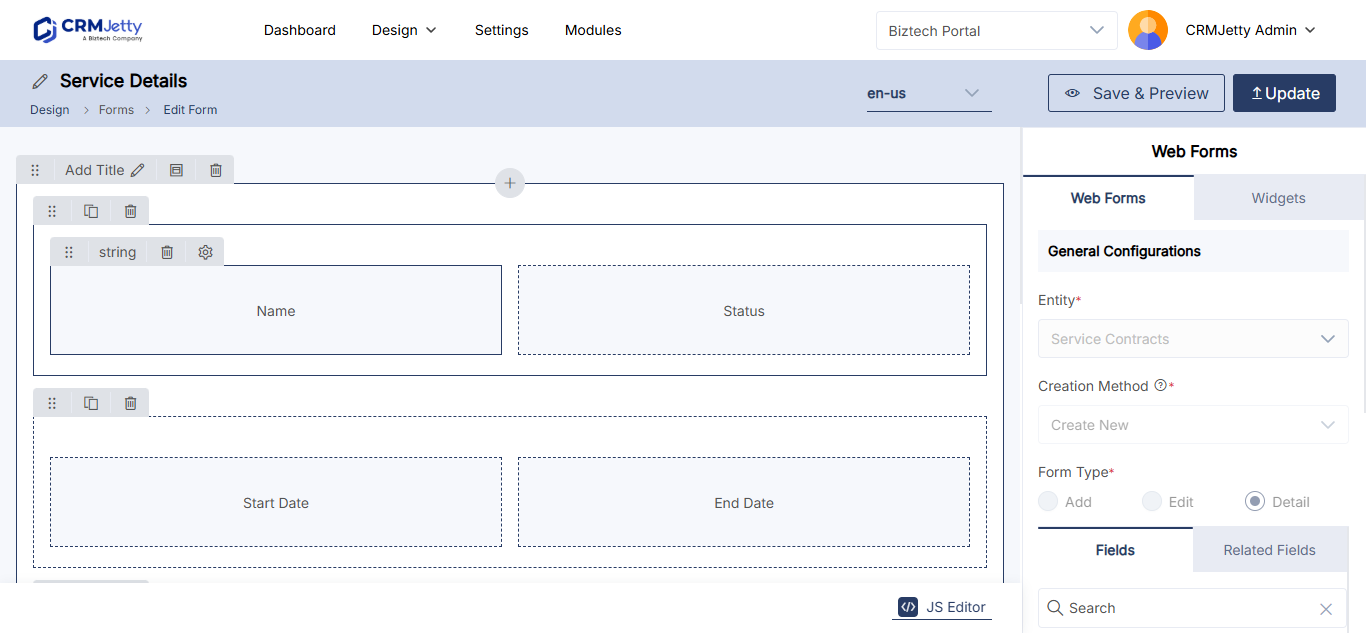
- Select the Entity from the drop-down list.
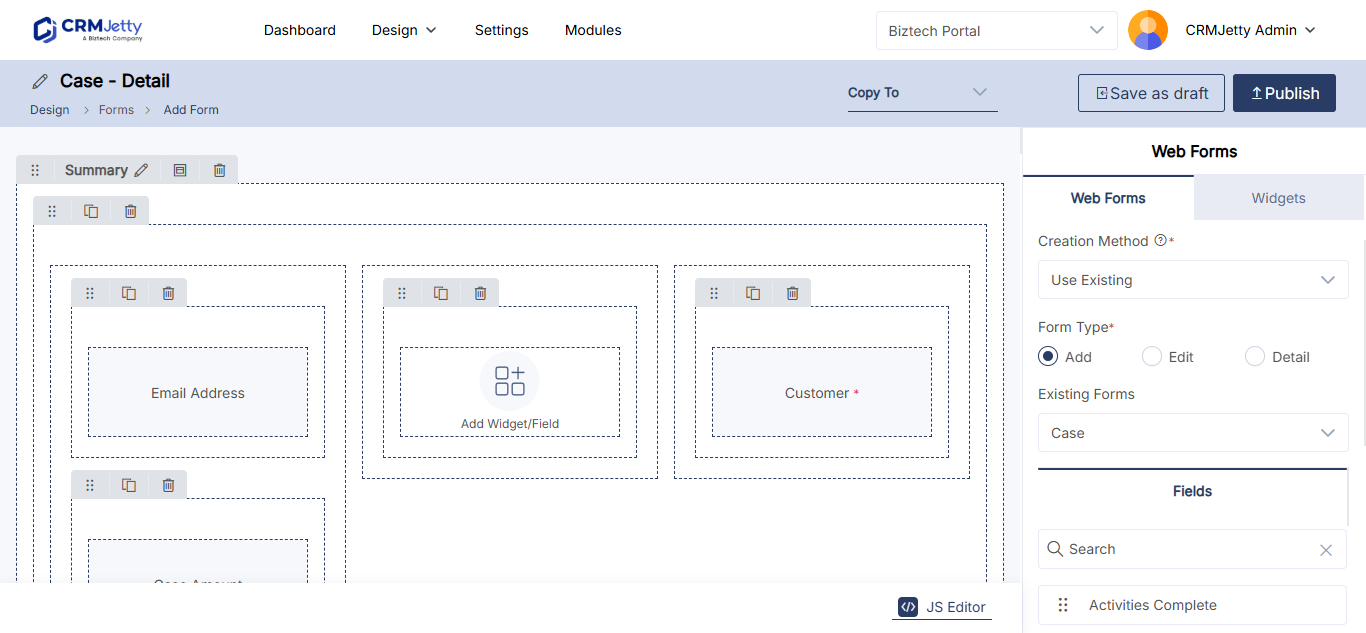
- Select Use Existing as the creation method.
- Optionally, select one or more record types to filter the forms. If you select none, all forms for the entity are shown.
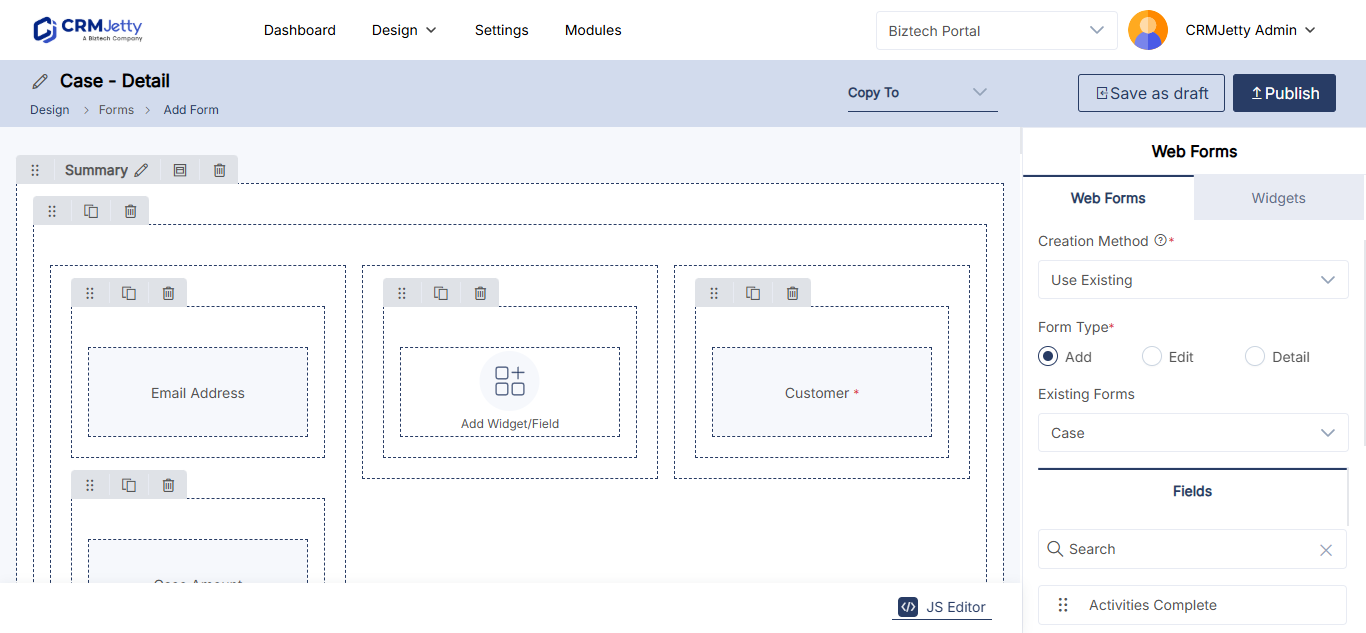
- In Existing Forms, select the CRM form view. Its fields, as configured in your CRM, are displayed.
- Select the fields to use on the Add, Edit or Detail page, depending on the form type.
Adjust the fields
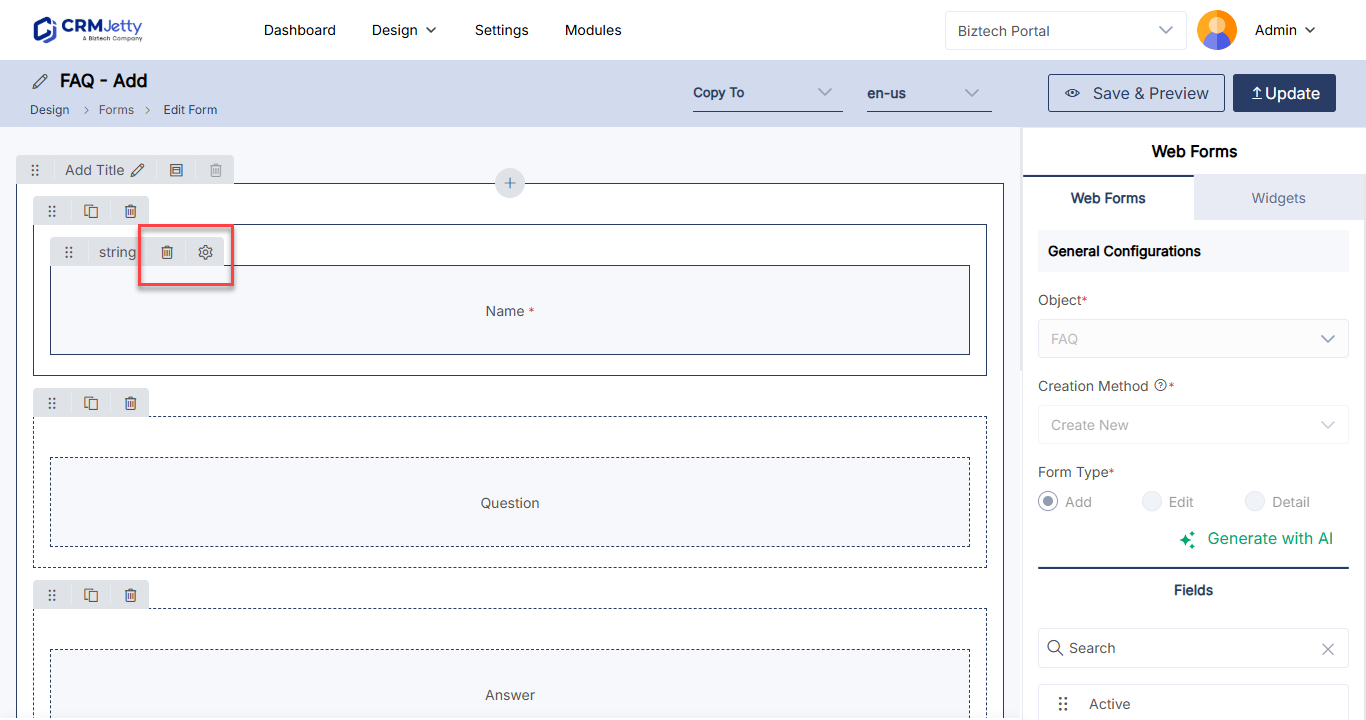
- To add a field, drag it from the field list on the right into the layout.
- To remove a field, select its Delete icon. You can’t remove required fields.
- To change how a field is shown, select its Settings icon and edit the field options, such as Label and Placeholder. See How to Edit Form Field Labels and Placeholders.
When the form is ready, select Publish, or save it as a draft.
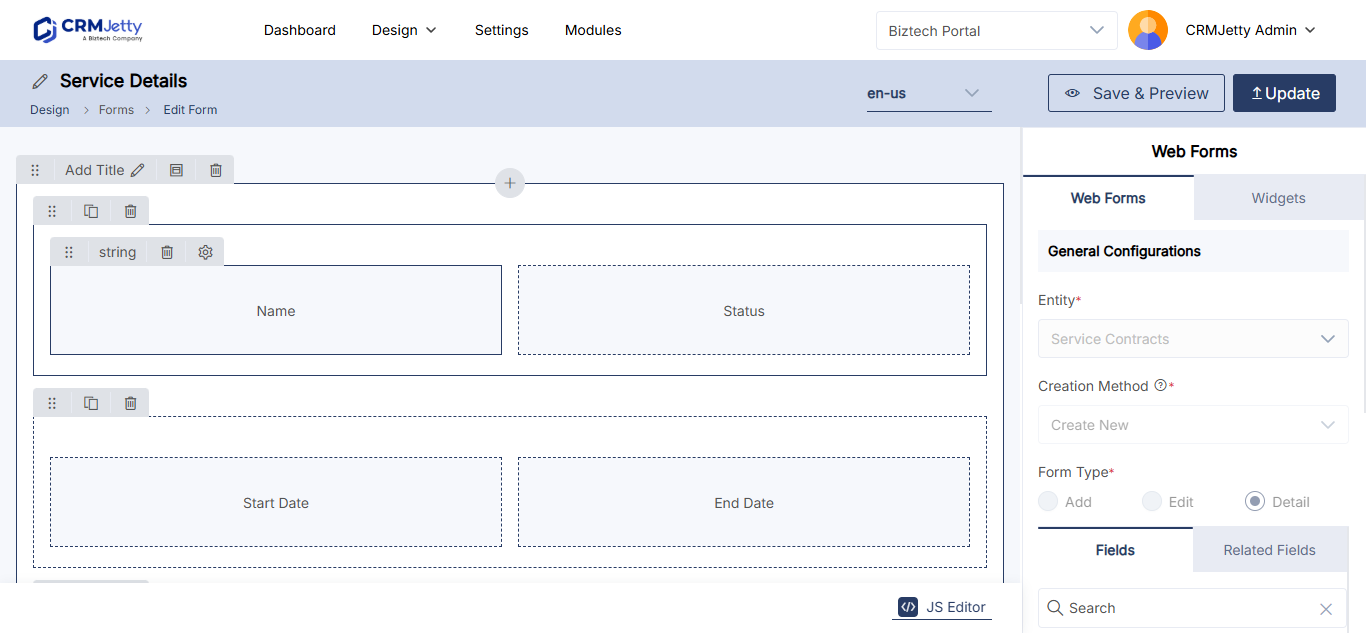
Note: You can’t use Use Existing to update parent-child interlinking forms or sub-grid forms.
Use an existing CRM view in a list
- Go to Design → Lists.
- Select + Create, enter a Title and select Save. The list layout design page opens.
- In Type, select Builder. You can’t configure fields when Data sources is selected.
- Select the Entity for the list.
- Select Use Existing as the creation method.
- In View, select the CRM list view. Its fields are added to the field panel on the right.
- Adjust the fields as needed.
- Select Publish.
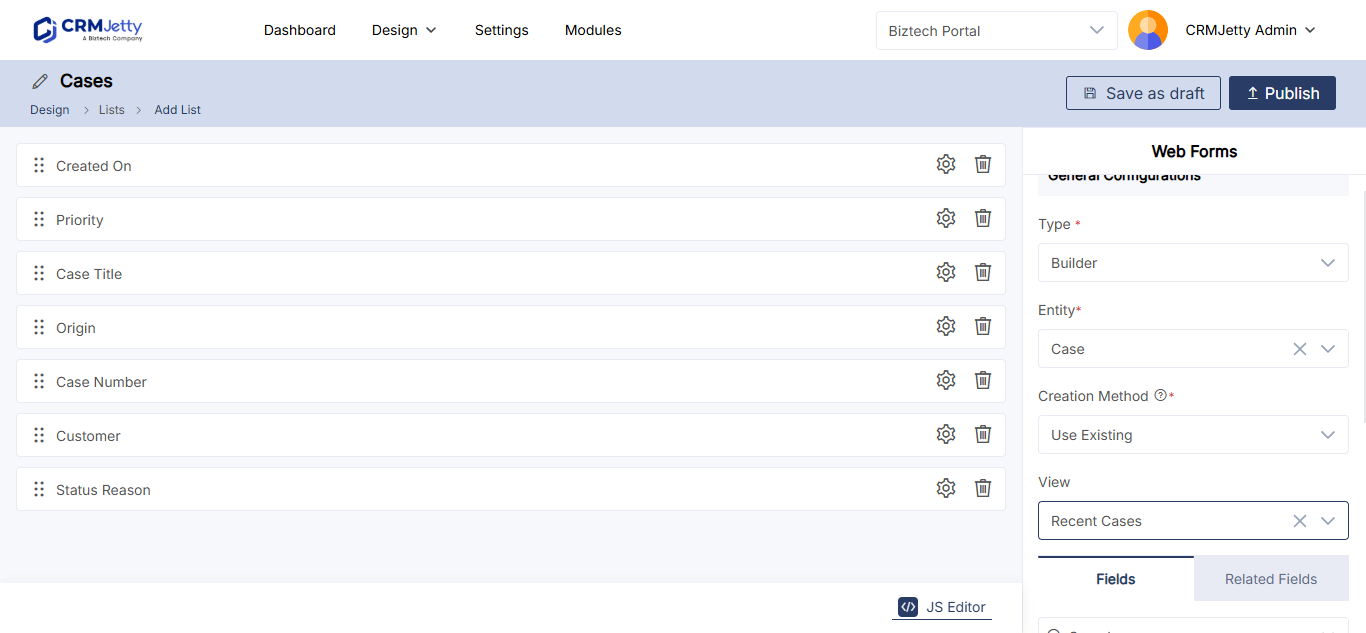
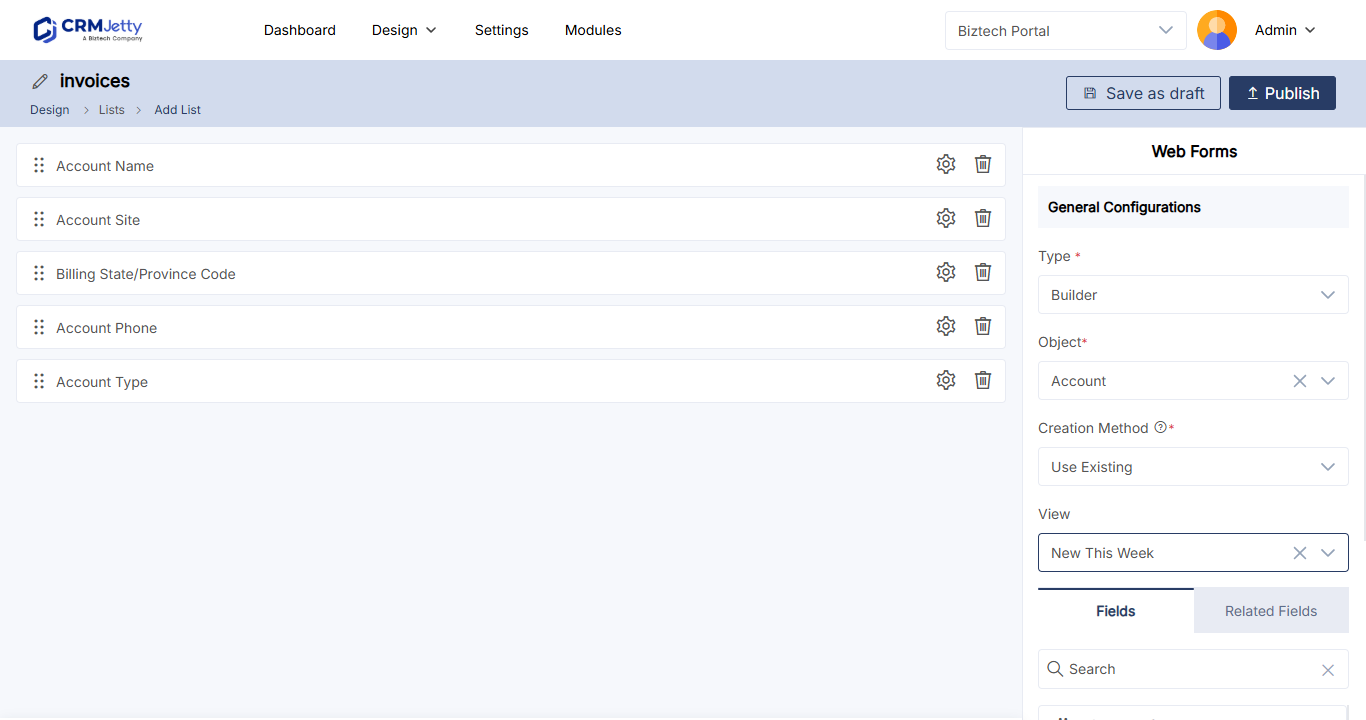
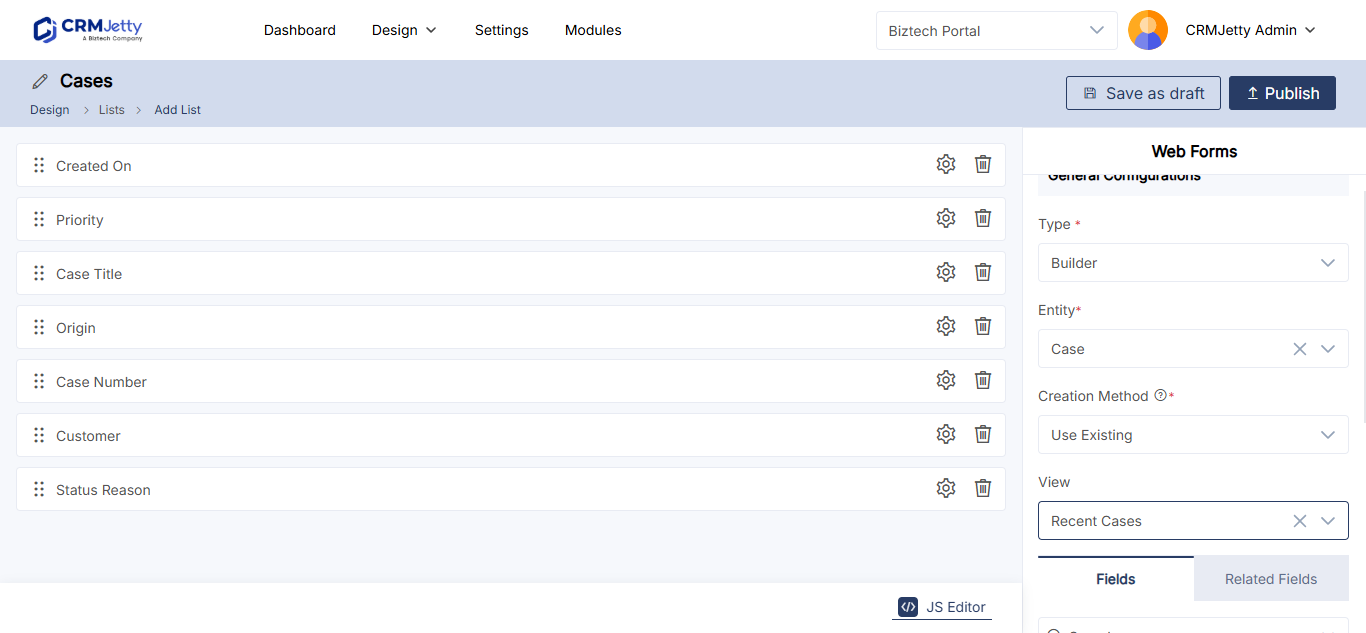
To change a column, select its Settings icon. You can update the label, and the field’s data type is shown. To remove a column, select its Delete icon. You can’t delete required fields.
For more on lists, see How to Create List Views in CRMJetty Portal.
Create New, Use Existing or Use All
| Creation method | Use it when |
|---|---|
| Create New | You want to build the form or list from scratch. |
| Use Existing | A form or view in your CRM already has the fields you need. |
| Use All | You want every field of the entity. |
Troubleshooting
A CRM form or view is missing from the drop-down: Check the record type filter, then sync your CRM layouts with the portal and try again.
Fields you added in your CRM don’t appear: Sync the entity layout with the portal. See How to Sync CRM Layout Changes to Your Portal.
You can’t delete a field: The field is required. Required fields stay on the form or list.
Related articles
- How to Create a Portal Form for Any CRM Entity
- How to Create List Views in CRMJetty Portal
- How to Sync CRM Layout Changes to Your Portal
- How to Design Add, Edit and Detail Form Layouts