
How to Create Pages in CRMJetty Portal
Pages are what portal users see in the customer portal. You build each page in Page Builder from sections, grids and widgets, so you can show data from your CRM, forms, lists and static content without writing code. There is no limit on how many pages you can create.
Before you start
- You need access to the Design menu in the admin portal.
- Connect your CRM first so dynamic widgets can show CRM data. See Getting Started with CRMJetty Portal.
- If you plan to show a form or list on the page, create it first in Form Builder or Lists.
Open Page Builder
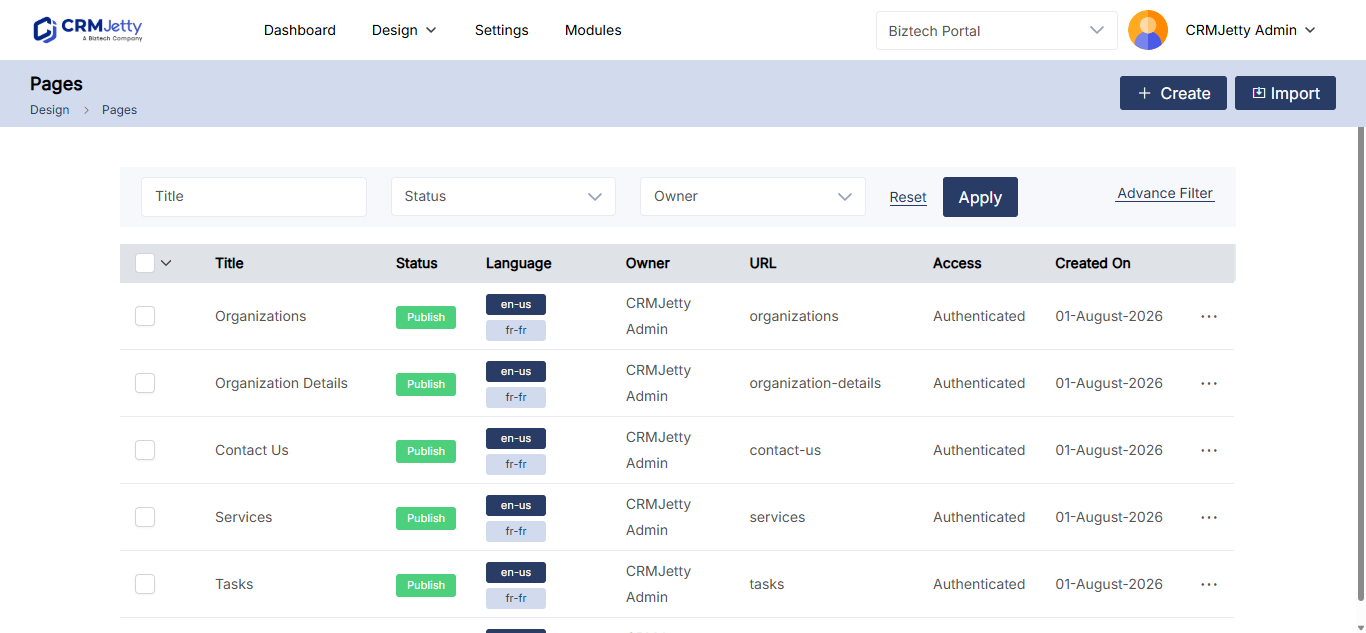
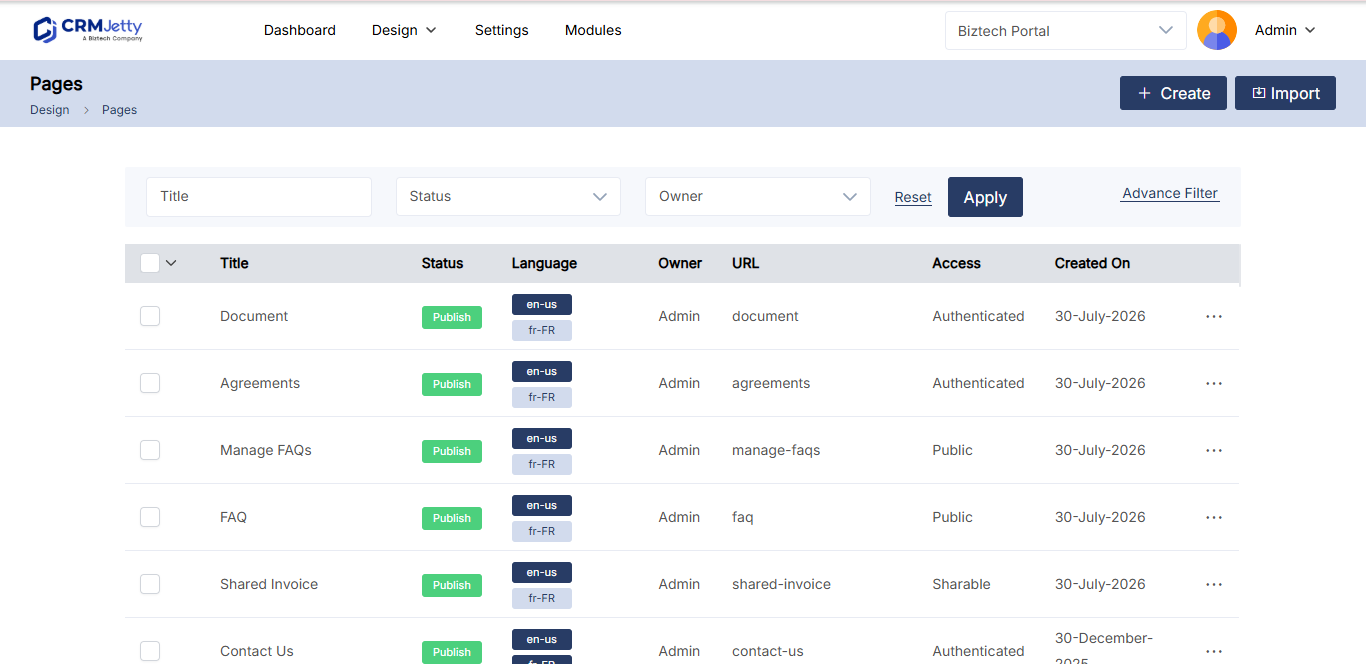
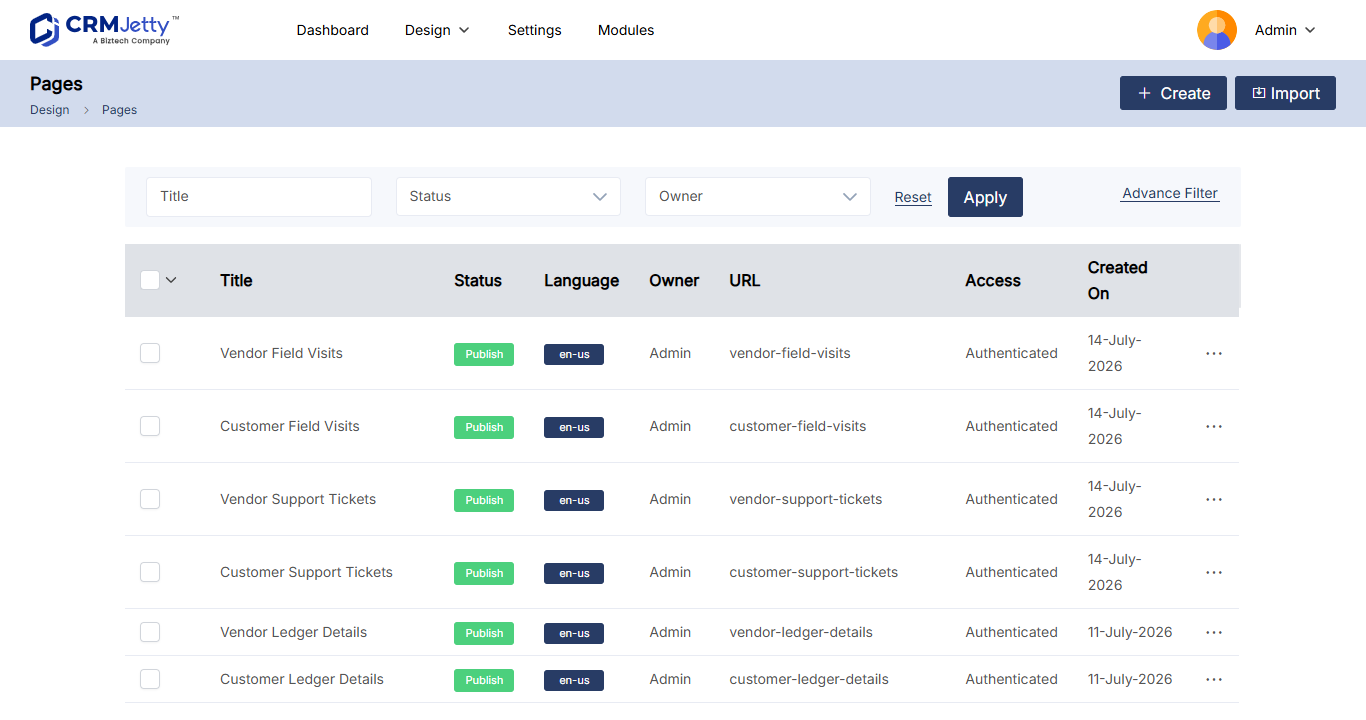
Go to Design → Page Builder. The page list shows every page with these columns:
| Column | What it shows |
|---|---|
| Title | The name of the page. |
| Status | Whether the page is active or inactive. |
| Language | The language the page is created in. |
| Owner | The admin responsible for the page. |
| URL | The page’s URL slug. |
| Access | Public or Authenticated. |
| Created On | The date the page was created. |
Create a page
- In Page Builder, select Create.
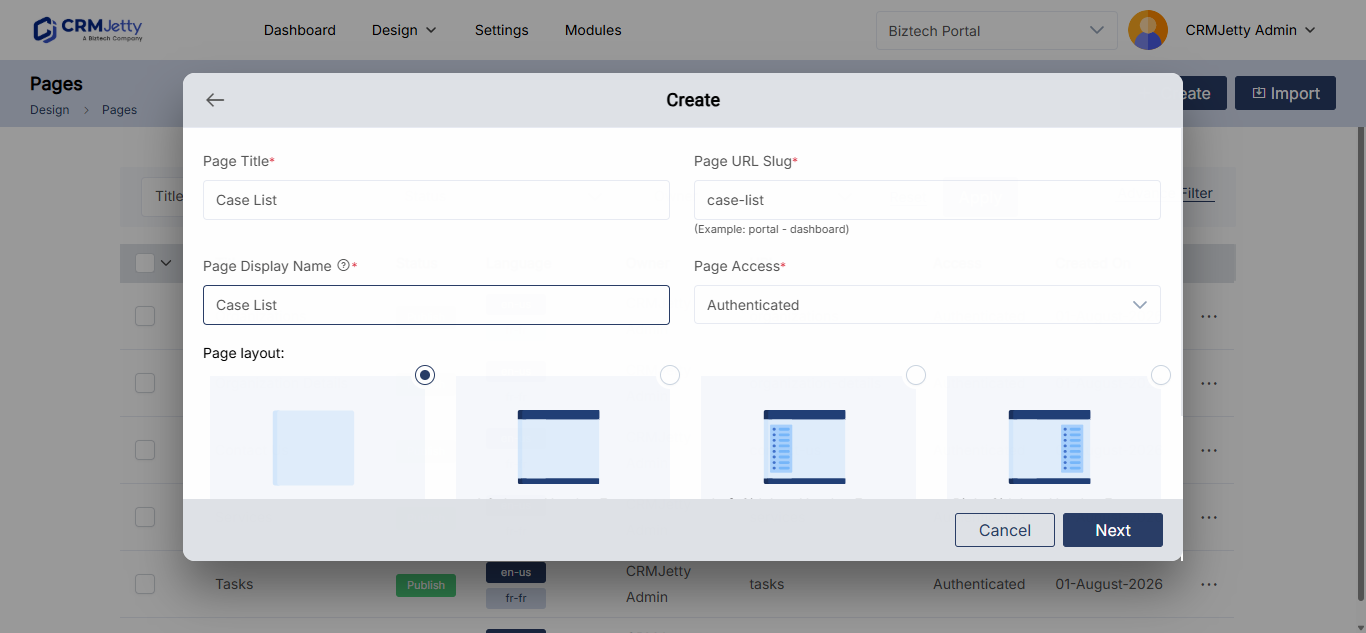
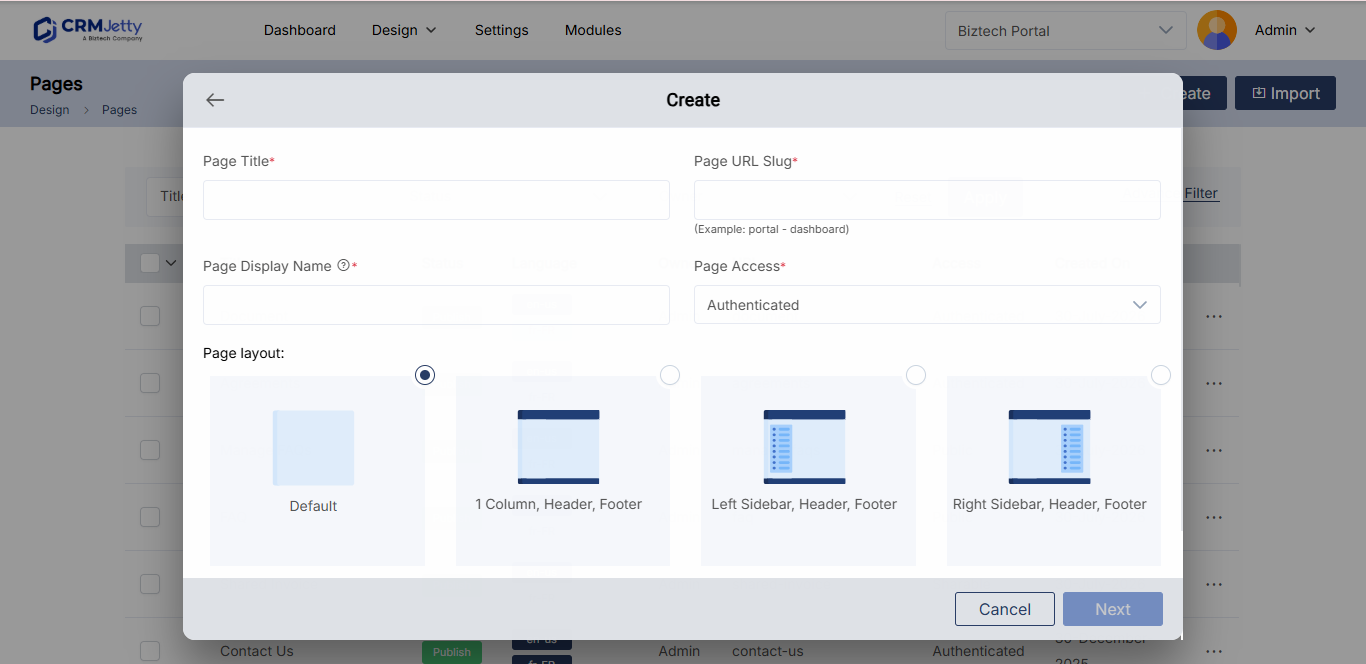
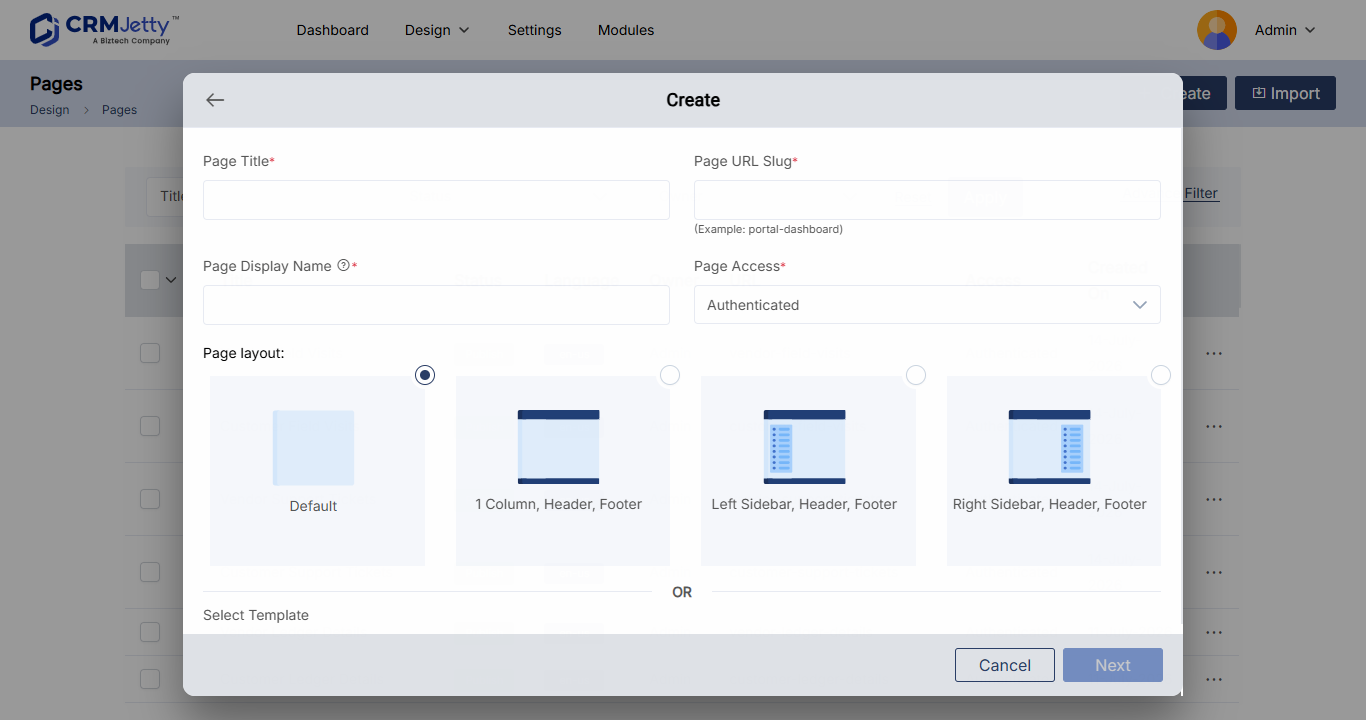
- Fill in the page settings in the table below.
- Select Next to open the page layout editor.
| Setting | What to enter |
|---|---|
| Page Title | A descriptive, relevant title for the page. |
| Page URL Slug | The page’s address. Make it unique and descriptive, for example portal-dashboard. |
| Page Display Name | The label shown in menus and breadcrumbs for this page. |
| Page Access | Authenticate: only signed-in portal users can open the page. Public: anyone can open it without signing in. |
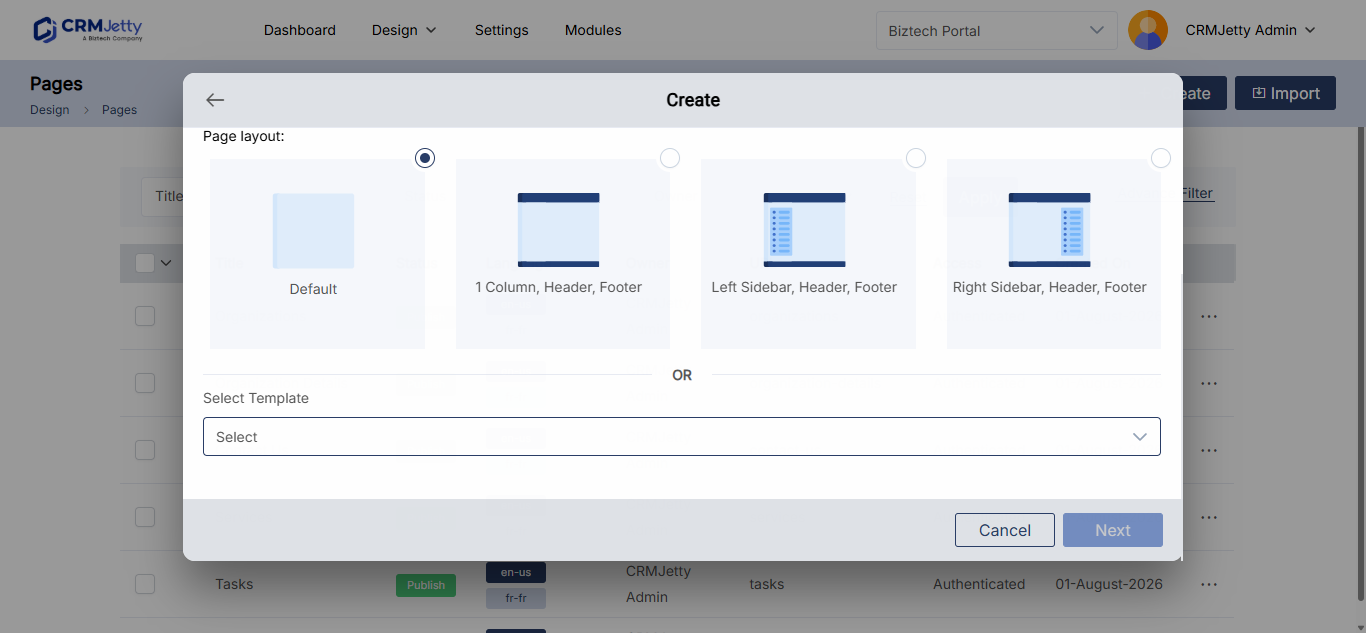
| Page Layout | The overall page structure. See the layout options below. |
| Select Template | Optional. Start from a pre-designed template instead of a blank layout. See Create a page from a template. |
Page Layout options:
| Layout | Use it for |
|---|---|
| Default Layout | The standard layout configuration. |
| 1 Column, Header, Footer | A single column with a header and footer. Suits simple pages. |
| Left Sidebar, Header, Footer | A left sidebar plus header and footer, for pages that need extra navigation or content sections. |
| Right Sidebar, Header, Footer | The same as the left sidebar layout, with the sidebar on the right. |
Build the page layout
After you set up the page, add content in three levels: sections, grids inside sections, and widgets inside grids.
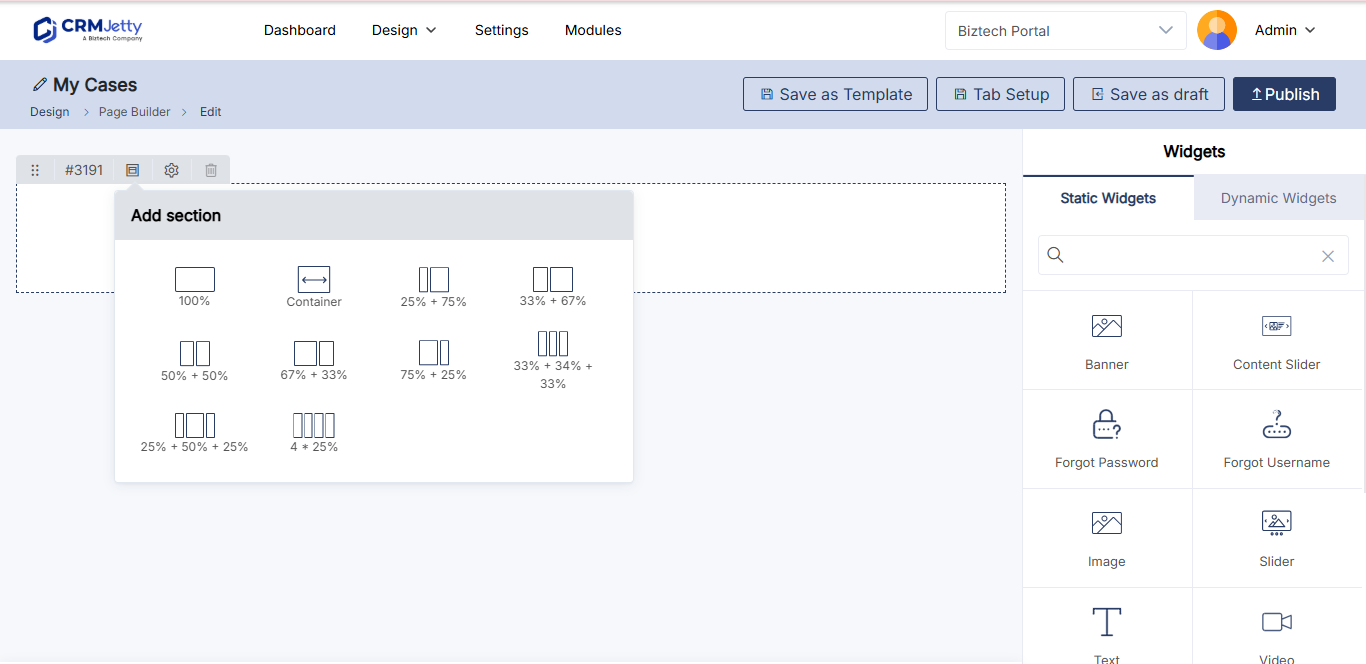
- On the left side of the page, select the + icon to add a section.
- Optionally, update the Panel Title of the section and select Save.
- In the section, select Add Grid.
- Choose a grid layout from the grid options.
- Add widgets to the grid.
- Repeat for each section you need.
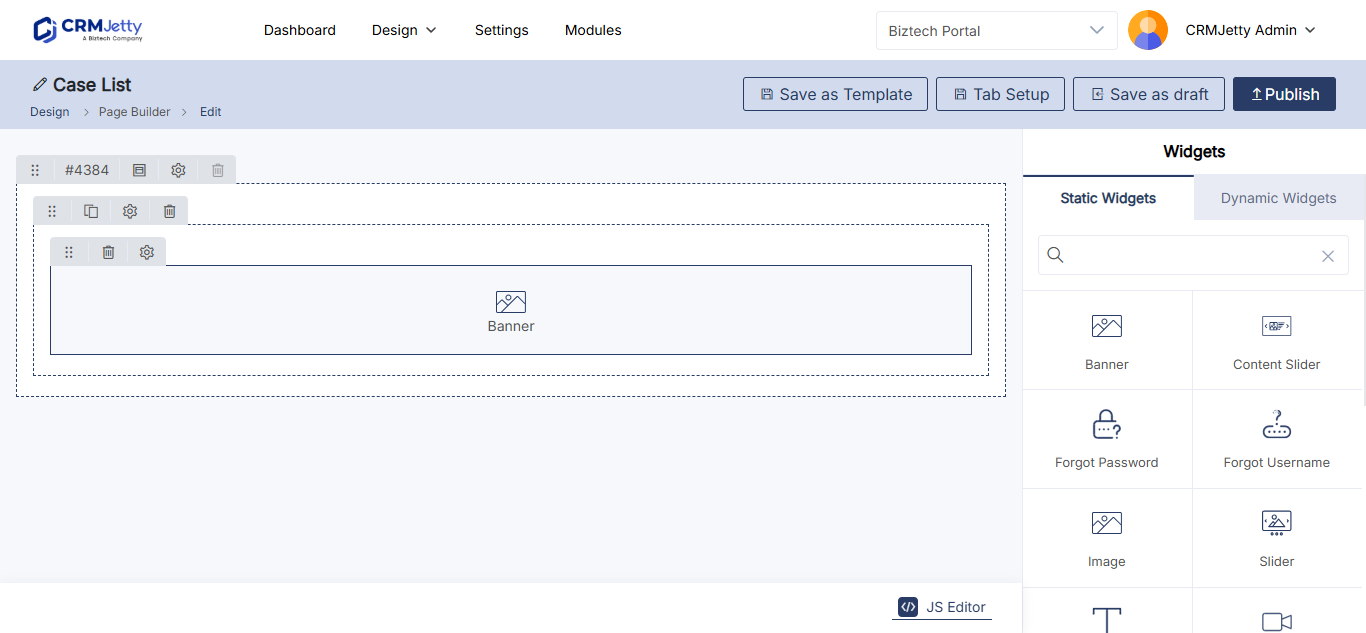
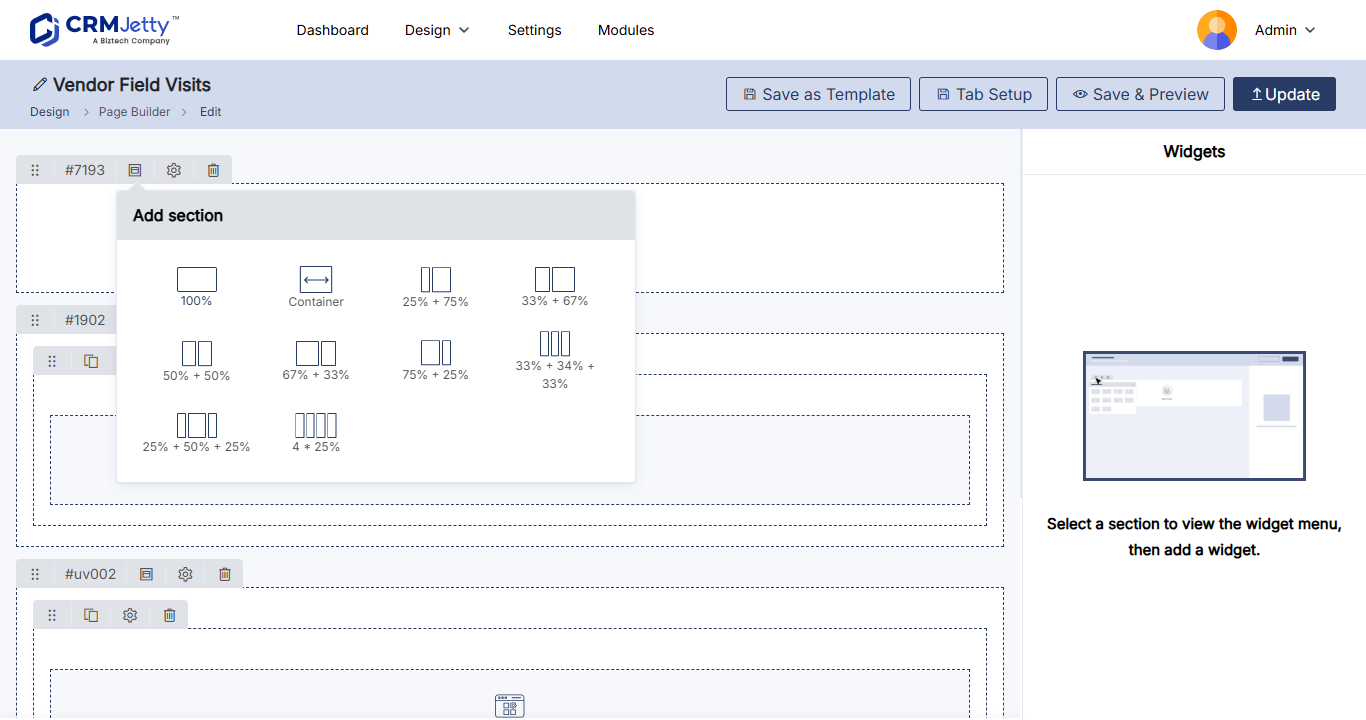
There are two kinds of widgets:
| Static widgets | Dynamic widgets |
|---|---|
| Banner, Breadcrumb, Button, Content Slider, Forgot Password, Forgot Username, IFrame, Image, Menu, Power BI, Slider, Testimonial, Text, Video, Sharable | Case Deflection, Chart, Counter, Data Card, Form, Knowledge Base, List, Login, Payment, Profile, Recent Activity, Registration, SharePoint Document |
Static widgets add fixed content such as text, images and buttons. Dynamic widgets show live CRM data or interactive features such as forms, lists and charts.
The Payment and Power BI widgets are available on selected plans. The Payment widget also needs a payment gateway set up first. See How to Set Up the Portal Payment Widget and How to Embed Power BI Reports in the Portal.
Tip: In content widgets such as Banner, Slider and Testimonial, you can use Generate AI to draft text. See How to Generate Widget Content with the AI Content Generator.
Customize sections with HTML classes and IDs
You can add your own HTML class and ID to a section to style it with CSS or target it with JavaScript.
- Select the Settings icon at the top right of the section, next to the delete icon. The Section Configuration panel opens on the right.
- Fill in the settings below.
- Select Save.
| Setting | What it does |
|---|---|
| HTML Class | Adds one or more classes, separated by commas. A class can be reused on several elements on the same page. |
| HTML ID | Adds a unique ID for the section. The portal adds the prefix custom- automatically. An ID can be used on only one element per page. |
| Card View | Displays the section content as a card, for a structured, compact look. |
Important: Do not use spaces in classes and IDs. If you need special characters, use only hyphens (
-) or underscores (_).
For more, see How to Add Custom HTML IDs and CSS Classes to Widgets.
Add custom JavaScript (optional)
- In the page editor, select Code Editor.
- In the pop-up, edit or paste your JavaScript code.
- Select Save.
- Publish the page.
Use this to change the page’s UI and appearance, for example to match your portal theme. You can reference the custom classes and IDs you added to sections.
Publish the page
When the layout is ready, select Publish. The page goes live in the customer portal.
To show the page in the portal navigation, add it to a menu. See How to Create Portal Navigation Menus.
Note: Draft pages are disabled in the customer portal and do not appear in page selection. Publish a page before you link to it.
Create a page from a template
Templates give you a pre-designed layout, which keeps pages consistent and saves time.
- Start a new page and fill in the page settings.
- Select a template from the Select Template drop-down.
- Select Next. The pre-designed layout opens.
- Edit sections, grids and widgets as needed.
- Select Publish, or select Save as Template to save the layout as a new template.
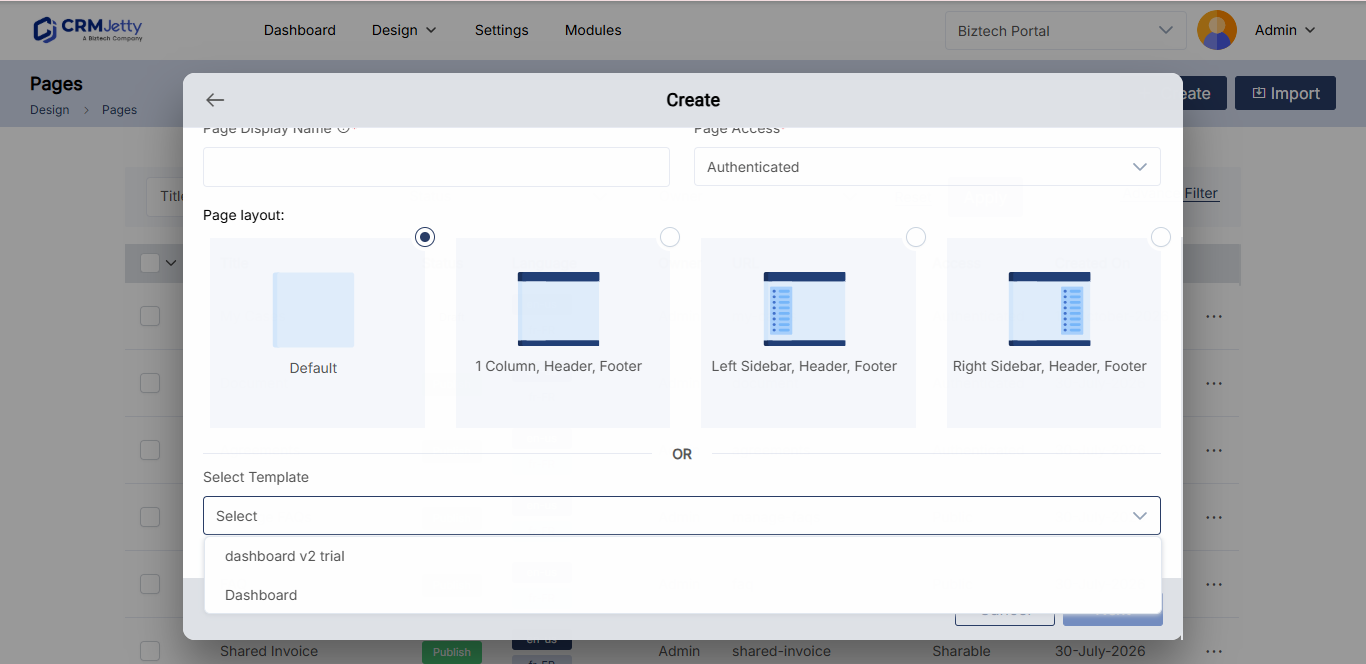
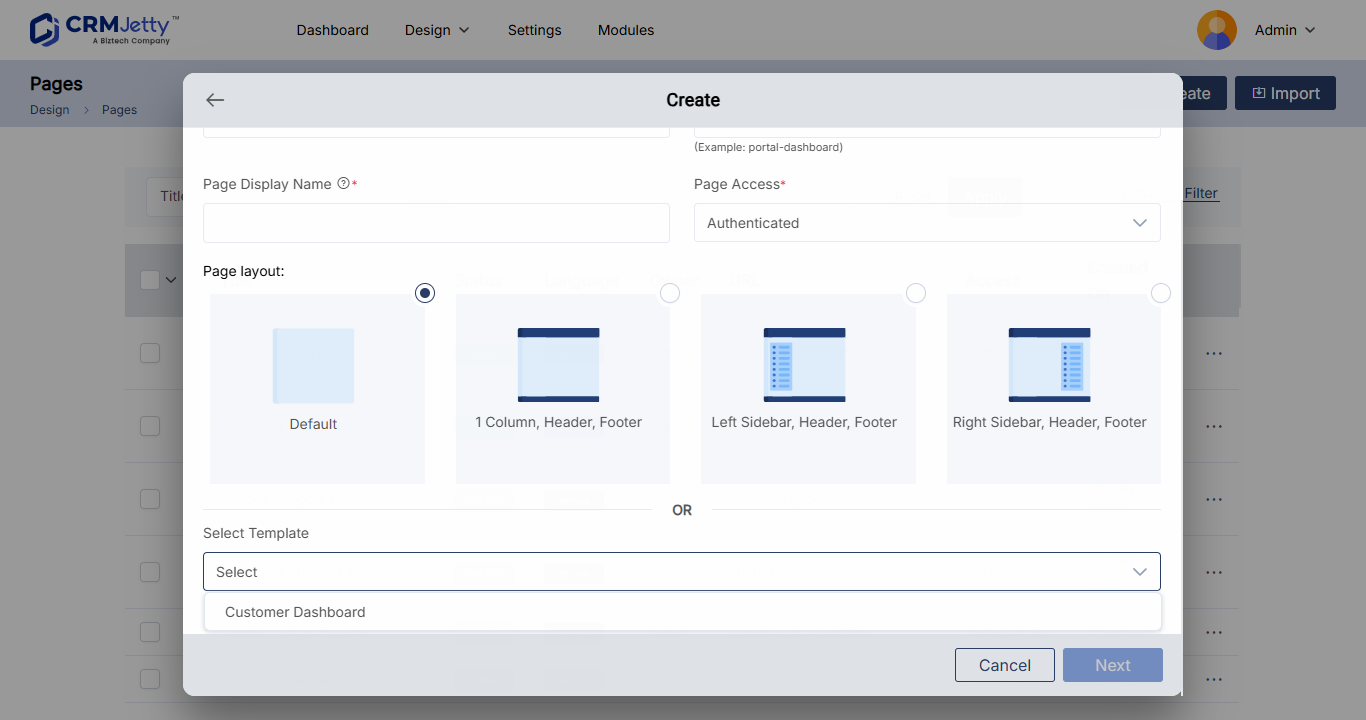
Templates you save appear as new records under Design → Template Builder.
Note: If you save a page as a template with a name that already exists, the new template is saved with a “copy” suffix, for example
page - copy.
See How to Create and Reuse Portal Page Templates.
Edit an existing page
- In the page list, select the three dots (…) next to the page.
- Select Edit.
- Change the page details and layout.
- Select Update.
Troubleshooting
A page you designed does not appear in page selection: The page is still a draft. Publish it, and it becomes available. See Why a Portal Page Is Missing from Page Selection.
Related articles
- How to Set Public and Login-Only Portal Pages
- How to Create and Reuse Portal Page Templates
- How to Publish, Draft and Duplicate Portal Pages
- How to Create Portal Navigation Menus
- How to Add a Banner to a Portal Page