
How to Add Admin and Sub-Admin Users to the Portal
Sub-admin users let you share the work of running the portal without giving everyone full control. The super admin adds sub-admins, gives each one a role that sets what they can do, and chooses which portal sites they can manage.
Note: This feature is available on selected plans. See Pricing.
Before you start
- You need super admin access, or a sub-admin role with rights to add admin users.
- Create the admin roles you want to assign first. The Admin and Sub-Admin roles are available by default. See How to Create Admin Roles and Permissions.
- Have the sub-admin’s registered email address ready.
- Admin users are only for the admin portal. To give people access to the portal itself, add them as portal users. See How to Add Portal Users from CRM Contacts.
View admin users
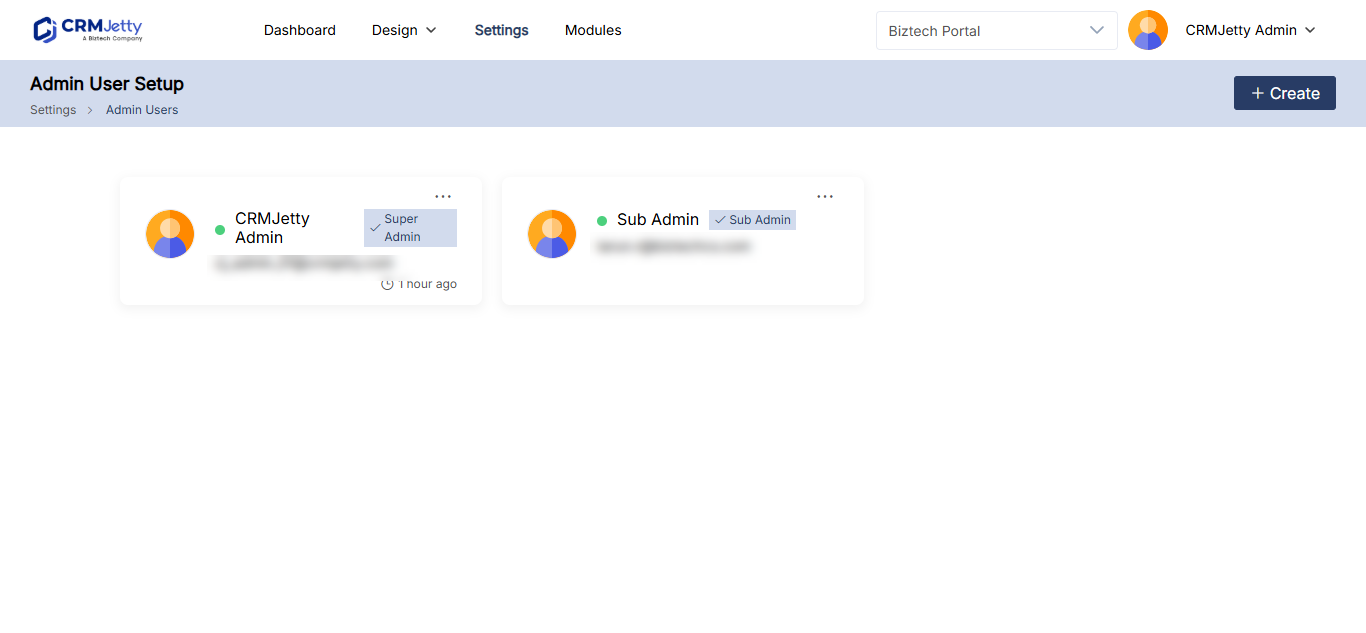
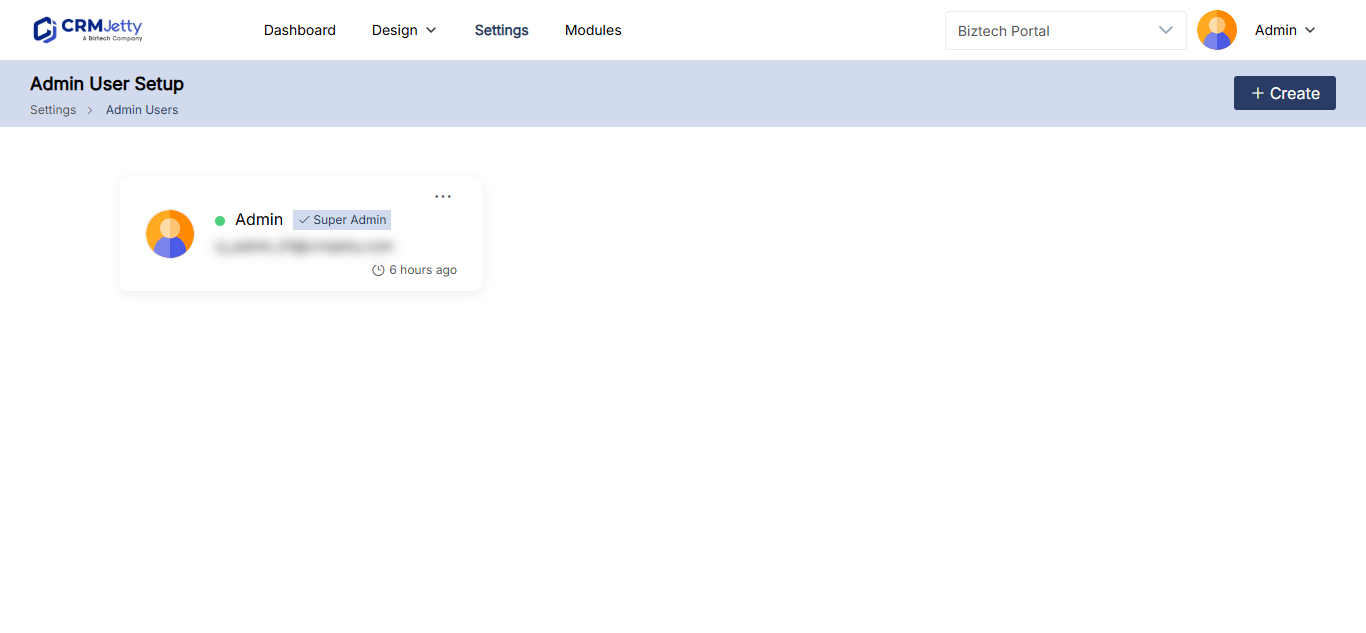
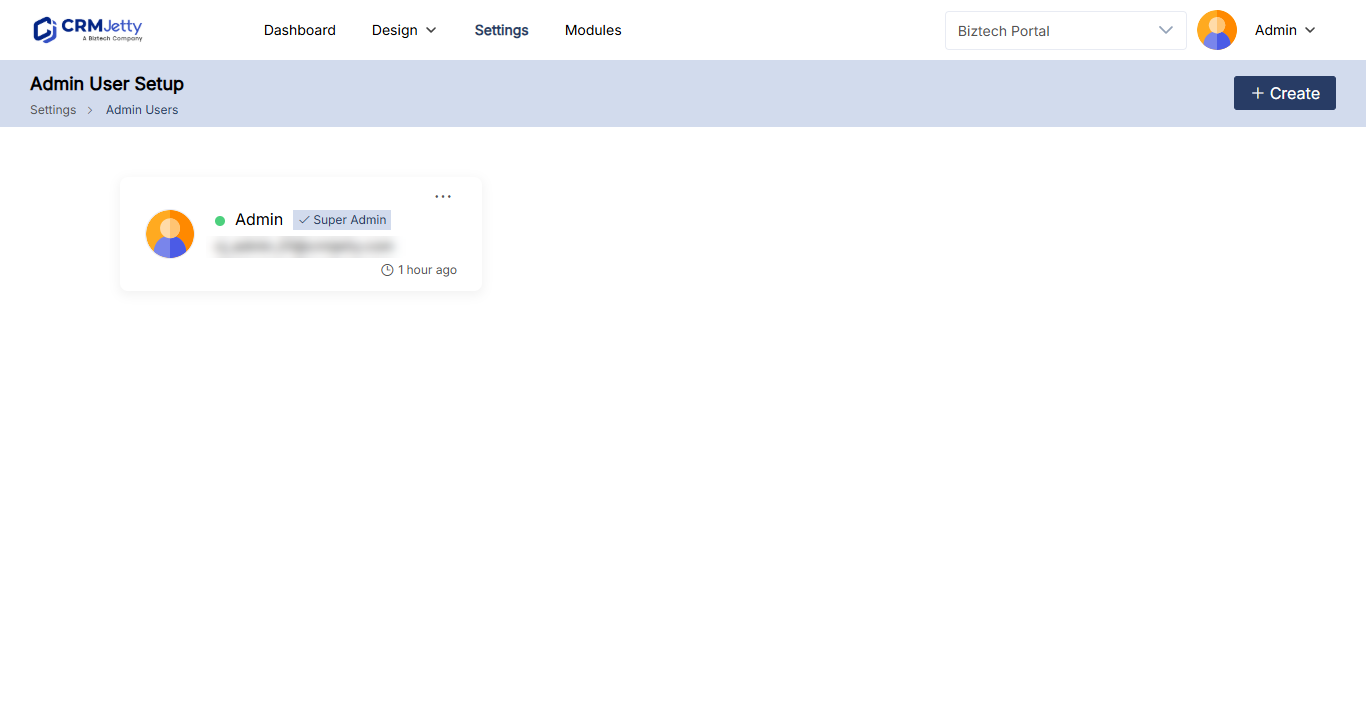
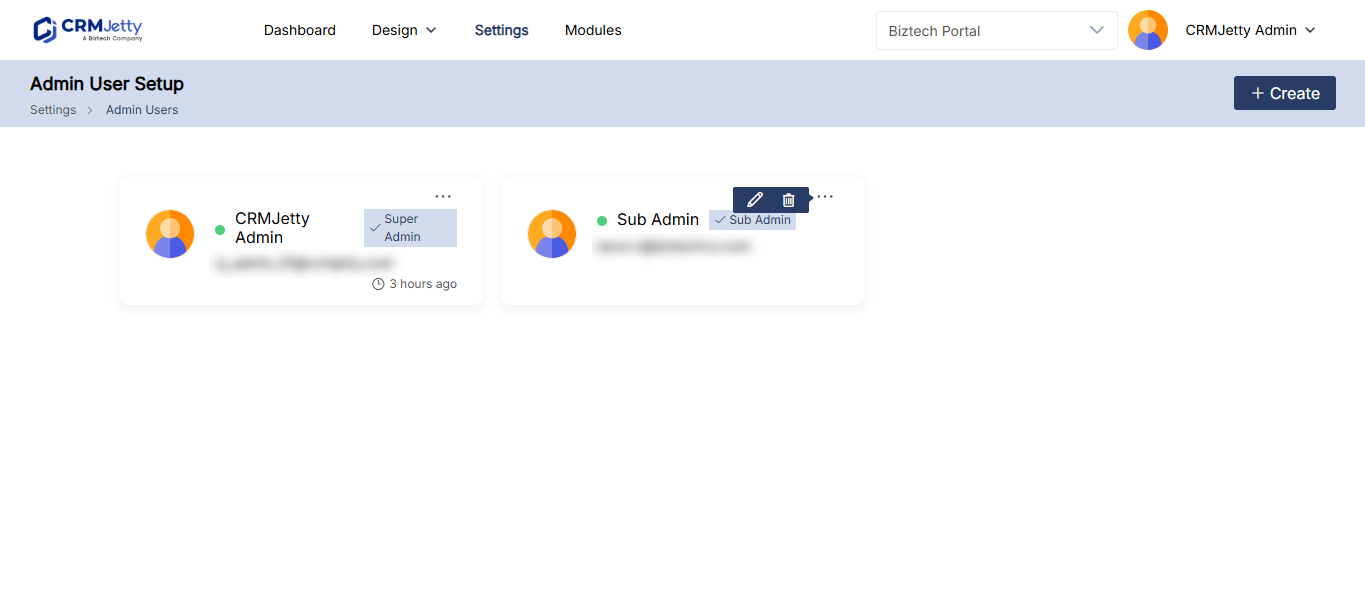
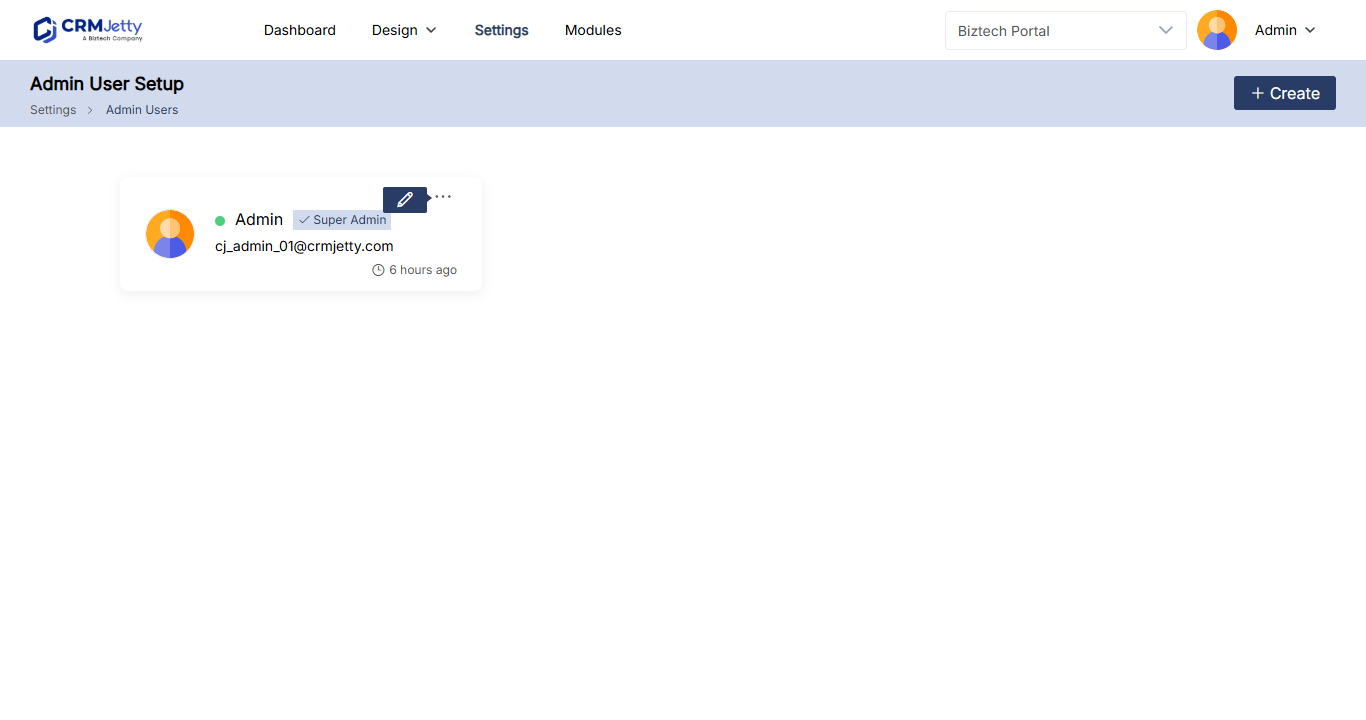
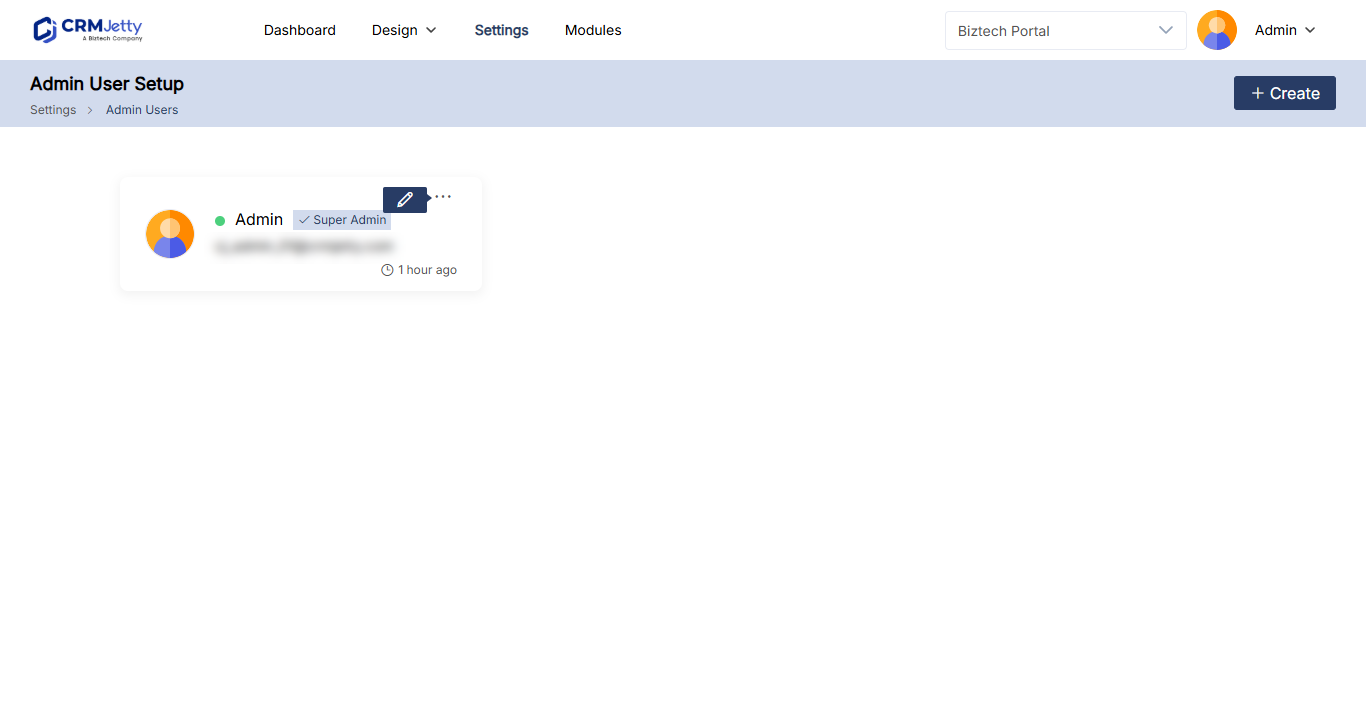
Go to Settings → User Settings → Admin Users Setup. Each admin user appears as a card showing:
- Name
- Role
- Email ID
- Last login information
Add a sub-admin user
- Go to Settings → User Settings → Admin Users Setup.
- Select Create.
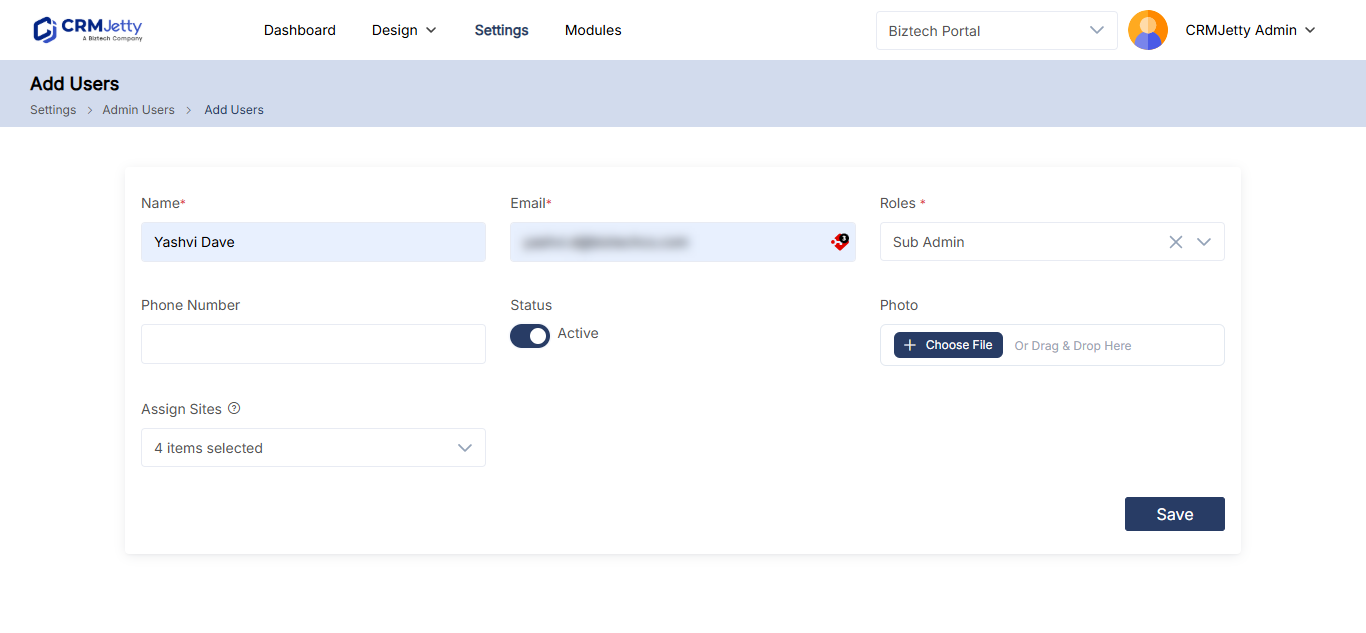
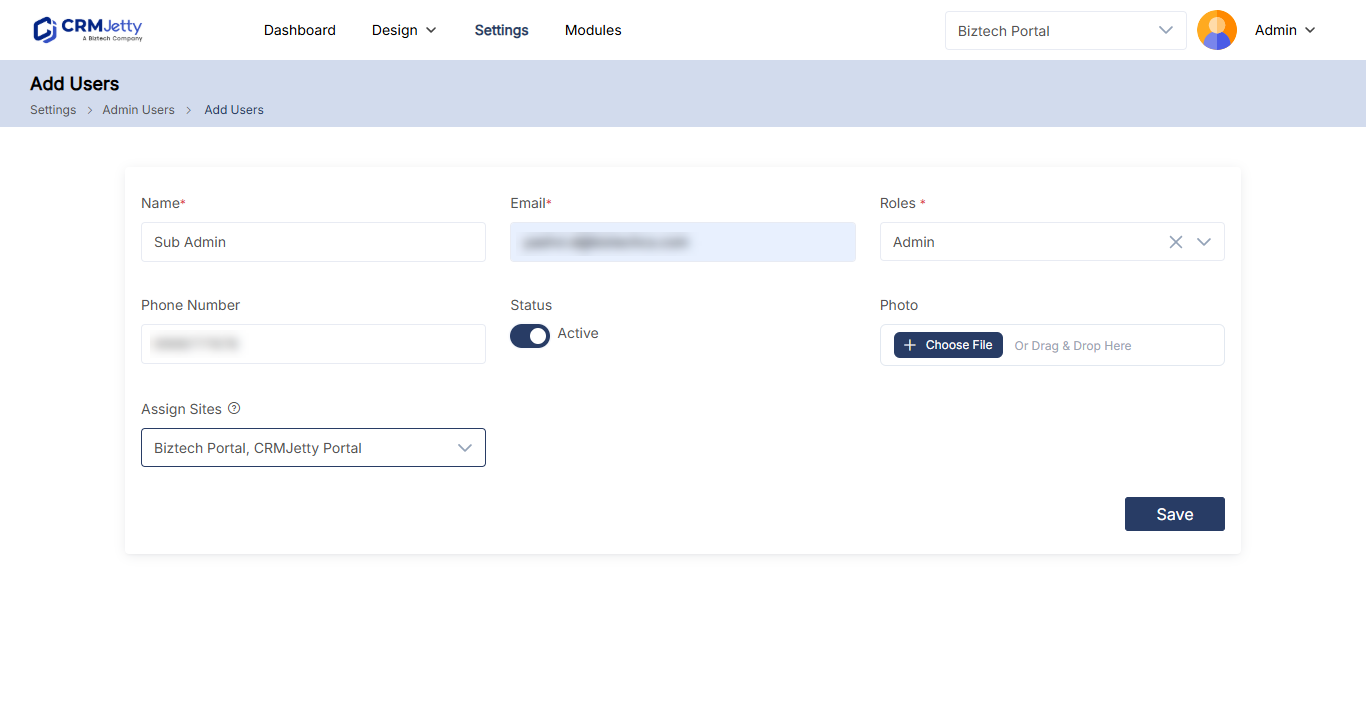
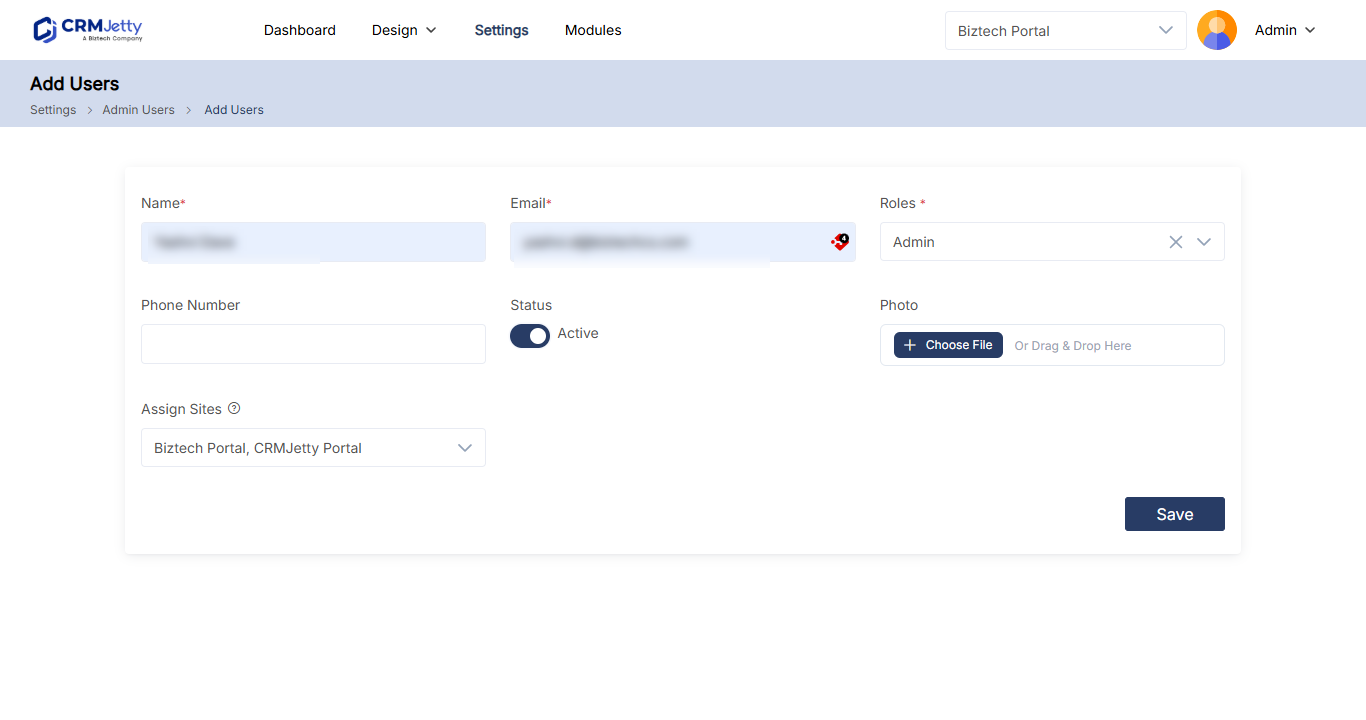
- Fill in the fields in the table below.
- Select Save.
| Field | What to enter |
|---|---|
| Name | A unique name for the sub-admin user. |
| The sub-admin’s registered email address. You can’t change it later. | |
| Phone No | Optional. A support contact number for assistance. |
| Status | Set the user to Active or Inactive. |
| Photo | Optional. A profile photo for identification. |
| Roles | The admin role that sets what the sub-admin can do. Roles you create in Admin Roles appear here. |
| Sites | One or more portal sites the sub-admin can manage. |
How site access works
- The sub-admin can access only the sites you select.
- All site-related data, pages and settings are restricted to those sites.
- If you assign no site, the sub-admin can’t manage any site-specific data.
For more on sites, see How to Create and Manage Multiple Portal Sites.
Edit a sub-admin user
- In Admin Users Setup, select the three dots (…) on the user’s card.
- Select the Edit icon. The edit page opens.
- Update the details, role or sites.
- Select Save.
Changes to site assignments take effect immediately.
Note: You can’t change a sub-admin’s email address when you edit the user.
What sub-admins can and can’t do
- A sub-admin can access only the entities their role allows.
- A sub-admin with rights to add users can add new admin users, but can’t change their own permissions.
- Only the super admin receives the OTP sent to the registered email when authenticating the CRM or integrations.
- Admin roles and admin users apply only to the admin portal. They don’t affect what portal users see.
Tip: The Sub Admin section of the admin dashboard lists the sub-admins on your portal. See How to Use the CRMJetty Portal Admin Dashboard.
Troubleshooting
A sub-admin can’t see a site’s pages or settings: Edit the user and check that the site is selected in Sites. If no site is assigned, the sub-admin can’t manage any site-specific data.
A sub-admin can’t open a module or entity: Their admin role doesn’t include View for it. Edit the role in Admin Roles.
Related articles
- How to Create Admin Roles and Permissions
- How to Use the CRMJetty Portal Admin Dashboard
- How to Create and Manage Multiple Portal Sites
- CRMJetty Plans and Feature Availability