
How to Add reCAPTCHA to Portal Forms
Google reCAPTCHA checks that a person, not a bot, is using your portal. Turn it on for your site once, then switch it on in the forms and widgets you want to protect, such as login, registration, forgot password and public forms.
Before you start
- You need access to Settings → Portal Settings → Site Management and Design → Page Builder.
- You need a Google account to register your portal domain with Google reCAPTCHA.
- Decide which version to use (see the next section). Google issues keys for one version, so register the version you choose.
Choose reCAPTCHA V2 or V3
| reCAPTCHA V2 | reCAPTCHA V3 | |
|---|---|---|
| What portal users see | An “I’m not a robot” checkbox at the end of the form or widget. They must select it before they submit. | Nothing to select. A reCAPTCHA badge shows in the corner of the screen, and the check runs in the background using a score. |
| Where it applies | Form, Login, Registration and Forgot Password widgets, and sub-grid forms in the Form Builder. | Pages, and the Form, Login, Registration, Forgot Password, List, Recent Activity, Case Deflection, Chart, Counter, Knowledge Base and Search widgets, and sub-grid forms in the Form Builder. |
| Keys | Site key and secret key | Site key and secret key |
Choose V2 for a visible check on forms. Choose V3 to protect more of the portal without asking portal users to do anything.
Get your reCAPTCHA keys
- Open the Google reCAPTCHA admin console and register a new site.
- Choose the reCAPTCHA version you picked.
- Add your portal domain.
- Copy the site key and the secret key.
| Key | What it does |
|---|---|
| Site key | Shows reCAPTCHA on the portal page. It is public. |
| Secret key | Lets the portal validate the response on the server. Keep it private. |
Turn on reCAPTCHA for your site
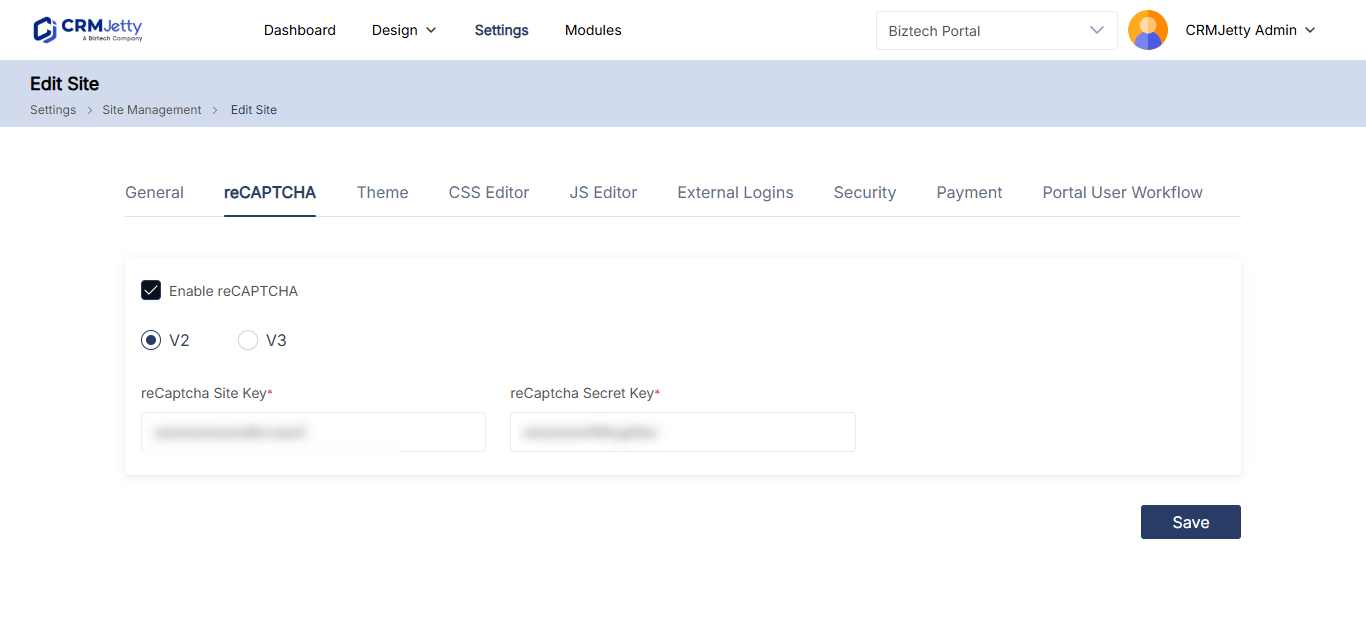
- Go to Settings → Portal Settings → Site Management.
- Open your site for editing.
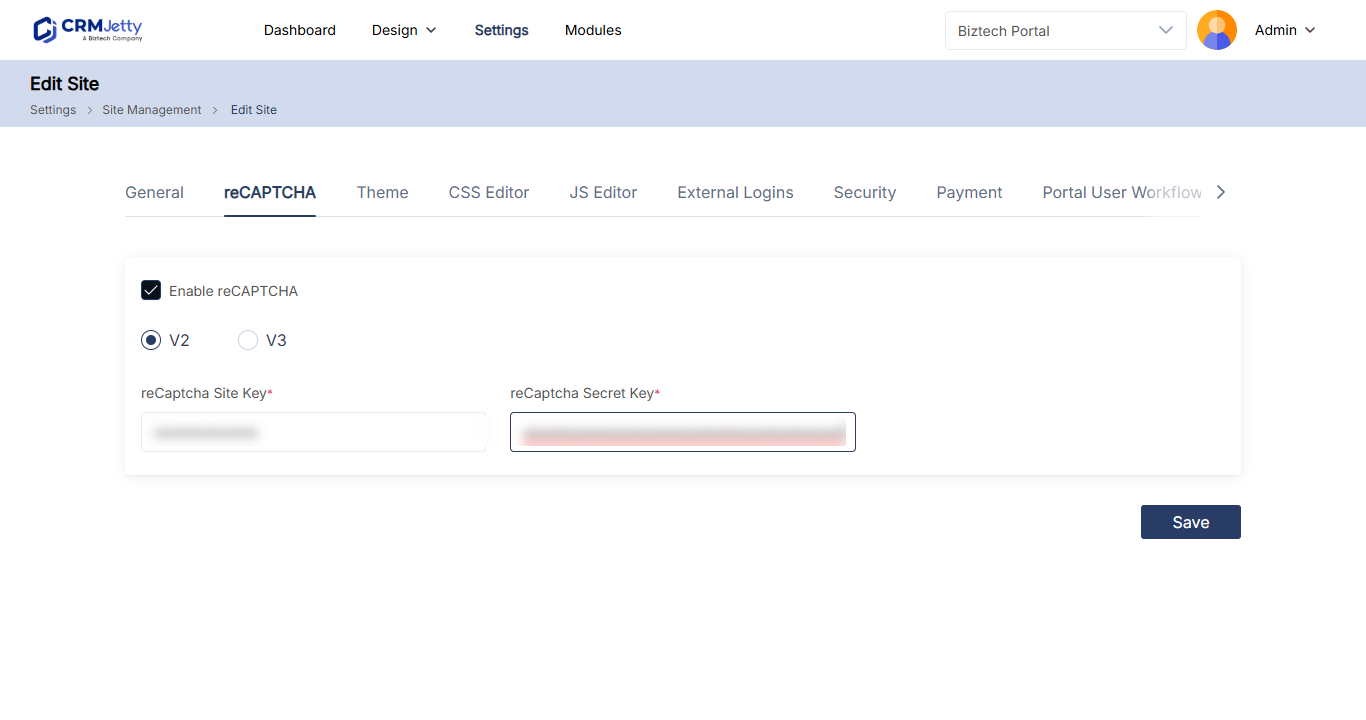
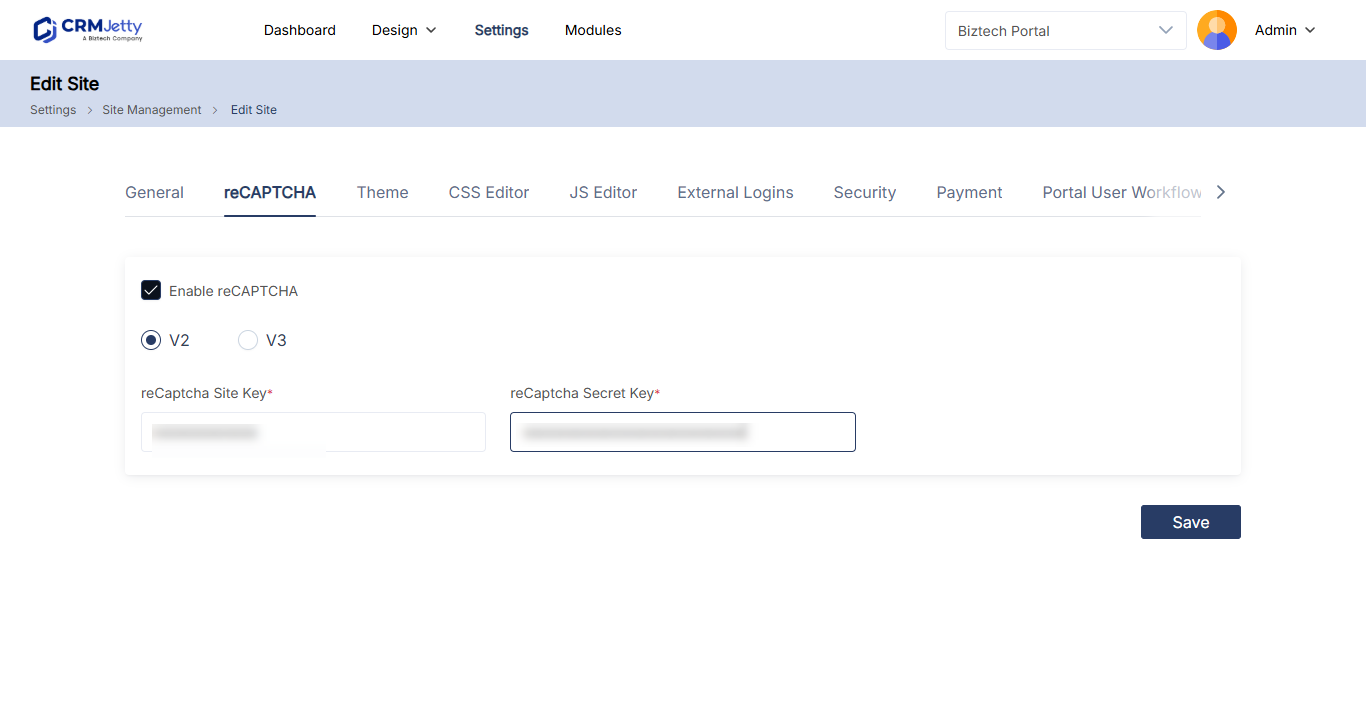
- Go to reCAPTCHA Configuration.
- Turn on Enable reCAPTCHA.
- Select the version: V2 or V3.
- Enter the Site Key.
- Enter the Secret Key.
- Select Save.
If you run several sites, set up reCAPTCHA for each site. See How to Create and Manage Multiple Portal Sites.
Turn on reCAPTCHA in a widget
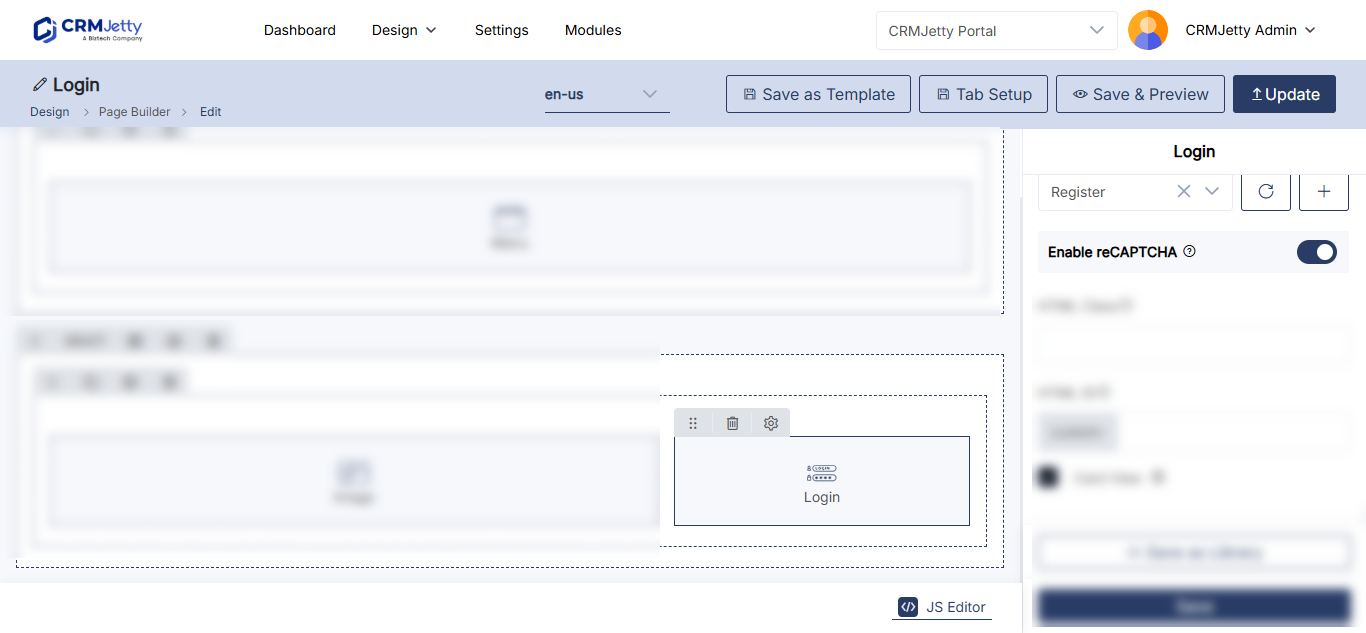
The site setting makes reCAPTCHA available. Each widget then has its own Enable reCAPTCHA setting, and uses the version you chose for the site.
- Go to Design → Page Builder and edit the page.
- Select the Settings icon on the widget.
- Turn on Enable reCAPTCHA.
- Select Save.
- Select Publish.
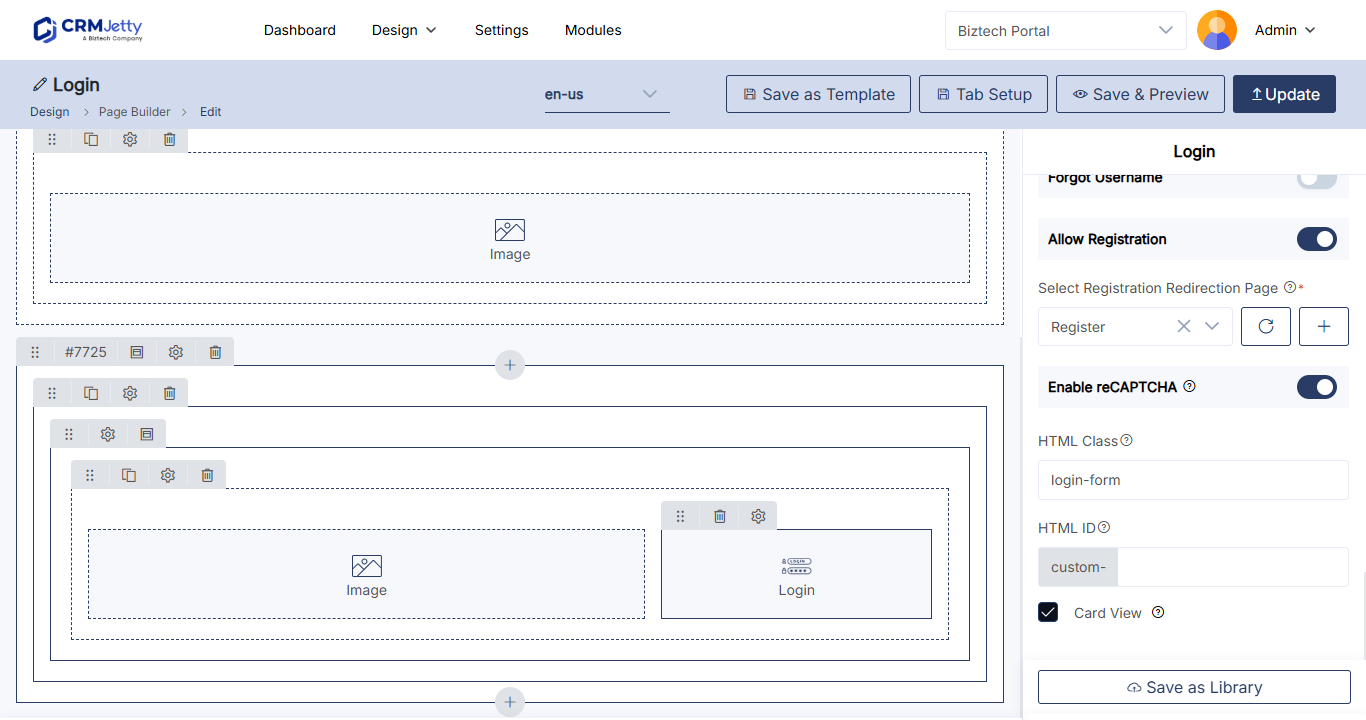
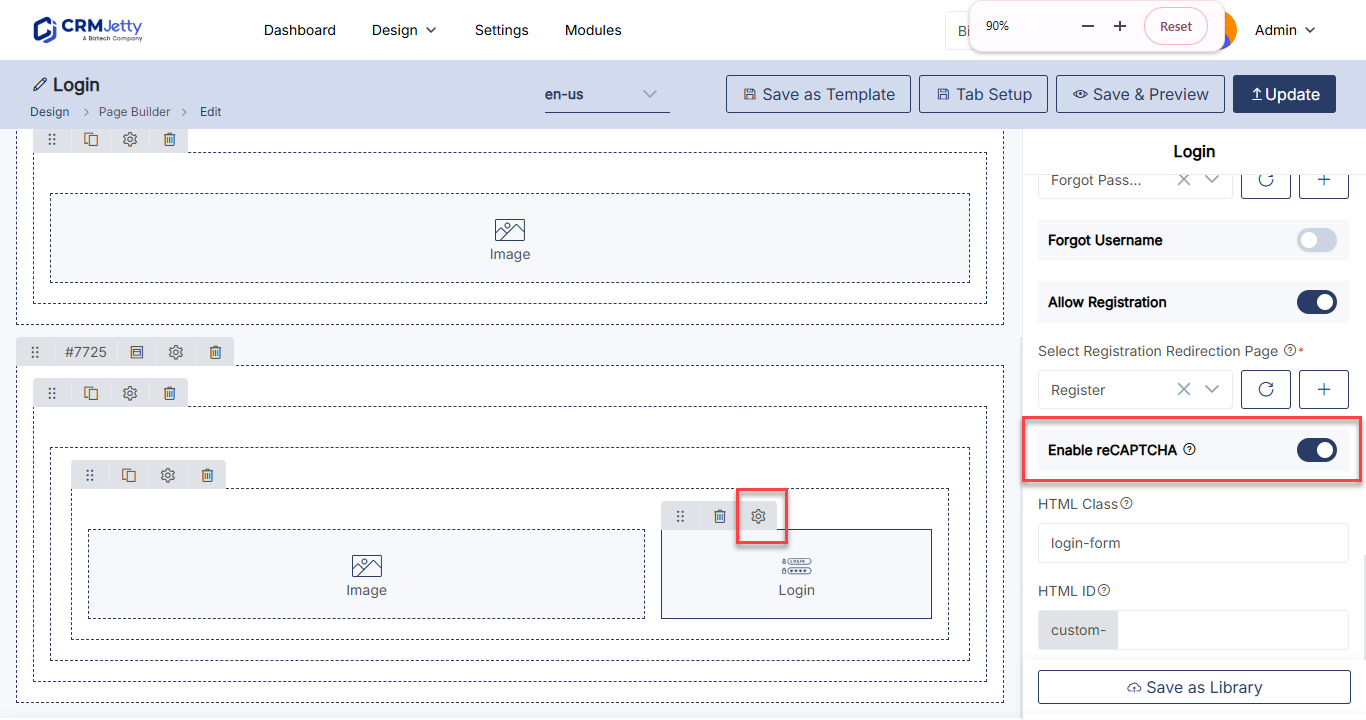
These widgets have an Enable reCAPTCHA setting:
| Widget | What reCAPTCHA protects |
|---|---|
| Login | Sign-in. |
| Registration | New portal user sign-up. |
| Forgot Password | Password reset requests. |
| Forgot Username | Username recovery requests. |
| Form | Form submissions. |
| Profile | Profile updates. |
| List | Sub-grids in the list. |
Tip: Always turn on reCAPTCHA for forms on public pages, which anyone can submit. See How to Create Public Forms Without Login.
Troubleshooting
reCAPTCHA doesn’t appear on the page: Check that Enable reCAPTCHA is on for the site and in the widget, then publish the page again.
reCAPTCHA shows an error or portal users can’t submit: Check that the keys were created for the version selected in the site settings and for your portal domain. Re-enter the Site Key and Secret Key and save.
Related articles
- How to Set Up Password Reset for Portal Users
- How to Enable Two-Factor Authentication in the Portal
- How to Set Public and Login-Only Portal Pages
- CRMJetty Portal Security and Data Protection