
How to Add Sliders and Testimonials to Portal Pages
Sliders show several slides in one place on a page, one at a time. CRMJetty Portal has three slider widgets: Slider for headline slides with an optional button, Content Slider for short text slides, and Testimonial for customer quotes with a name, photo and rating.
Before you start
- You need access to Design → Page Builder in the admin portal.
- Create the page and add a section with a grid. See How to Create Pages in CRMJetty Portal.
- For testimonials, have the author names, quotes and photos ready, and the permission to publish them.
Choose a widget
| Widget | Use it for | Each slide has |
|---|---|---|
| Slider | Announcements, promotions and feature highlights, with an optional button. | Header and sub-header text with colors, an optional button, a solid or gradient background |
| Content Slider | Short text messages in a rotating strip, under one slider title. | Text, text color, a solid or gradient background |
| Testimonial | Customer feedback and reviews. | Author name, testimonial text, designation, description, photo, alt text, rating |
Add a Slider widget
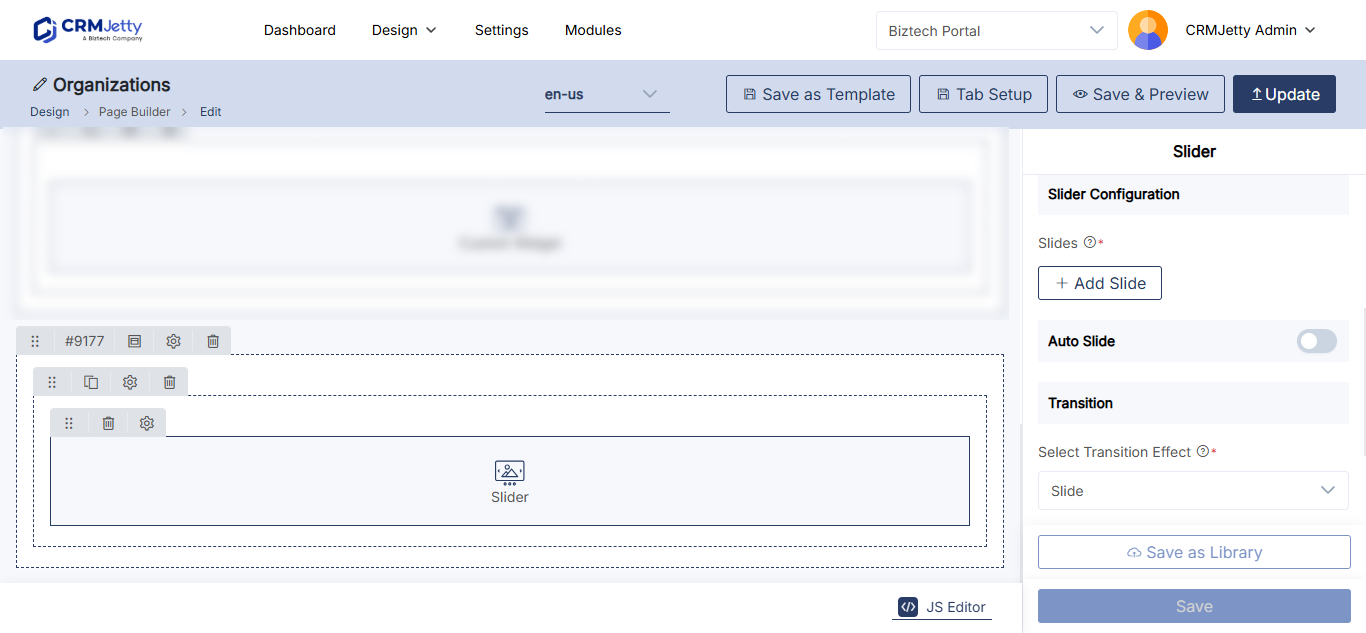
- In the page layout editor, select the Slider widget. It is added to the grid.
- Select the Settings icon on the widget. The configuration panel opens.
- Under Slides, select + ADD SLIDER.
- In Select Template, choose a layout for the slide.
- Under Header, enter the Text and choose a Color.
- Under Sub Header, enter the Text and choose a Color.
- Optionally, select Enable Button to add a button to the slide.
- In Select Background, choose Solid (one color) or Gradient (a primary and a secondary color).
- Select Save to save the slide.
- Repeat steps 3 to 9 for each slide.
- Set the slider options in the table below, then select Save.
| Setting | What it does |
|---|---|
| Enable Auto Slider | Rotates through the slides on a timer, without the portal user doing anything. |
| Select Transition Effect | The effect used when one slide changes to the next. |
| Arrow | Shows arrows so portal users can move between slides. |
| Pagination | Shows indicators of which slide is on screen. |
| HTML Class | Adds custom CSS classes to style the widget. |
| HTML ID | Adds a unique ID. The portal adds the prefix custom- automatically. |
| Card View | Displays the slider in a card-style layout. |
Add a Content Slider widget
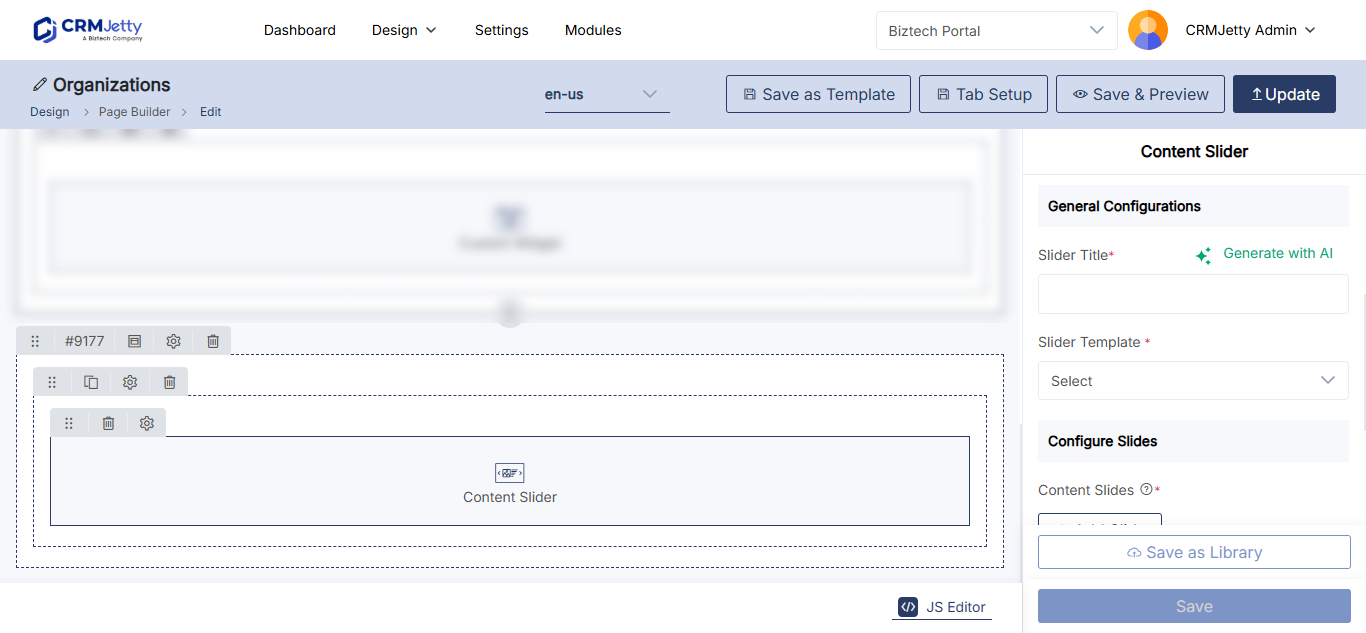
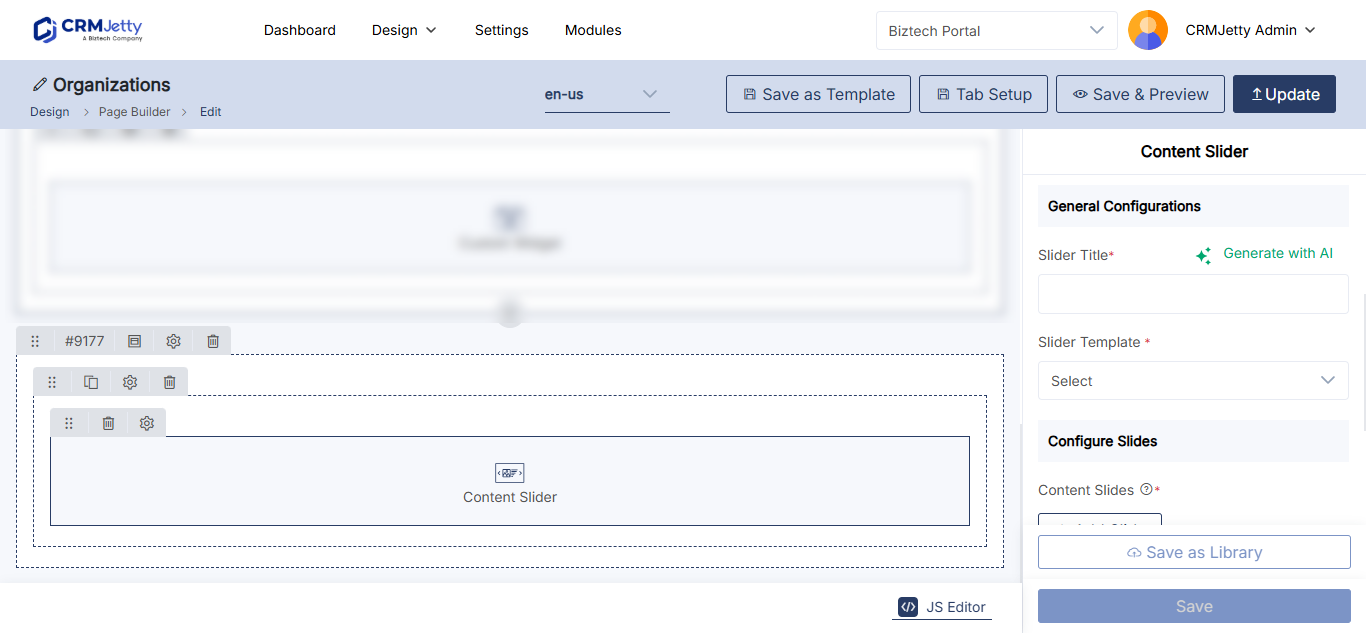
- In the page layout editor, select the Content Slider widget. It is added to the grid.
- Select the Settings icon on the widget.
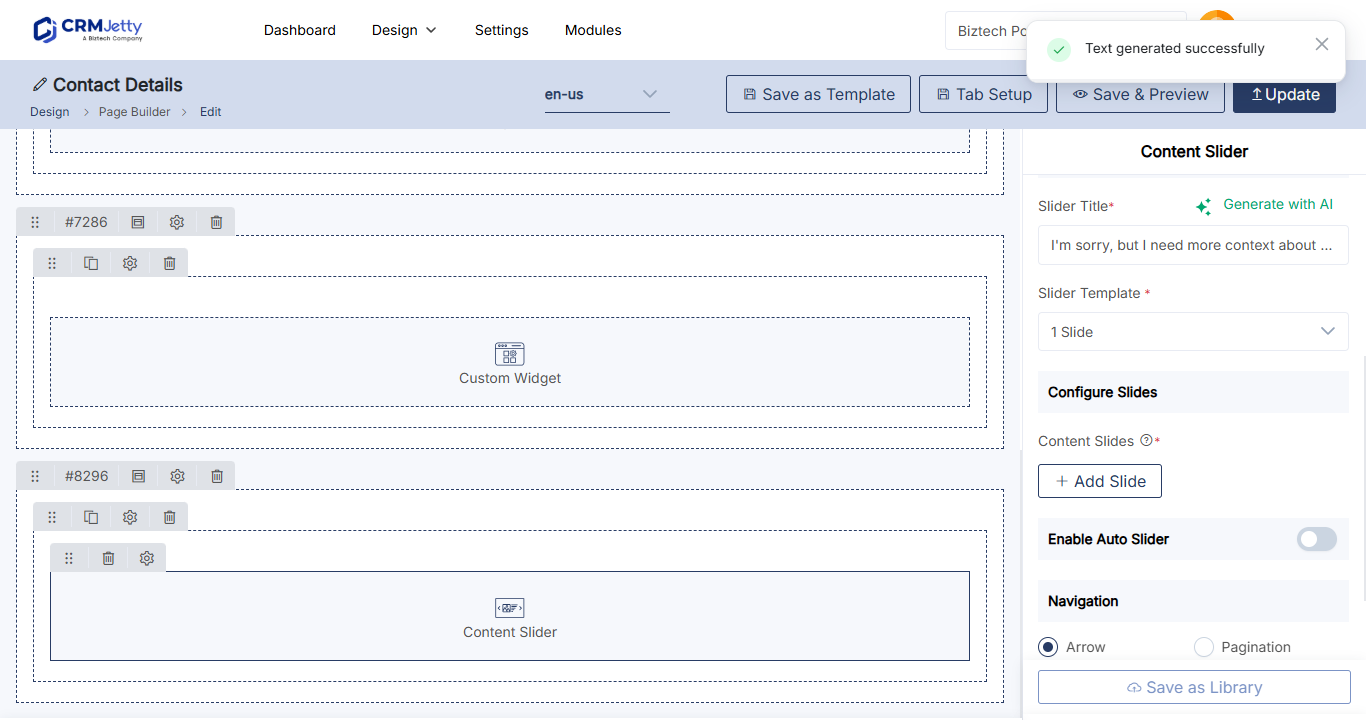
- Under General Configuration, enter the Slider Title shown at the top of the slider.
- In Select Slider Template, choose a layout.
- Under Content Slides, select + Add Slide.
- Enter the slide Text and choose its Color, for example
#000000. - In Background Color, choose Solid or Gradient.
- Select Save to save the slide. Repeat for each slide.
- Set Enable Auto Slider, Arrow and Pagination as needed.
- Under Content Slider Settings, optionally set HTML Class, HTML ID and Card View.
- Select Save.
Add a Testimonial widget
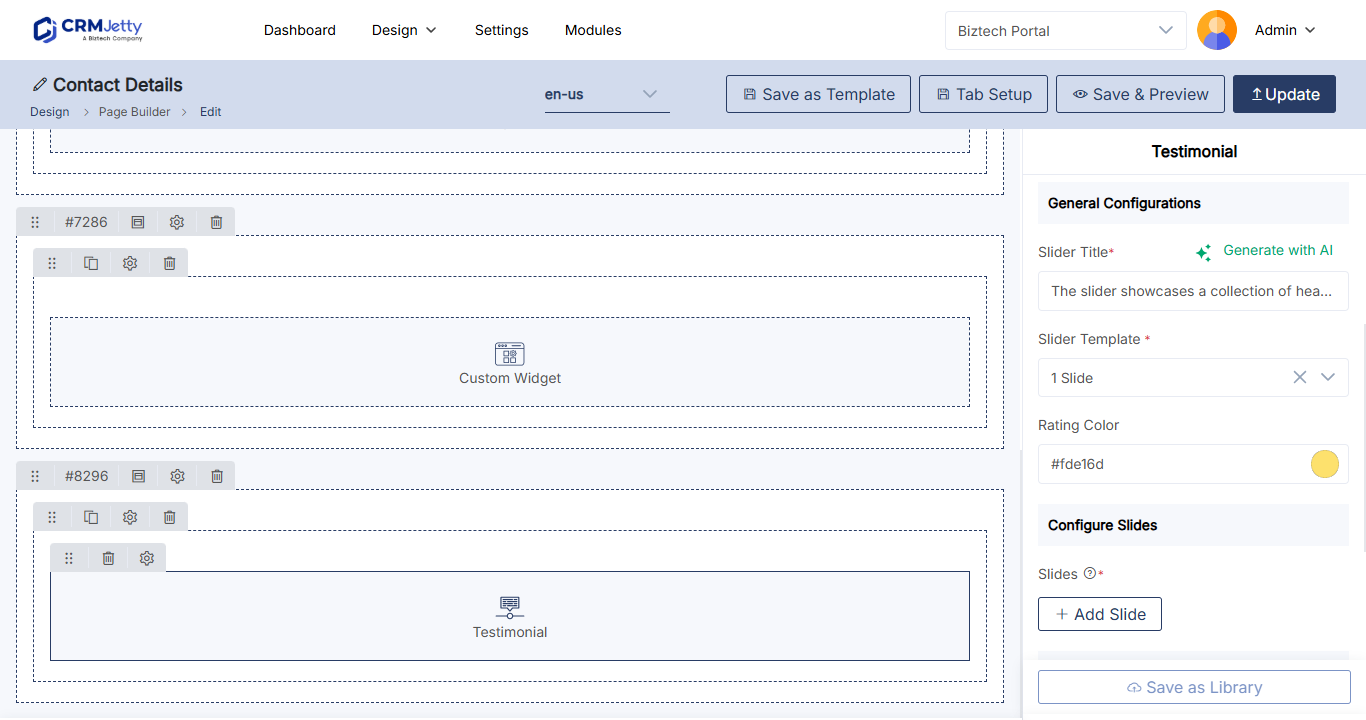
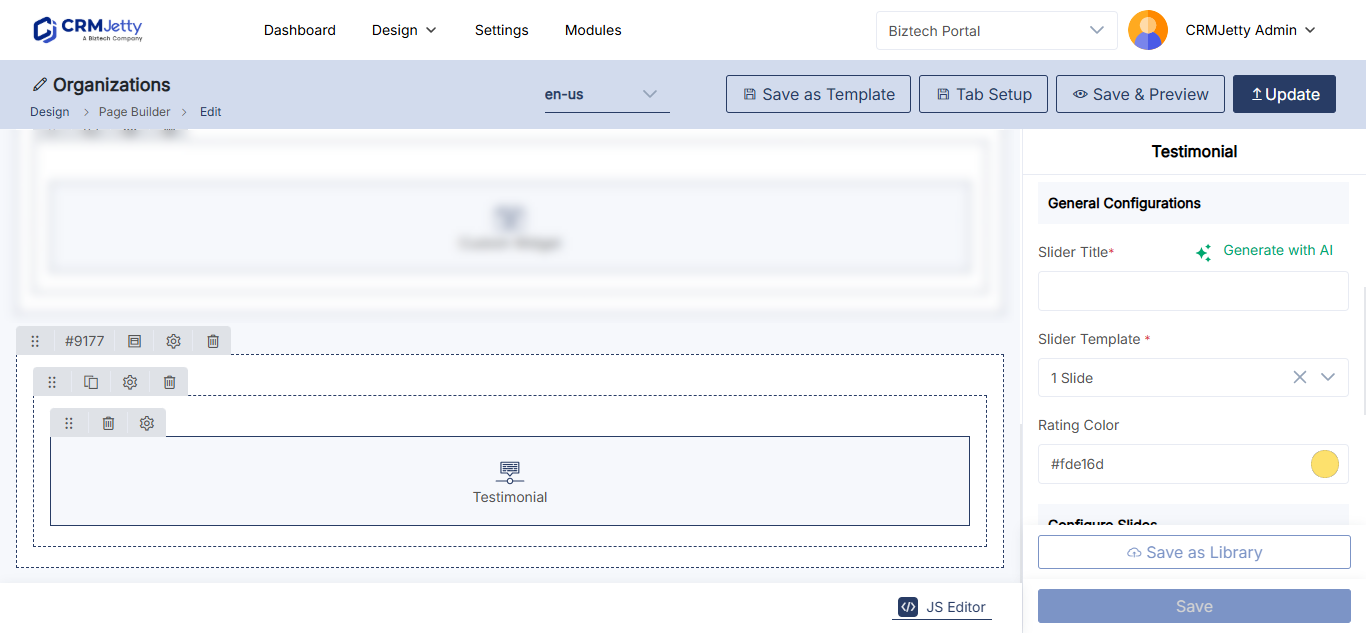
- In the page layout editor, select the Testimonial widget. It is added to the grid.
- Select the Settings icon on the widget.
- Under General Configuration, enter the Slider Title and choose a Select Slider Template layout.
- Set the Rating Color for the rating stars, for example
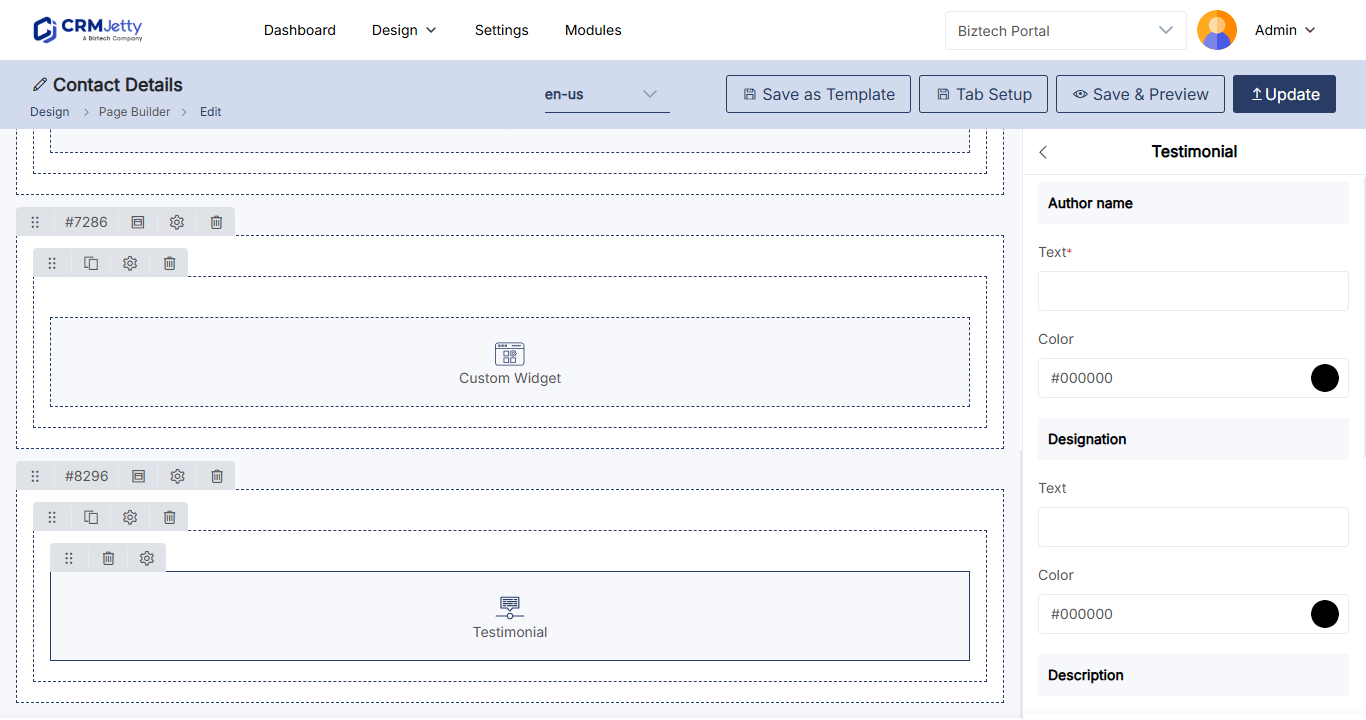
#fde16d. - Under Slides, select + Add Slide.
- Fill in the testimonial fields in the table below.
- Select Save to save the testimonial. Repeat for each one.
- Set Enable Auto Slider, Arrow and Pagination as needed.
- Under Testimonial Settings, optionally set HTML Class, HTML ID and Card View.
- Select Save.
| Field | What to enter |
|---|---|
| Author Name | The name of the person giving the testimonial, for example the customer’s name. |
| Text and Color | The main testimonial text and its color. |
| Designation and Color | The author’s job title or position and its color. |
| Description | Any extra details. |
| Photo | A photo of the author or a relevant image. |
| Alt Text | Alternative text shown if the image does not load. |
| Rating | The rating the author gave, if any. |
Publish the page
After you save the widget, publish the page. The slider goes live in the portal.
To remove a slider widget, select its Delete icon in the page layout editor.
Tip: You can draft slider titles, headers and descriptions with the AI Content Generator: select Generate AI under a text box (on slides, Generate with AI). It uses your own AI key. See How to Generate Widget Content with the AI Content Generator.
Note: Add alt text to every testimonial photo so portal users with screen readers get the same information.
Related articles
- How to Create Pages in CRMJetty Portal
- How to Add a Banner to a Portal Page
- How to Generate Widget Content with the AI Content Generator
- How to Add Custom HTML IDs and CSS Classes to Widgets