
How to Add a Pay Now Button to Portal Records
A Pay button lets portal users pay for a record, such as an invoice or an order, directly from the portal. You add it in the record’s form: choose which field holds the amount, when the button appears, and where the portal records the transaction.
Note: This feature is available on selected plans. See Pricing.
Before you start
- You need access to the CRMJetty admin portal.
- Connect a payment gateway. See How to Accept Stripe and PayPal Payments in the Portal.
- In Settings → Portal Settings → Site Management, edit your site and select the payment account in its Payment settings. Only accounts you set up under Settings → Integration are listed.
- Have an add, edit or detail form for the entity (Dynamics 365), object (Salesforce) or table (Business Central) portal users pay for. Payment configuration is available on these form types only. See How to Design Add, Edit and Detail Form Layouts.
- Make sure the record has a field with the amount to pay, and a field that tells when payment is due, such as a status.
- Decide where to record transactions: an entity, object or table in your CRM with fields for the description, payment entity, payment record, payment method, amount, transaction log and payment status.
Turn on payment in the form
- Sign in to the admin portal.
- Go to Design → Form Builder.
- Open the form in edit mode.
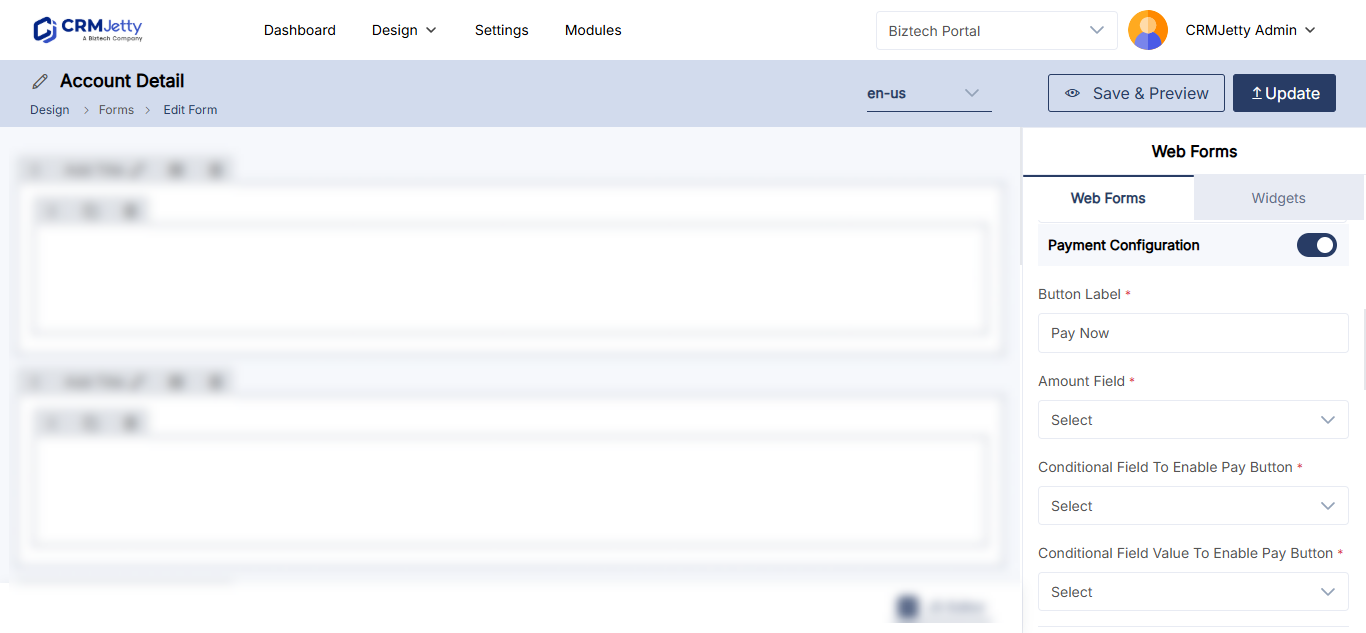
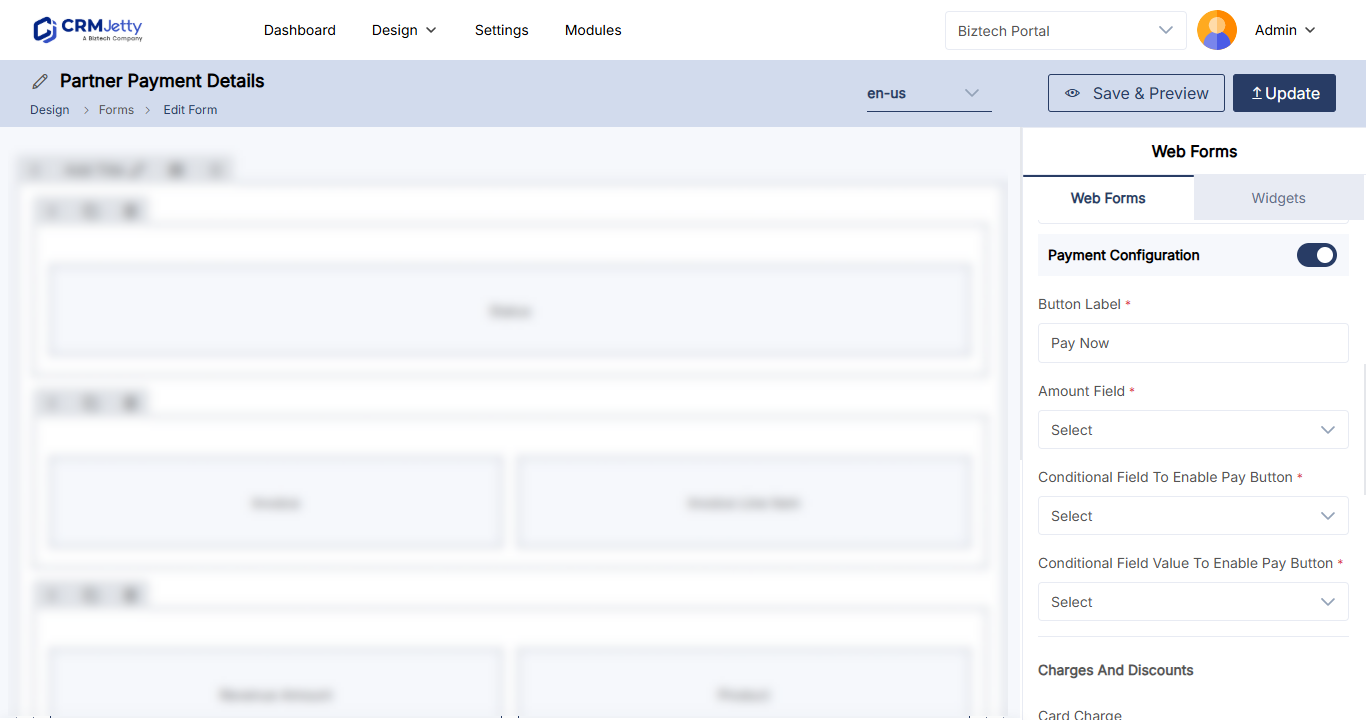
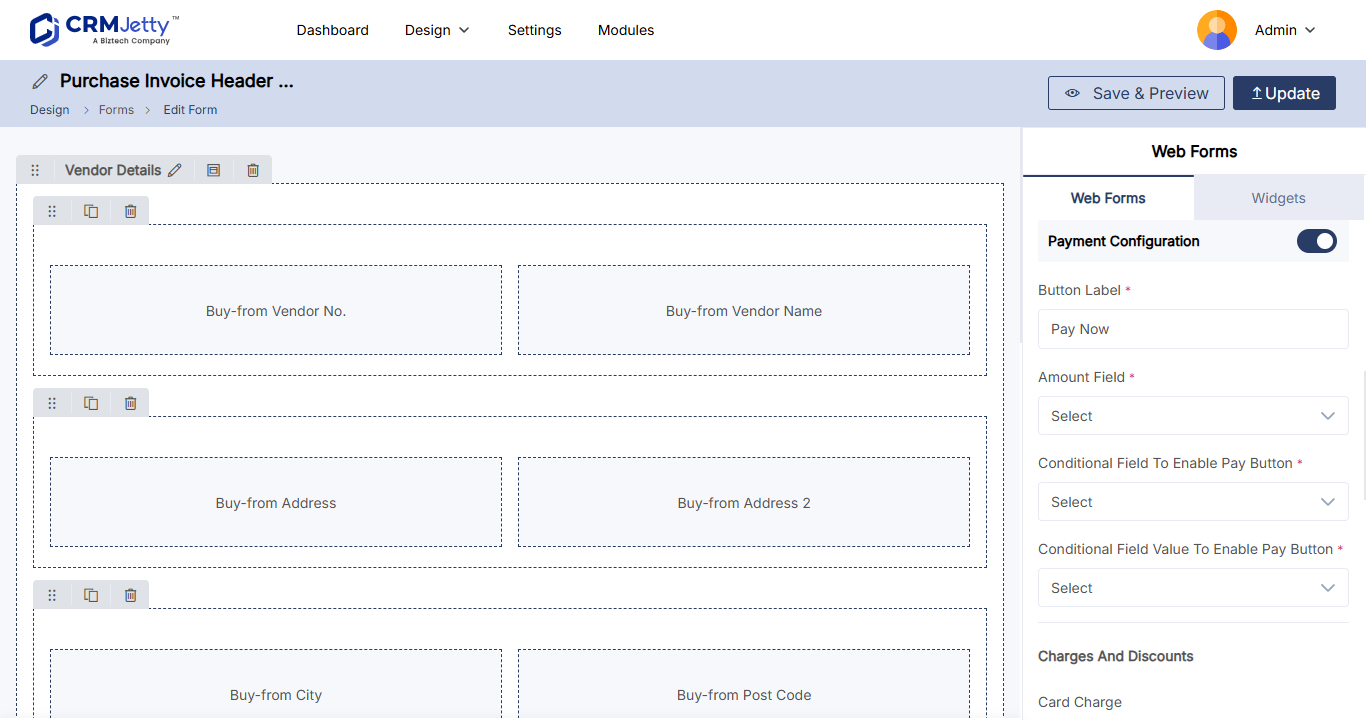
- In the right-side panel, turn on the Payment configuration toggle.
- Fill in the button settings in the table below.
| Setting | What to enter |
|---|---|
| Button Label | The text of the pay button, for example Pay Now. It appears as an option in the record’s context menu. |
| Set Amount Field | The field that holds the amount to pay. |
| Set Conditional Field to Enable Pay Button | The field that controls when the pay button is shown, for example the invoice status. |
| Set Conditional Field Value to Enable Pay Button | The value or values of that field that show the button, for example Unpaid. You can select several values. |
Tip: Use the conditional field so the button appears only on records that still need payment. Otherwise portal users could pay for records that are already paid.
Set up the transaction log
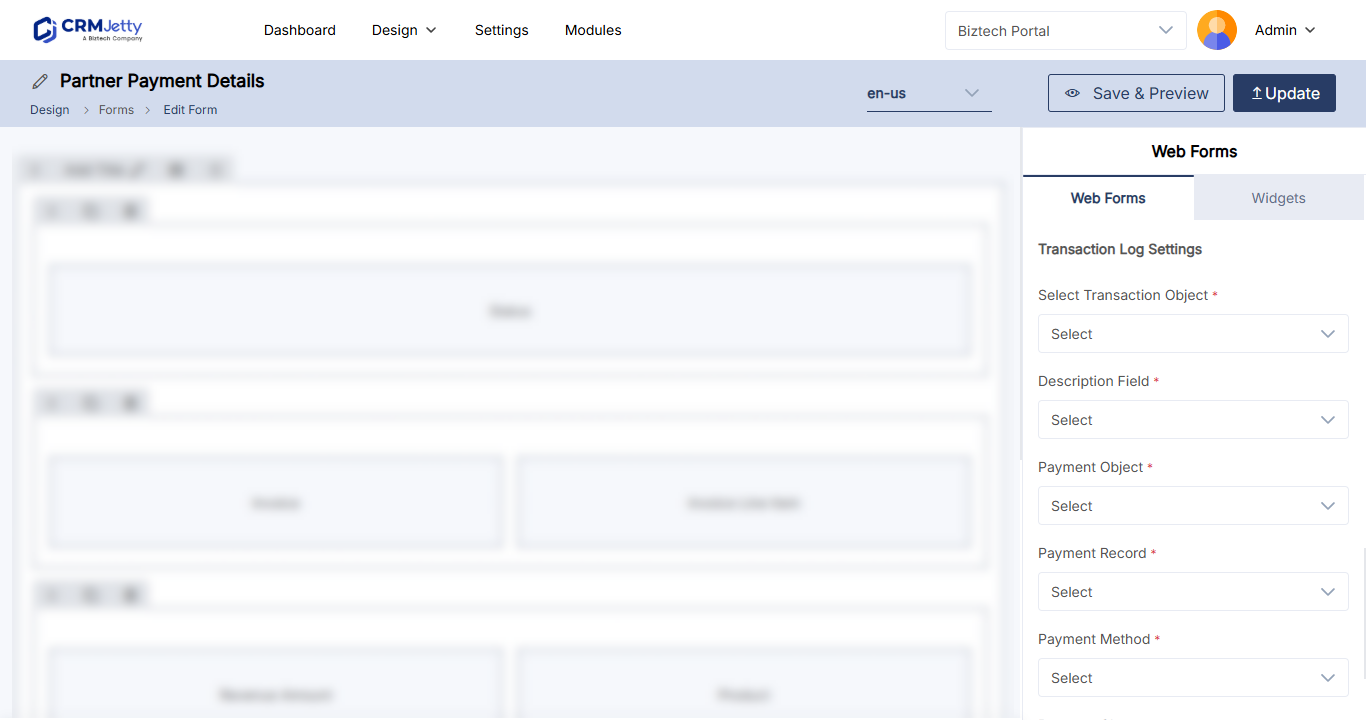
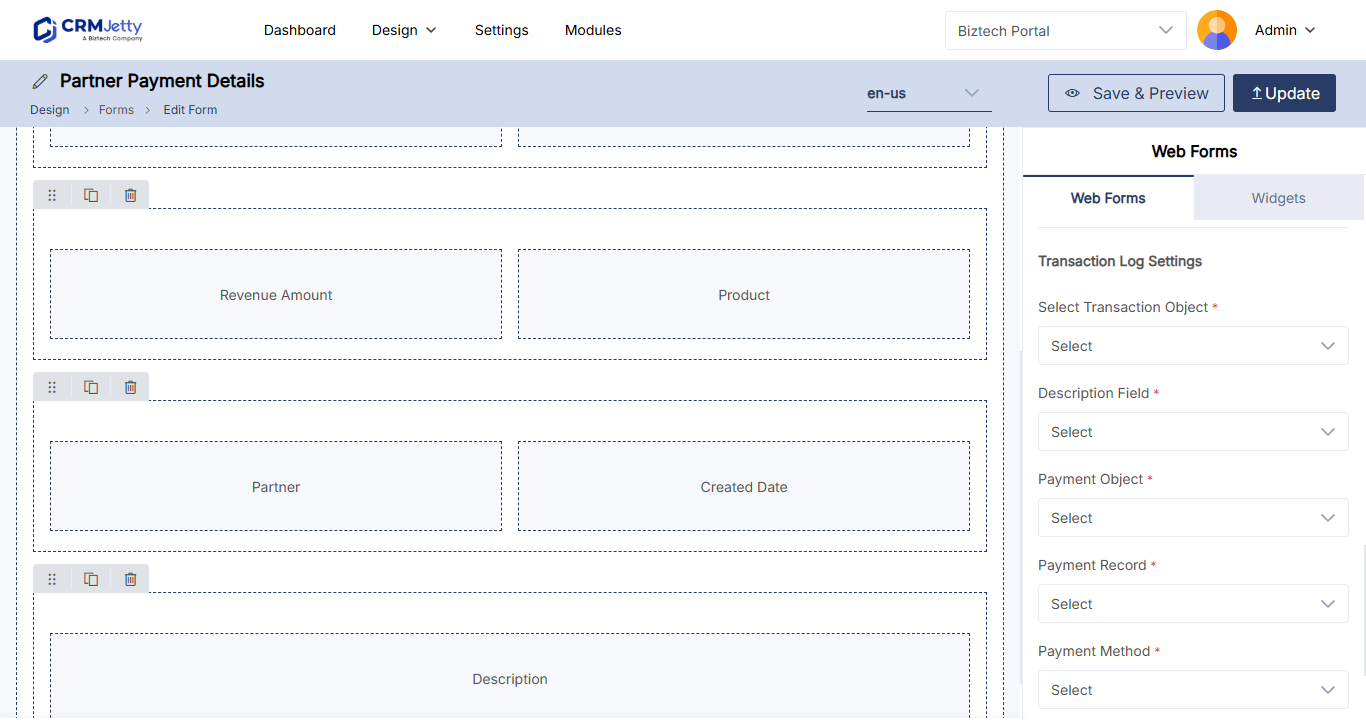
The transaction log settings decide where the portal records each payment. You choose a transaction entity in your CRM and map its fields.
Business Central: The portal logs the payment in Business Central. Your finance team then applies it to the invoice in Business Central.
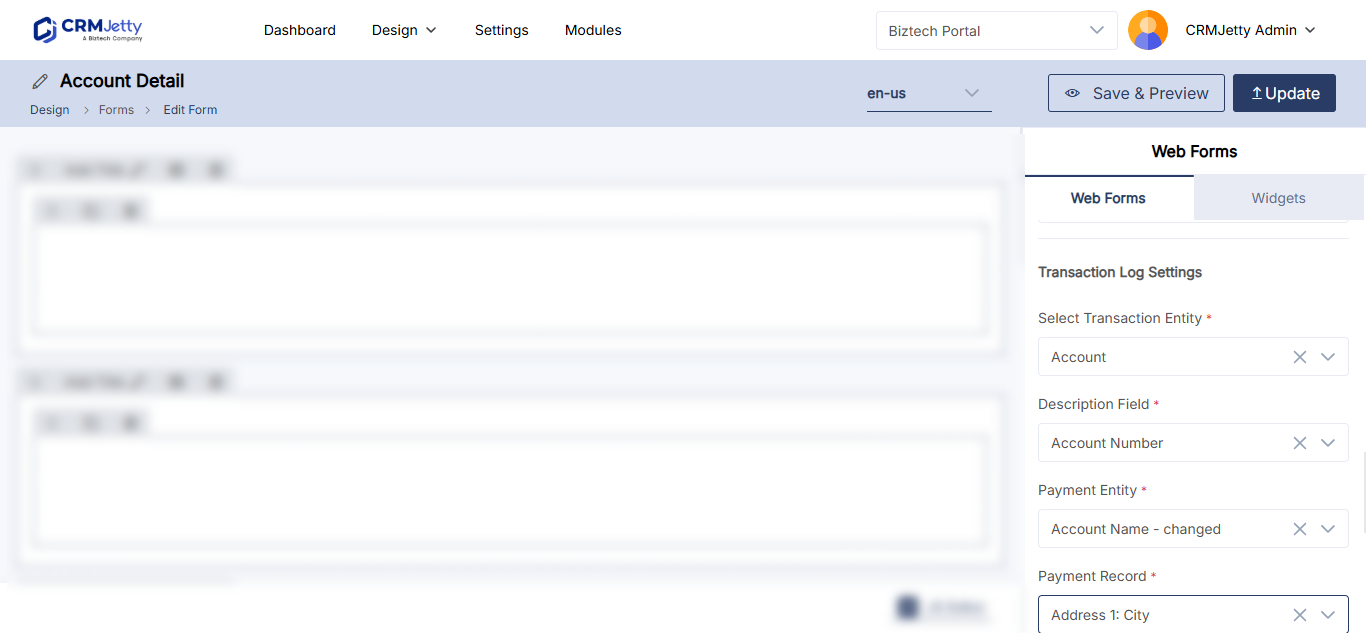
- Under Transaction Log Settings, select the transaction entity in Select Transaction Entity (Business Central: Select Transaction Table).
- Map each field in the table below to a field of the transaction entity.
| Setting | What to map |
|---|---|
| Select Transaction Entity | The entity where transaction details are stored. |
| Select Description Field | The field for a short description of the transaction. |
| Select Payment Entity (Business Central: Select Payment Table) | The field that stores which entity the payment is for. |
| Select Payment Record | The field that stores which record was paid. |
| Select Payment Method | The field that stores the payment method. |
| Set Amount Field | The field where the payment amount is recorded. |
| Select Payment Transaction Log | The field that stores the payment transaction log. |
| Select Payment Status | The field that stores the payment status. |
Set charges and discounts (optional)
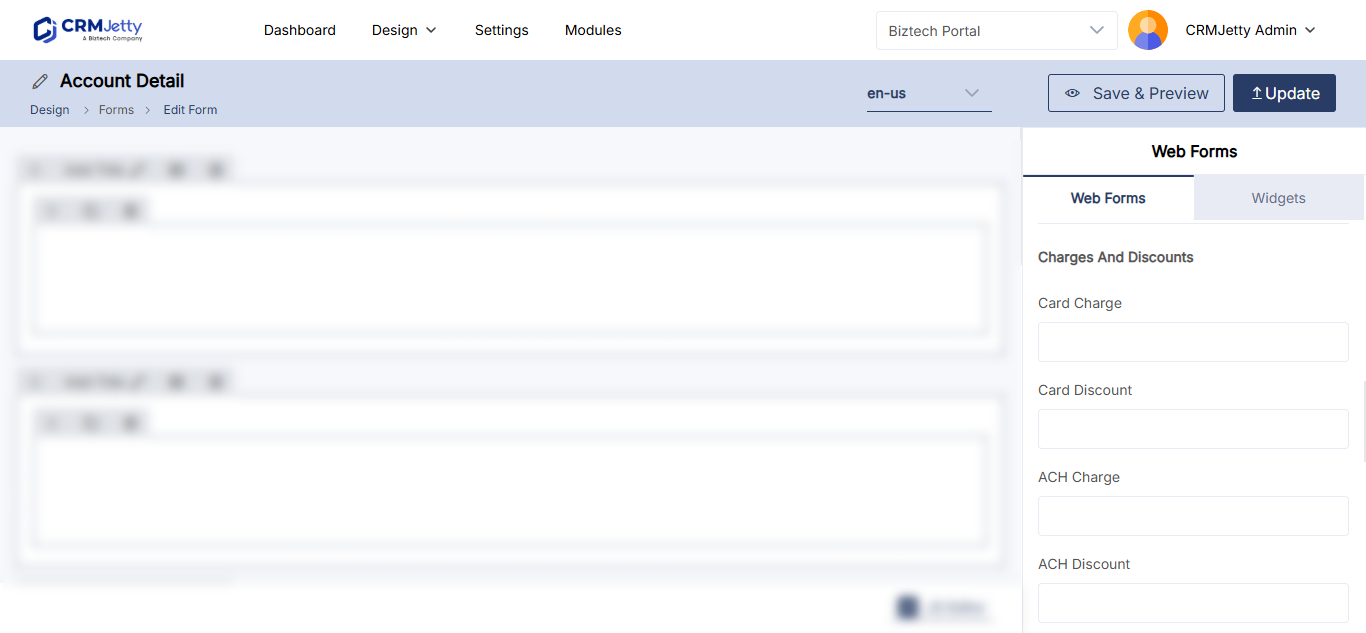
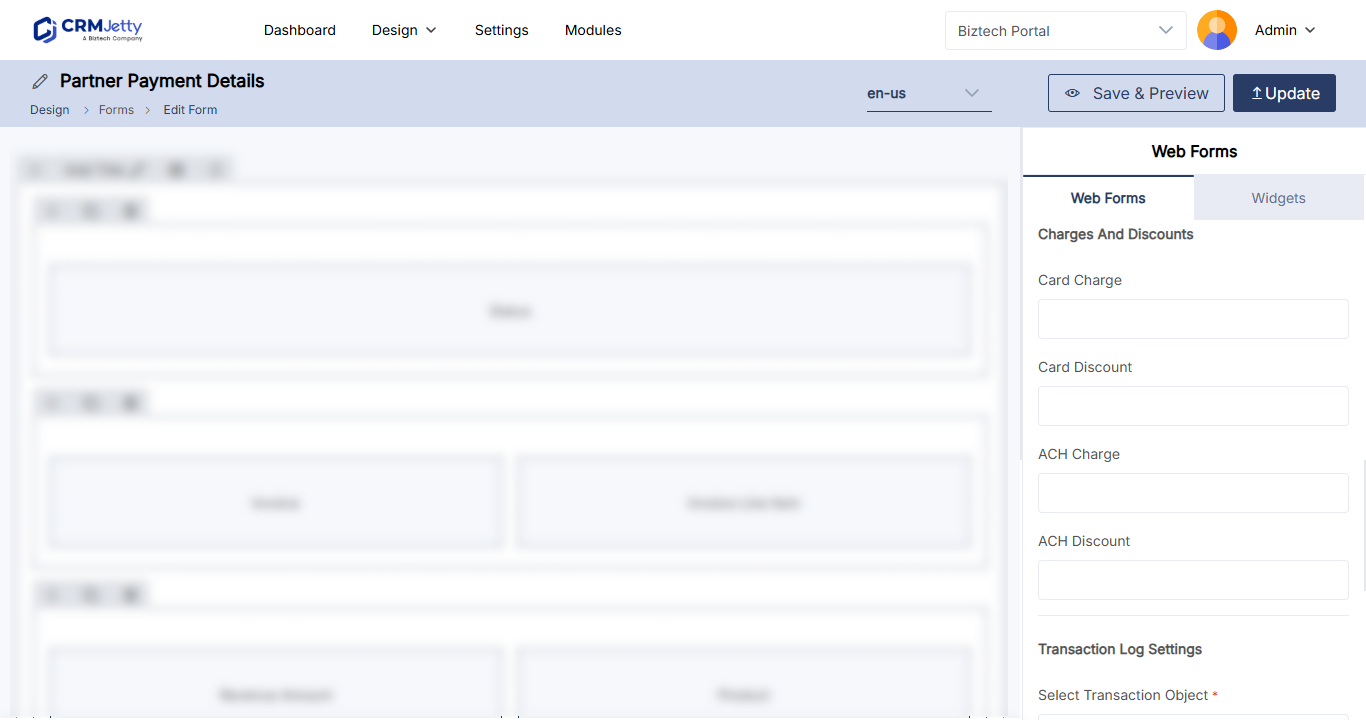
Use the Charges and Discounts section to add a charge or a discount to the payment. Configure only the settings you need:
- Card Charge and Card Discount
- ACH Charge and ACH Discount
- Payment Charge and Payment Discount
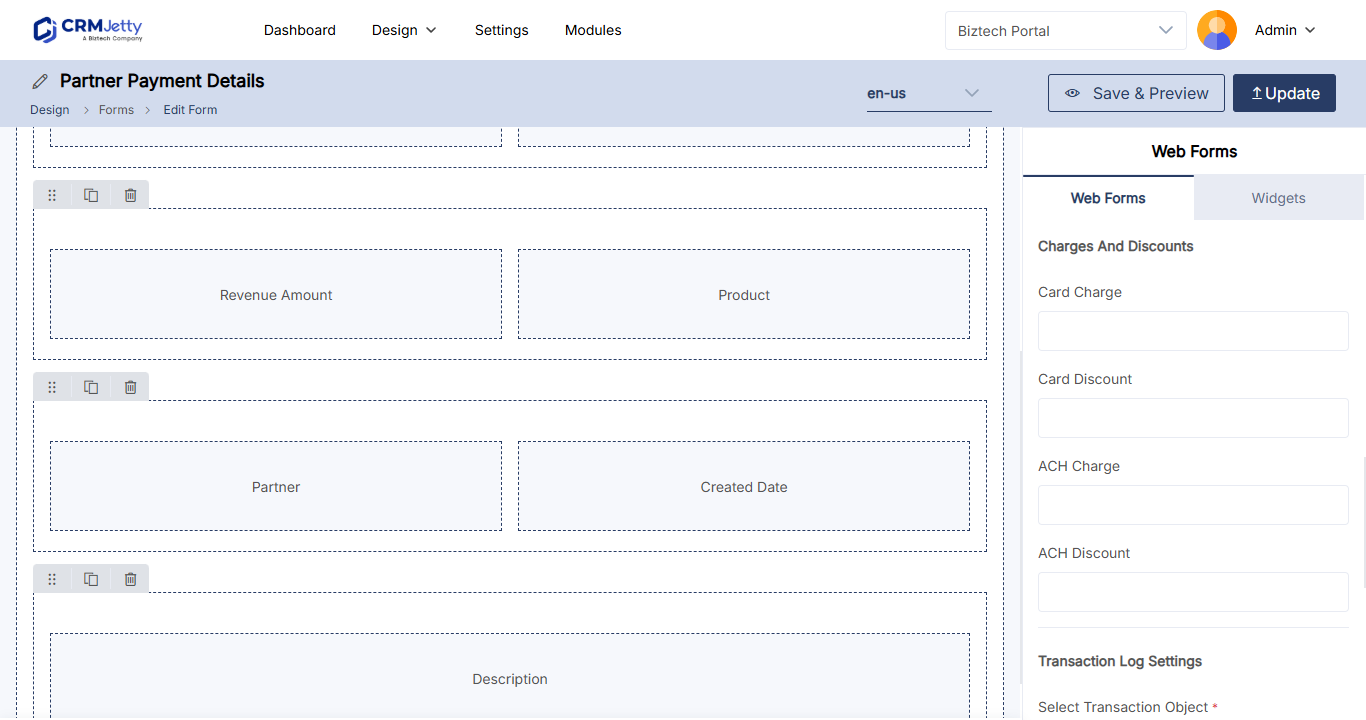
Save and publish the form
- Select Save.
- Publish the form and the page that uses it.
Portal users now see the pay button on records that match your condition.
Add a pay button to a list
Lists have their own payment configuration, so portal users can pay from the record’s menu in a list.
- Go to Design → Lists.
- Open the list in edit mode.
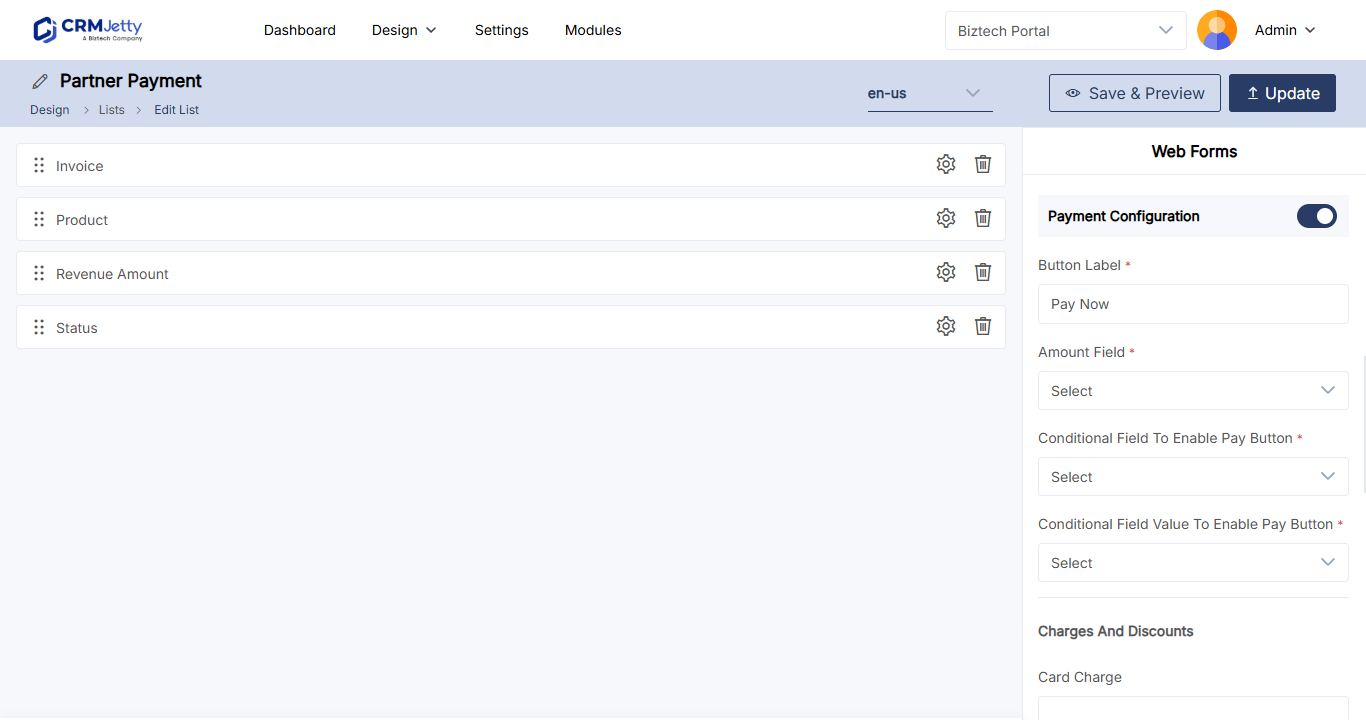
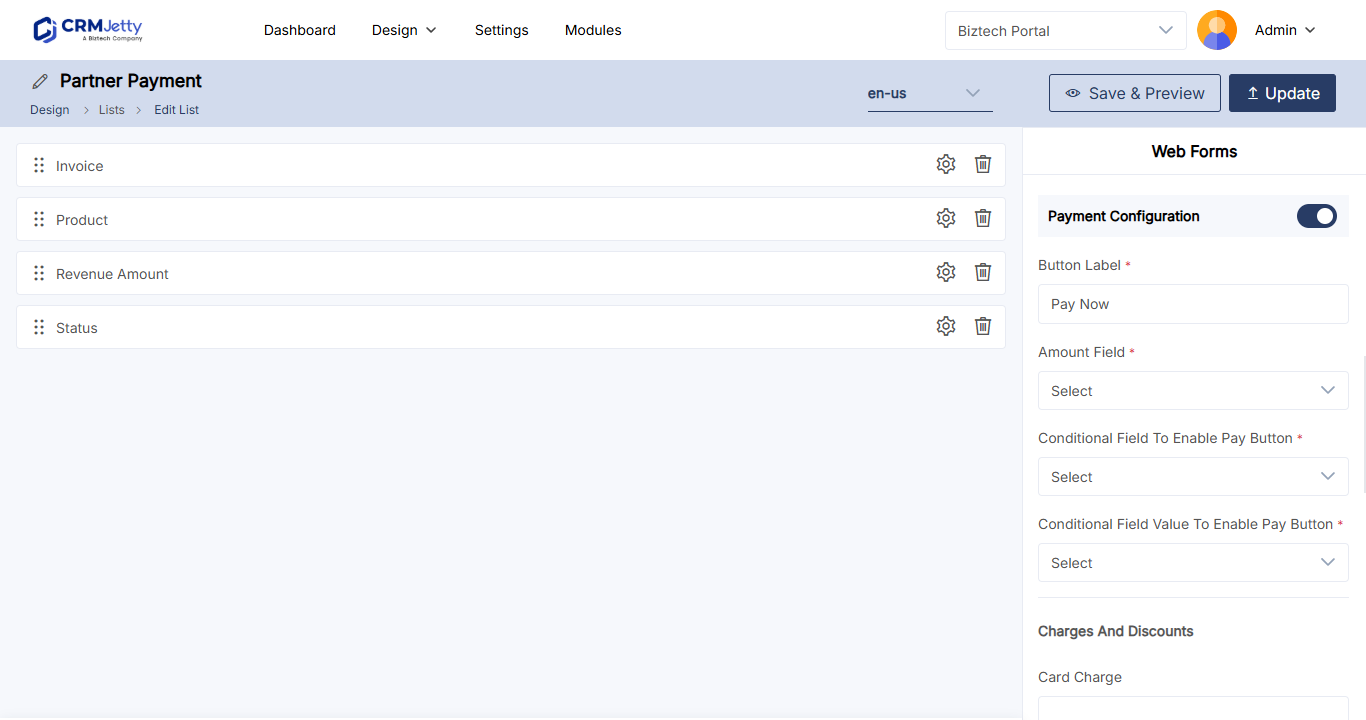
- Turn on the Enable Payment toggle. It is available only if the entity has an amount (currency) field.
- Enter the Button Label. It appears as an option in the record’s context menu.
- In Select Amount Field, select the field that holds the amount to pay.
- Set Set Conditional Field to Enable Pay Button and Set Conditional Field Value to Enable Pay Button, as for a form.
- Map the Transaction Log Settings and, if needed, Charges and Discounts, as for a form.
- Select Update, then publish the list.
Troubleshooting
The pay button doesn’t appear: Check that the record’s conditional field has one of the values you selected, that the form and page are published, and that a Stripe or PayPal account is connected.
The Payment configuration toggle is missing: Payment configuration is available on add, edit and detail forms only. Check the form type, and check that payments are included in your plan.
Related articles
- How to Accept Stripe and PayPal Payments in the Portal
- How to Set Up the Portal Payment Widget
- How to Let Customers Download Invoice PDFs
- How to Design Add, Edit and Detail Form Layouts