
How to Manage Support Cases in the Customer Portal
Case management lets portal users raise support cases in the portal and follow them through to resolution. Portal users can create cases, view the case status, edit their cases and, if you allow it, delete them. Your support team works the same cases in your CRM, where it can add a solution in the description or link a knowledge article.
Cases created in the portal are saved as case records in your CRM. Sync is asynchronous; timing depends on your CRM’s API limits.
Before you start
- You need access to Settings and Design in the admin portal.
- Connect your CRM. When you connect a CRM to a fresh portal for the first time, the portal gives the default role access to the case entity. See Getting Started with CRMJetty Portal.
- Check that the case entity (Dynamics 365) or Case object (Salesforce) is enabled for the portal. See How to Enable CRM Entities and Custom Objects in the Portal.
- Business Central has no standard case table. If you track support requests in a custom table, enable that table instead. See How to Configure Business Central Table Sync.
What a case portal needs
| Part | What it does | Set it up in |
|---|---|---|
| Role permissions | Decide whether portal users can view, add, edit or delete cases. | Settings → User Settings → Portal User Roles |
| Case form | The Add, Edit and Detail layouts portal users use to create, change and view a case. | Design → Form Builder |
| Case list | Shows each portal user’s cases with their status. | Design → Lists |
| Case pages | A My Cases page, a Create Case page and a case detail page. | Design → Page Builder |
| Notes and attachments | Lets portal users and your team exchange updates and files on a case. | The case Detail form |
| Case deflection (optional) | Suggests articles before a portal user creates a case. | Design → Page Builder |
| Notifications (optional) | Sends an email or another notification when a portal user creates or edits a case. | Settings → Portal Settings → Trigger Configuration |
Step 1: Set case permissions by role
- Go to Settings → User Settings → Portal User Roles and edit the role.
- In Entity Permissions (Business Central: Table Permissions), find the case entity.
- Select View, then Add and Edit as needed.
- Select Delete only if portal users may delete cases.
- Select Save.
For example, give the standard role View, Add and Edit on cases, and leave Delete off. See How to Set Add, Edit and Delete Permissions by Role.
Step 2: Build the case form
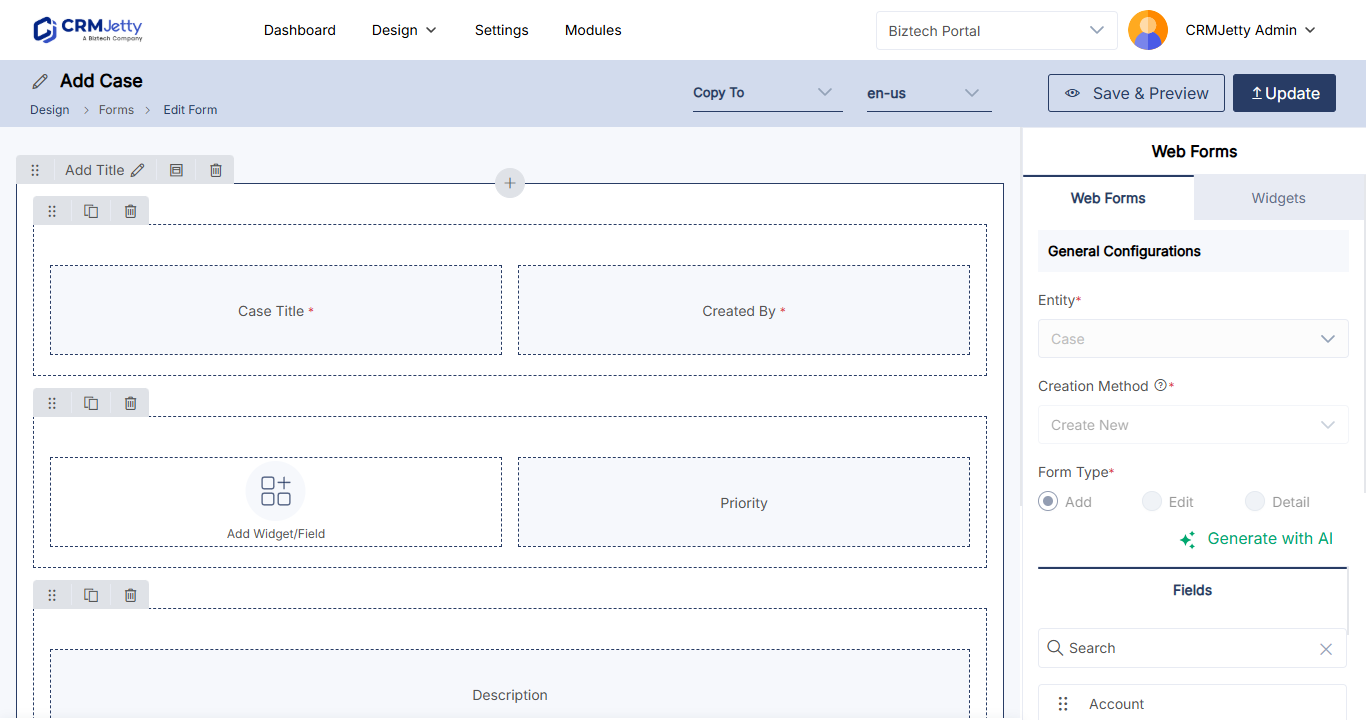
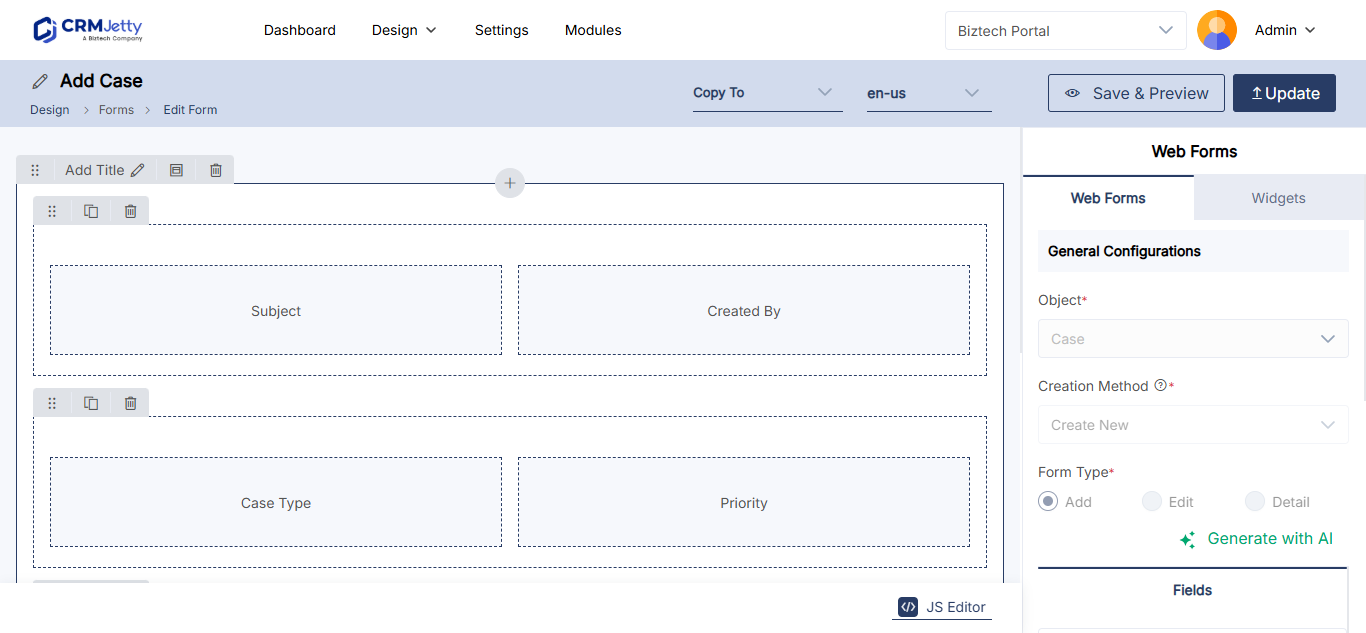
- Go to Design → Form Builder and create a form for the case entity.
- Design the Add layout with the fields a portal user fills in, such as title, type and description.
- Design the Edit and Detail layouts. Add the case status to the Detail layout so portal users can follow progress.
- Publish the form.
See How to Create a Portal Form for Any CRM Entity and How to Design Add, Edit and Detail Form Layouts.
Tip: To link a case to the portal user’s account or contact automatically, prefill the lookup and hide it. See How to Prefill and Hide Form Fields.
Step 3: Add notes and attachments
Notes let portal users add comments and files to a case and read your team’s replies.
- In the case form’s Detail layout, add the Notes & Attachment widget.
- Turn on Allow Creating Records.
- Choose Chat Style in Select Design Layout, so updates read like a conversation.
- Save and publish the form.
See How to Enable Notes and Attachments in the Portal. Portal users can also get suggested replies with AI Canned Responses. See How to Use AI Canned Responses in Notes and Comments.
Step 4: Build the case list
- Go to Design → Lists and create a list for the case entity.
- Add the fields portal users need to scan their cases, such as case number, title, status and created date.
- Publish the list.
See How to Create List Views in CRMJetty Portal.
Step 5: Create the case pages
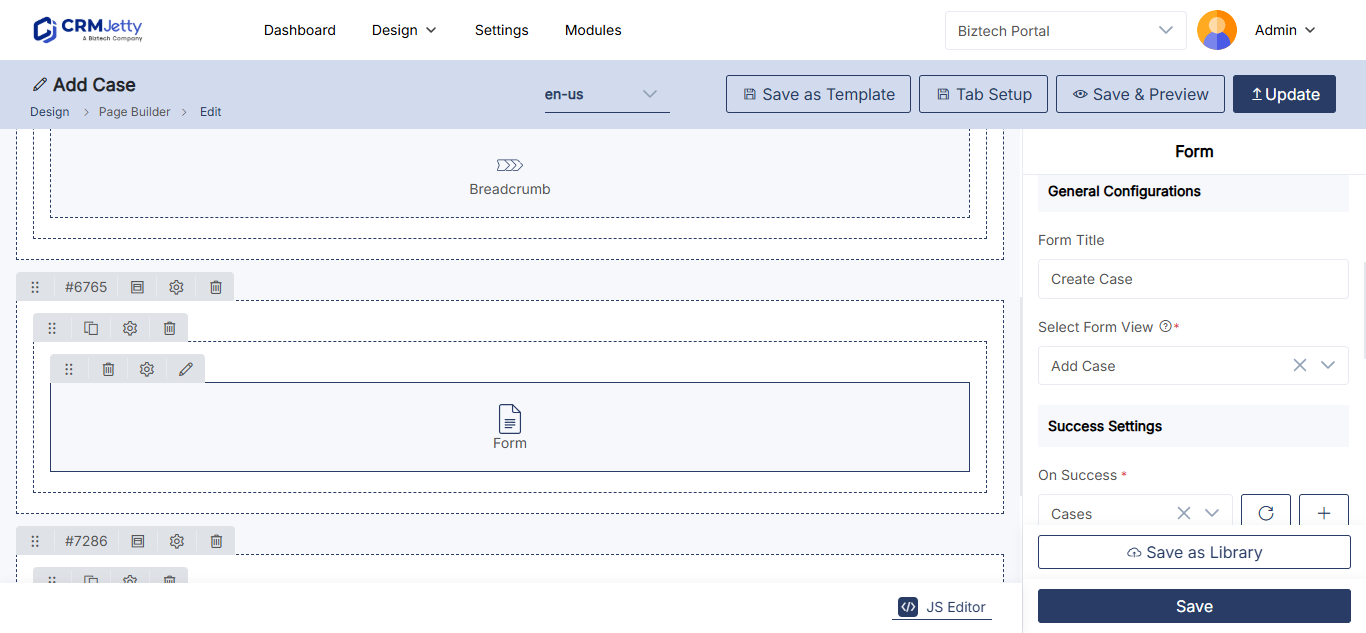
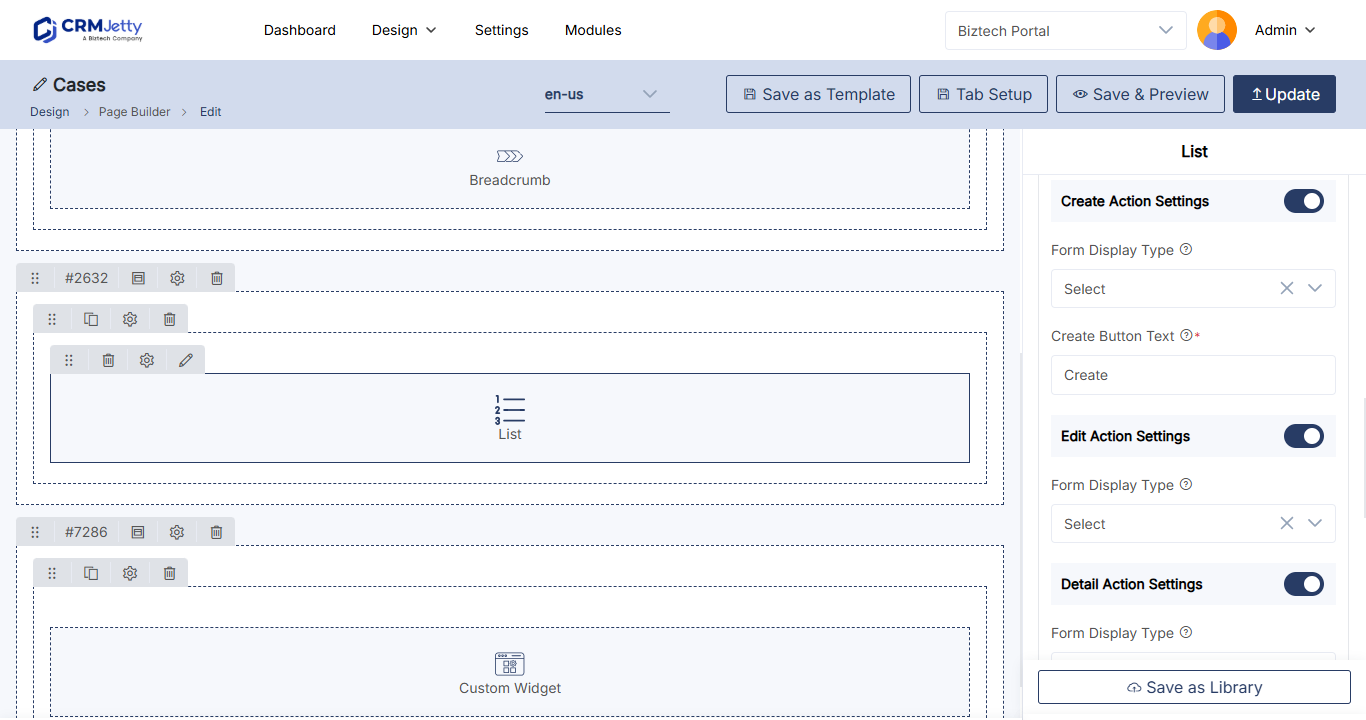
- In Design → Page Builder, create a Create Case page and add the Form widget with the case form’s Add view.
- Create a case detail page and add the Form widget with the case form’s Detail view.
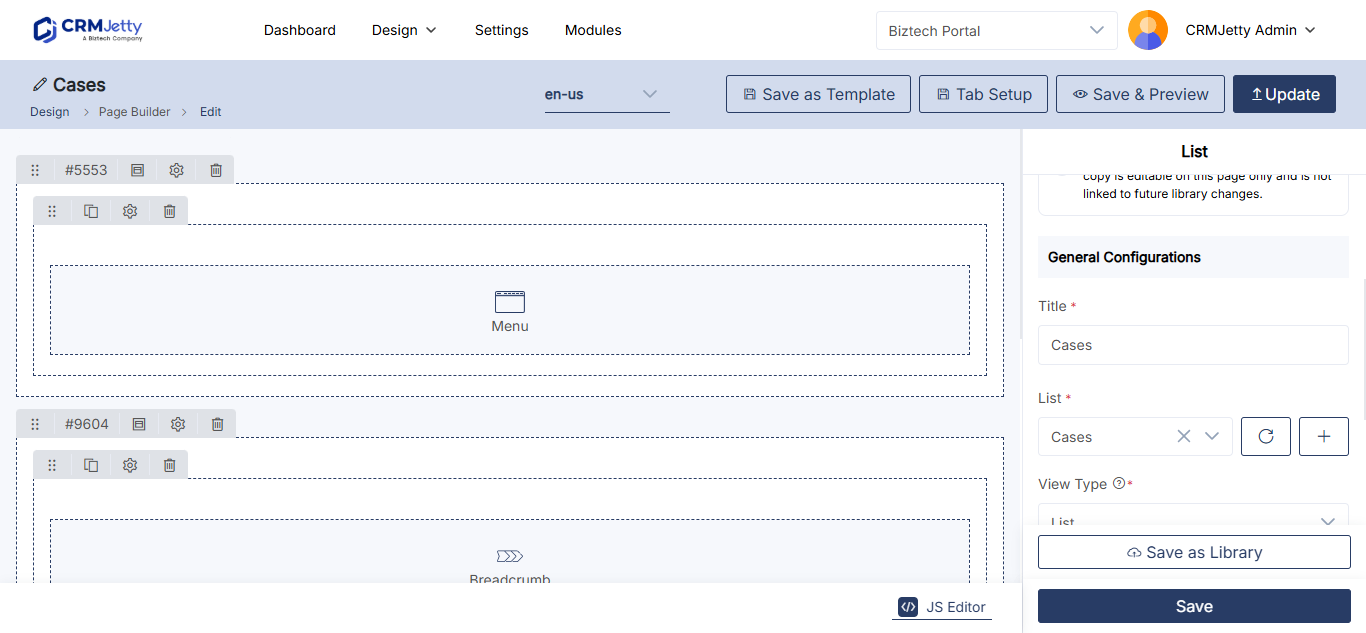
- Create a My Cases page and add the List widget with your case list.
- In the List widget, set the create action to open the Create Case page, and the details action to open the case detail page.
- Publish each page.
Add the My Cases page to the portal menu. See How to Create Portal Navigation Menus.
Step 6: Add case deflection and notifications (optional)
- Case deflection: Add a page with the Case Deflection widget before the Create Case page, so portal users see matching articles first. See How to Set Up Case Deflection in Your Customer Portal.
- Notifications: Create a trigger that sends an email when a portal user creates a case, for example a confirmation to the portal user. Triggers run on actions in the portal, not on changes made in your CRM. See How to Automate Portal Emails with Triggers.
How portal users work with cases
| Action | Where |
|---|---|
| Create a case | Create Case page, or the create button on the My Cases page. |
| See all their cases and their status | My Cases page. |
| View a case | The case detail page, opened from the list. |
| Edit a case | The edit action in the list, if the role has Edit. |
| Add a comment or file | The notes section on the case detail page. |
| Delete a case | The delete action in the list, if the role has Delete. |
The default role uses the Contact relationship type, so portal users see only the cases linked to their own contact. To let a portal user see all cases of their account, see How to Give Portal Users Account-Level Record Access.
How your support team works cases
Your team works portal cases in your CRM like any other case. They can update the status, explain the solution in the description, or link the case to a knowledge article. Updates sync to the portal, so the portal user sees the latest status on the case detail page.
Troubleshooting
Portal users can’t create a case: Check that their role has Add permission on the case entity, and that the Create Case page and case form are published.
Portal users see no cases in the list: Check that their role has View permission on the case entity, and that the list is published and selected in the List widget.
The case entity is missing in Form Builder or Lists: Enable the entity for the portal. See How to Enable CRM Entities and Custom Objects in the Portal.
Related articles
- How to Set Up Case Deflection in Your Customer Portal
- How to Set Up a Knowledge Base in Your Customer Portal
- How to Enable Notes and Attachments in the Portal
- How to Set Add, Edit and Delete Permissions by Role