
How to Edit Portal User Details
You can update a portal user’s details, such as their name, email, role and approval status, from the admin portal. Edits you make here also update the contact in your CRM.
Important: Deleting a portal user also deletes the contact in your CRM. If your CRM has deletion rules (for example, the contact is linked to other records), the portal shows the CRM’s error and the contact isn’t deleted. To remove portal access only, use Disable from Bulk Actions instead.
Before you start
- You need admin access to the admin portal. Sub-admins can edit portal users only if their admin role allows it.
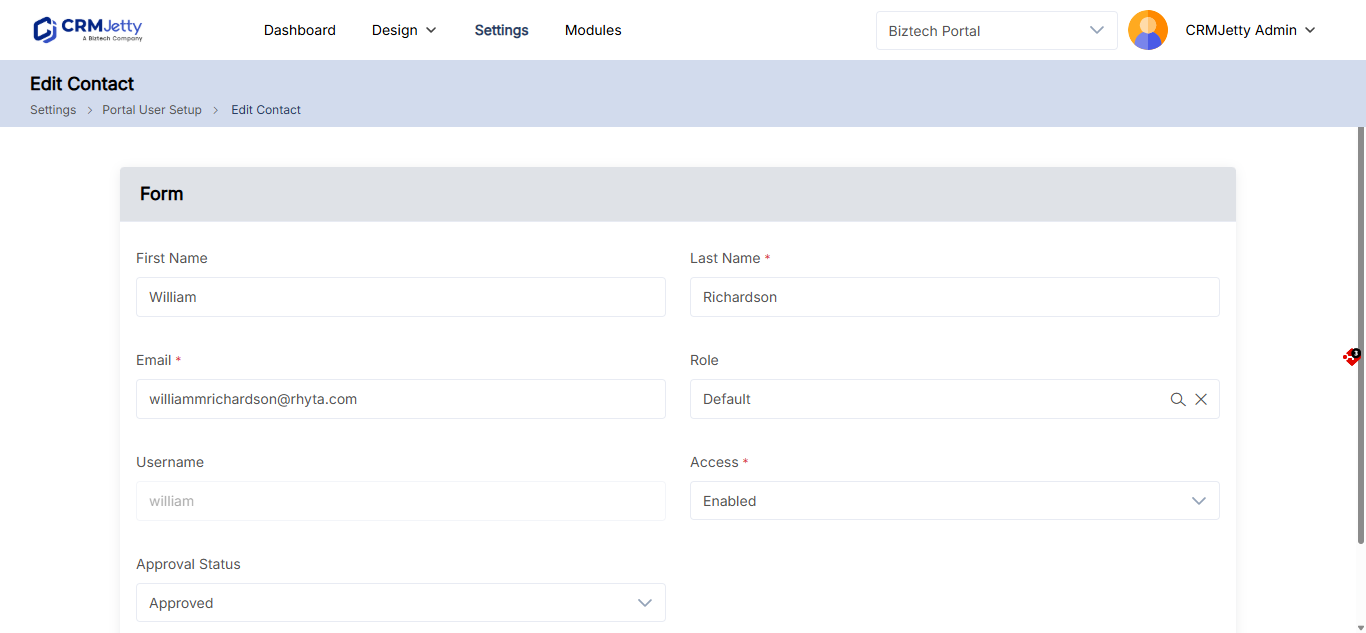
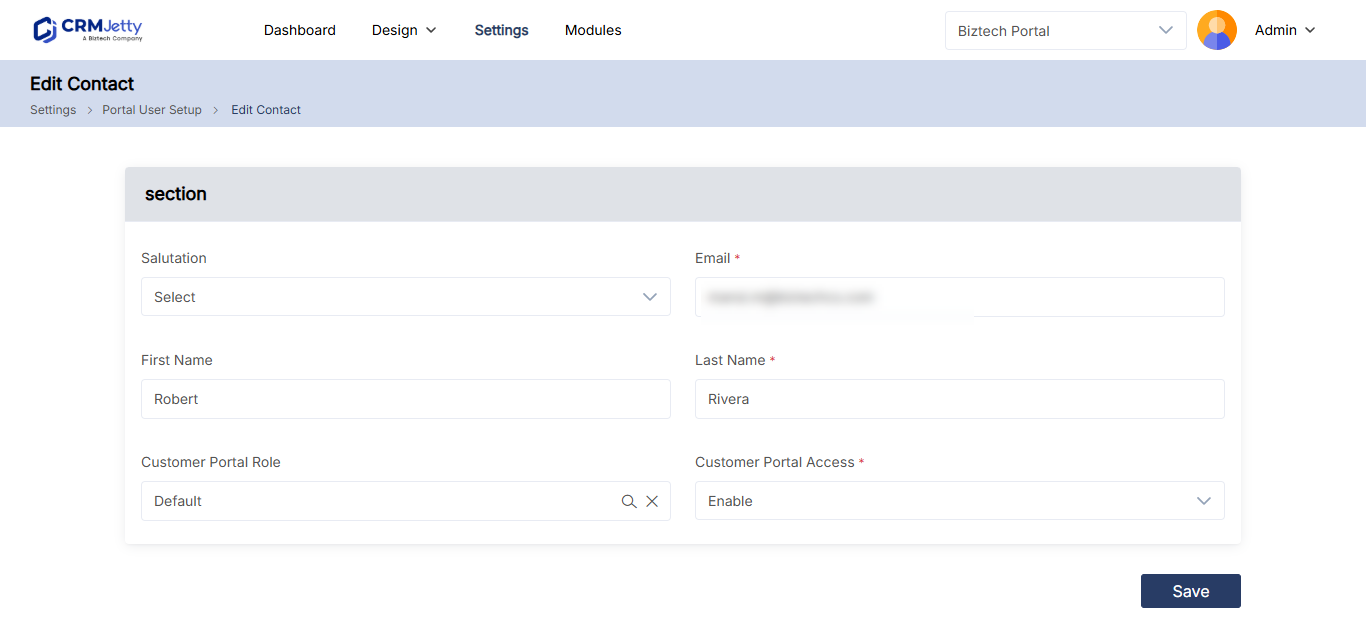
- The fields on the edit page come from the form you design in Portal User Settings. To add or remove fields, see How to Configure Portal User Settings and Layouts.
Edit a portal user
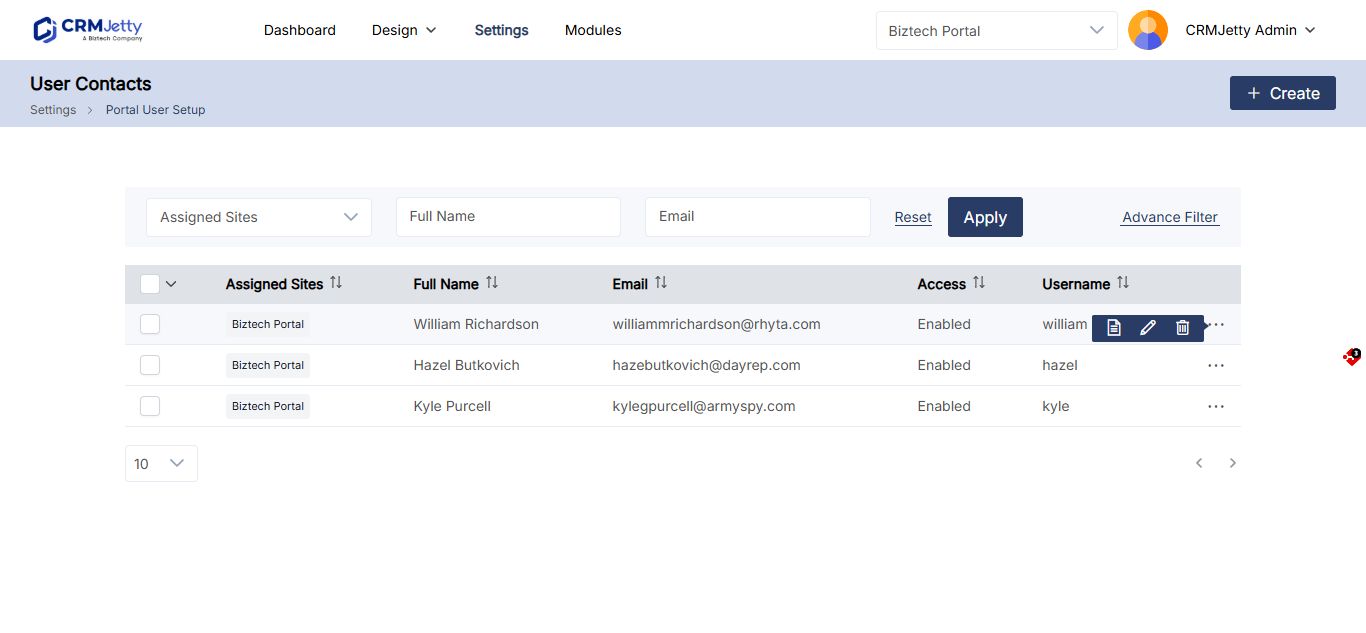
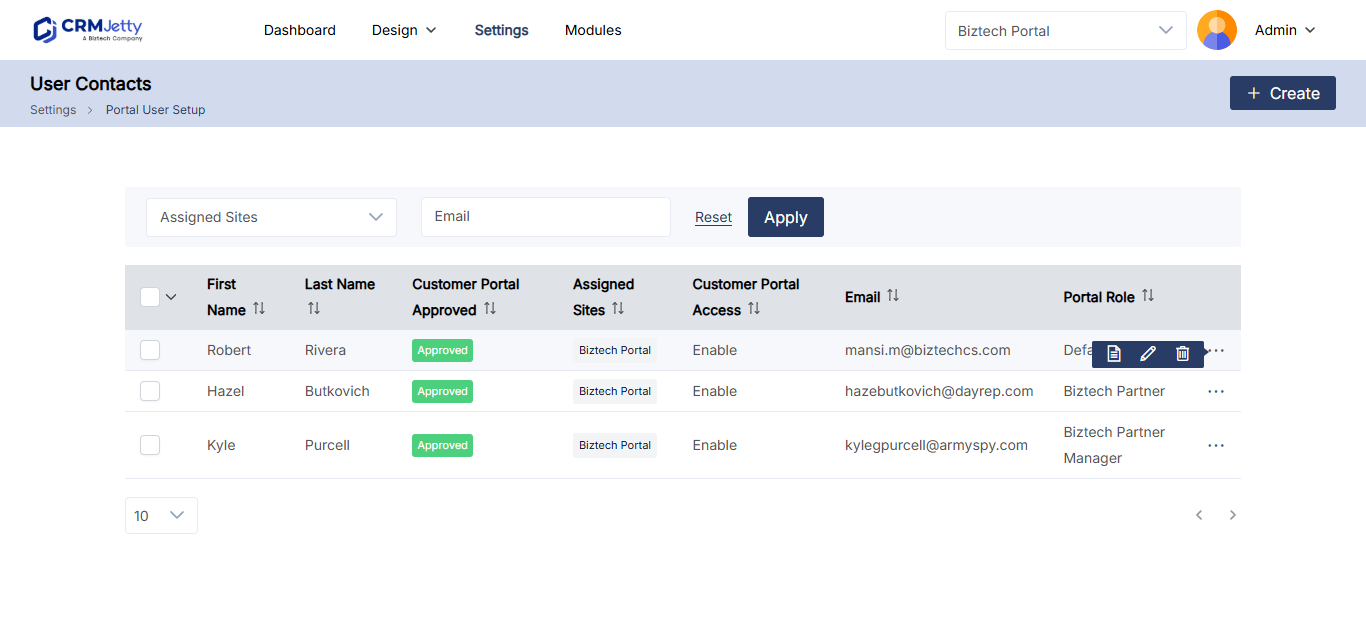
- Go to Settings → User Settings → Portal User Setup.
- Find the portal user in the list.
- Select the three dots (…) next to the portal user.
- Select the Edit icon. The portal user edit page opens.
- Update the details, for example name, email, role or approval status.
- Select Save.
Note: Changes to portal users sync with the contact in your CRM. See Do Portal Contact Changes Sync Back to the CRM?
Change details for several portal users
Some changes are faster from the Bulk Actions menu on Portal User Setup. Select the portal users first, then choose an action:
| Bulk action | What it does |
|---|---|
| Assign New Role | Select Apply to open the Assign New Role pop-up, choose the new role and select Save. |
| Enable | Gives the selected contacts portal access, including contacts you disabled earlier. |
| Disable | Temporarily removes portal access for the selected portal users. |
| Send Password Link | Emails the selected portal users a link to reset their password. A pop-up shows the delivery status. |
See How to Assign Roles to Portal Users in Bulk.
Disable or delete a portal user
To remove access temporarily, select the portal user and choose Disable from the Bulk Actions menu. You can enable them again later.
To delete a portal user permanently:
- Go to Settings → User Settings → Portal User Setup.
- Select the three dots (…) next to the portal user.
- Select the Delete icon. A warning message appears.
- Select OK to delete the portal user permanently.
Important: Deleting can’t be undone, and it also deletes the contact in your CRM, unless your CRM’s deletion rules block it. If you may need the portal user again, use Disable instead.
Related articles
- How to Add Portal Users from CRM Contacts
- How to Configure Portal User Settings and Layouts
- How to Assign Roles to Portal Users in Bulk
- Do Portal Contact Changes Sync Back to the CRM?
- How to Set Up Password Reset for Portal Users