
How to Send Confirmation Emails After Form Submission
A confirmation email tells the portal user that their form submission arrived and includes the form details. You set it up on the Form widget of an Add form, so it goes to the person who submitted the form.
Confirmation email or trigger?
The portal has two ways to send email when a form is submitted. Use the one that matches who should get the email.
| Mechanism | What it covers | Where you set it up |
|---|---|---|
| Form respondent email (this article) | One email to the person who submitted an Add form, with the form details and a link to a page. | Enable Email Settings in the Form widget, with a Send Email to Form Respondent email template. |
| Trigger | Email, web, push or WhatsApp notifications when a form is submitted or a record is edited, to the recipients you choose, with optional conditions. Use it to notify your team or to send emails only for some records. | Settings → Portal Settings → Trigger Configuration, then Submit Trigger in the Form widget. See How to Automate Portal Emails with Triggers. |
Before you start
- Set up SMTP so the portal can send email. See How to Configure SMTP Email in CRMJetty Portal.
- The form must be an Add type form, which creates a new record. The email settings appear only for Add forms.
- If the form is on a page portal users open before login, include an email field in the form. The portal sends the email to that address.
- Business Central: the current Business Central manual doesn’t list the Send Email to Form Respondent action. Check that it appears under Settings → Portal Settings → Email Templates before you start.
Create the email template
- Go to Settings → Portal Settings → Template Scripting → Email Templates (Business Central: Settings → Portal Settings → Email Templates).
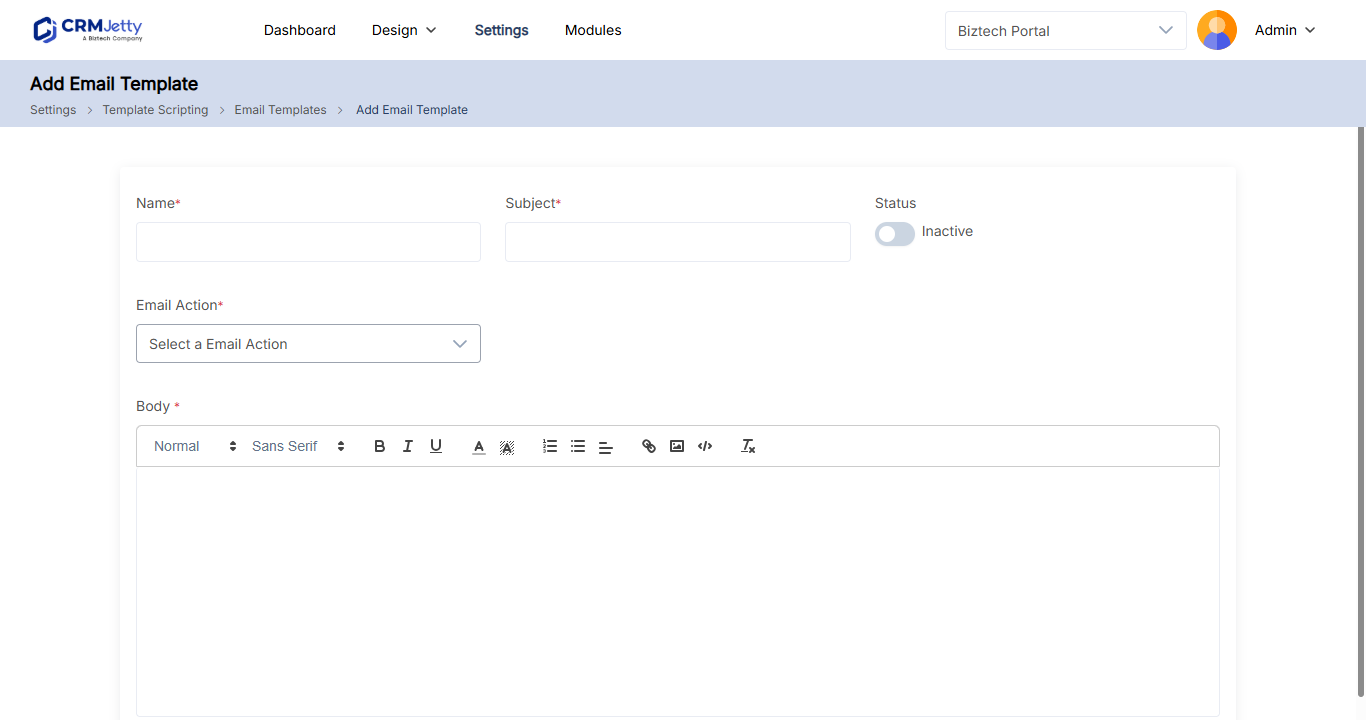
- Select Create. The Create Email Template page opens.
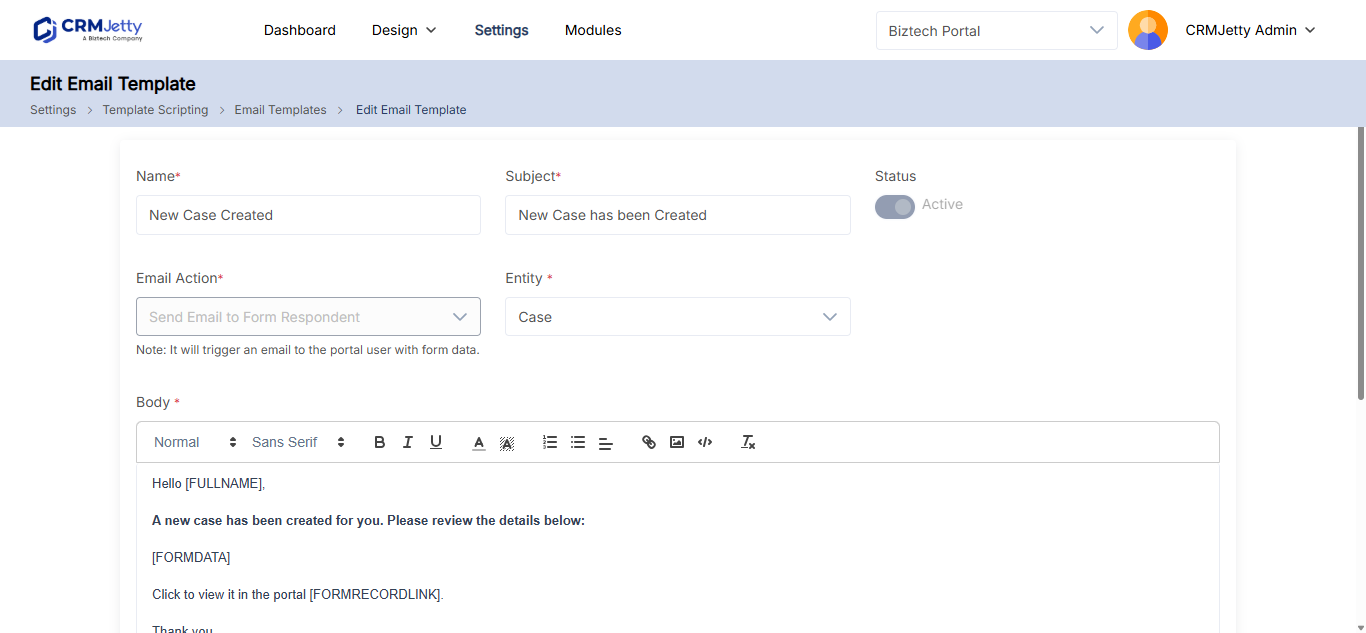
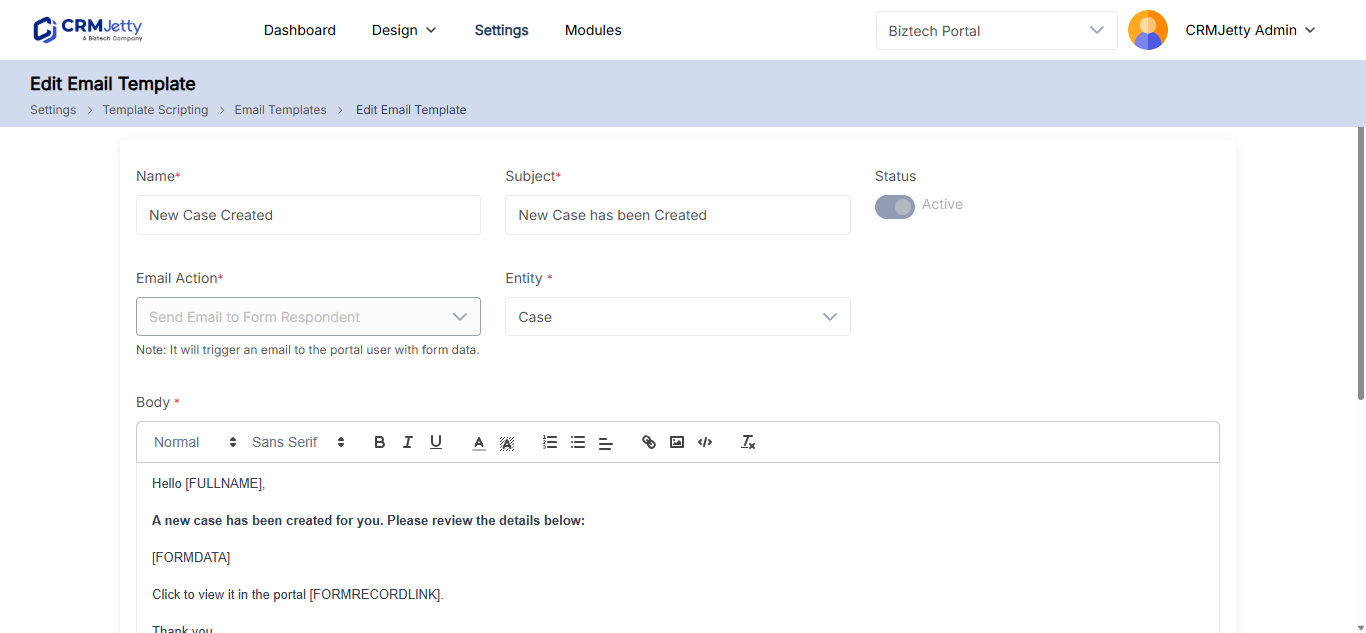
- In Name, enter a name for the template.
- In Subject, enter the email subject.
- In Status, select Active.
- In Email Action, select Send Email to Form Respondent.
- In Body, write the email content and add the parameters shown below the body.
- Select Save, then select OK in the pop-up to activate the template.
Note: When you activate a new template for an email action, the previous template for that action becomes inactive.
The template follows the entity of the selected form. For a parent-child form, the template can use the fields of both entities. See How to Link Parent and Child Records in a Form.
For more on templates and parameters, see How to Customize Portal Email Templates.
Turn on the email in the Form widget
- Go to Design → Page Builder and open the page that holds your Add form.
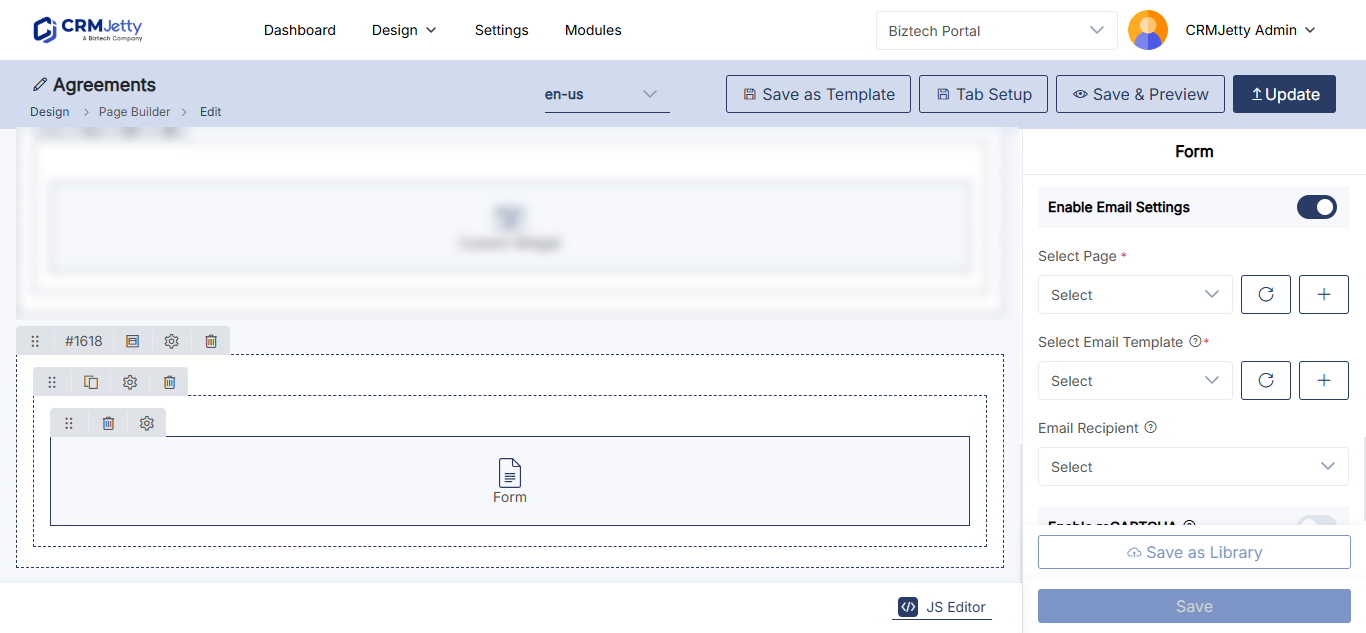
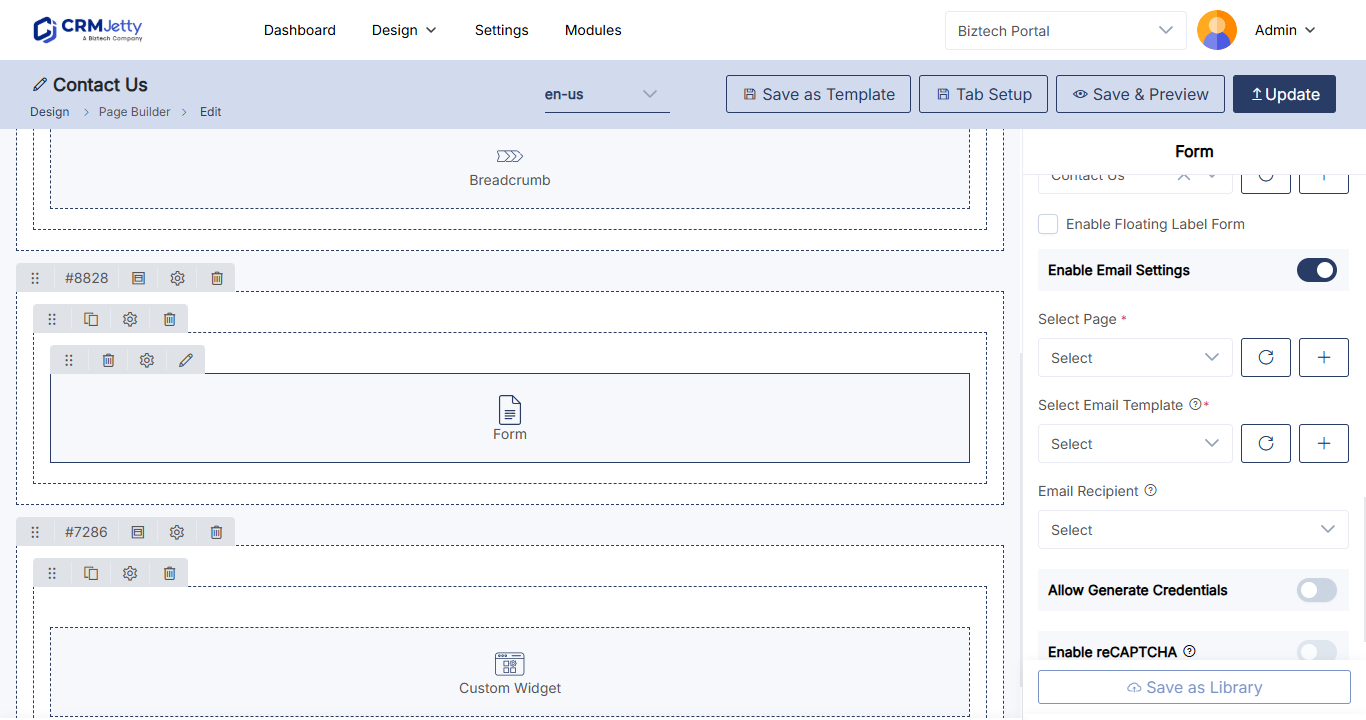
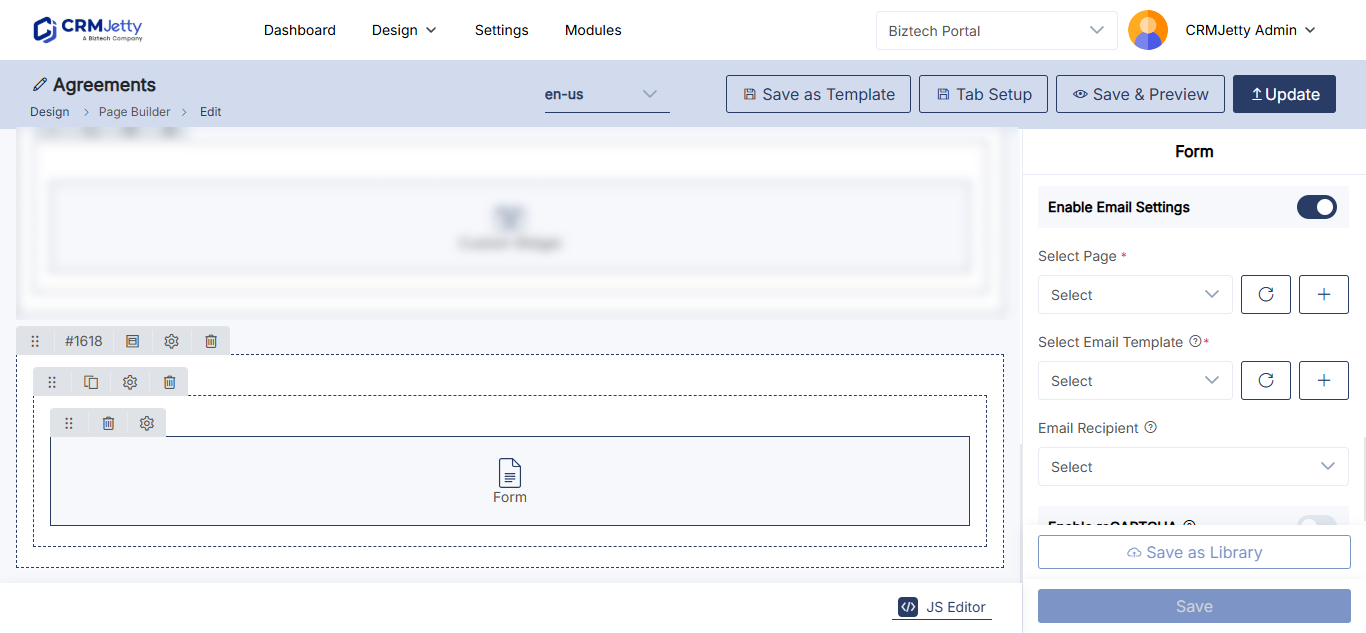
- Select the Settings icon on the Form widget.
- Under Enable Email Settings, fill in the settings in the table below.
- Select Save.
- Publish the page.
| Setting | What it does |
|---|---|
| Select Page | The page linked in the email. The portal turns the record link into a page link, so the submitter can open the selected page from the email. |
| Select Email Template | The email template to send. |
| Email Recipient | The field that holds the primary recipient’s email address. This recipient gets all email communication for the record. |
Who receives the email
| Page access | Recipient |
|---|---|
| Before login (public page) | The address in the form’s email field. The form must include an email field. |
| After login | The email address of the signed-in portal user. The email contains the form details. |
Troubleshooting
The email settings don’t appear in the Form widget: Check that the widget shows an Add form. The settings appear only for Add forms.
The template is not in the list: Check that the template is Active and uses the Send Email to Form Respondent action.
The email is not received: Check Settings → Portal Settings → Failed Email Logs for the error. See How to Fix Portal Emails That Are Not Sending.