
Do Portal Contact Changes Sync Back to the CRM?
Contacts in the portal are your CRM’s contacts. When you add or edit a contact in the admin portal, the change is saved in your CRM too. Changes made to a contact in your CRM show in the portal as well.
Important: Deleting a contact here also deletes it in your CRM. If your CRM has deletion rules (for example, the contact is linked to other records), the portal shows the CRM’s error and the contact isn’t deleted. To remove portal access only, use Disable from Bulk Actions instead.
What syncs
| Action in the portal | Result in your CRM |
|---|---|
| Create a contact | A new contact is created in your CRM |
| Edit a contact | The contact is updated in your CRM |
| Delete a contact | The contact is deleted in your CRM too. If your CRM’s deletion rules block it, the CRM error is shown and the contact stays. |
| A visitor registers on the portal | The contact appears in Portal User Setup with your other contacts |
Timing depends on your CRM’s API limits. See CRM API Limits and Portal API Usage Explained.
Portal user roles are the exception. Roles are managed only in the CRMJetty admin portal and are not CRM security roles. See Portal Roles vs CRM Roles Explained.
Before you start
- Only admin users with permission to add contacts can create, approve and generate credentials for contacts.
- In Business Central, customer and vendor contacts are on Settings → User Settings → Portal User Customer and Portal User Vendor. See How to Set Up Customers in Business Central Portal.
- The contact form and list in Portal User Setup follow the layout you set in the portal user settings. See How to Configure Portal User Settings and Layouts.
Where to manage contacts
Go to Settings → User Settings → Portal User Setup. The list shows contacts:
- created in your CRM
- created in the admin portal
- registered from the portal website
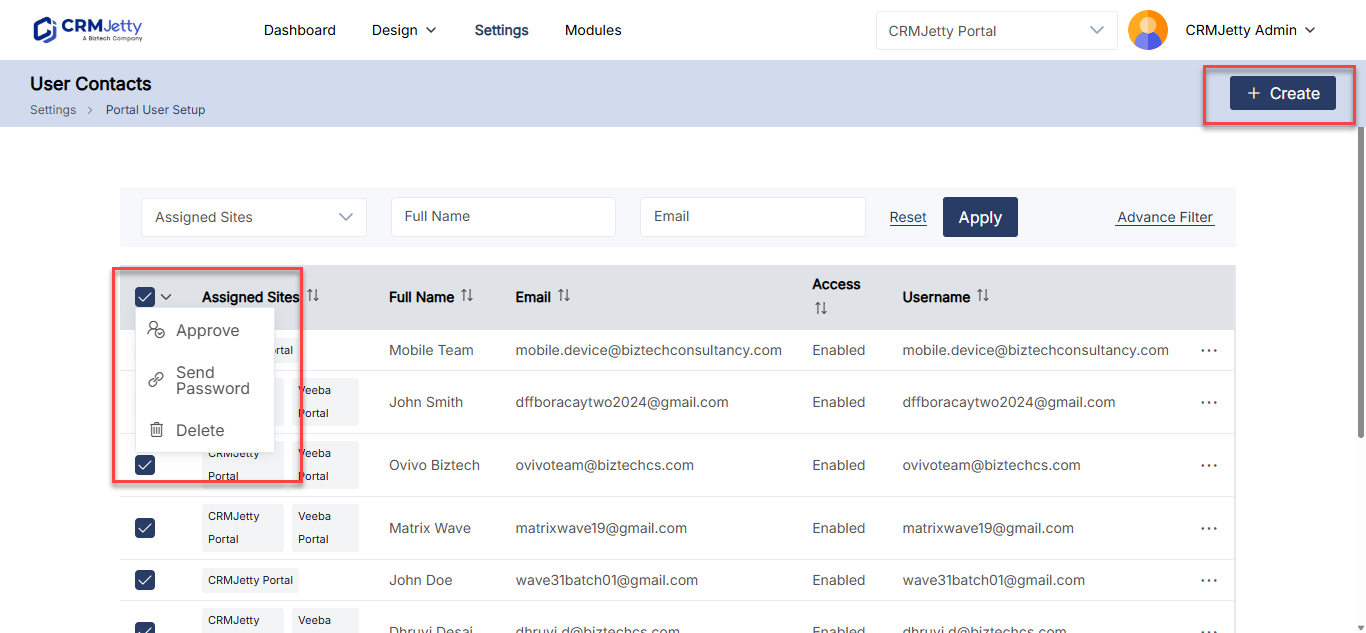
Add a contact
- Go to Settings → User Settings → Portal User Setup.
- Select Create.
- Enter the contact details. Fill in every mandatory field.
- In Role, choose the portal user role. If you leave it empty, the contact gets the Default role.
- Select Save, or Save & Generate Credentials to also send the contact an email with the portal access link.
The contact is created in the portal and in your CRM.
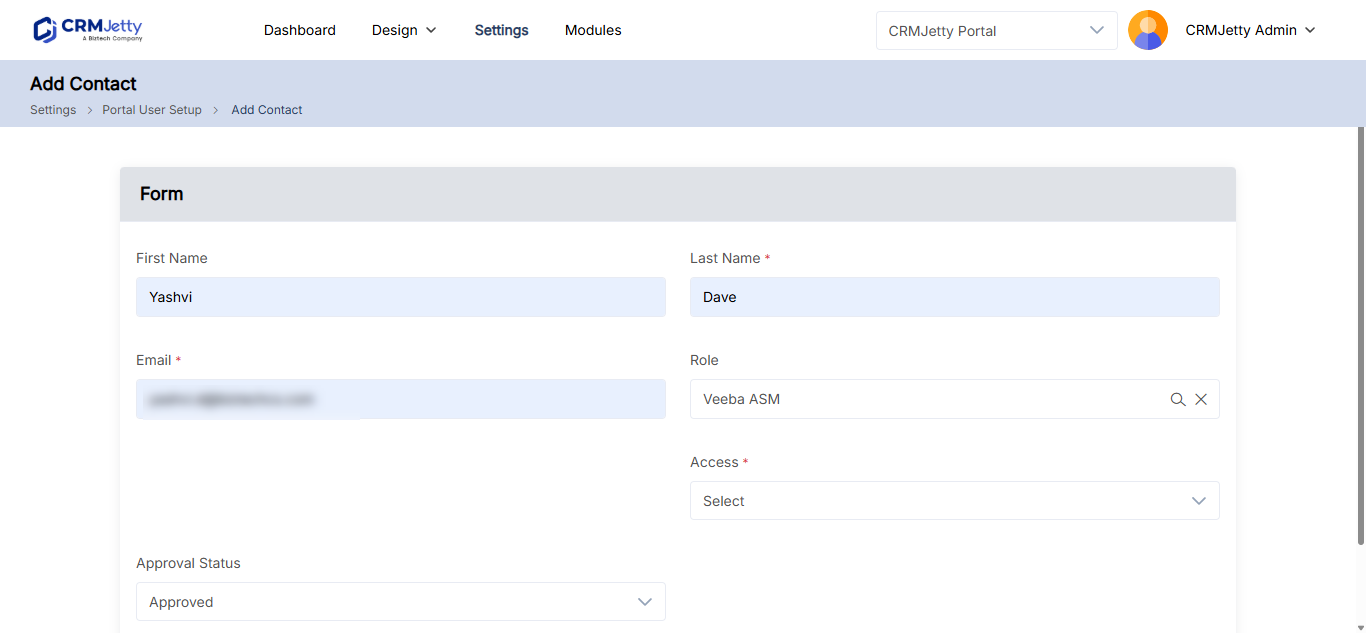
Note: Save does not send a verification link. You can approve the contact and generate credentials later from the contact list. See How to Generate Portal Login Credentials in Bulk.
Edit a contact
- In the Portal User Setup list, select the … menu next to the contact.
- Select the edit icon.
- Update the details.
- Select Save.
The changes are saved in your CRM.
Delete a contact
- In the Portal User Setup list, select the … menu next to the contact.
- Select the delete icon.
- In the warning message, select OK.
Important: Deleting is permanent, and it also deletes the contact in your CRM, unless your CRM’s deletion rules block it. To remove portal access only and keep the contact, select the contact and choose Disable from Bulk Actions instead.
Troubleshooting
The contact list or form is empty: The portal user form and list have not been set up. Create them in the portal user settings first.
A change made in the CRM doesn’t show yet: Wait a moment and reload the page. Timing depends on your CRM’s API limits.
Related articles
- How to Add Portal Users from CRM Contacts
- How to Edit Portal User Details
- How CRM Data Sync Works in CRMJetty Portal
- CRM API Limits and Portal API Usage Explained
- Portal Roles vs CRM Roles Explained