
How to Use the CRMJetty Portal Admin Dashboard
The admin Dashboard is the first page you see after you sign in to the CRMJetty admin portal. It shows the current state of your portal at a glance and gives you shortcuts to the tasks you do most often.
Before you start
- You need an admin or sub-admin account for the CRMJetty admin portal. See Getting Started with CRMJetty Portal.
- Sub-admins see the dashboard too, but what they can open from it depends on their admin role. See How to Create Admin Roles and Permissions.
Open the dashboard
- Sign in to the admin portal with your admin email and password.
- The Dashboard opens automatically.
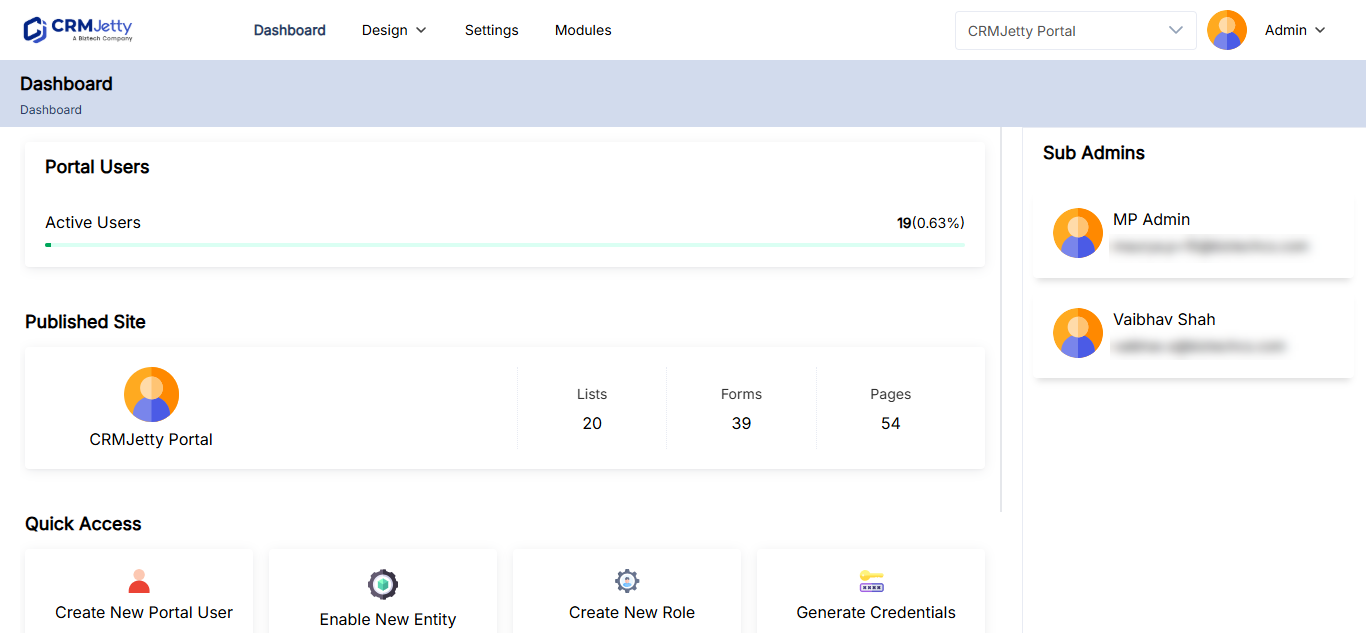
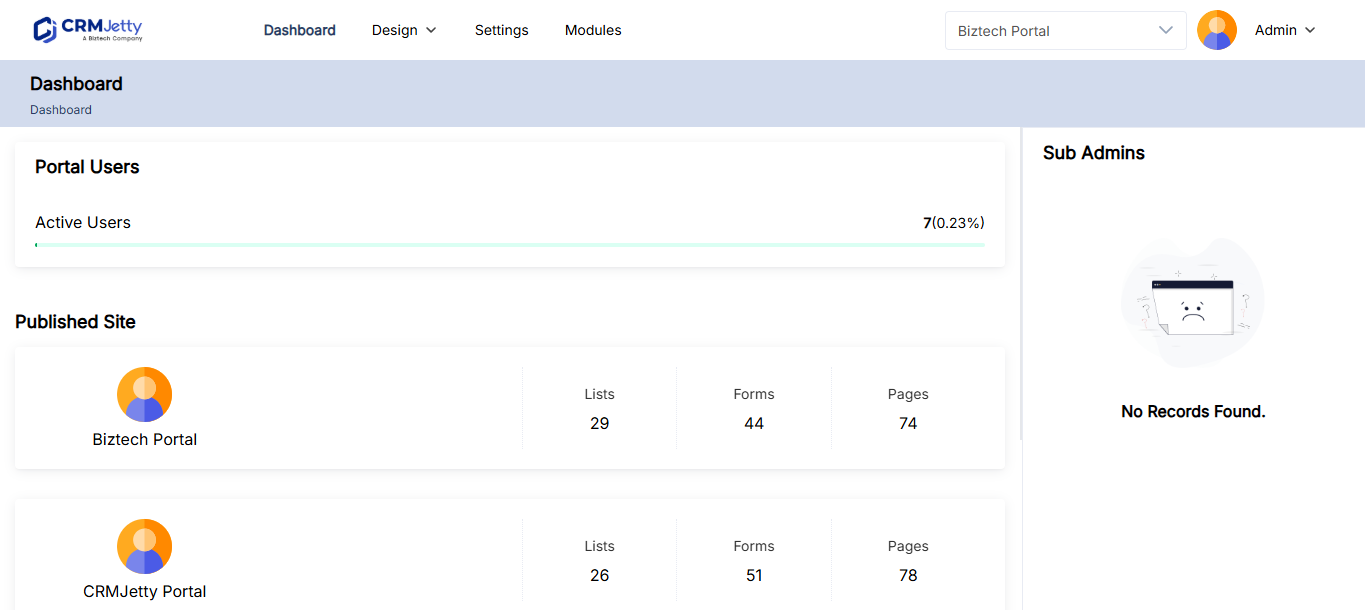
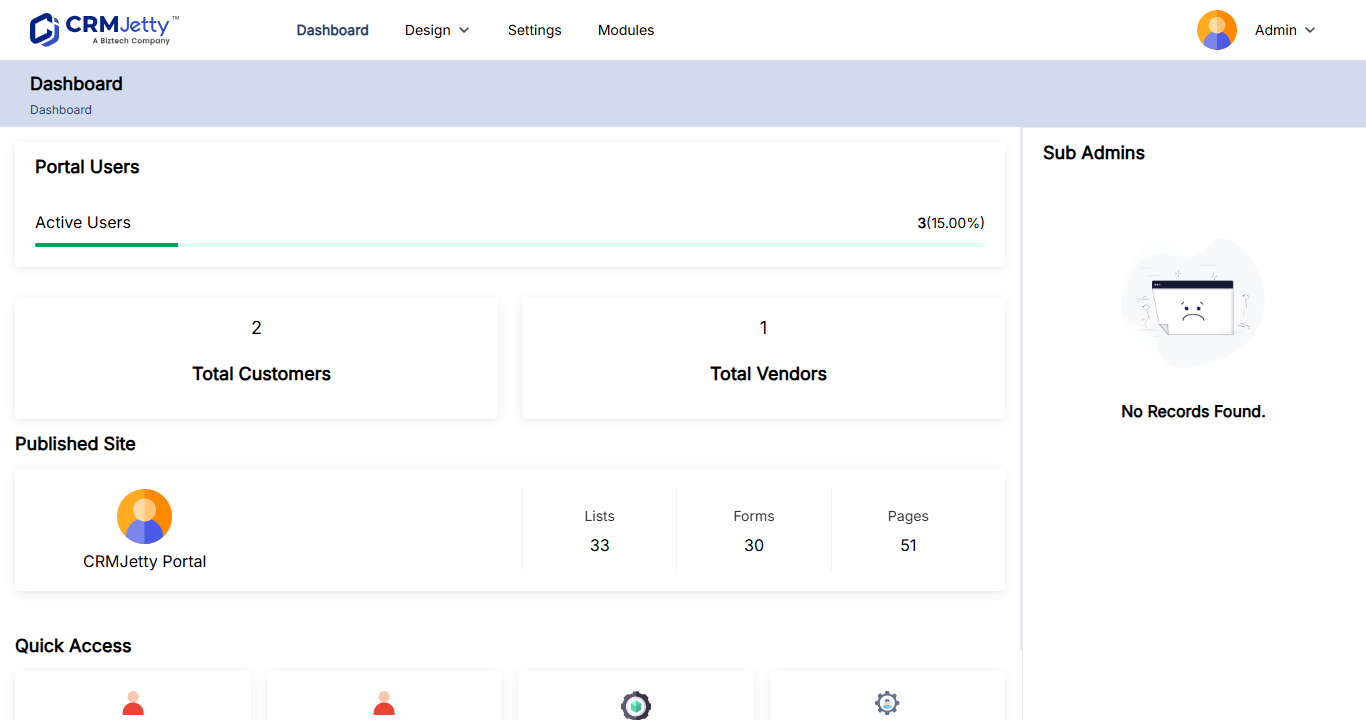
What the dashboard shows
| Section | What it shows |
|---|---|
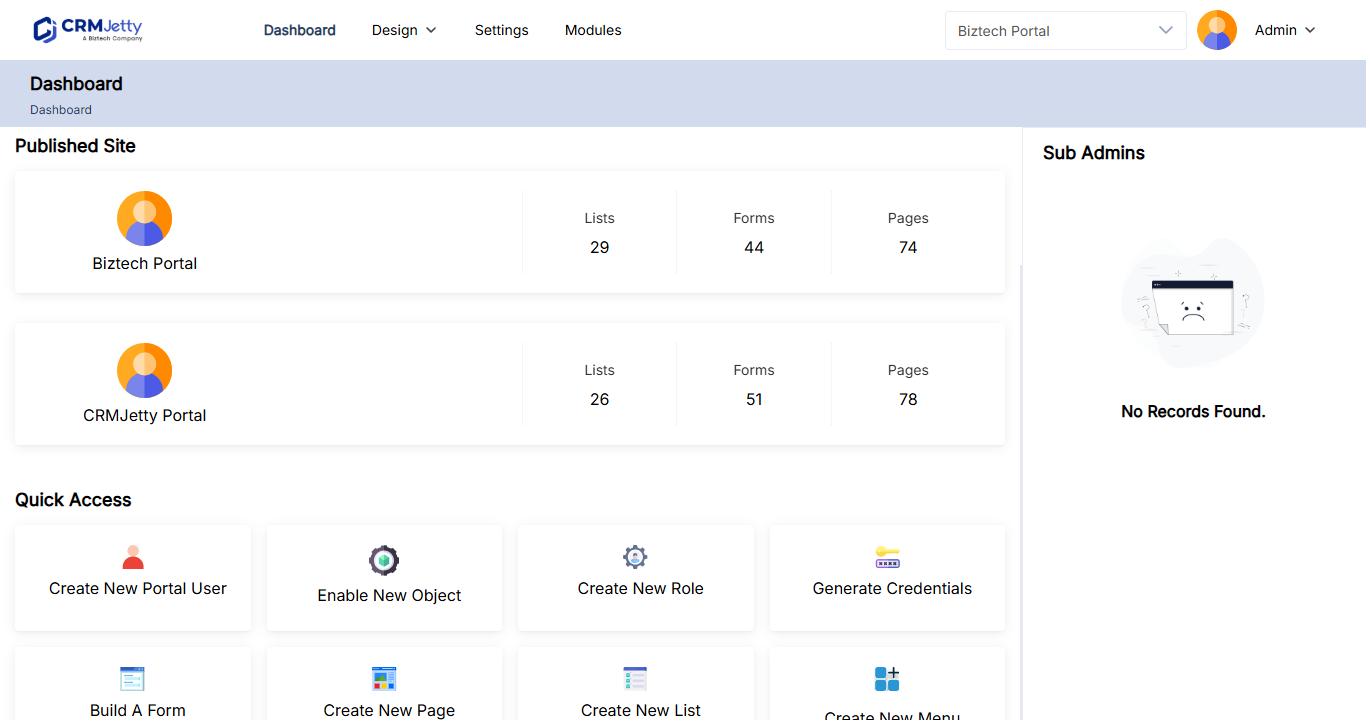
| Portal Users | The number of active portal users, with a progress indicator showing the percentage of portal users who are active. |
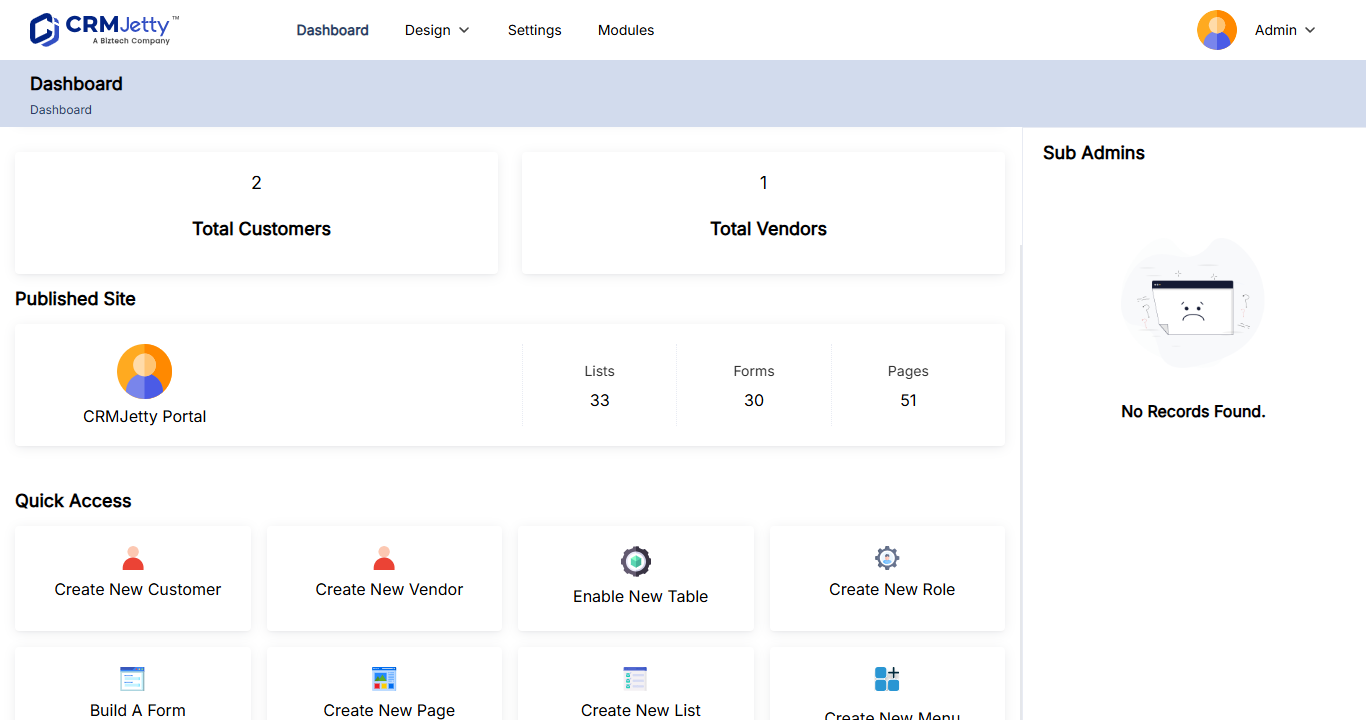
| Portal Overview (Business Central: Publish Sites) | How many Lists, Forms and Menus your portal has. |
| Quick Access | Shortcuts to frequently used actions, at the bottom of the dashboard. |
| Sub Admin | The sub-admins on your portal, on the right side of the dashboard. If no sub-admin is assigned, it shows “No Records Found”. |
Tip: Your plan sets how many portal users you can have. To see your plan’s status and expiry date, open Plan Details. See also CRMJetty Plans and Feature Availability.
Use the Quick Access shortcuts
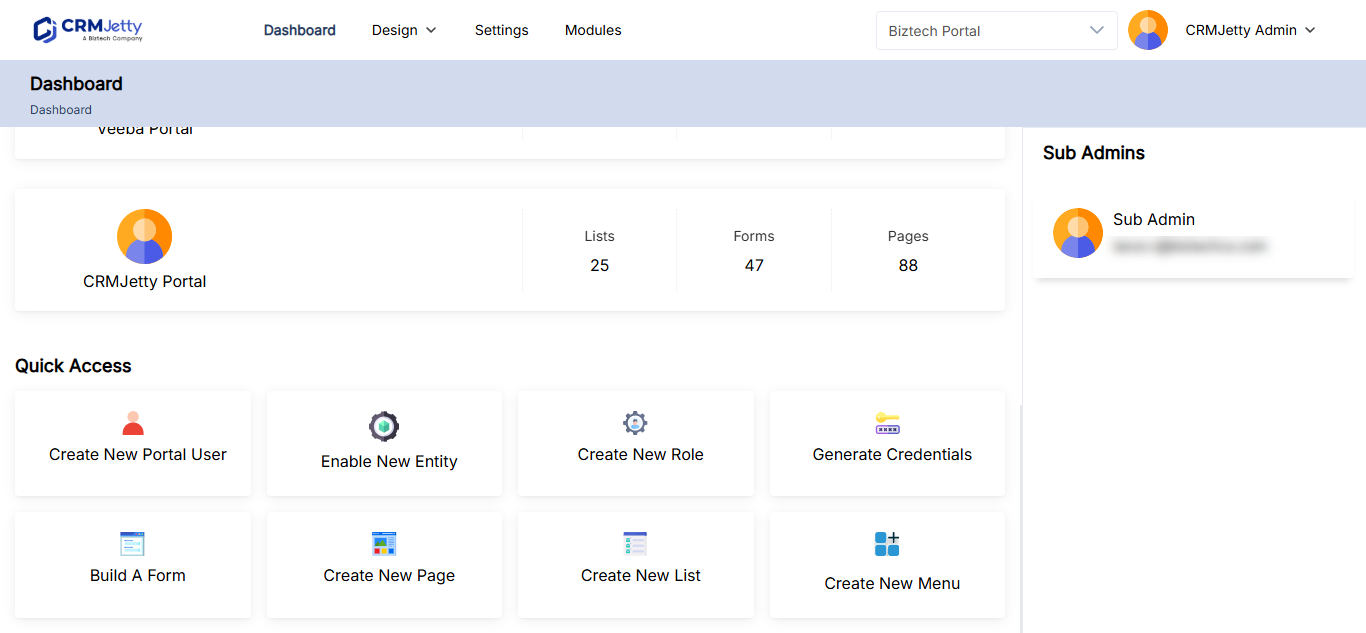
Select a shortcut in Quick Access to go straight to the task.
| Shortcut | What it does | Learn more |
|---|---|---|
| Create New Portal User | Adds a new user to the portal. | How to Add Portal Users from CRM Contacts |
| Enable New Entity | Makes a CRM entity (Dynamics 365), object (Salesforce) or table (Business Central) available in the portal. | How to Enable CRM Entities and Custom Objects in the Portal |
| Create New Role | Sets up a new role for portal users. | How to Create Portal User Roles and Permissions |
| Generate Credentials | Creates and sends login credentials for portal access. | How to Generate Portal Login Credentials in Bulk |
| Build A Form | Designs and creates a new form. | How to Create a Portal Form for Any CRM Entity |
| Create New Menu | Adds a new navigation menu to the portal. | How to Create Portal Navigation Menus |
| Create New Page | Sets up a new portal page. | How to Create Pages in CRMJetty Portal |
| Create New List | Creates a new list view of CRM records. | How to Create List Views in CRMJetty Portal |
In Business Central, Create New Portal User is replaced by Create New Customer and Create New Vendor, and Enable New Entity is Enable New Table. See How to Set Up Customers in Business Central Portal and How to Set Up a Business Central Vendor Portal.
Manage your admin profile
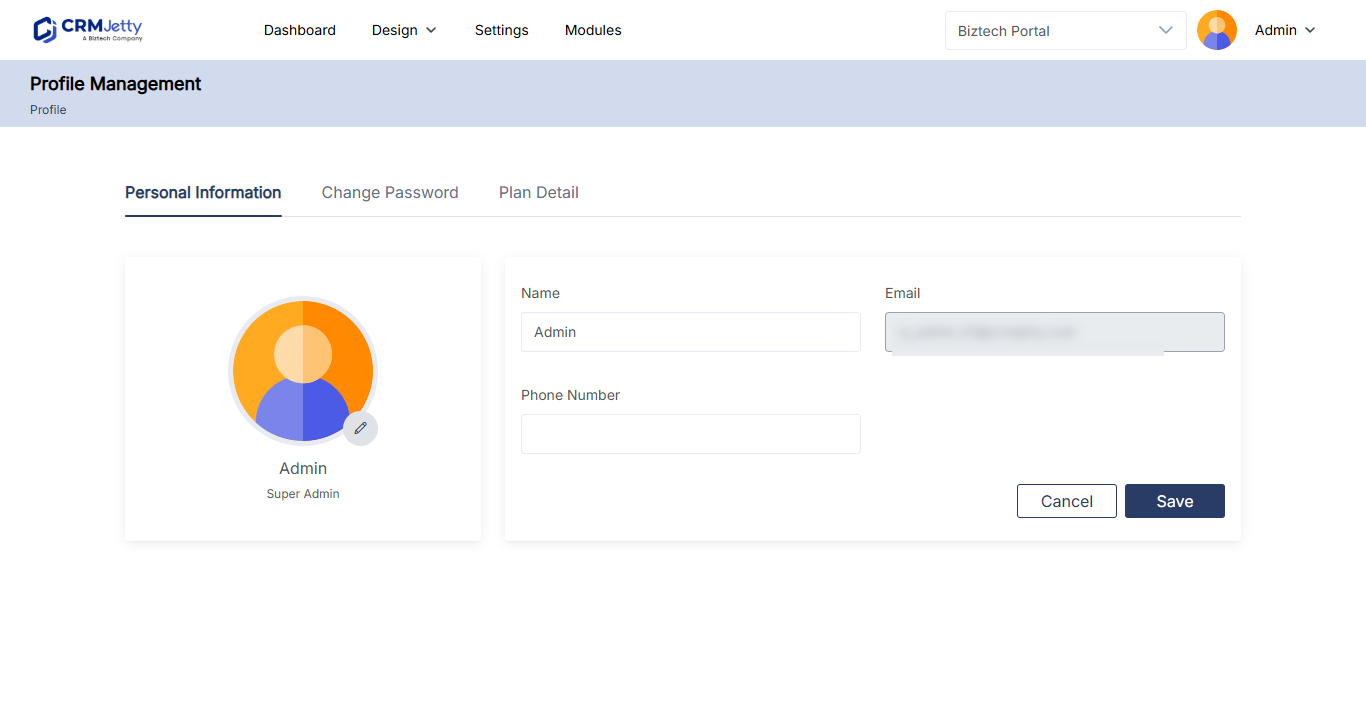
Select the profile icon on the right side of the page to open your profile. The profile page has three sections: Personal Information, Change Password and Plan Details.
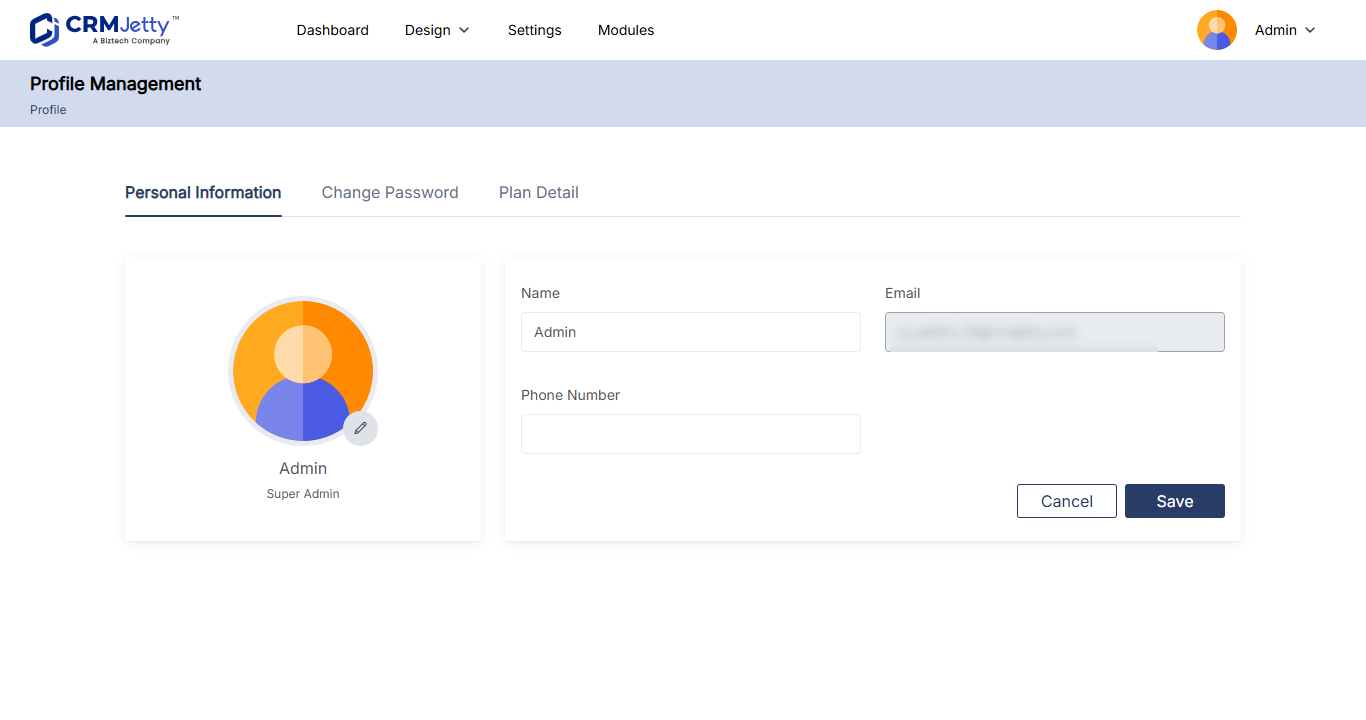
Update your personal information
- Select the profile icon, then open Personal Information.
- To change your profile picture, select the edit icon and upload an image from your device.
- Update your Name and Phone Number as needed.
- Select Save.
A success message confirms that your changes are saved.
Note: You can’t change your Email address from the profile page.
Change your password
- Select the profile icon, then open Change Password.
- Enter your Current Password.
- Enter the New Password.
- Enter the new password again in Confirm Password.
- Select Save.
A success message confirms that your password is changed.
View your plan details
Select the profile icon, then open Plan Details. This section is read-only.
| Field | What it shows |
|---|---|
| First Name | The first name on the account. |
| Last Name | The last name on the account. |
| The email address on the account. | |
| Domain | The domain associated with the account. |
| Expiry Date | When your current plan expires. |
| Status | The status of your plan, for example Active or Expired. |
To compare plans or change yours, see Pricing.
Troubleshooting
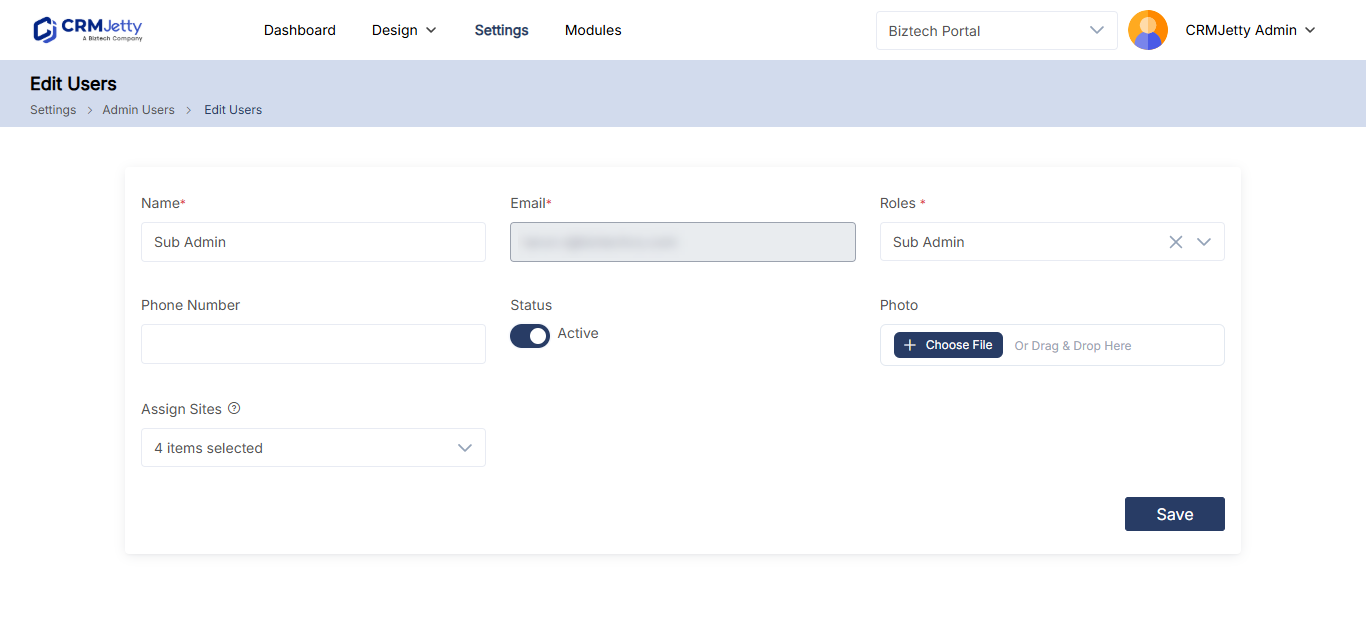
The Sub Admin section shows “No Records Found”: No sub-admin is assigned to the portal yet. See How to Add Admin and Sub-Admin Users to the Portal.
Related articles
- Getting Started with CRMJetty Portal
- How to Add Admin and Sub-Admin Users to the Portal
- How to Create Admin Roles and Permissions
- How to Build a Customer Portal Dashboard
- CRMJetty Plans and Feature Availability