
How to Edit Form Field Labels and Placeholders
Field labels and placeholders in portal forms are set per form in the Form Builder. Changing them affects only the portal form. The field name in your CRM stays the same. This works for fields added with Create New and with Use Existing.
Before you start
- You need admin access to the CRMJetty admin portal.
- The form must already exist. See How to Create a Portal Form for Any CRM Entity.
Field settings you can change
| Setting | What it does |
|---|---|
| Label | The field name portal users see on the form. |
| Placeholder | Text shown inside the input box before the portal user enters data. |
| Help Tip | Extra guidance about the field for portal users. |
| Default Value | A value the field is filled with by default. |
| Read Only | Portal users can see the field but cannot enter data in it. |
| Required | Portal users must fill in the field before they can continue. |
Steps
- Go to Design → Form Builder.
- On the Forms page, select Edit on the form you want to change.
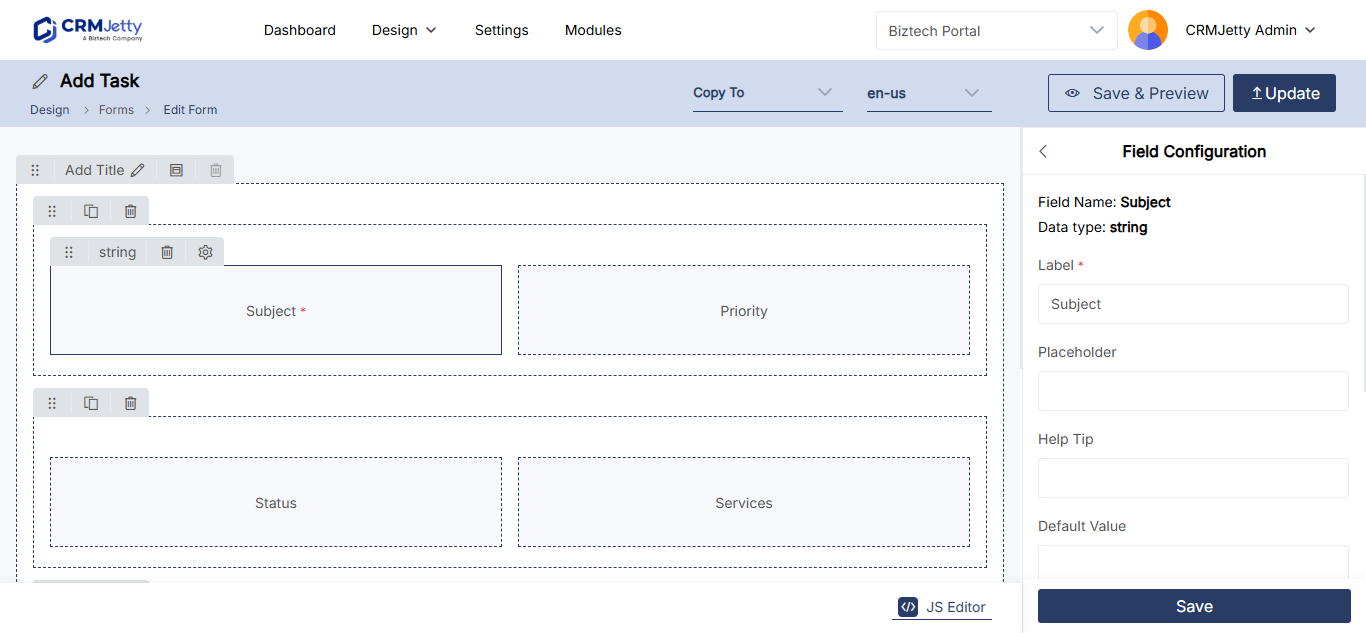
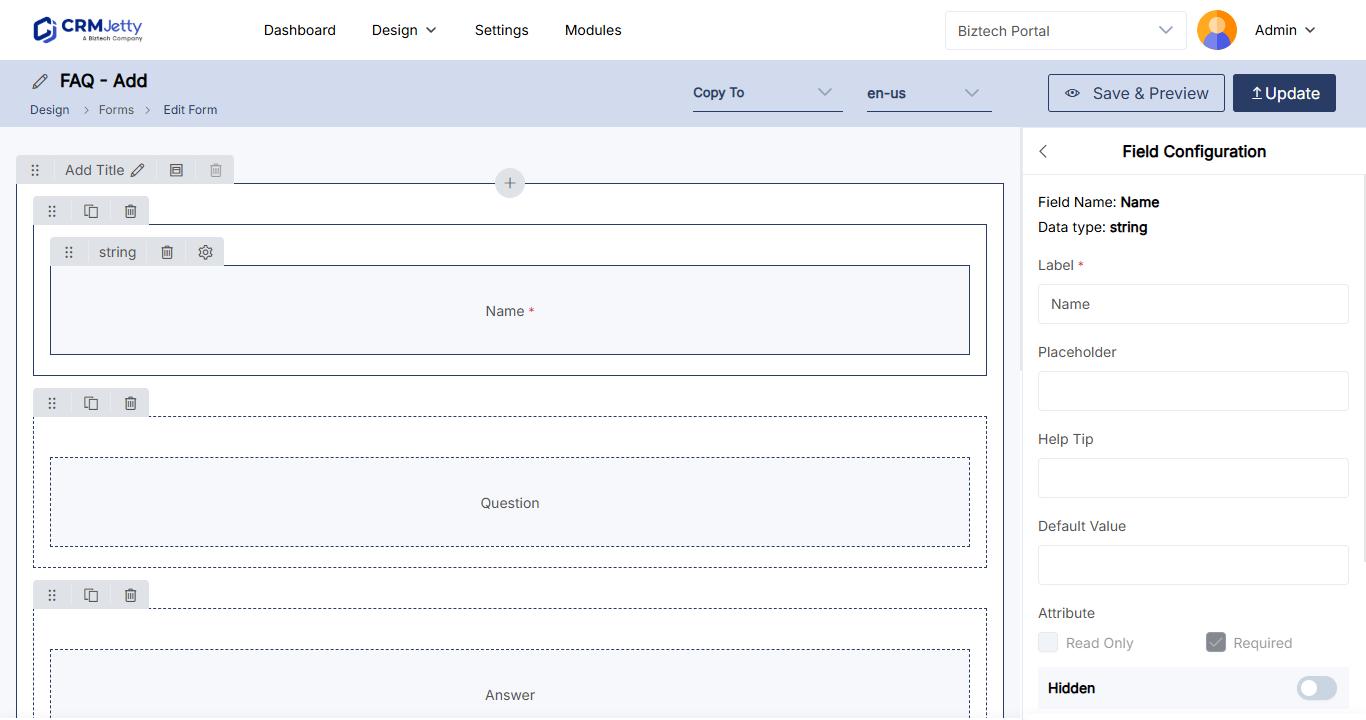
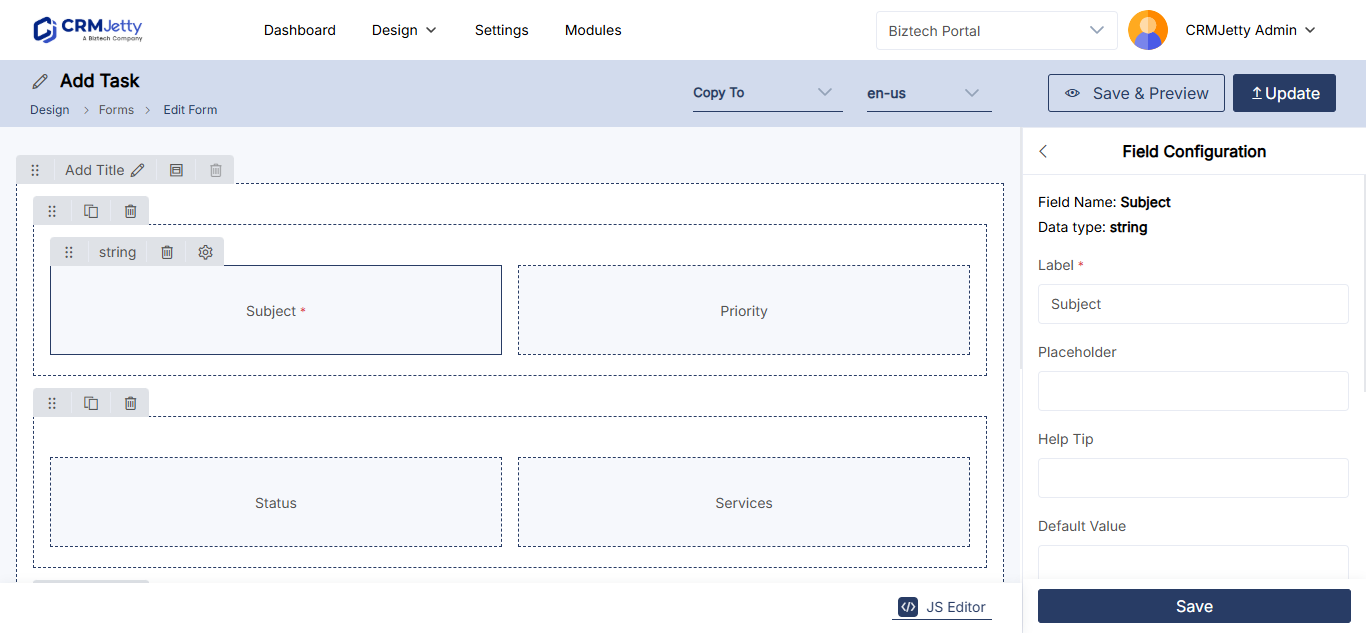
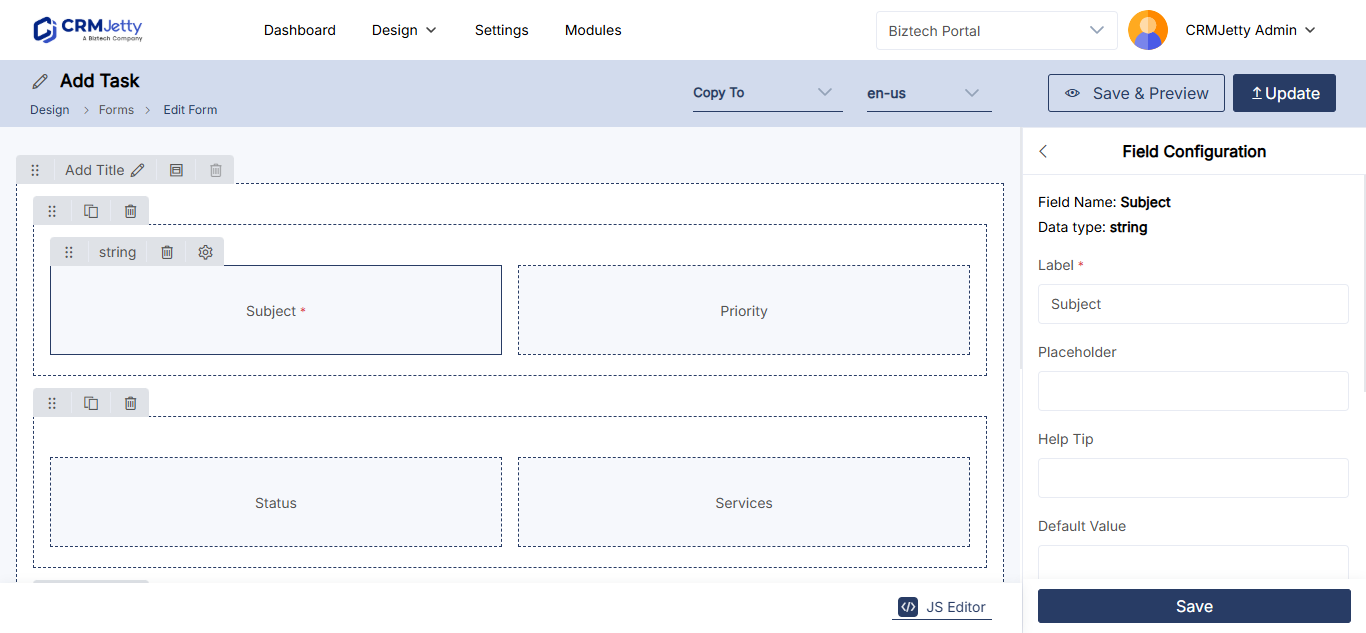
- In the form layout, select the Settings icon on the field. The Field Configuration panel opens.
- In Label, enter the field name portal users should see.
- In Placeholder, enter the hint text for the input box.
- In Help Tip, enter any short guidance for the field.
- Optional: set a Default Value, and select Read Only or Required.
- Select Save.
- Repeat for each field you want to change.
- Select Publish, or keep the form as a draft.
Tip: When you design a new Add form, use Copy to Edit and Copy to Detail to create the Edit and Detail forms from the same layout.
Change a column label in a list
List columns have their own labels, set in Design → Lists:
- Go to Design → Lists.
- Select the three dots (…) next to the list, then select Edit.
- Select the Settings icon on the column. The field configuration opens.
- Enter the new name in Label and select Save.
- Select Publish.
Translated labels
Labels you enter are form content. When you translate the form into another portal language, the labels are translated too. See How to Translate Portal Forms and Lists.
Troubleshooting
The new label does not show in the portal: Check that you selected Save in the Field Configuration panel and then published the form. Draft changes do not appear in the portal.
The label changed on the Add form but not on the Edit form: Open the Edit form in the Form Builder and check the field’s Label there.
Related articles
- How to Create a Portal Form for Any CRM Entity
- How to Design Add, Edit and Detail Form Layouts
- How to Show or Hide Form Fields Conditionally
- How to Translate Portal Forms and Lists