
How to Embed Videos in a Portal Page
The Video widget shows a video on any portal page, for example a product demo on the dashboard or a how-to video next to a support form. You can use a YouTube link or paste the embed code from another video platform.
Before you start
- You need access to the Design menu in the admin portal.
- Have the YouTube URL of the video, or the embed code from your video platform. Embed code must contain an
iframe. - Create the page first, or open an existing one. See How to Create Pages in CRMJetty Portal.
Add the Video widget
- Go to Design → Page Builder.
- Open the page in edit mode, or select Create to start a new page.
- In a section, add a grid if there isn’t one yet.
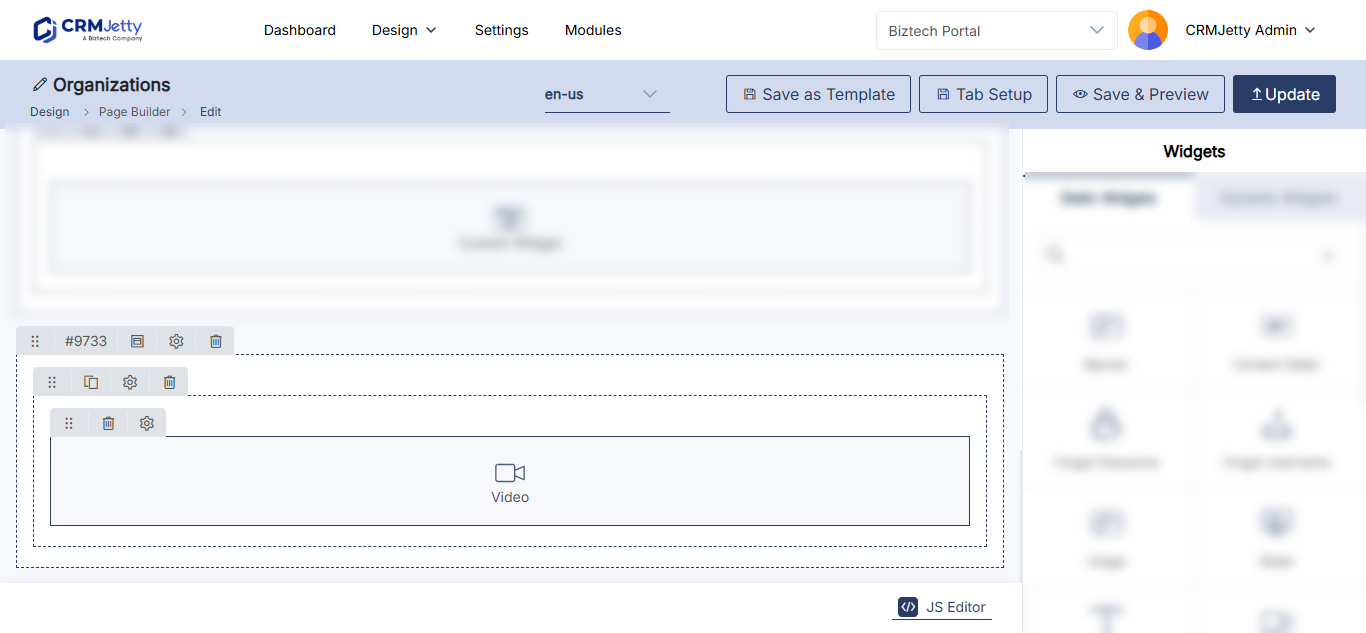
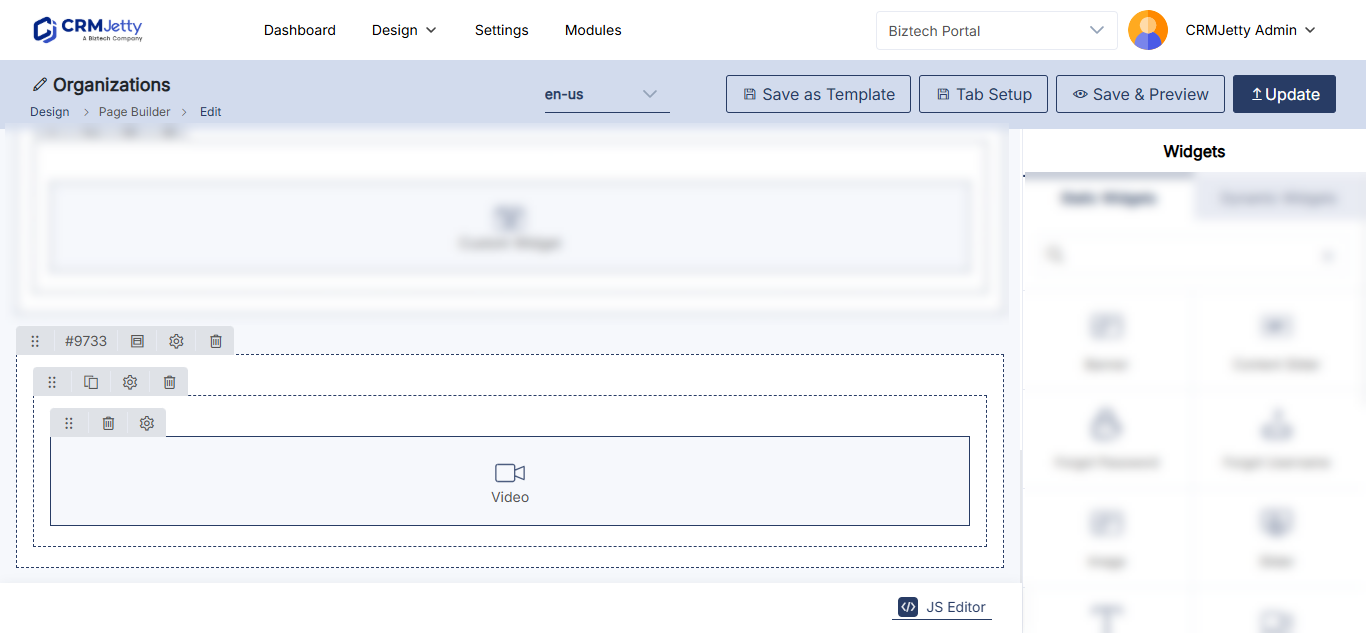
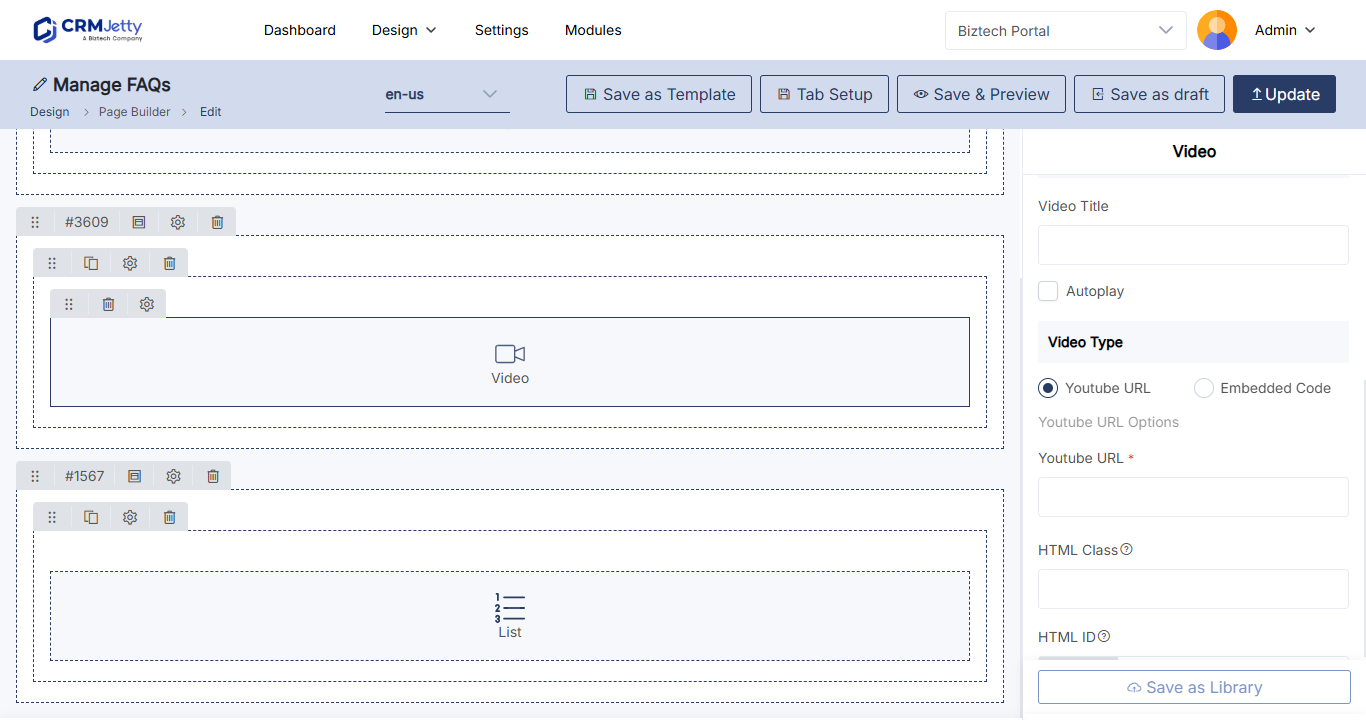
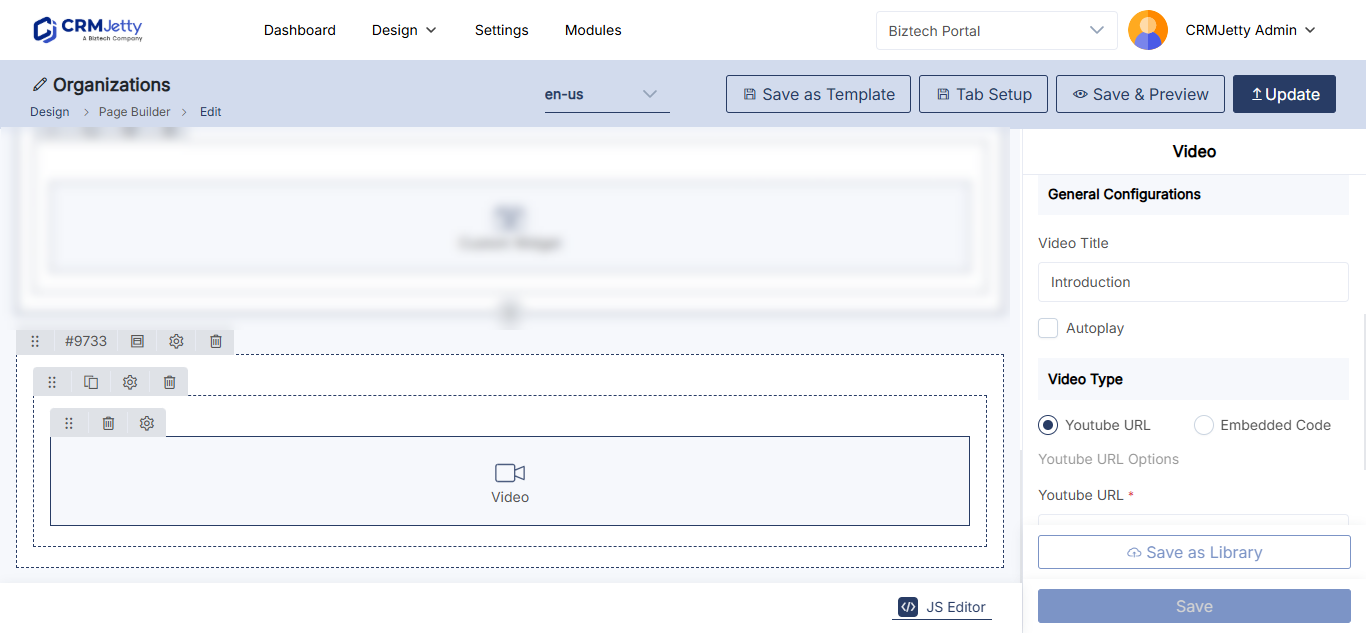
- Select the Video widget to add it to the grid, or drag it onto the grid.
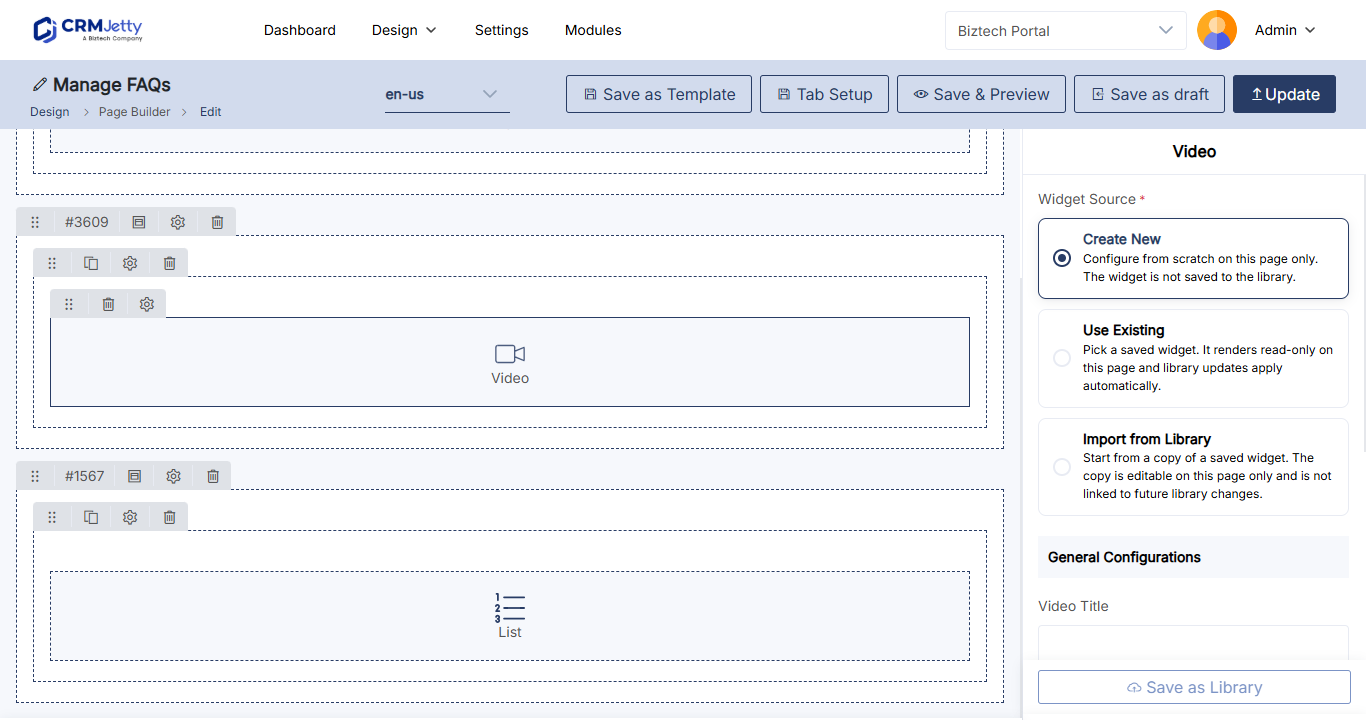
- Select the Settings icon on the widget to open its configuration panel.
Configure the video
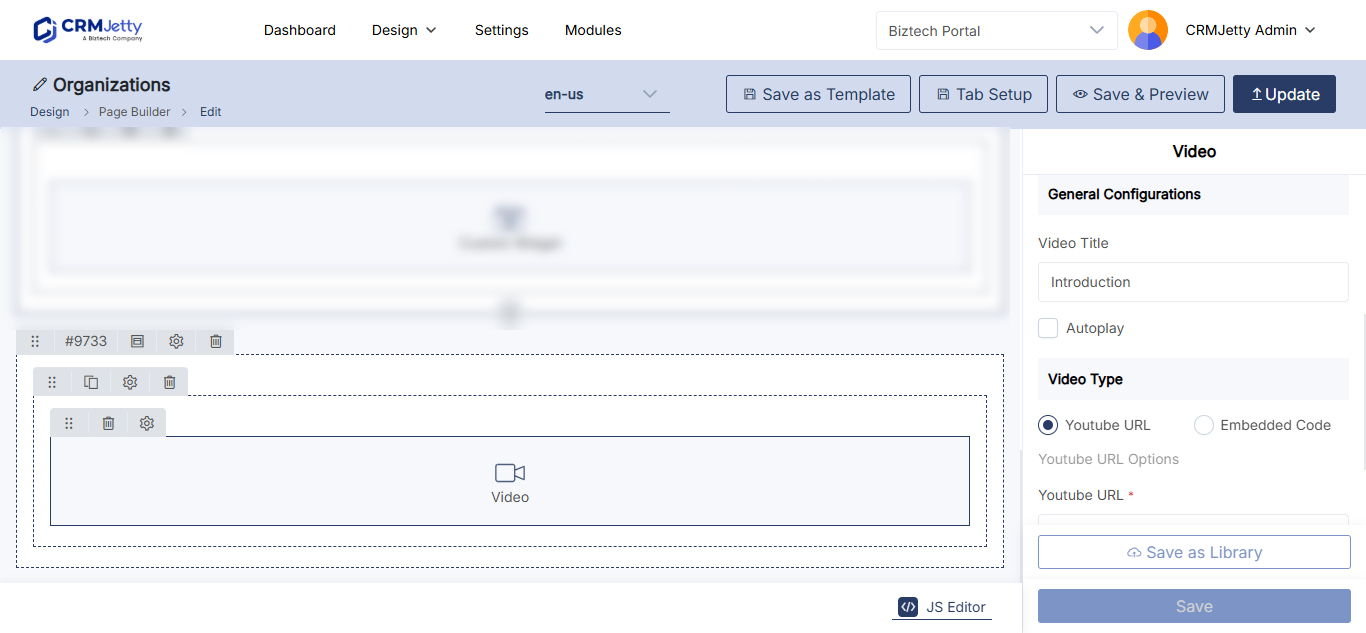
- Fill in the settings in the table below.
- Select Save.
- Select Publish to make the video live in the portal.
| Setting | What to enter |
|---|---|
| Video Title | A title for the video. |
| Autoplay | Select it to start the video automatically when the page loads. |
| Video Type | YouTube URL to link a YouTube video, or Embedded Code for a video from another platform. |
| YouTube URL | The URL of the YouTube video. Shown when Video Type is YouTube URL. |
| Embedded Code | The embed code from your video platform. It must contain an iframe and be in a proper format. Shown when Video Type is Embedded Code. |
| HTML Class | Optional. Custom CSS classes to style the widget. |
| HTML ID | Optional. A unique ID for the widget. The portal adds the prefix custom-. |
| Card View | Optional. Shows the video in a card-style layout. |
For how to use HTML Class and HTML ID, see How to Add Custom HTML IDs and CSS Classes to Widgets.
Tip: Many browsers block autoplay with sound. If the video does not start on its own, portal users can still play it from the player.
Important: Paste embed code only from video platforms you trust. The code runs in your portal users’ browsers.
Remove a video
- Open the page in Design → Page Builder.
- Select the Delete icon on the Video widget.
- Publish the page.
Use a video as a banner background
To play a video behind a banner heading instead of in a player, use the Banner widget. It accepts an uploaded video file or an external video link as its background. See How to Add a Banner to a Portal Page.
Troubleshooting
The video does not show in the portal: Check that you selected Save in the widget settings and then published the page. Draft pages are not visible to portal users.
Embedded code shows nothing or shows raw text: Make sure you pasted the full embed code, including the iframe tag, and not just the video page URL. For a YouTube video, use YouTube URL instead.
Related articles
- How to Create Pages in CRMJetty Portal
- How to Add a Banner to a Portal Page
- How to Embed External Content with an IFrame
- How to Build a Customer Portal Dashboard
- How to Add Custom HTML IDs and CSS Classes to Widgets