
How to Add Custom HTML IDs and CSS Classes to Widgets
Every widget has an HTML Class and an HTML ID setting. Use them to give a widget a name you can target from custom CSS, for example to change the color of one button, or from custom JavaScript. You can do the same for whole page sections.
Before you start
- You need access to the Design menu in the admin portal.
- Decide where you will use the class or ID: in custom CSS (see How to Add Custom CSS to CRMJetty Portal) or in custom JavaScript (see How to Add Custom JavaScript to the Portal).
Add a class and ID to a widget
- Go to Design → Page Builder and open the page in edit mode.
- Select the Settings icon on the widget.
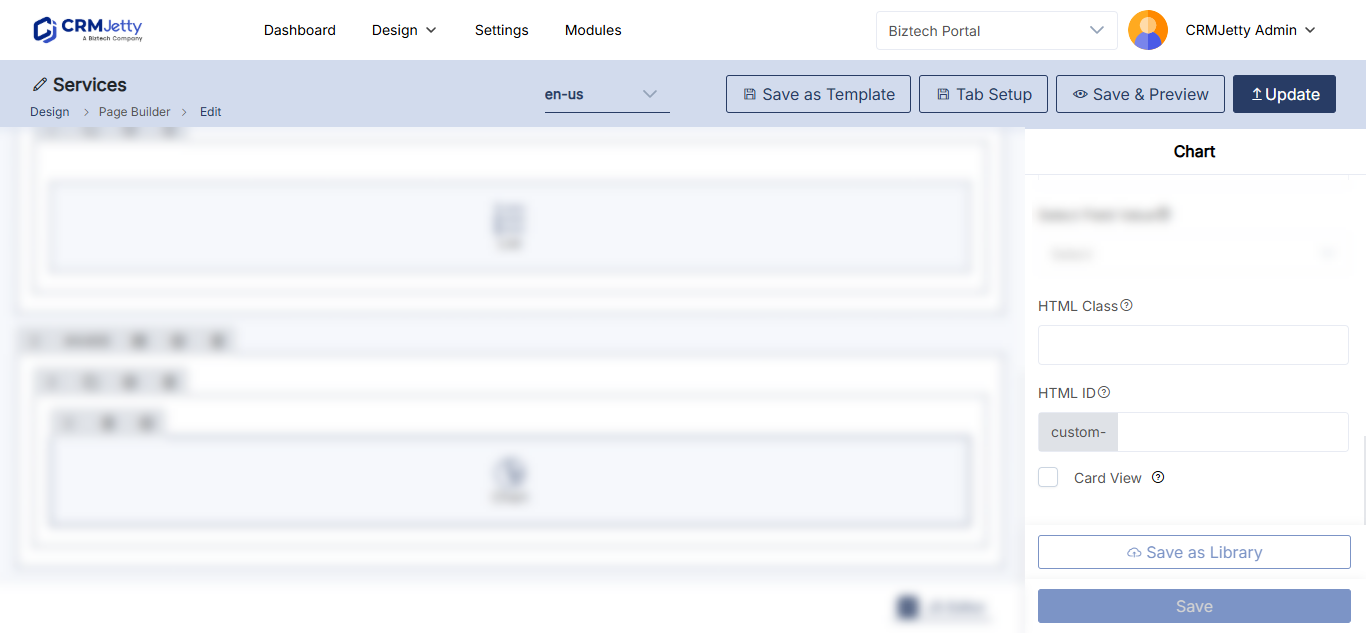
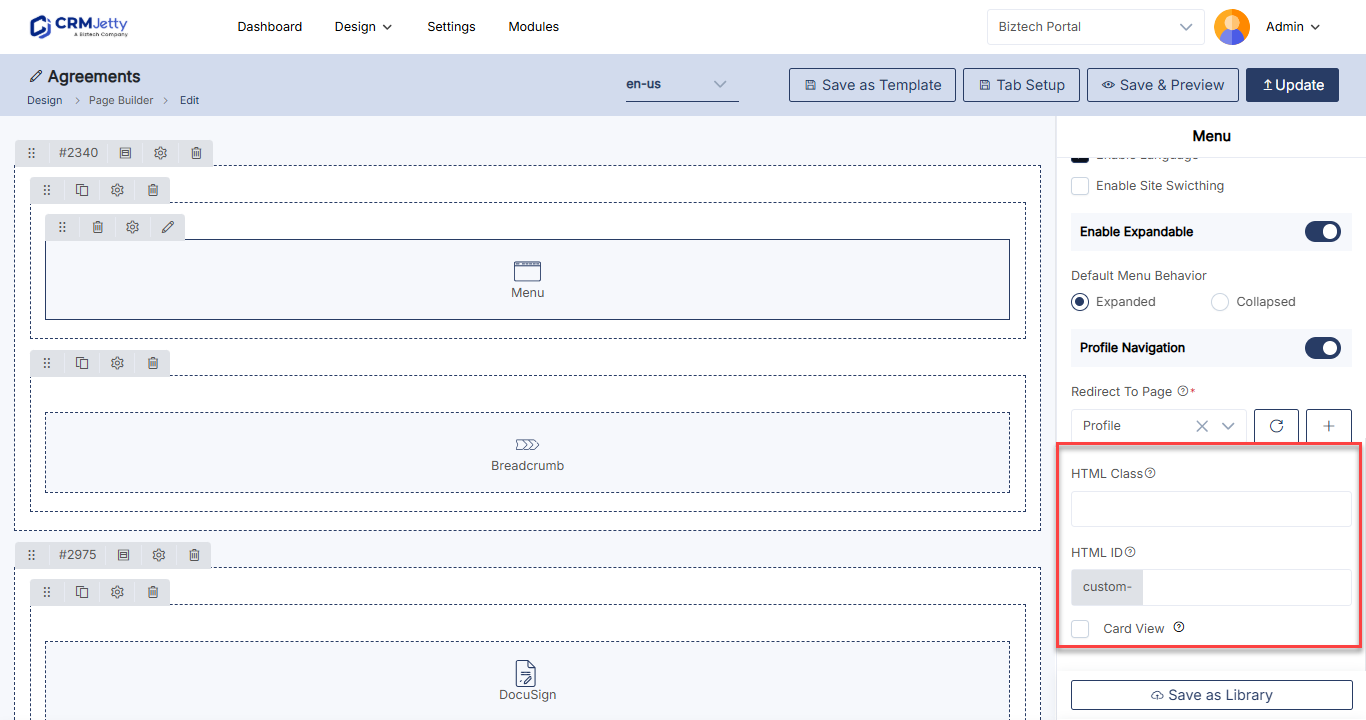
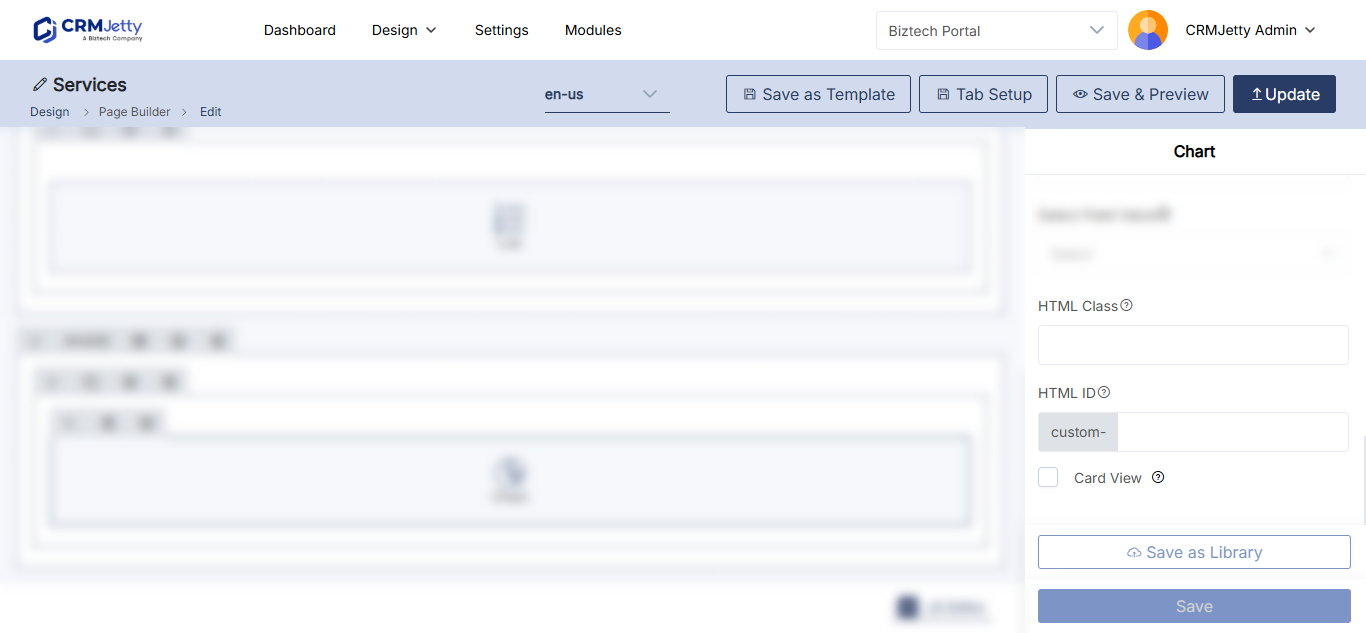
- Scroll to the widget’s settings section at the end of the panel, for example Video Settings, Chart Setting or Data Card Setting.
- Enter the HTML Class.
- Enter the HTML ID.
- Select Save.
- Select Publish to apply the change in the portal.
| Setting | Rules | Example |
|---|---|---|
| HTML Class | One or more classes, separated by commas. The same class can be used on several widgets on a page. | highlight,promo-box |
| HTML ID | One unique ID per widget. The portal adds the prefix custom-. An ID can be used on only one element per page. |
welcome-video, which the portal renders as custom-welcome-video |
Important: Do not use spaces in classes and IDs. If you need special characters, use only hyphens (
-) or underscores (_).
The same section also has Card View, which shows the widget inside a card-style container.
Where the class and ID are applied
The portal does not add the class and ID to the widget’s own elements. It adds them to the <div> that wraps the widget. Write your CSS selectors and scripts for that wrapper and the elements inside it.
For example, with HTML Class promo-box and HTML ID welcome-video (rendered as custom-welcome-video), this custom CSS adds a border to the wrapper and styles headings inside the widget:
.promo-box {
  border: 2px solid #0a66c2;
  border-radius: 8px;
  padding: 16px;
}

#custom-welcome-video h2 {
  color: #0a66c2;
}
Use a class when the same style applies to several widgets. Use an ID when you need to target one widget only, for example from JavaScript.
Add a class and ID to a page section
Sections have the same two settings. Select the Settings icon at the top right of the section to open Section Configuration. See How to Create Pages in CRMJetty Portal.
Troubleshooting
Your CSS has no effect on the widget: Check that you published the page after saving the widget settings. Then check that your selector targets the wrapper <div> or an element inside it, not the widget’s own element, and that the ID includes the custom- prefix.
A class or ID with spaces does not work: Remove the spaces, and use only hyphens or underscores as special characters.
Related articles
- How to Add Custom CSS to CRMJetty Portal
- How to Add Custom JavaScript to the Portal
- How to Create Pages in CRMJetty Portal
- How to Customize Portal Theme Colors and Fonts