
How to Create Multi-Section Portal Forms
A form can have as many sections as you need. Each section has its own title and grid, so you can group related fields, for example a Case Details section and an Additional Details section on a case form. Sections are also the steps of a multi-step form.
Before you start
- You need admin access to the CRMJetty admin portal.
- The entity (Dynamics 365), object (Salesforce) or table (Business Central) must be synced with the portal. If it is missing from the entity list, sync it first. See How to Enable CRM Entities and Custom Objects in the Portal.
- Plan which fields go in which section before you start.
How a form layout is built
Every form layout is built in the same order: Add Section → Add Grid → Add Fields.
| Part | What it does |
|---|---|
| Section | A titled panel that groups fields. A form can have several sections. |
| Grid | The column layout inside a section. You choose a grid after adding the section. |
| Field | A CRM field dragged into a grid box. Each grid box holds one field. |
Create the form
- Go to Design → Form Builder.
- Select + Create.
- In the pop-up, enter a Title for the form.
- Select Save. The form layout design page opens.
- Select the entity from the drop-down list.
To add sections to an existing form instead, select Edit on that form in the Forms list.
Add a section
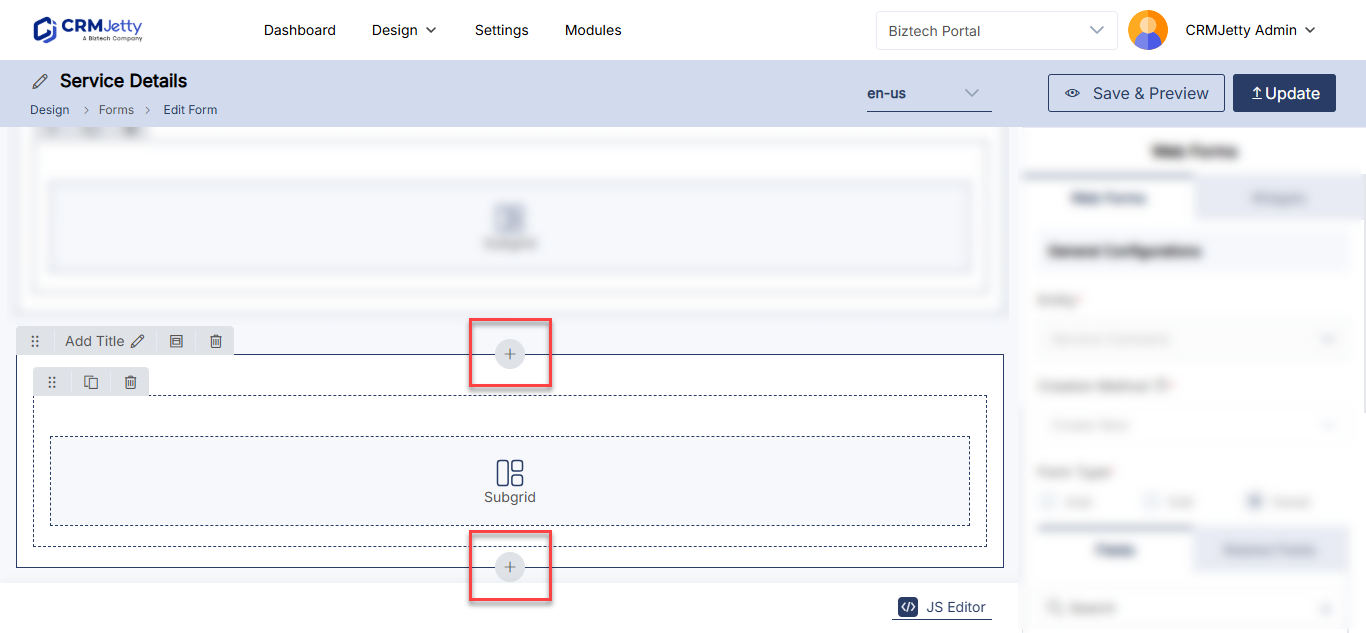
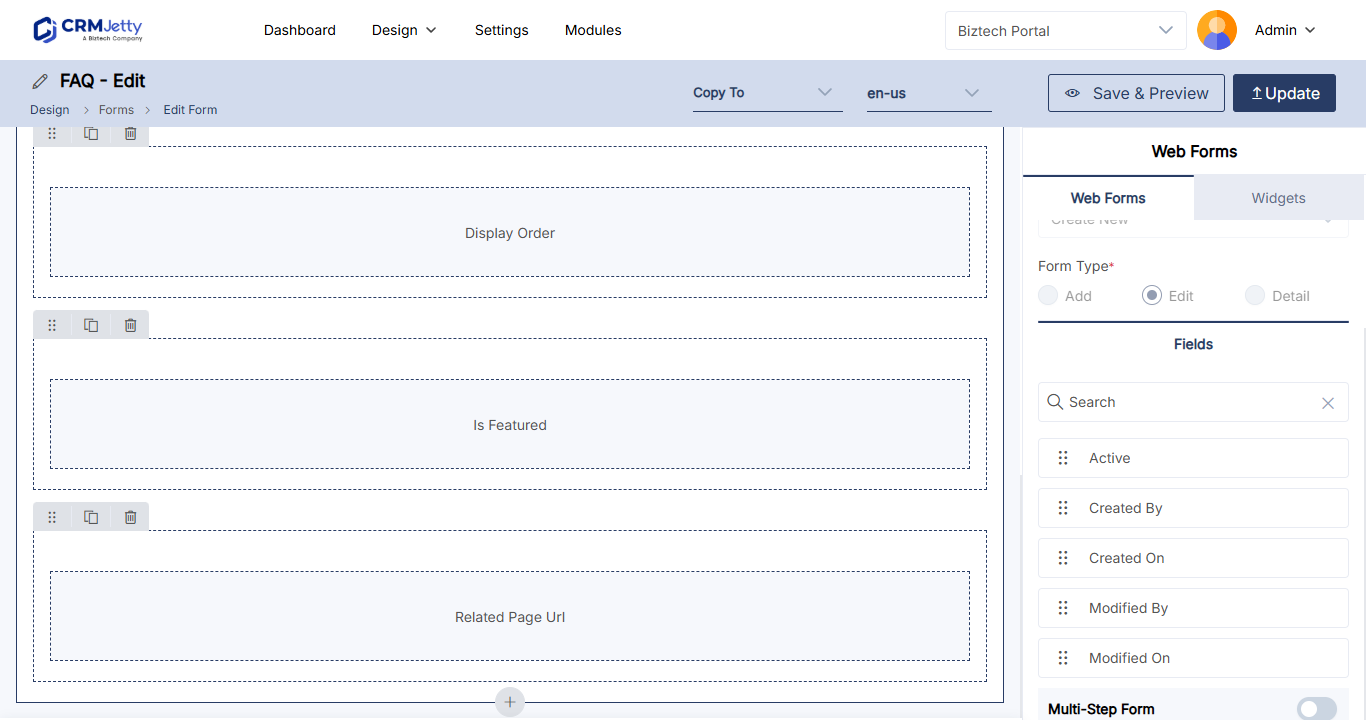
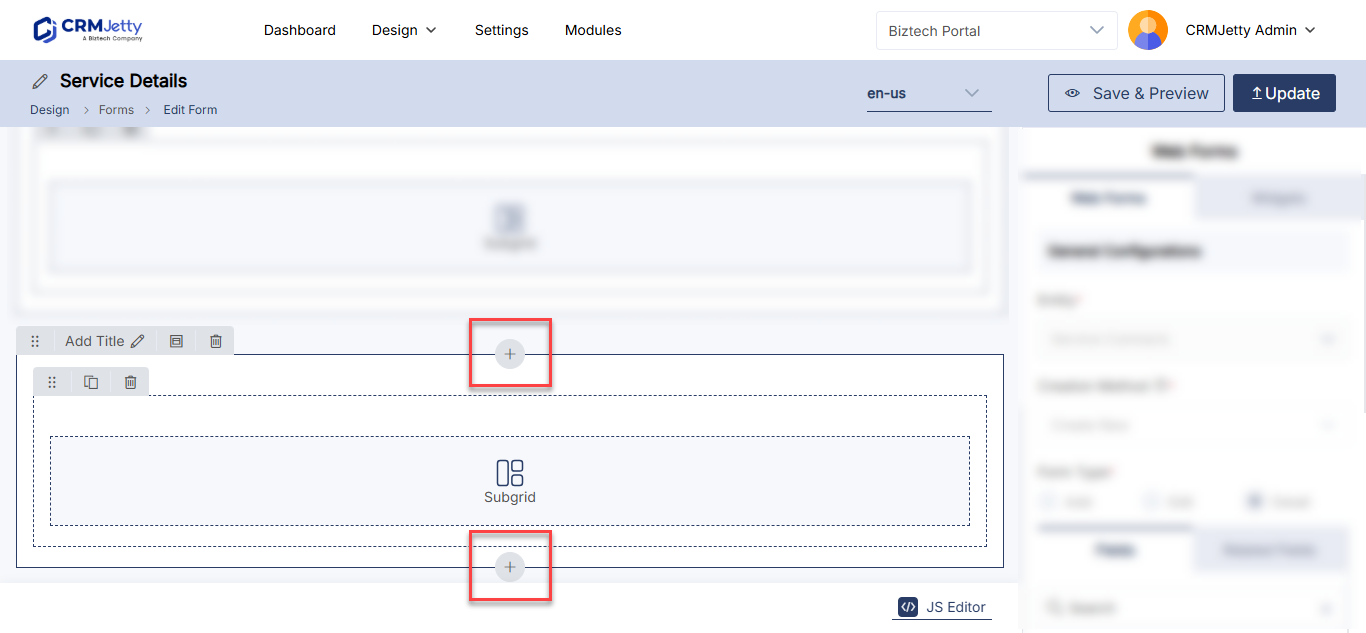
- On the left side of the form layout page, select the + icon to add a new section.
- Edit the section and enter a Panel Title, for example
Additional Details. - Select Save.
Add a grid and fields to the section
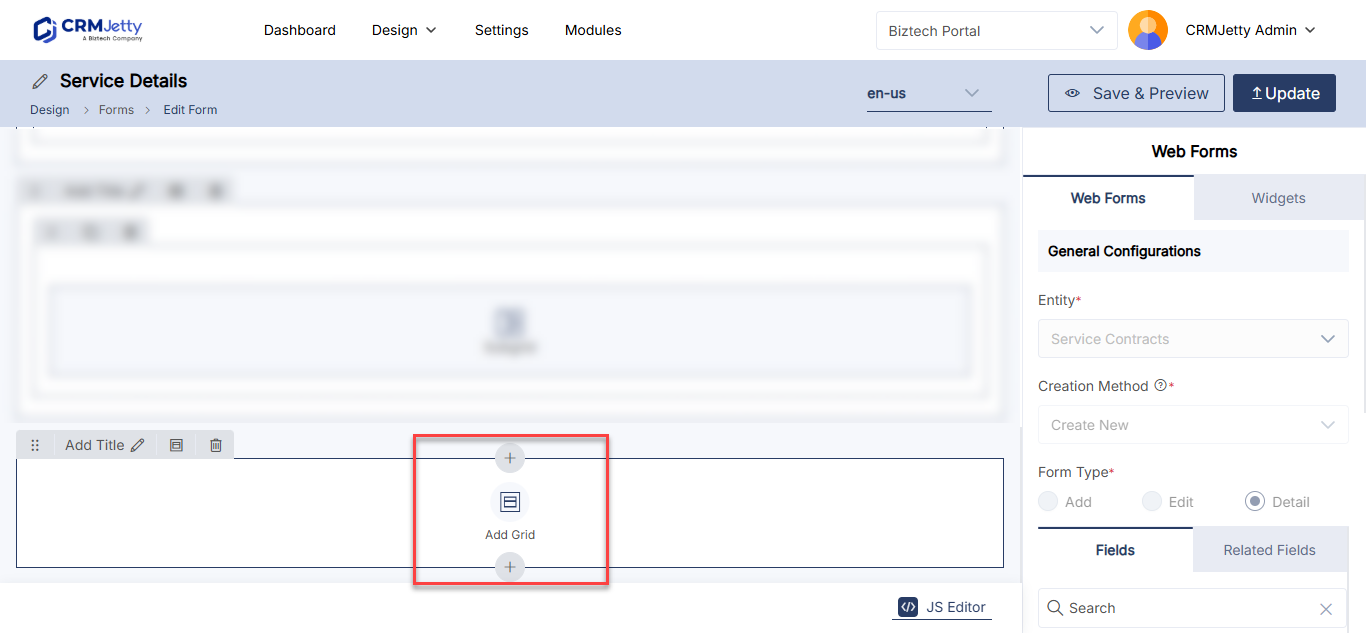
- In the new section, select Add Grid.
- Select a grid option. It is added to the selected section.
- From the field list on the right, drag the fields you need into the grid boxes.
- Use the search box to find a field quickly.
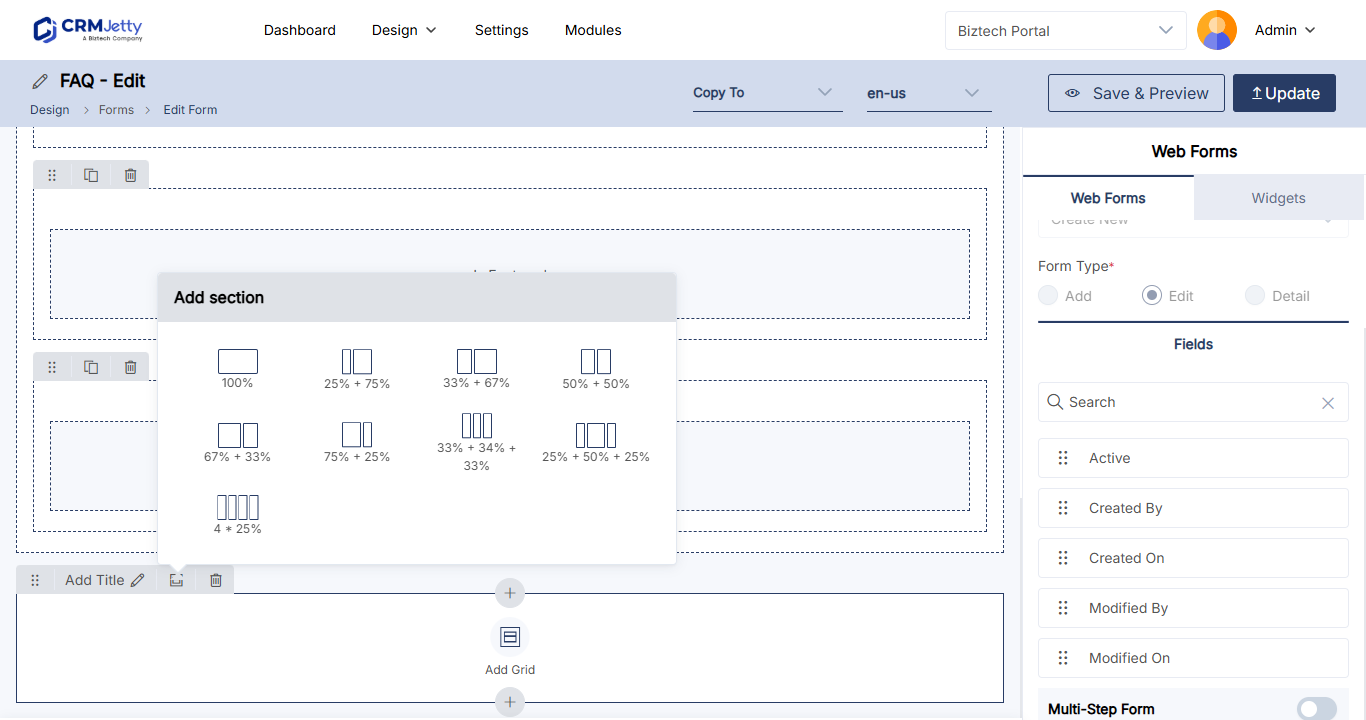
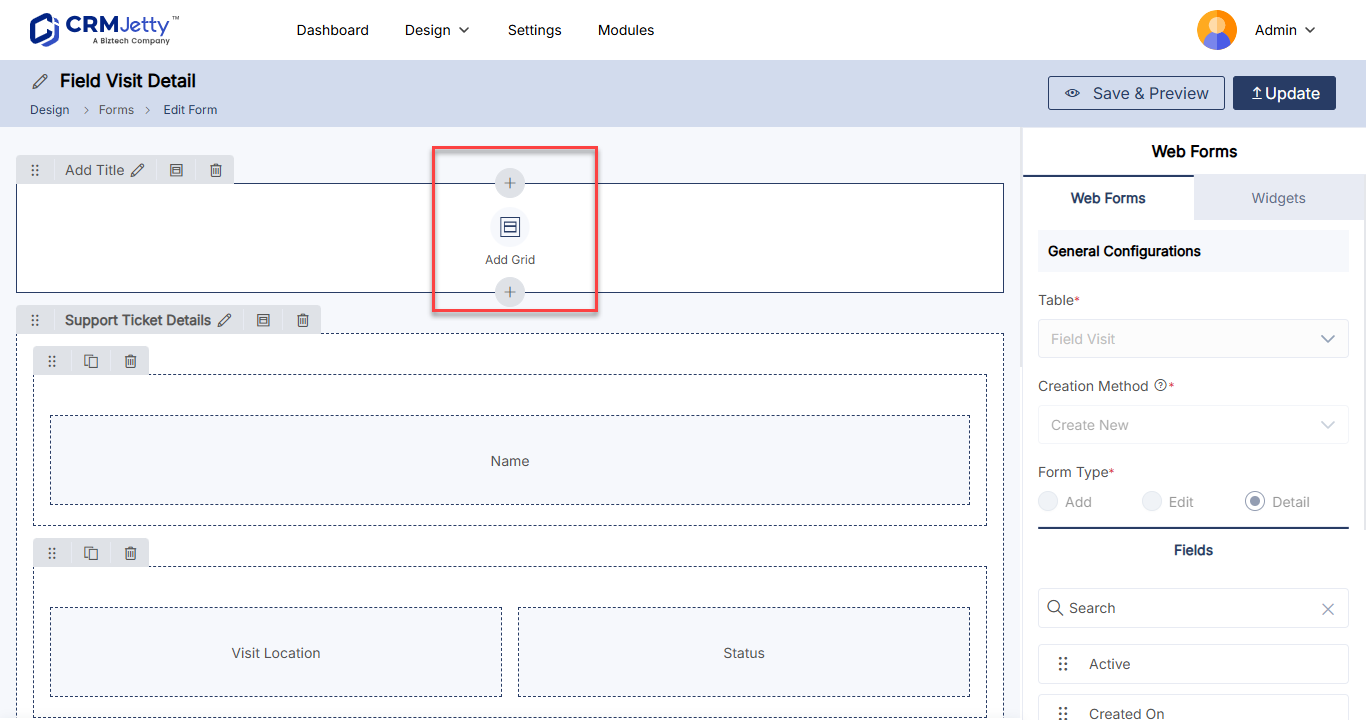
Note: Each grid box holds only one field. Choose a grid with enough boxes for the fields in that section.
Repeat the steps under Add a section and Add a grid and fields to the section for each section you need.
Publish the form
- Check the order of your sections and fields.
- Select Publish to make the form available, or save it as a draft to finish later.
- Add the form to a page in the Page Builder.
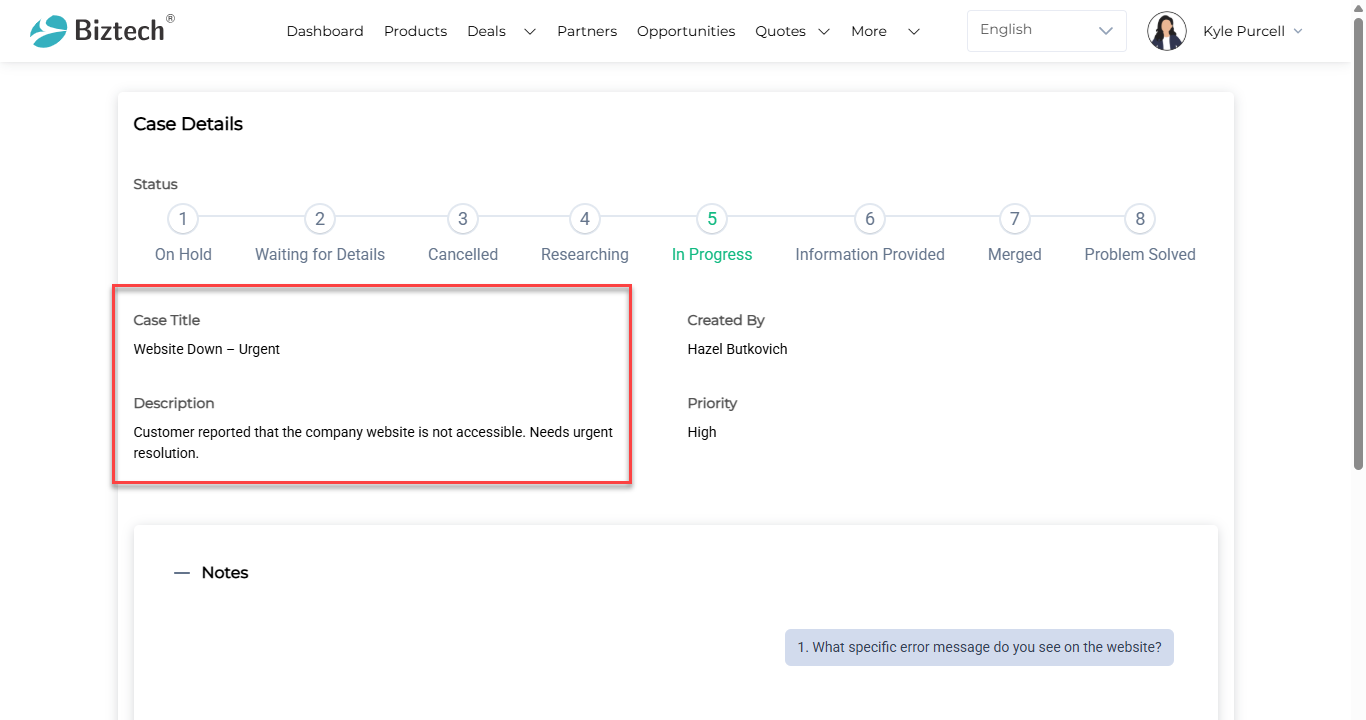
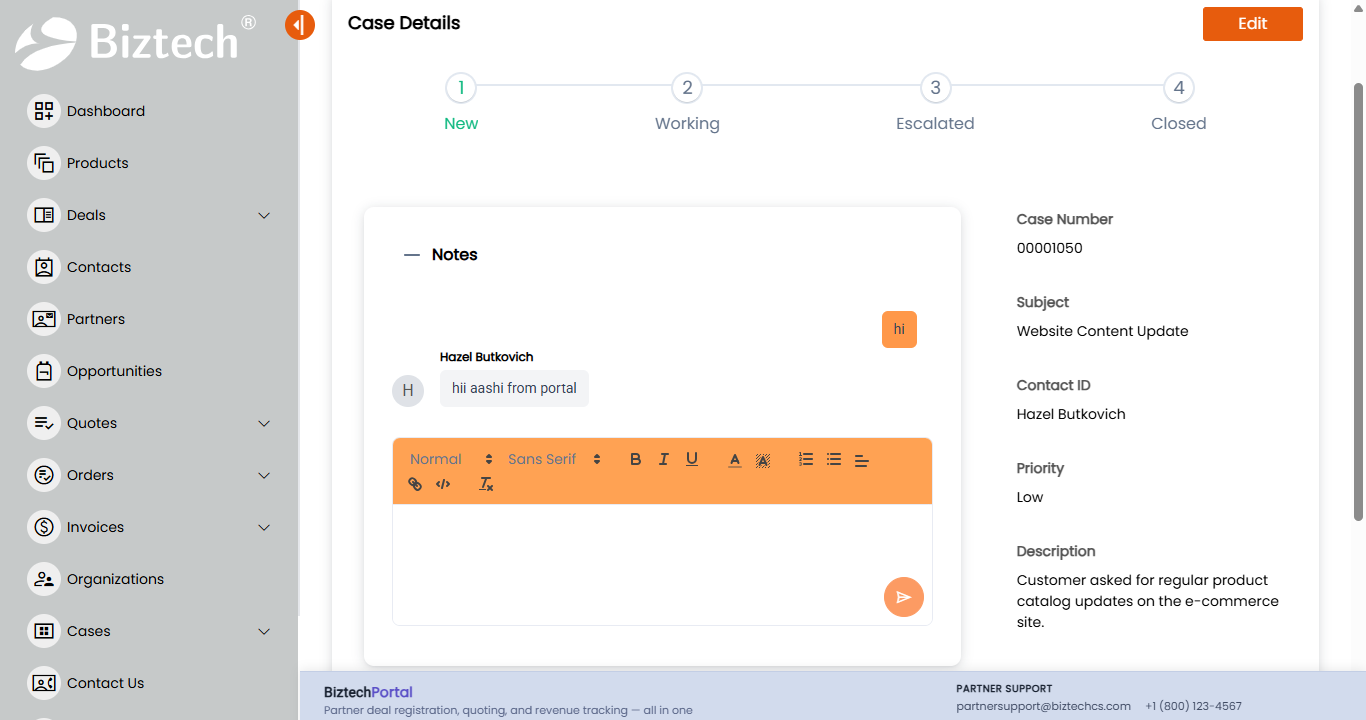
Tip: To show each section as a separate step, turn on Enable Multi-Step Form. See How to Create Multi-Step Forms in the Portal.
Troubleshooting
The entity is not in the drop-down list: Only entities synced with the portal appear. Sync the CRM entity to the portal, then reopen the form.
A field will not drop into a grid box: The box already holds a field. Each grid box takes one field; add another grid or choose a grid with more boxes.
Related articles
- How to Create a Portal Form for Any CRM Entity
- How to Design Add, Edit and Detail Form Layouts
- How to Create Multi-Step Forms in the Portal
- How to Edit Form Field Labels and Placeholders