
How to Set Up the Portal Payment Widget
The Payment widget adds a payment section to a portal page, where portal users choose a payment method and pay. You set its title, the payment methods it offers and the label of its payment button.
Note: This feature is available on selected plans. See Pricing.
Before you start
- You need access to Design → Page Builder in the admin portal.
- Connect at least one payment gateway, Stripe or PayPal. See How to Accept Stripe and PayPal Payments in the Portal.
- In Settings → Portal Settings → Site Management, edit your site and select the payment account in its Payment settings. Only accounts you set up under Settings → Integration are listed.
- Have the page ready where the payment section should appear, or create one. See How to Create Pages in CRMJetty Portal.
Payment widget or Pay Now button
The portal has two ways to take payments. Choose the one that fits where portal users pay.
| Option | Where it appears | Set it up in |
|---|---|---|
| Payment widget | A payment section on a portal page. | Page Builder. This article. |
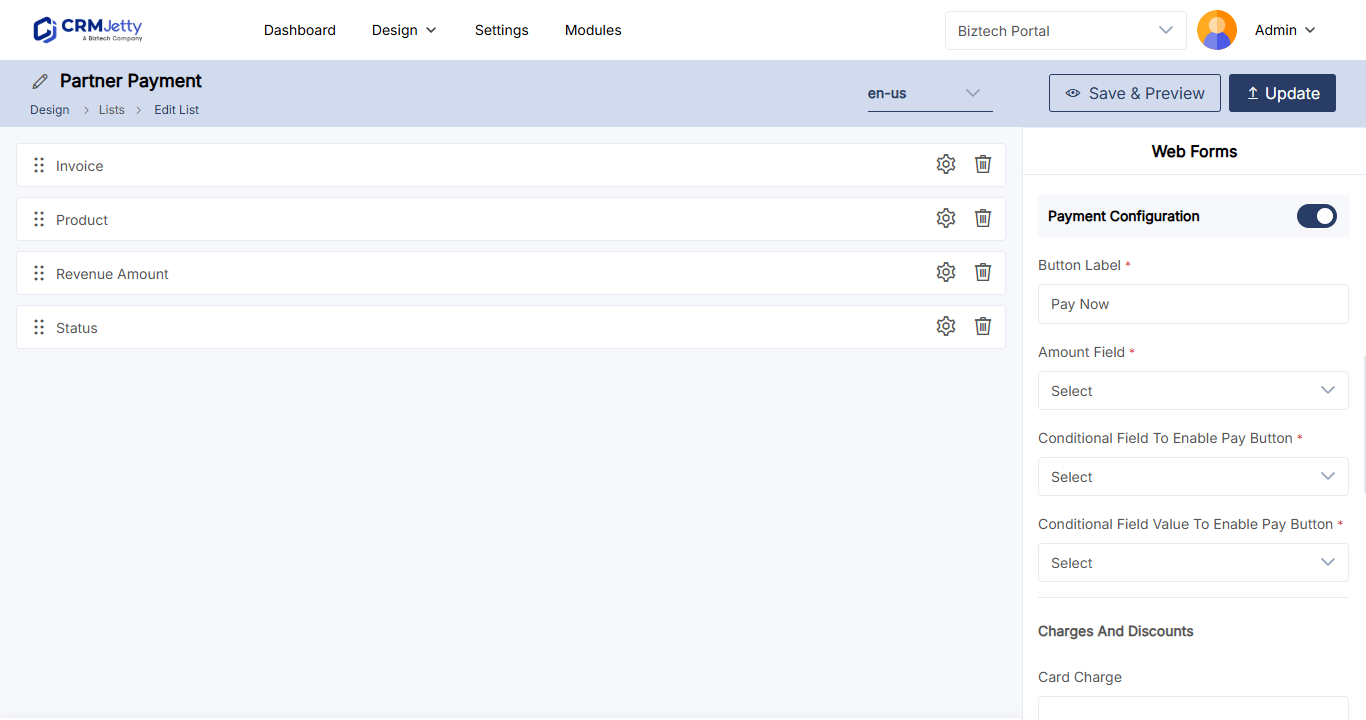
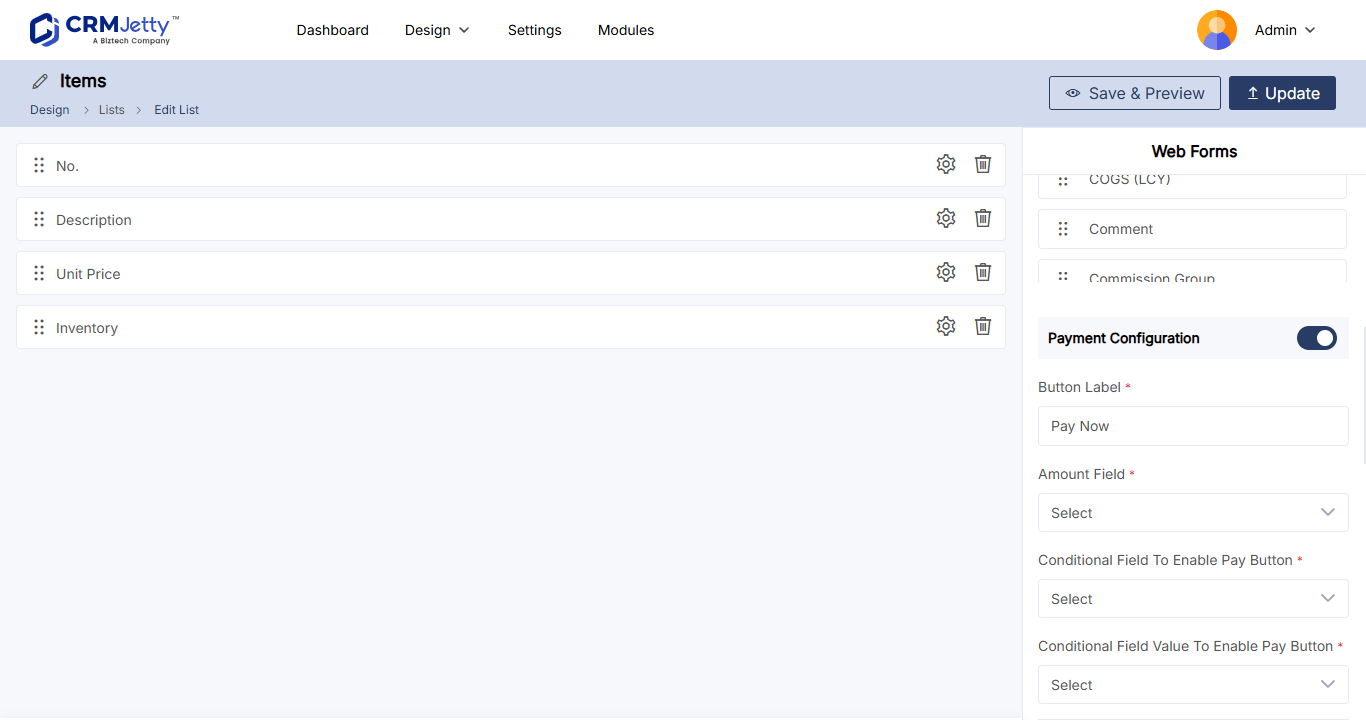
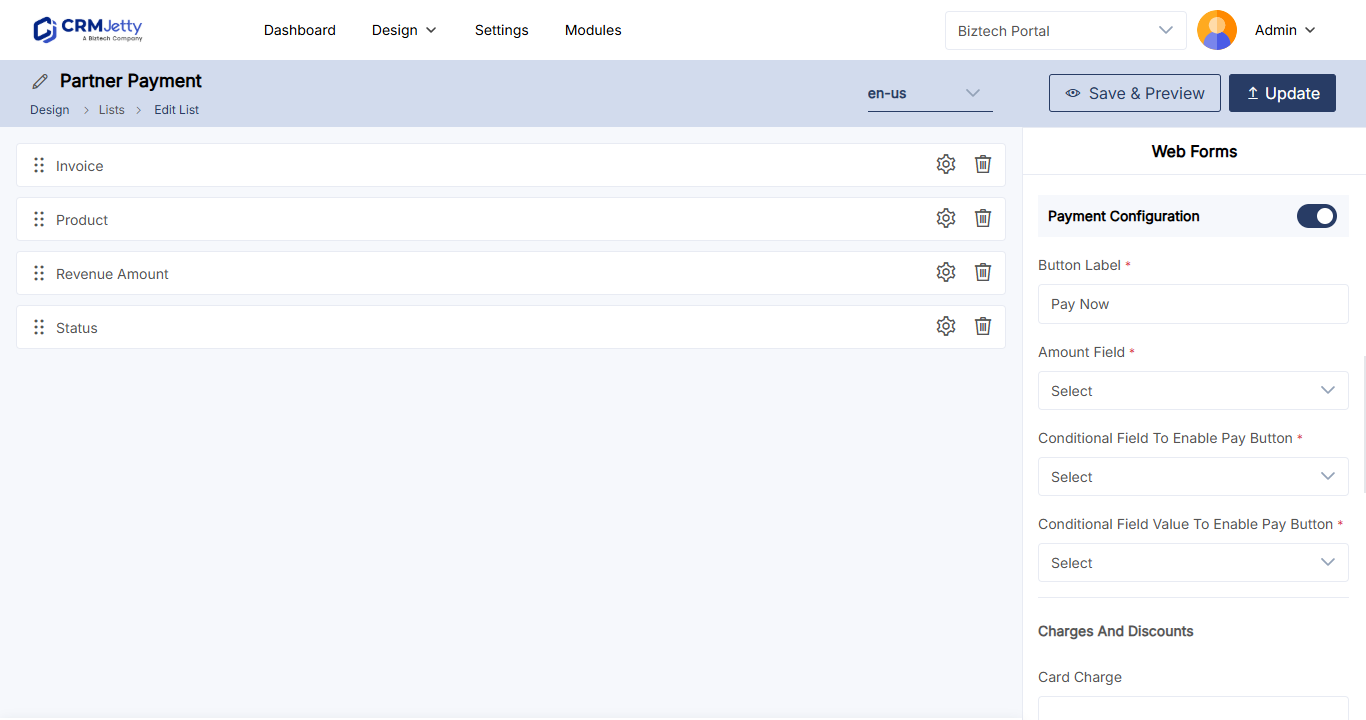
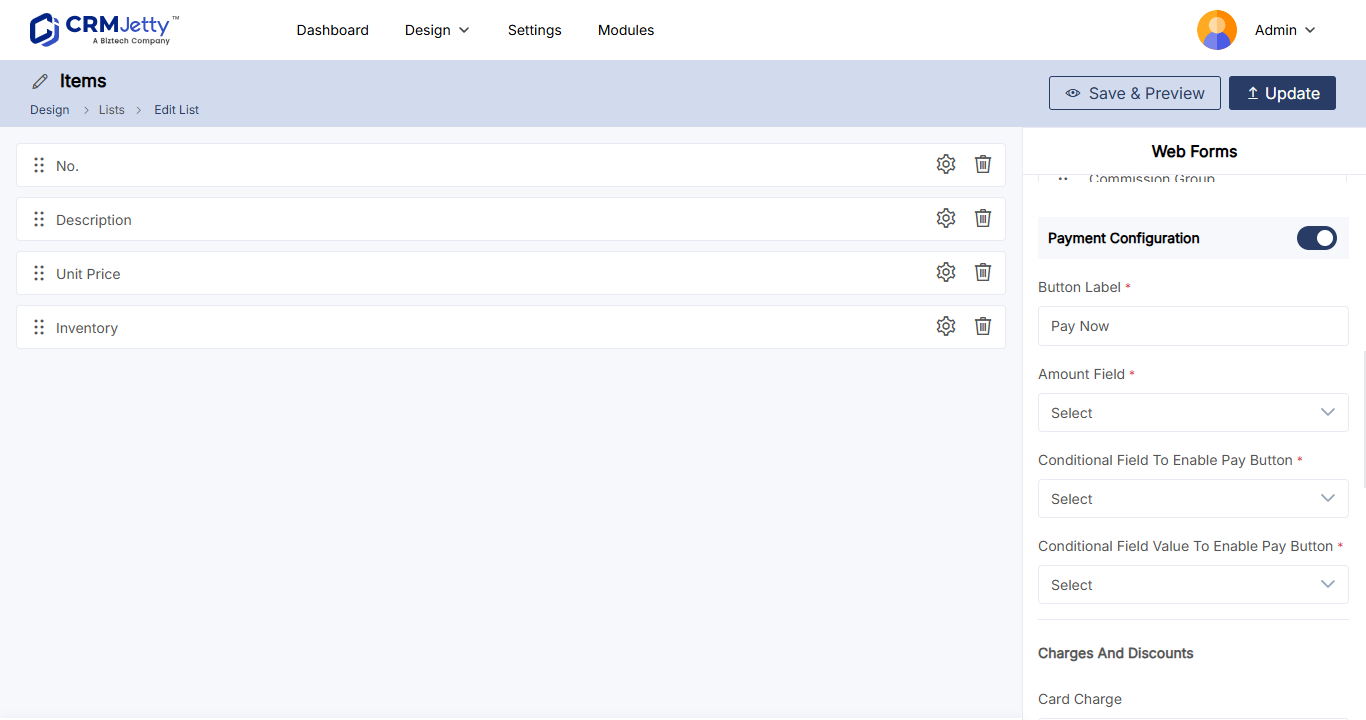
| Payment configuration on a form | A pay button on records in add, edit and detail forms, with transaction logging to your CRM. | Form Builder. See How to Add a Pay Now Button to Portal Records. |
Add the Payment widget
- Go to Design → Page Builder.
- Open the page for editing, or select Create to start a new page.
- In the widget panel, select Payment. The widget is added to the grid.
- Select the Settings icon on the widget to open its configuration panel.
- Fill in the settings in the tables below.
- Select Save.
- Publish the page.
The widget goes live in the portal only after you publish the page.
Payment widget settings
General Configuration
| Setting | What to enter |
|---|---|
| Payment Title | The title of the payment section that portal users see, for example Payment. |
| Select Payment Method | The payment methods portal users can choose from, for example card or PayPal. |
| Button Label | The label of the payment button, for example Pay Now. |
Payment Setting
| Setting | What to enter |
|---|---|
| HTML Class | One or more custom CSS classes to style the payment section. |
| HTML ID | A unique ID for the payment section, to target it with CSS or JavaScript. |
| Card View | Shows the payment section as a card. |
Do not use spaces in classes and IDs. For details, see How to Add Custom HTML IDs and CSS Classes to Widgets.
What portal users see
On the published page, portal users see the payment section with your title. They select a payment method, enter their payment details and select the payment button to complete the payment.
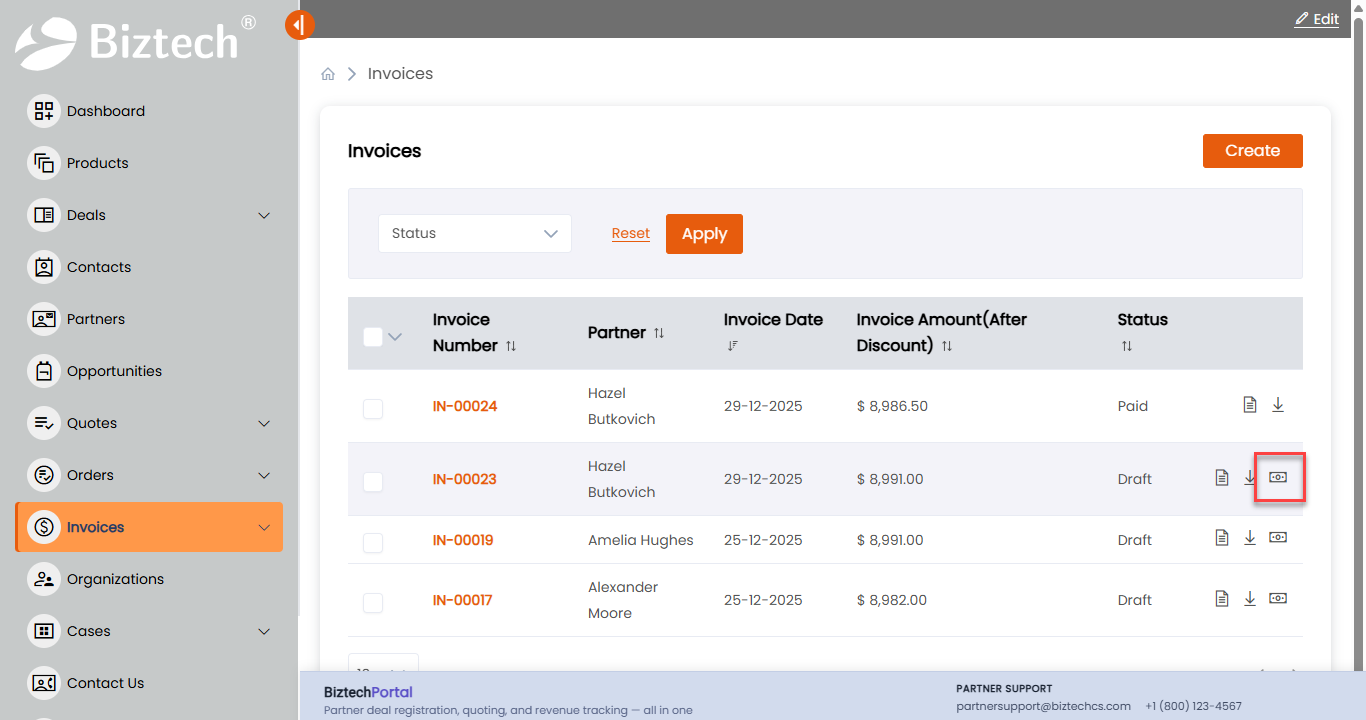
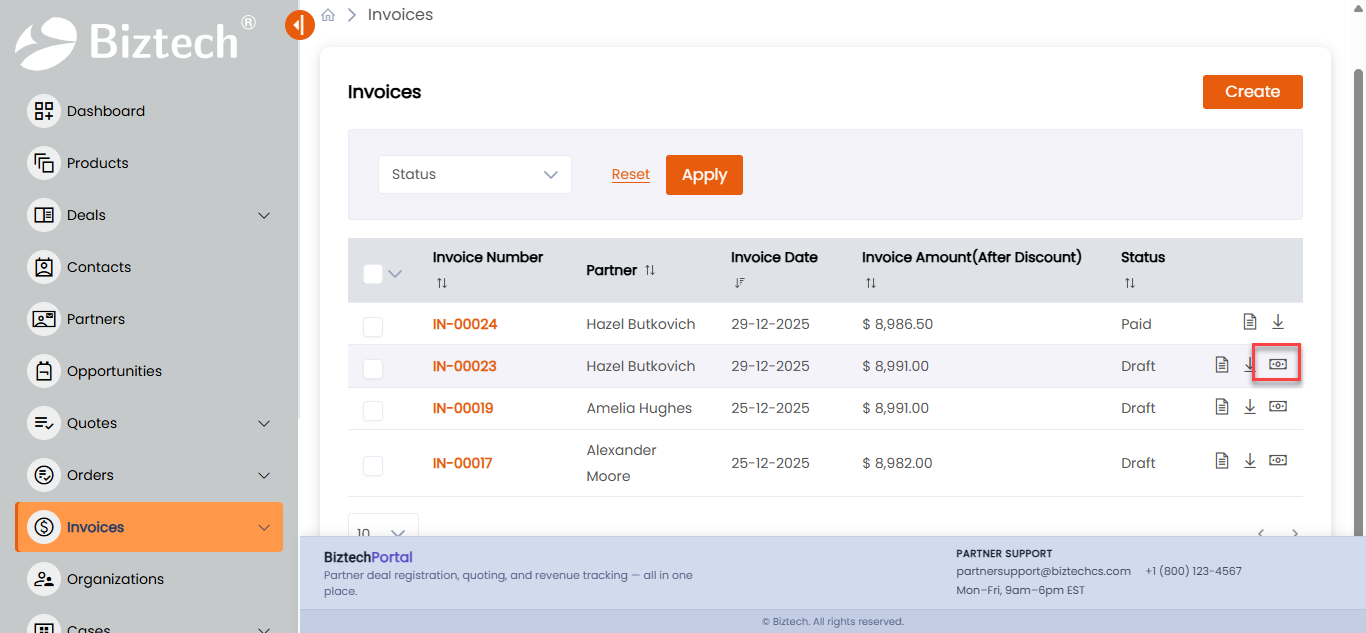
Business Central: The portal logs the payment in Business Central. Your finance team then applies it to the invoice in Business Central.
Tip: Test the widget with your gateway’s sandbox or test credentials before you switch the gateway to live.
Troubleshooting
A payment method is missing from Select Payment Method: Check that the gateway is set up under Settings → Integration and selected in the site’s Payment settings, then open the widget settings again.
The payment section does not appear in the portal: The page is not published. Select Save in the widget settings, then publish the page.
You imported a page and are asked to complete the payment configuration: The page uses payments and no gateway is set up in this portal. Connect Stripe or PayPal in this portal. See How to Export and Import Portal Configuration.
Related articles
- How to Accept Stripe and PayPal Payments in the Portal
- How to Add a Pay Now Button to Portal Records
- How to Let Customers Download Invoice PDFs
- How to Create Pages in CRMJetty Portal