
How to Create and Manage Multiple Portal Sites
Multisite support lets you run several branded portal sites from one CRMJetty Portal and one admin portal. Each site has its own content, domain and access rules, so you can serve different partner groups, regions or business units without a separate portal for each.
Note: This feature is available on selected plans. See Pricing.
The number of portal sites depends on your plan, and additional sites are available at extra cost.
Before you start
- You need admin access to Settings → Portal Settings.
- Connect your CRM first. You see your sites after you sign in and authenticate the CRM.
- Have each site’s details ready: name, languages, logo, favicon and domain.
- Set up any integrations a site will use first, such as social login or payment accounts. A site can only select accounts already configured in Integrations.
View your sites
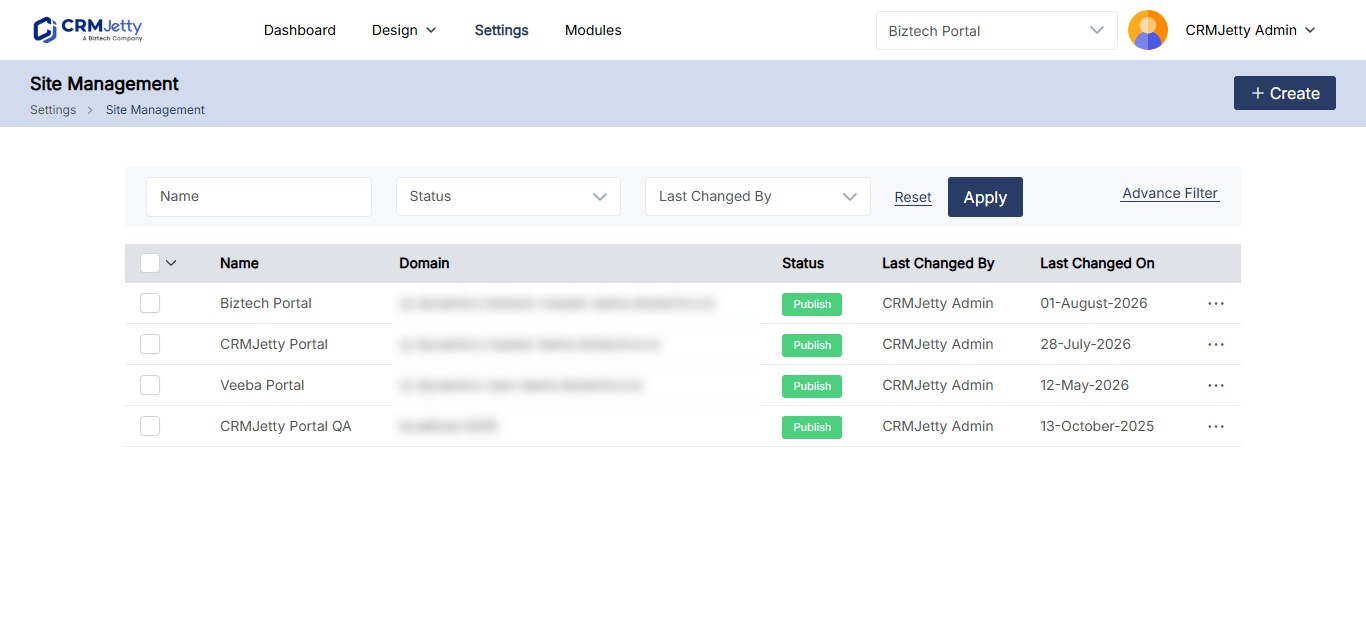
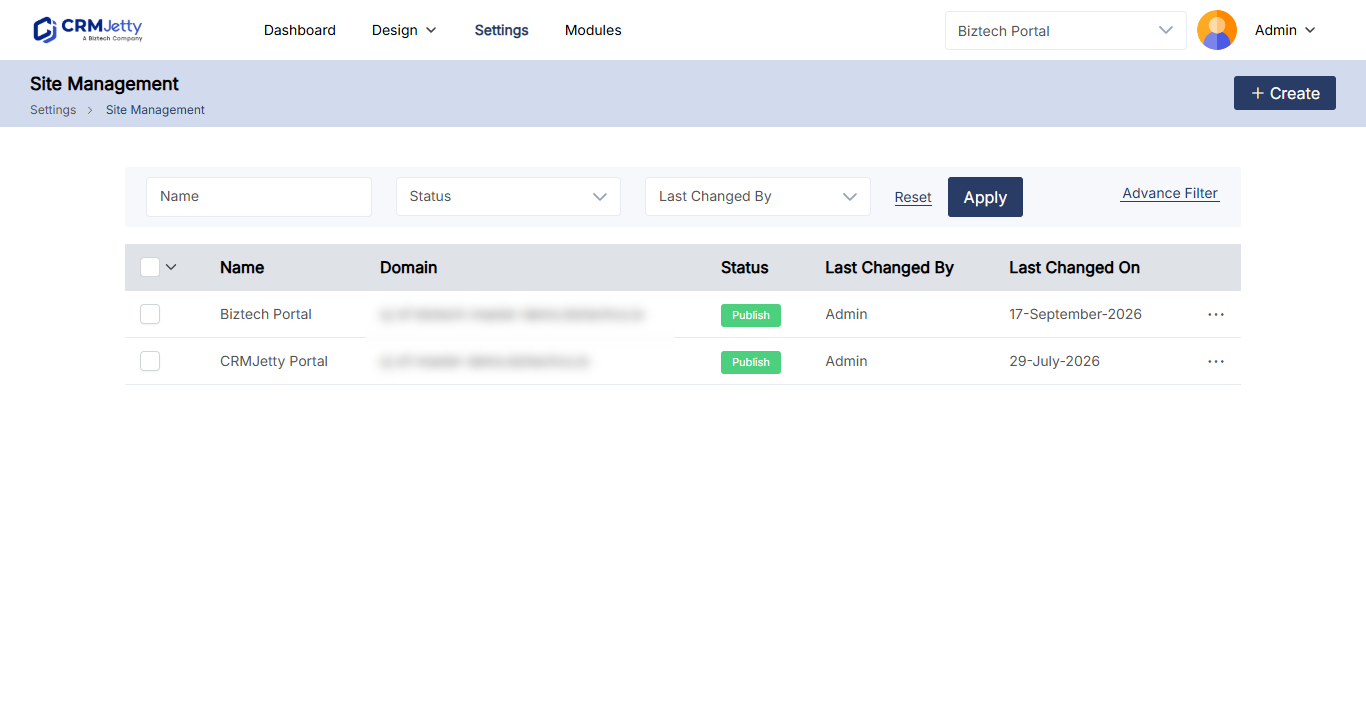
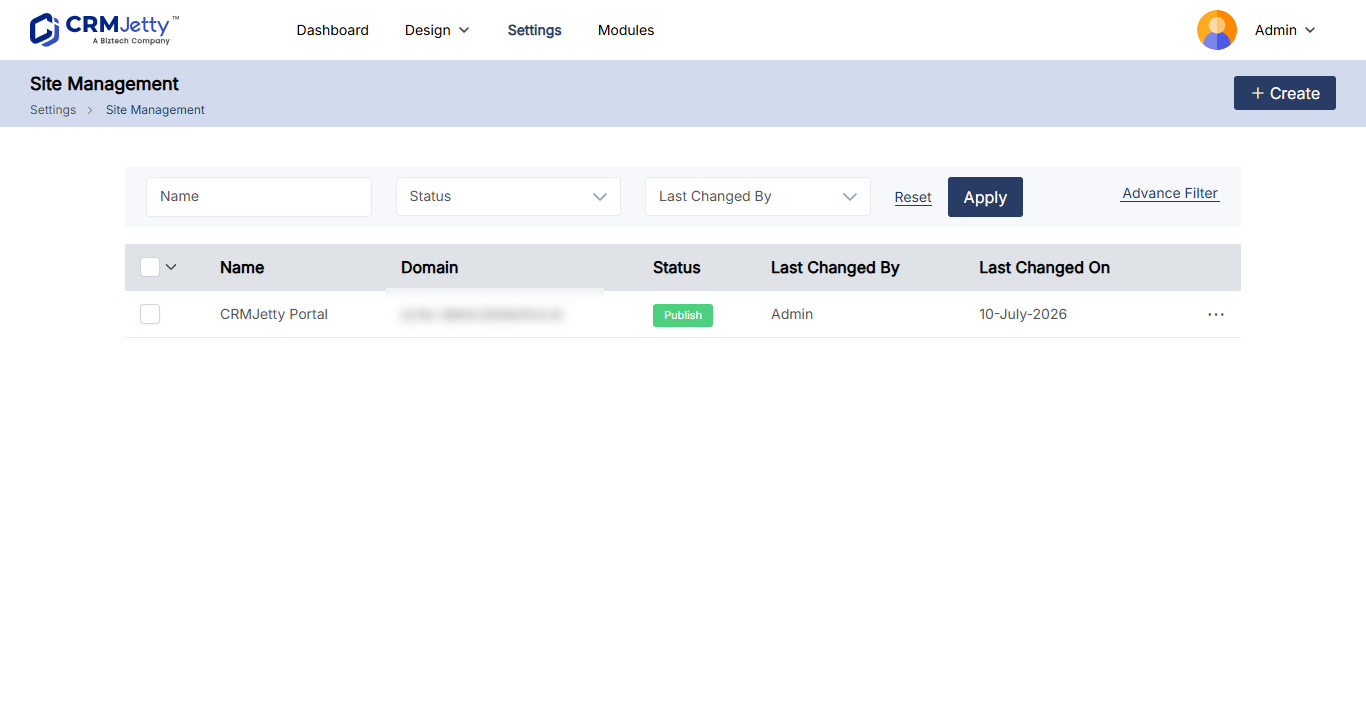
Go to Settings → Portal Settings → Site Management. The page lists your published sites. From here you can edit a site or create a new one.
Create a site
- Go to Settings → Portal Settings → Site Management.
- Select Create in the top-right corner.
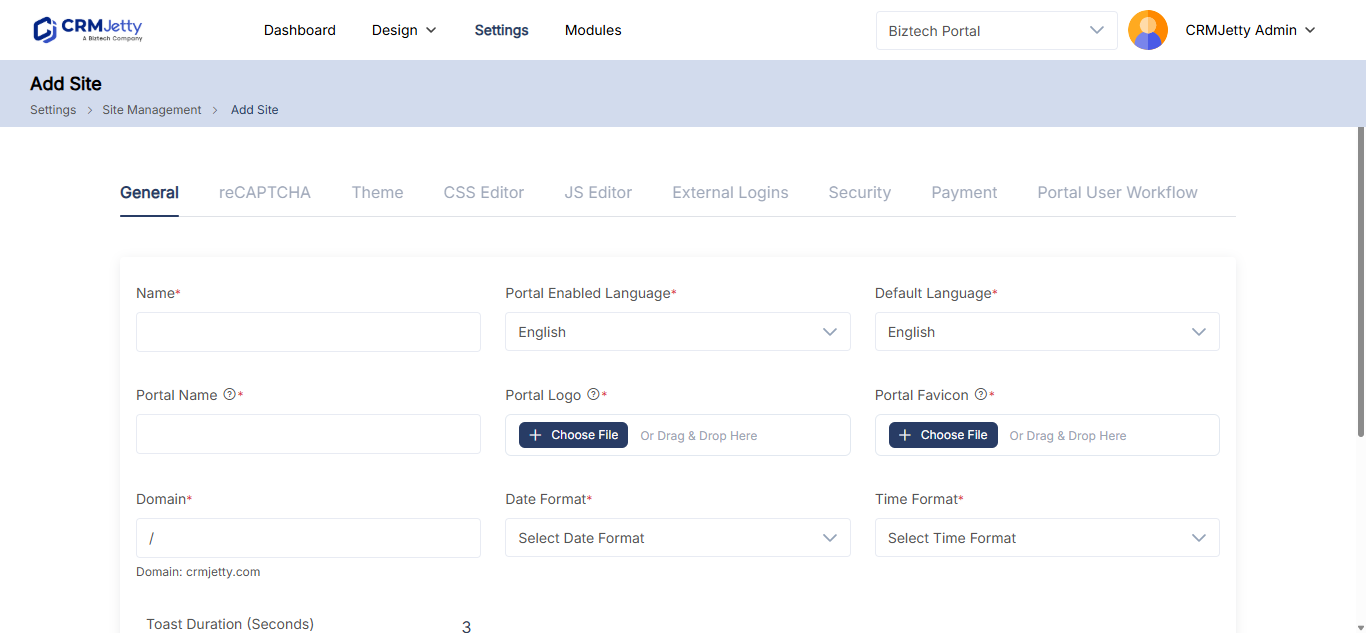
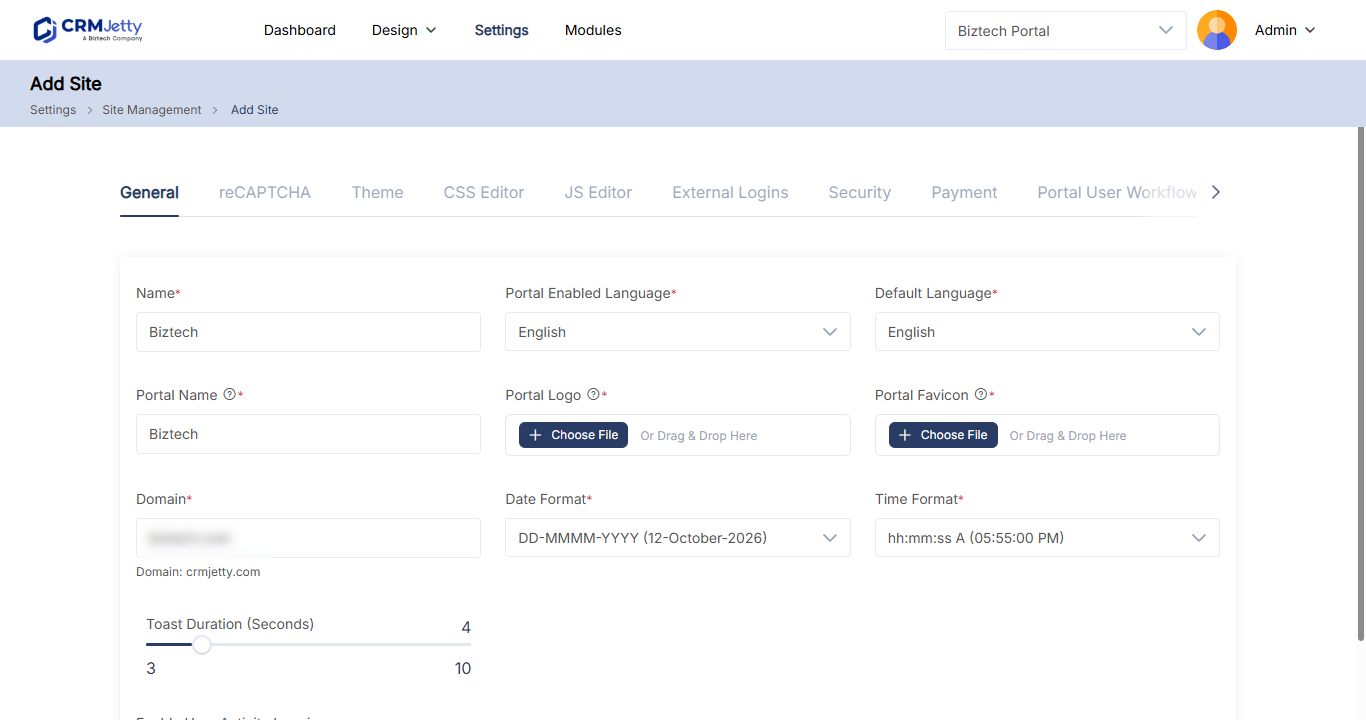
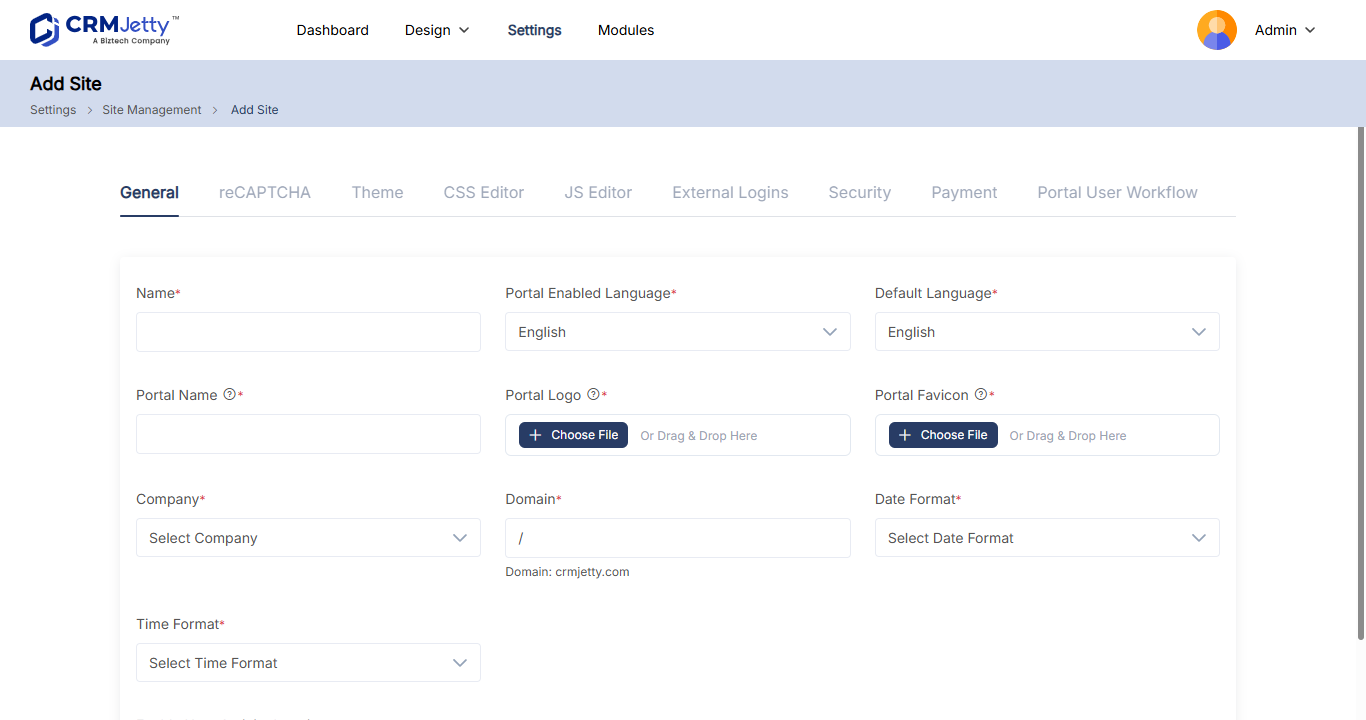
- Fill in General Settings (see the table below).
- Configure the other site settings you need (see Site settings).
- Select Save.
General settings
| Setting | What to enter |
|---|---|
| Name | The name of the site, for example CRMJetty. |
| Portal Enabled Language | The languages the site is available in, for example English. |
| Default Language | The language used when no other language preference is set. |
| Portal Name | The name of the portal shown to portal users, for example Hospital. |
| Portal Logo | The logo displayed on the portal. See How to Upload and Resize Your Portal Logo. |
| Portal Favicon | The icon shown in the browser tab. |
| Domain | The domain the site runs on. |
| Date Format | How dates are displayed, for example MM/DD/YYYY. |
| Time Format | 12-hour or 24-hour time. |
| Enable User Activity Logging | Records portal user actions on this site, such as logins, page visits and form submissions. See How to Track Portal User Activity. |
| Site Under Maintenance | Shows a maintenance message to visitors while you update the site. Visible only when you edit a published site. |
Site settings
Each site has its own settings, so two sites can look and behave differently.
| Setting | What it controls | Learn more |
|---|---|---|
| reCAPTCHA | Spam protection for pages, forms and widgets, with reCAPTCHA V2 or V3. | How to Add reCAPTCHA to Portal Forms |
| Theme | Fonts, colors, and menu and submenu styles. | How to Customize Portal Theme Colors and Fonts |
| CSS Editor | Custom CSS for the site. | How to Add Custom CSS to CRMJetty Portal |
| JSS Editor (Business Central) | A second code editor next to the CSS Editor. Its purpose is not yet confirmed; for JavaScript, use the page, form and list code editors. | How to Add Custom JavaScript to the Portal |
| External Logins | Which social logins (Google, Facebook, Microsoft Identity, LinkedIn) the site offers. Only accounts set up in integrations appear. | How to Enable Social Login and Microsoft SSO |
| Security | Password lock, two-factor authentication, email verification, user approval and password complexity. | How to Enable Two-Factor Authentication in the Portal |
| Payment | The payment account the site uses. Only accounts set up in Integrations appear. | How to Accept Stripe and PayPal Payments in the Portal |
| Portal User Workflow | Which CRM contacts belong to the site, using filter conditions. | See below. |
Social login and payments are available on selected plans. See How to Enable Social Login and Microsoft SSO and How to Accept Stripe and PayPal Payments in the Portal.
Choose which contacts belong to a site
Use the portal user workflow to control which CRM contacts are associated with each site, for example only contacts from one region.
- Open the site for editing in Site Management.
- Open the Workflow Setup tab.
- In Contact Selection, turn on the portal user workflow.
- Choose the contact workflow to associate with the site.
- Review the workflow’s filters to make sure they select the right contacts.
- Save the configuration.
The workflow rules apply to the site as soon as you save. To create the contact workflow, see How to Filter Which Records Portal Users See.
Switch between sites
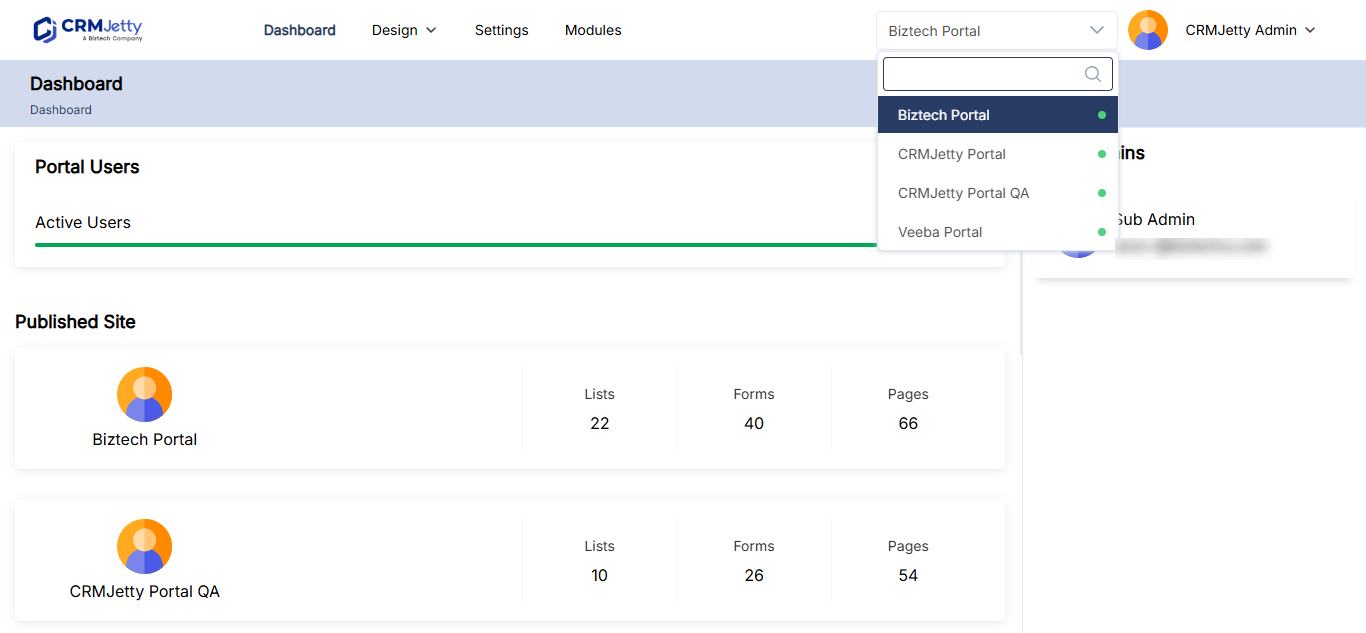
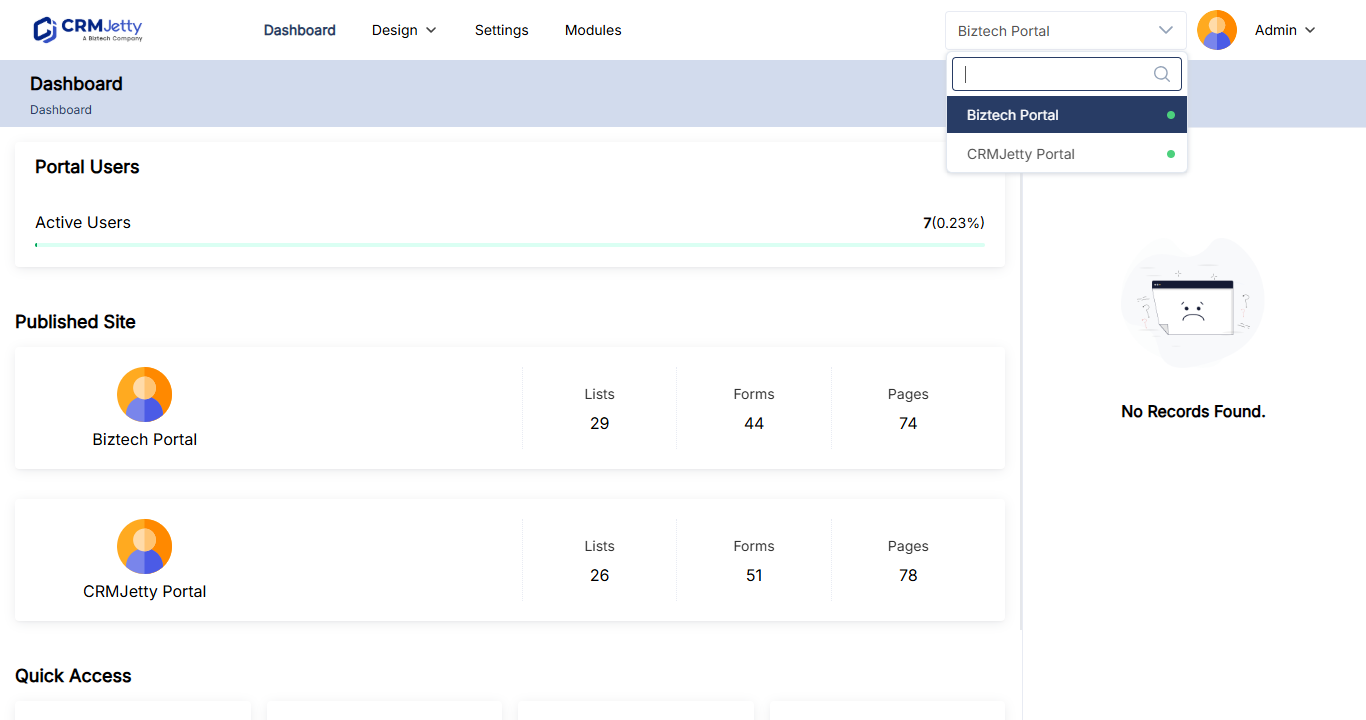
- In the admin portal, open the site drop-down in the top-left corner.
- Select the site you want to manage.
The admin portal loads that site’s data. Pages, settings and other site-related data you change apply to the selected site.
Edit a site or put it into maintenance
- Go to Settings → Portal Settings → Site Management.
- Open the site for editing.
- Change the settings you need.
- To show visitors a maintenance message while you work, turn on Site Under Maintenance.
- Select Save.
Turn Site Under Maintenance off again when your changes are ready.
Give sub-admins access to specific sites
When you add or edit a sub-admin, choose the sites they can manage in Sites. A sub-admin can access only the data, pages and settings of their assigned sites. See How to Add Admin and Sub-Admin Users to the Portal.
Troubleshooting
A sub-admin can’t see a site: Edit the sub-admin and check that the site is selected in Sites.
A social login or payment account isn’t in the site’s list: The account isn’t set up in Integrations yet. Configure it there first, then edit the site again.
Related articles
- How to Add Admin and Sub-Admin Users to the Portal
- How to Customize Portal Theme Colors and Fonts
- CRMJetty Plans and Feature Availability