
How to Customize Portal Email Templates
The portal sends emails such as registration confirmations, password reset links and one-time passwords (OTPs) from email templates. Each email action comes with a default template that you can edit, or you can create your own template for the action.
Before you start
- You need access to the admin portal.
- Set up SMTP so the portal can send email. See How to Configure SMTP Email in CRMJetty Portal.
Email actions
An email action is the event that sends the email. The actions are predefined. You can’t add new actions to the list.
| Email action | Sent when |
|---|---|
| Admin User OTP | An admin signs in. Sends a one-time password (OTP) to the admin for a secure login. |
| Approve Portal User | An admin approves a portal user. Tells the user their portal access is approved. |
| Forgot Password | A portal user asks to reset their password. Sends a reset link. |
| Forgot Username | A portal user asks for their username. Helps them recover it by email. |
| Registration | A portal user registers. Confirms the registration and gives next steps. |
| Send Email to Form Respondent | A portal user submits an Add form set up to email the respondent. See How to Send Confirmation Emails After Form Submission. |
| Two Step Verification | Two-factor authentication is on. Sends the OTP a portal user enters to sign in. |
| Verify Portal User | Email verification is on. Sends the link a portal user selects to confirm their account. |
In a Business Central portal, email templates are under Settings → Portal Settings → Email Templates, and the email actions are separate for customers and vendors: Customer Approve, Vendor Approve, Customer Confirm Email, Vendor Confirm Email, Customer Registration, Vendor Registration, Admin Registration, Forgot Password, Portal Login OTP and Forgot User Name. When you edit a Business Central template, you can’t change its email action or status. See How to Set Up Customers in Business Central Portal and How to Set Up a Business Central Vendor Portal.
Edit a default template
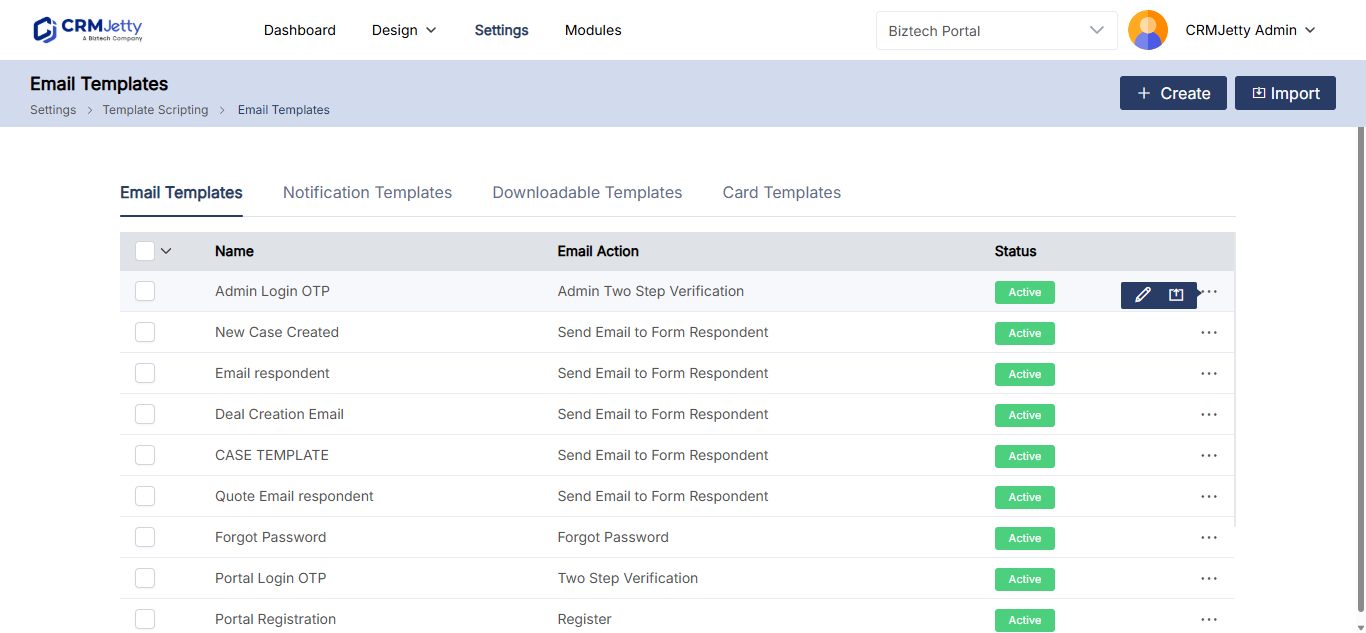
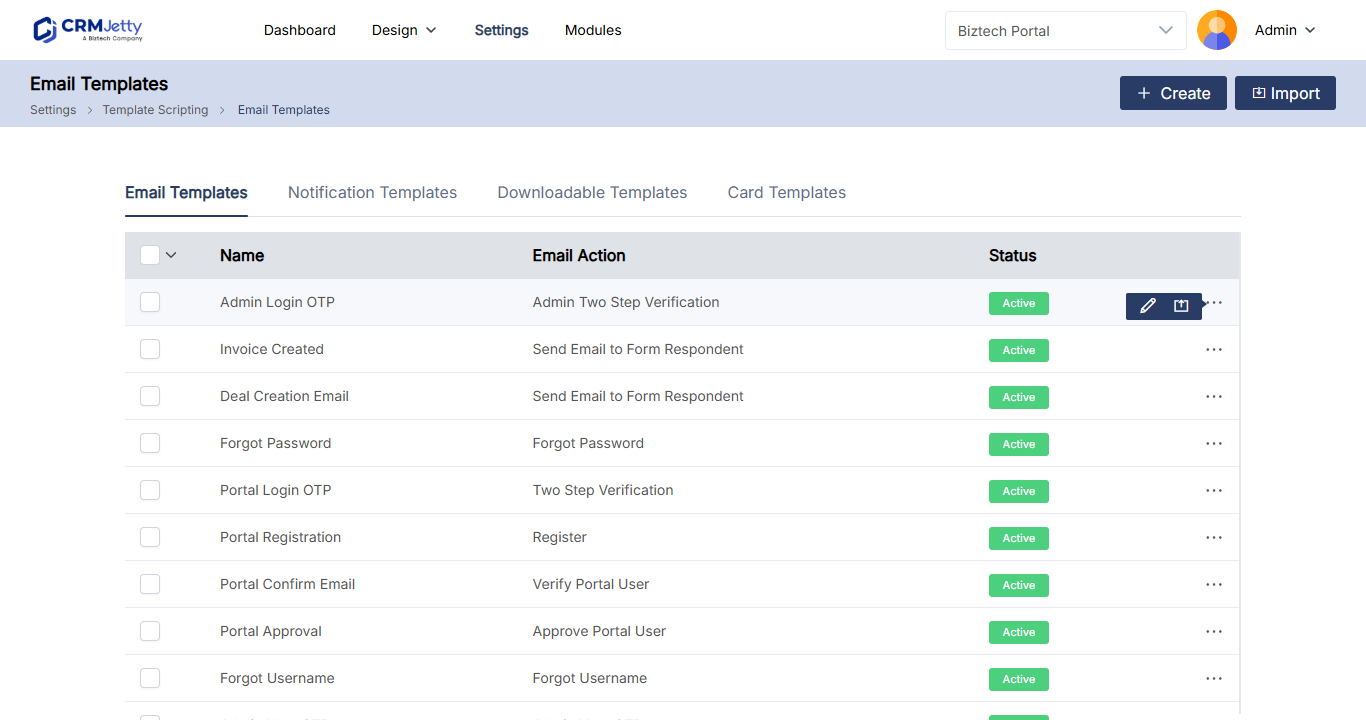
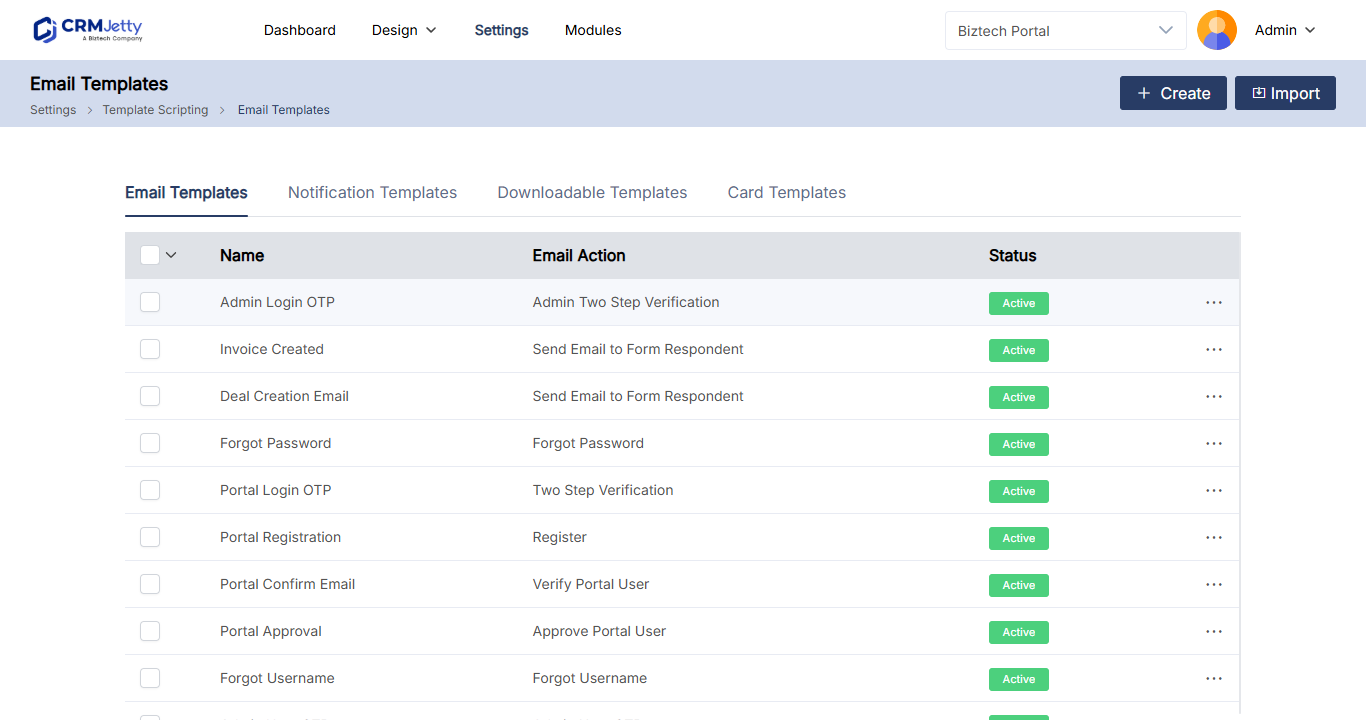
The Email Templates page lists the default templates the portal creates for you.
- Go to Settings → Portal Settings → Template Scripting → Email Templates (Business Central: Settings → Portal Settings → Email Templates).
- Select the three dots (…) on the template you want to change.
- Select Edit. The Edit Email Template page opens.
- Change the subject or body. Keep the parameters the email action needs.
- Select Save.
Create a new template
- Go to Settings → Portal Settings → Template Scripting → Email Templates (Business Central: Settings → Portal Settings → Email Templates).
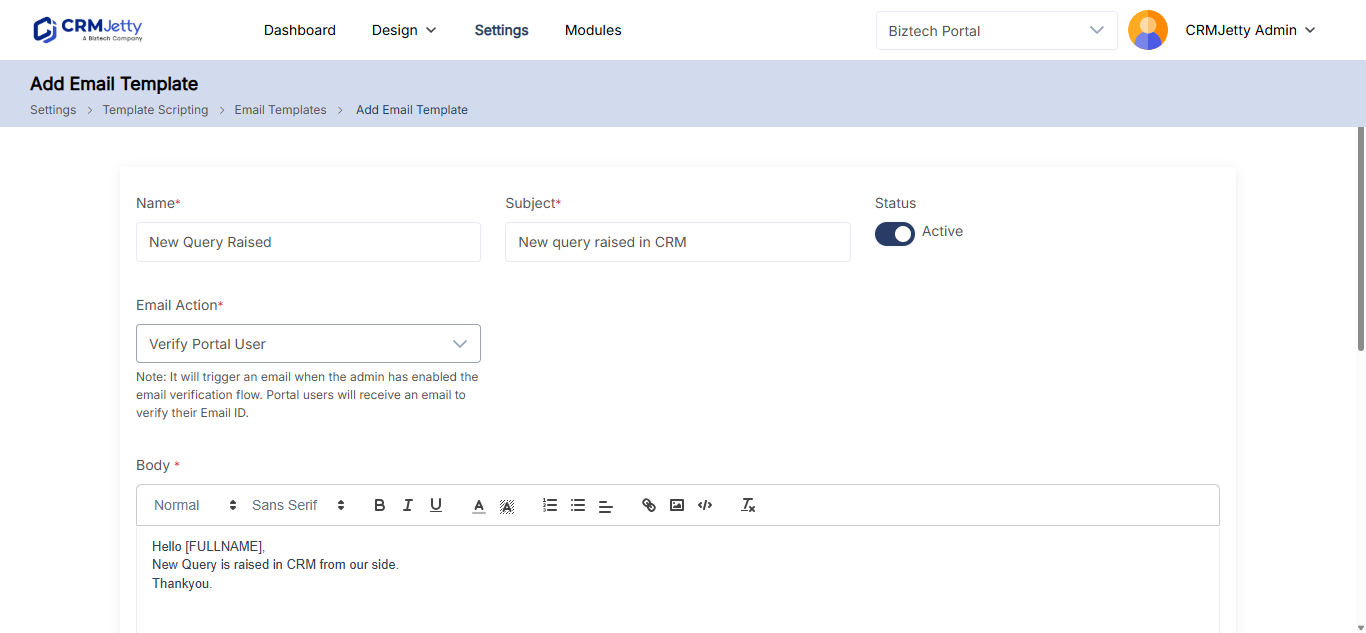
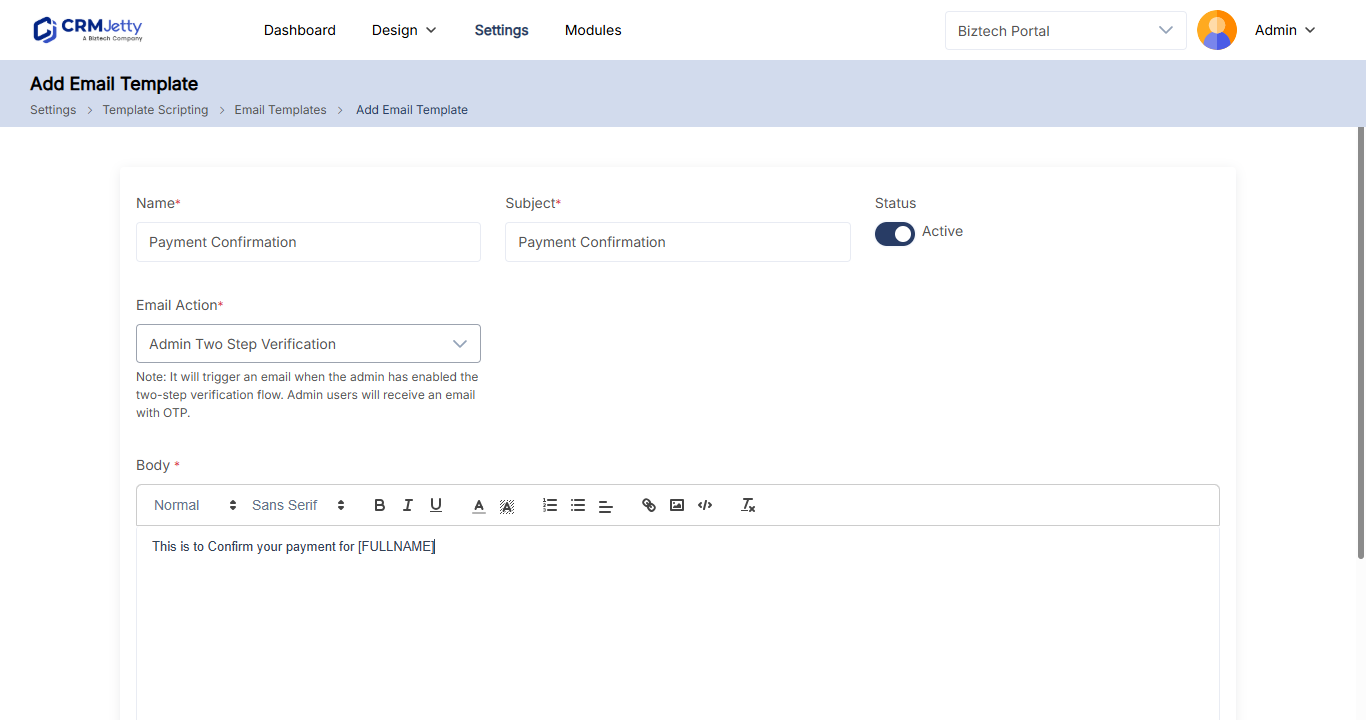
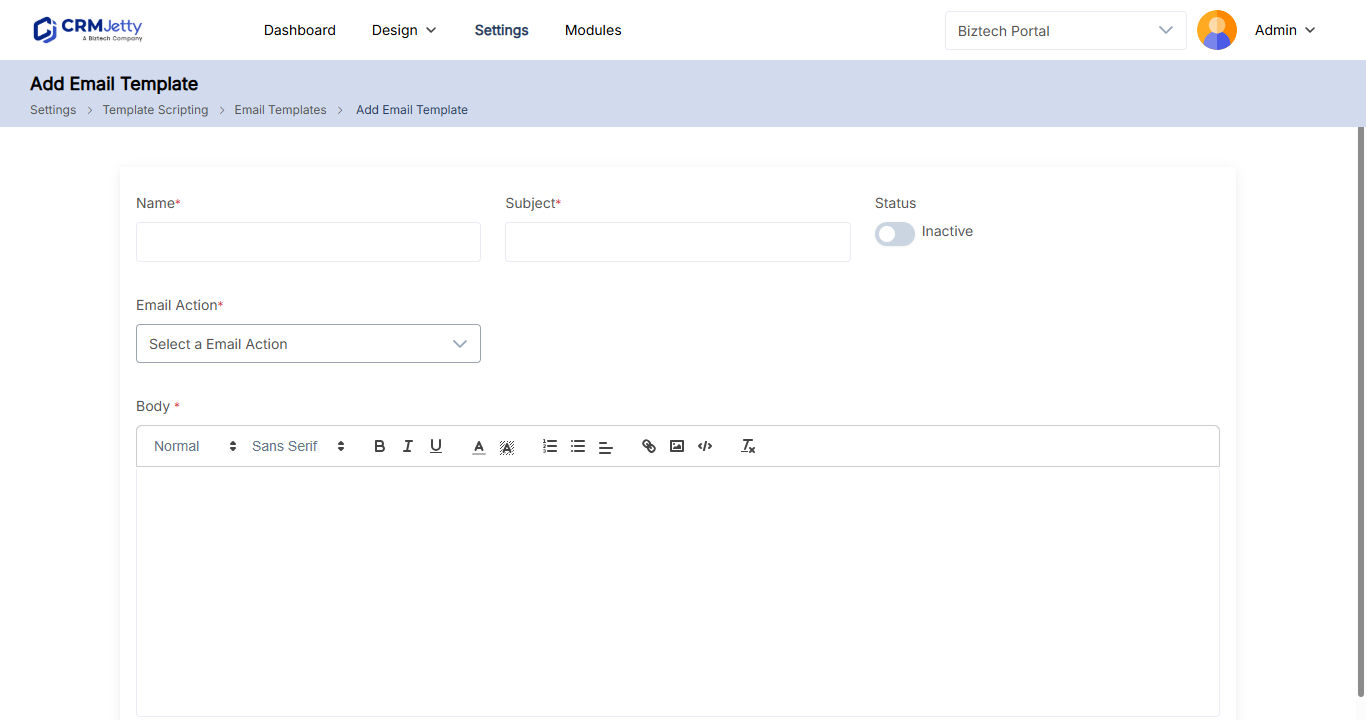
- Select Create. The Create Email Template page opens.
- Fill in the fields in the table below.
- In Body, write the email and add the parameters listed below the body.
- Select Save.
- In the pop-up, select OK to activate the template.
| Field | What to enter |
|---|---|
| Name | A name that identifies the template and its email action. |
| Subject | The subject line of the email. |
| Status | Active to use the template, or Inactive. |
| Email Action | The action that sends this email. See Email actions. |
| Body | The email content. Use the editor toolbar to format the text. |
Important: Only one template is active for each email action. When you activate a new template, the pop-up warns that the old template will become inactive. Selecting OK activates the new template and deactivates the previous one.
Add parameters
Parameters are placeholders that the portal replaces with real values when it sends the email. The parameters you can use depend on the email action, and the editor shows them below the body.
For example, a template for the Approve Portal User action needs these parameters:
| Parameter | Replaced with |
|---|---|
[FULLNAME] |
The portal user’s first name |
[EMAIL] |
The portal user’s email address |
[PORTALNAME] |
The portal name |
Note: Make sure the template includes all mandatory parameters for its email action.
Delete a template
- Select the three dots (…) on the template.
- Select Delete.
You can delete only inactive templates. To remove the active template for an action, first activate another template for the same action.
Email templates vs notification templates
The Email Templates described here are for the built-in email actions. Emails you send with a trigger, for example when a portal user submits or edits a record, use an Email Notification template under Template Scripting → Notification. See How to Automate Portal Emails with Triggers.
Tip: You can export email templates from one portal instance and import them into another, such as from sandbox to live. Export and import is available on selected plans. See How to Export and Import Portal Configuration and Pricing.
Troubleshooting
The portal still sends the old email: Check that your new template is Active. Only the active template for an email action is sent.
You can’t delete a template: The template is active. Activate another template for the same email action, then delete it.
A value is missing from the email: Check that the body includes the parameter for it, spelled exactly as shown below the body, including the square brackets.
The email doesn’t arrive: See How to Fix Portal Emails That Are Not Sending.
Related articles
- How to Configure SMTP Email in CRMJetty Portal
- How to Enable Email Verification and Admin Approval
- How to Set Up Password Reset for Portal Users
- How to Send Confirmation Emails After Form Submission