
How to Enable Social Login and Microsoft SSO
Social login lets portal users sign in, or register, with an account they already have instead of a new portal password. The portal supports Google, Facebook, LinkedIn and Microsoft. Microsoft sign-in, through the Microsoft Identity Provider integration, gives your customers, partners or vendors single sign-on (SSO) with their Microsoft account.
Note: This feature is available on selected plans. See Pricing.
Before you start
- You need access to Settings → Integration and Settings → Portal Settings → Site Management in the admin portal.
- You need an admin account with each provider you want to use, so you can create an app and get its client ID and client secret.
- Set up SMTP if you use email verification, which also applies to social sign-ins. See How to Configure SMTP Email in CRMJetty Portal.
Supported providers
| Provider | Integration in the admin portal | Values you enter |
|---|---|---|
| Google Account | Account Name, Google Client ID, Google Client Secret | |
| Account Name, Facebook Client Id, Facebook Client Secret | ||
| Account Name, LinkedIn Client Id, LinkedIn Client Secret | ||
| Microsoft | Microsoft Identity Provider | Account Name, Microsoft Identity Provider Client Id, Microsoft Identity Provider Client Secret |
Important: Sign-in uses each provider’s own login. The portal has no SAML integration and no Okta connector. For enterprise sign-in, use Microsoft Identity Provider.
Step 1: Create an app with the provider
- Sign in to the developer or admin console of the provider: Google, Facebook, LinkedIn, or Microsoft Entra ID (formerly Azure Active Directory) for Microsoft.
- Create an app for your portal.
- Copy the app’s client ID (Facebook calls it the App ID).
- Copy the app’s client secret (Facebook calls it the App Secret).
Keep the client secret private. If it is exposed, create a new secret with the provider and update the integration.
Step 2: Add the account under Integrations
- Go to Settings → Integration.
- Select the provider: Google Account, Facebook, LinkedIn or Microsoft Identity Provider.
- Select Create.
- In Account Name, enter a name that identifies the account in the admin portal.
- Enter the client ID and client secret from step 1.
- Select Save.
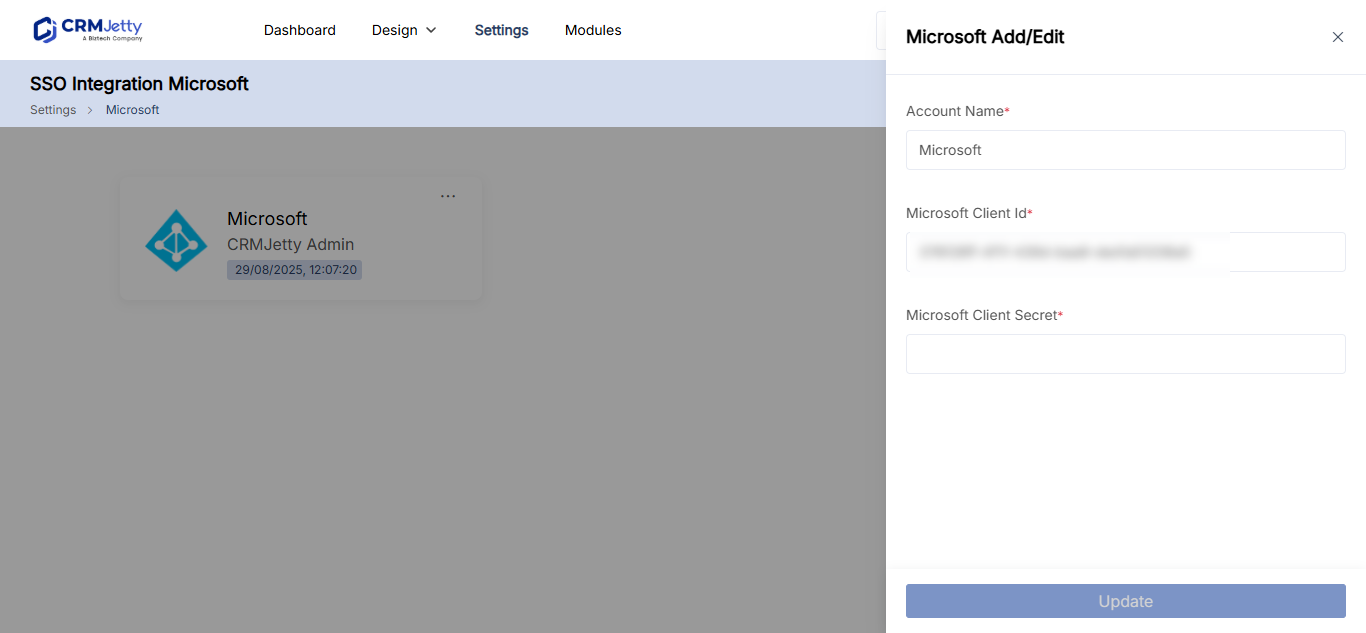
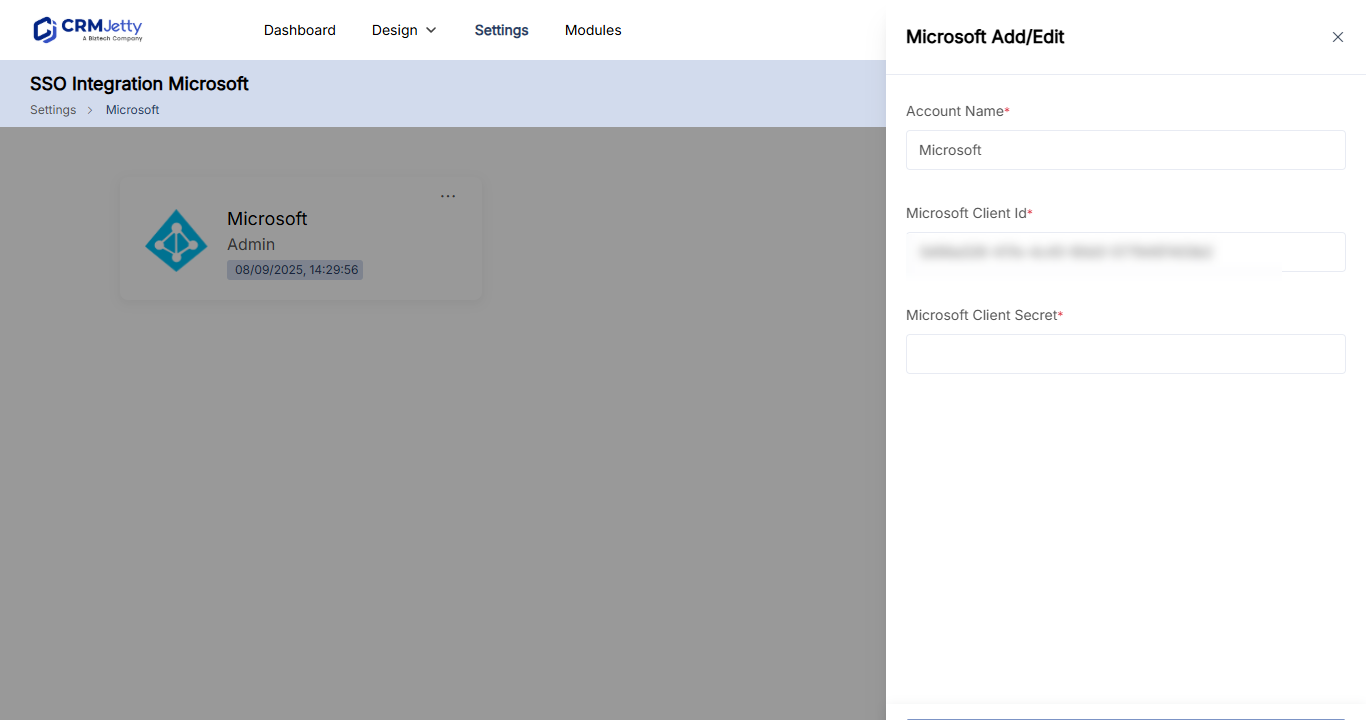
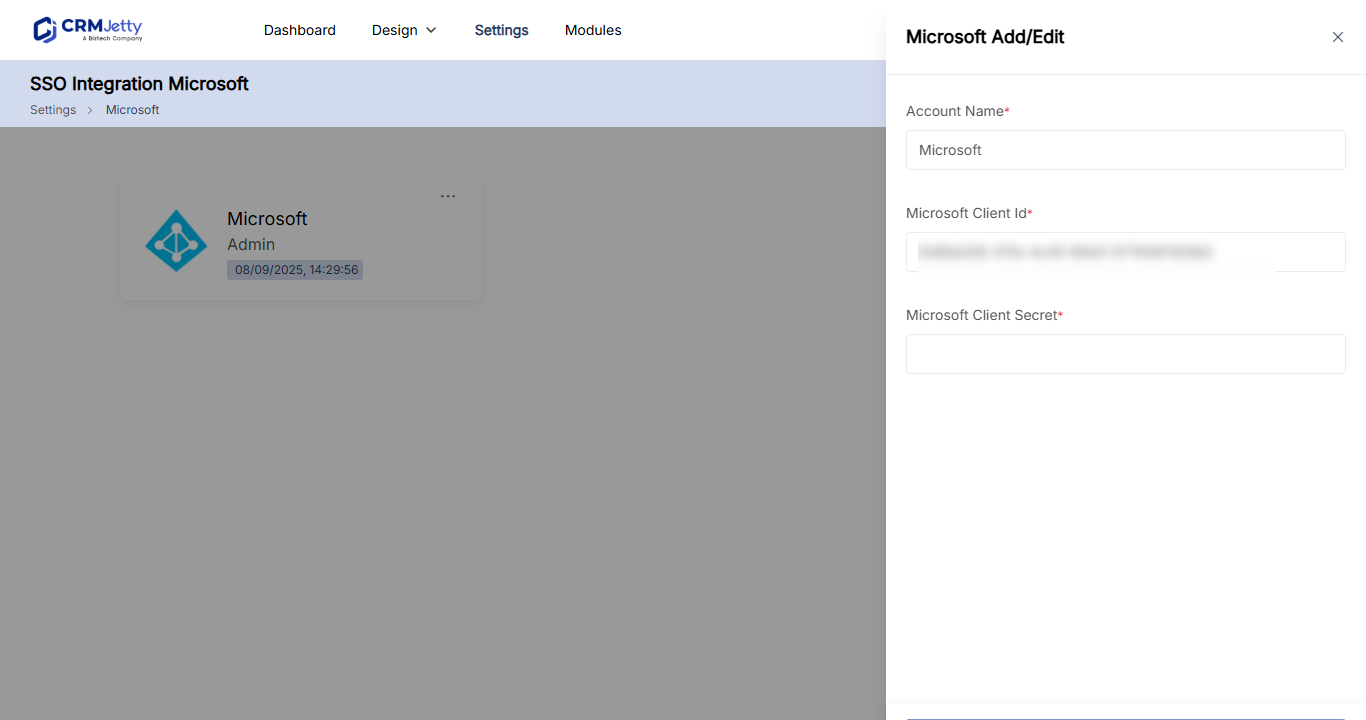
The account then appears on the provider’s SSO integration page with its name, logo and the time it was added. Use the options menu to edit or delete it.
Repeat these steps for each provider you want to offer.
Step 3: Enable the provider for your site
- Go to Settings → Portal Settings → Site Management.
- Open your site for editing.
- Go to External Logins.
- Turn on each provider you want portal users to sign in with: Google, Facebook, Microsoft Identity or LinkedIn.
- Select Save.
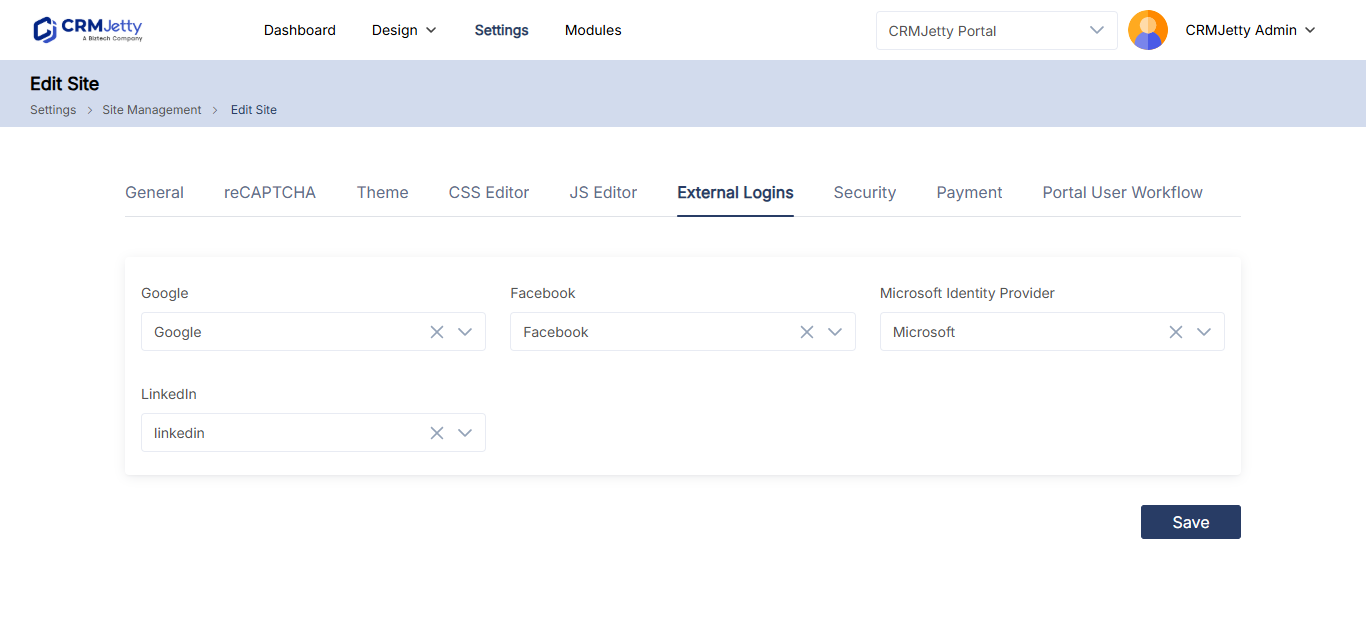
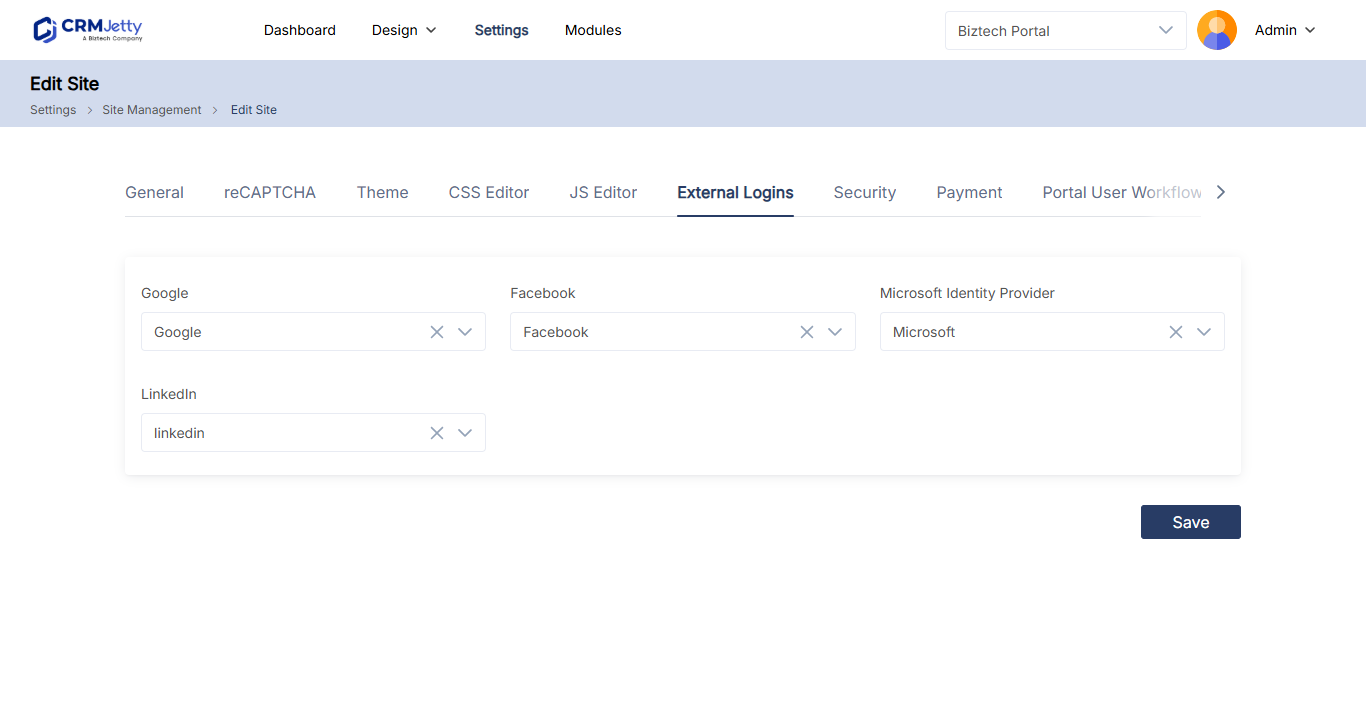
External Logins shows only the accounts you have already set up under Settings → Integration. If you run several sites, choose the providers for each site. See How to Create and Manage Multiple Portal Sites.
Control who gets access
Social sign-in doesn’t bypass your registration rules. In the site’s Security settings:
- With Email Verification on, portal users who sign in with Google, Facebook or Microsoft also receive a verification email.
- With User Approval on, they also need an admin to approve them.
For partner or vendor portals where you check every applicant, turn on User Approval. See How to Enable Email Verification and Admin Approval.
Edit or remove a social login account
- Go to Settings → Integration and select the provider.
- To change the details, select the Edit icon, update the values in the side panel and select Save.
- To remove the account, select the Delete icon, then select OK in the warning pop-up.
Deleting an account removes it permanently. To keep the account but stop offering it on a site, turn the provider off under External Logins instead.
Troubleshooting
A provider isn’t listed under External Logins: The account isn’t set up under Settings → Integration yet. Add it there, then edit the site again.
Social sign-in fails or doesn’t complete: Check that the client ID and client secret match the provider’s app, and that the secret hasn’t expired. Ask the portal user to allow cookies for the portal site in their browser settings; third-party sign-in needs them.
A portal user signed in but can’t access the portal: If User Approval is on, approve them under Settings → User Settings → Portal User Setup. If Email Verification is on, they must confirm their email first.
Related articles
- How to Enable Email Verification and Admin Approval
- How to Create and Manage Multiple Portal Sites
- How to Enable Two-Factor Authentication in the Portal
- CRMJetty Portal Security and Data Protection
- CRMJetty Plans and Feature Availability