
How to Configure Portal User Settings and Layouts
Portal User Settings controls the list and form admins see when they manage portal users. You choose which contact fields show in the portal user list, and which fields appear, and where, when an admin creates or edits a portal user.
These layouts are shown only in the admin portal, on Settings → User Settings → Portal User Setup. They don’t change what portal users see in the portal. To design forms portal users fill in, use Form Builder. See How to Create a Portal Form for Any CRM Entity.
Before you start
- You need admin access to the admin portal. The super admin can always change these layouts; sub-admins can only if their admin role gives them access.
- Connect your CRM first, so the contact fields are available.
Design the portal user list
- Go to Settings → Portal Settings → Portal User Settings.
- Open the List page. The available fields are shown on the right.
- Search for a field, or drag and drop fields into the list. You can add up to 5 fields.
- Select Save.
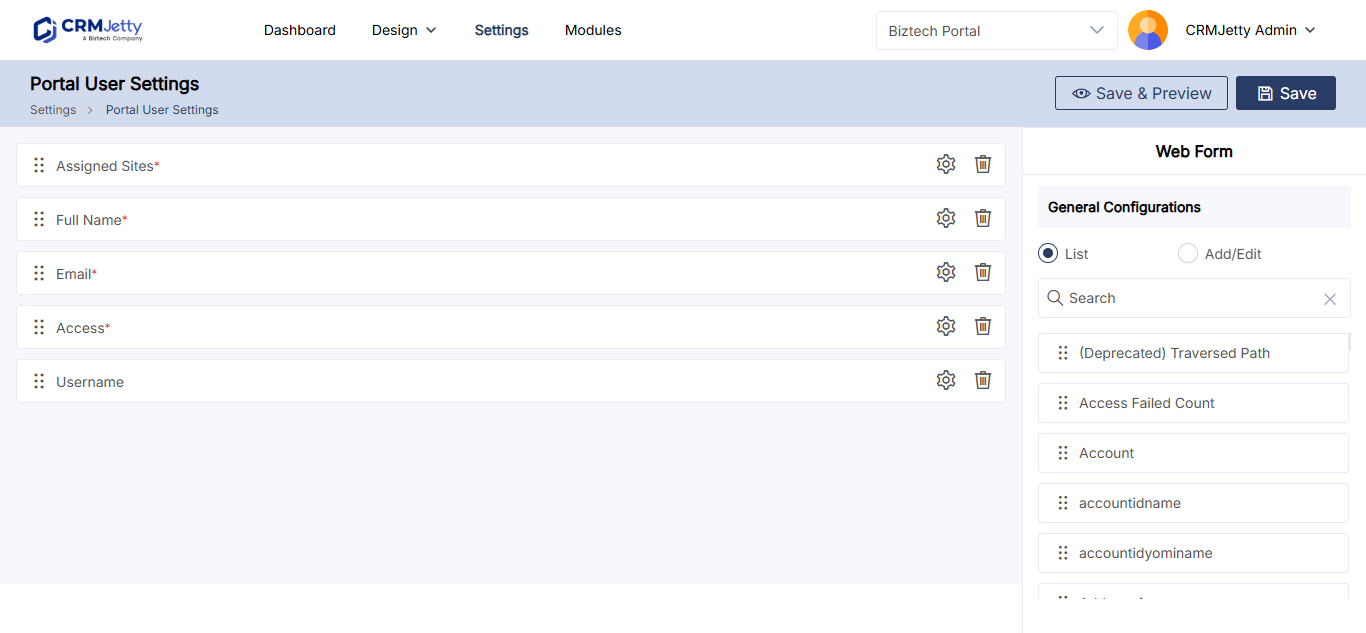
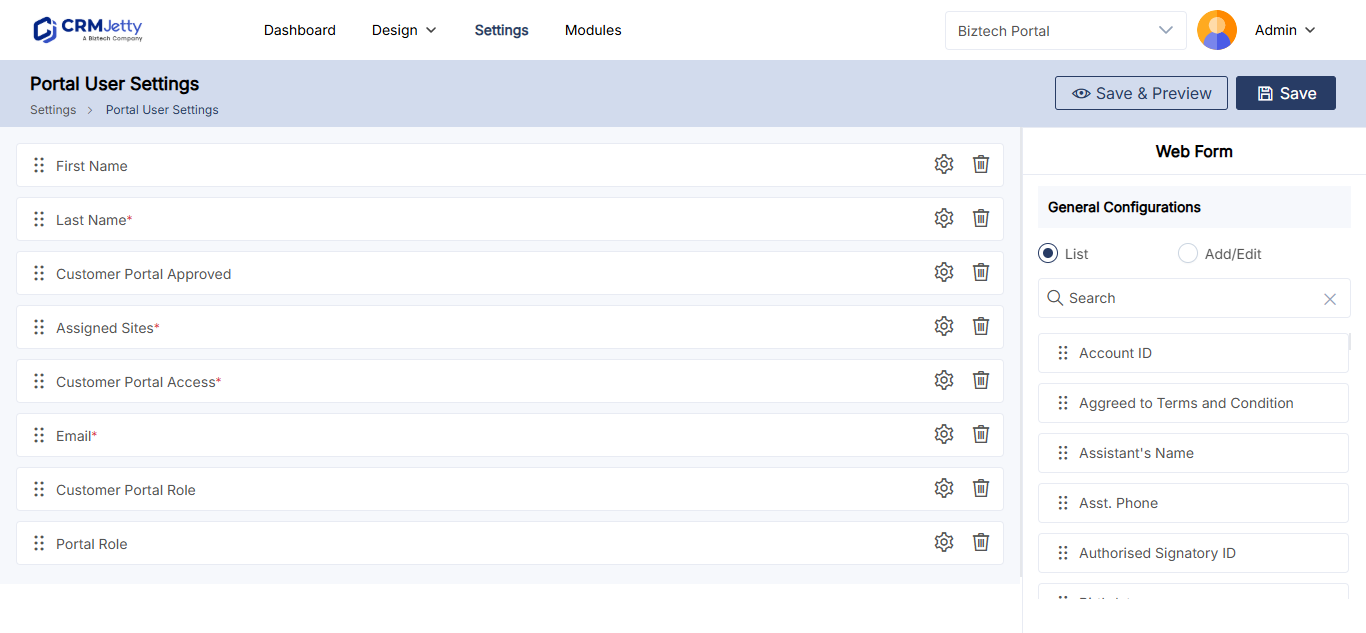
Note: You can’t remove required fields from the list. If you try, a message appears on the right side of the page.
Design the add/edit form
The form is built from sections, grids and fields: Add Section → Add Grid → Add Fields.
- In Portal User Settings, select the Add/Edit option.
- To add a section, select the + icon next to the sections on the left.
- Select Add Grid and choose a grid layout. The grid is added to the selected section.
- Drag and drop fields into the grid boxes.
- Repeat for each section you need.
- Select Preview to check the form.
- Select Save.
Note: Each grid box holds only one field. Plan your sections and grids so every field has its own box.
Check the result
- Go to Settings → User Settings → Portal User Setup.
- Check that the list shows the fields you chose.
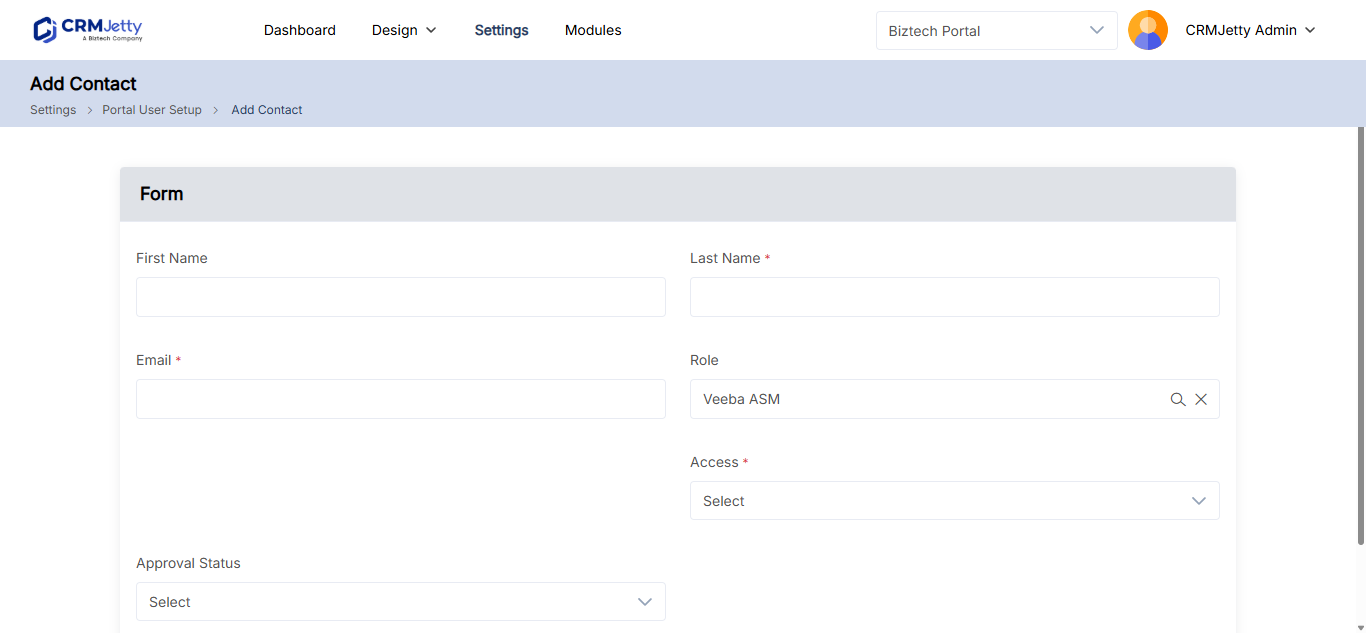
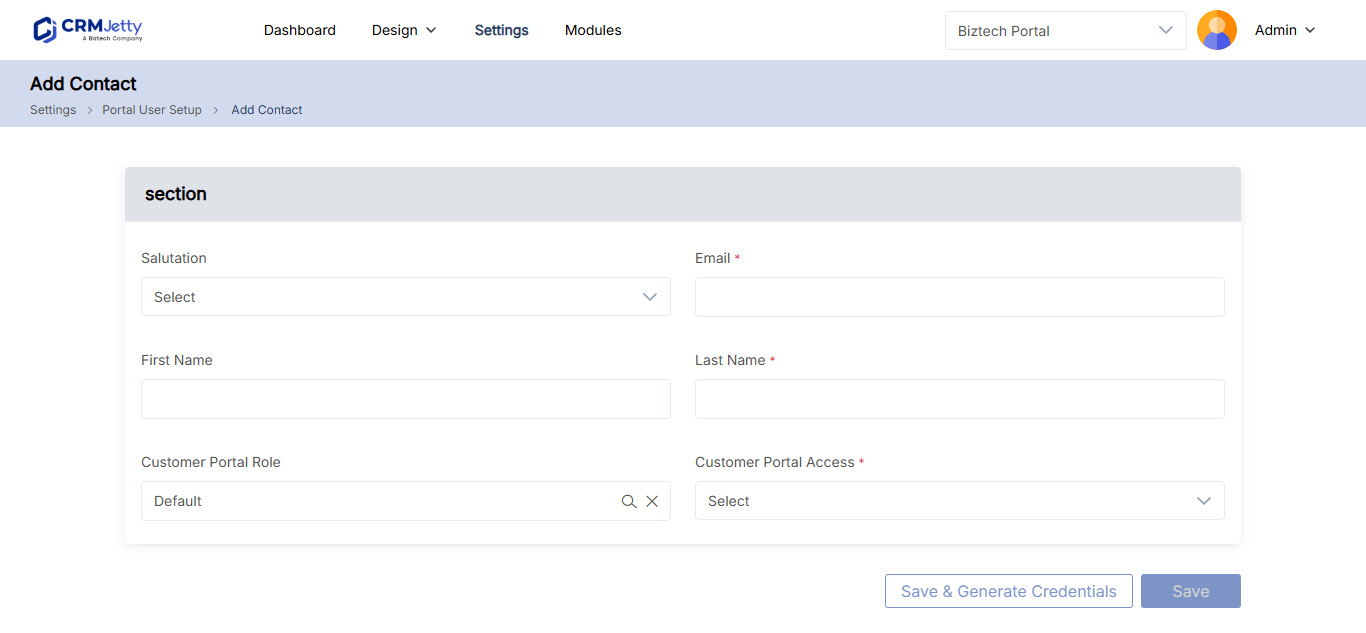
- Select Create, or edit a portal user, to see your form.
Troubleshooting
The portal user list is empty or shows no columns: The list layout hasn’t been configured. Add fields on the List page of Portal User Settings and select Save.
A field is missing when creating or editing a portal user: Add the field to the Add/Edit form in Portal User Settings and save.
Related articles
- How to Add Portal Users from CRM Contacts
- How to Edit Portal User Details
- How to Create Admin Roles and Permissions
- How to Create Multi-Section Portal Forms