
How to Sync CRM Layout Changes to Your Portal
Changes to the structure of your CRM do not reach the portal on their own. Each time you add, modify or delete fields, add an entity, object or table, or enable a new language in your CRM, sync the portal so it has the latest structure.
Before you start
- You need access to Settings → Portal Settings in the admin portal.
- Finish your changes in the CRM first. Don’t make CRM changes while the sync runs.
Choose a sync option
The Portal Sync page has three sync options.
| Option | Use it when |
|---|---|
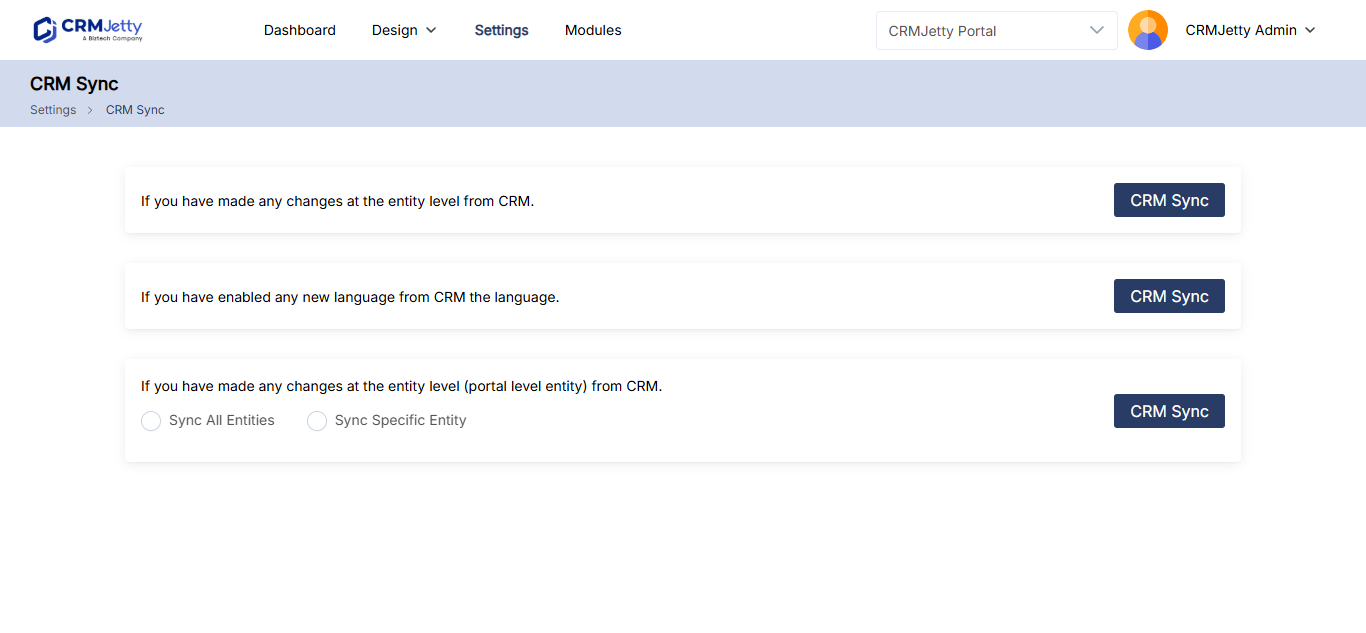
| Entity Level Sync | You changed the structure of entities in your CRM, such as accounts, contacts or leads: you added new fields, modified existing ones or deleted fields. |
| Language Level Sync (Dynamics 365) | You enabled a new language in your CRM and want to configure it in the portal. |
| Portal-level Entity Sync | You want to update portal data after entity or field changes in the CRM, for all entities (Sync All Entities) or just one (Sync Specific Entity). |
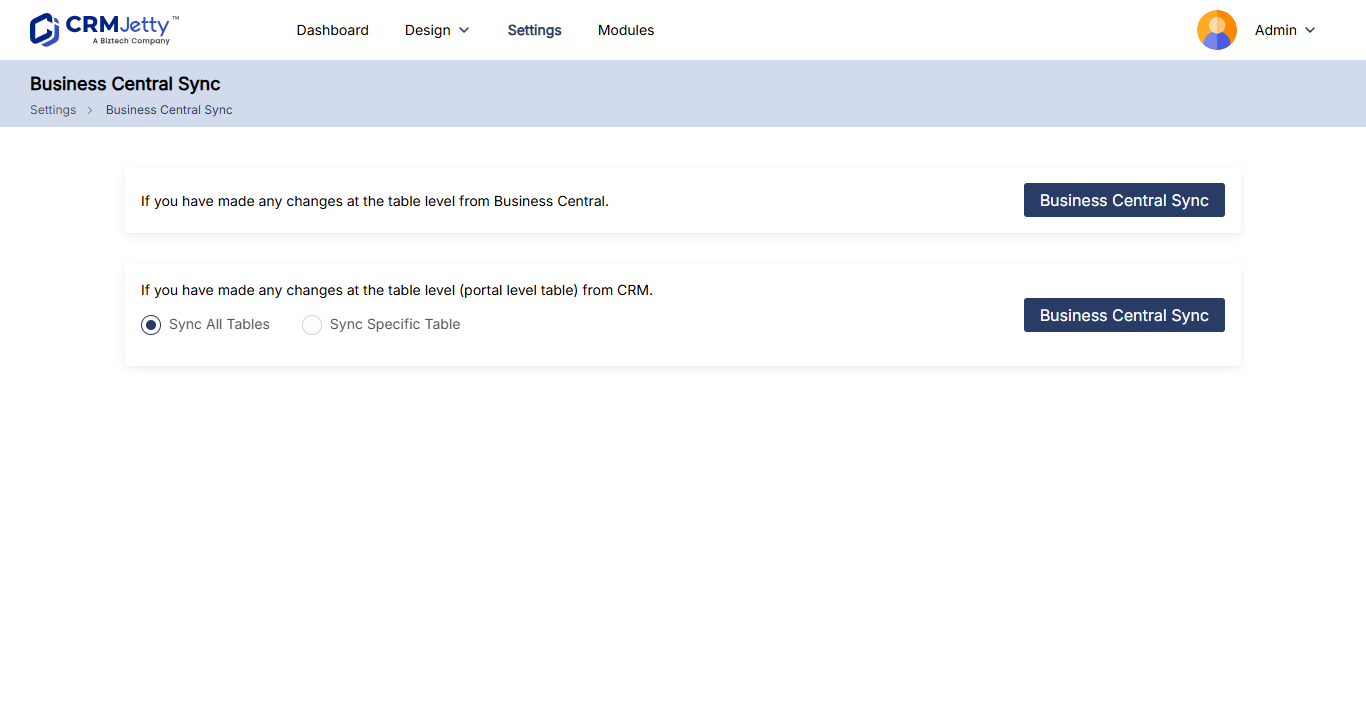
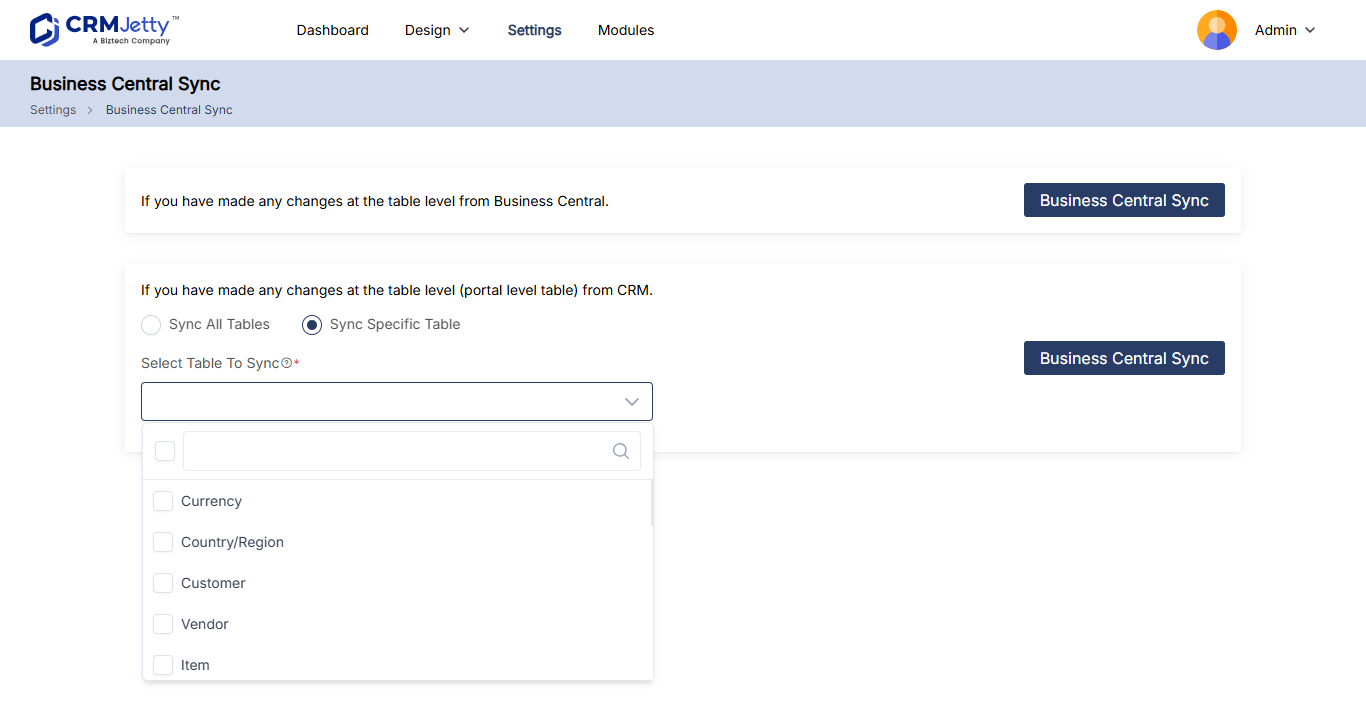
In Salesforce portals, the page uses object labels: Object Level Sync and Portal-level Object Sync (Sync All Entities or Sync Specific Object). It also has Box Level Sync for the Box integration; see How to Integrate Box with Salesforce Customer Portal. Business Central uses table labels; see How to Configure Business Central Table Sync.
Sync entity changes
- Sign in to the admin portal.
- Go to Settings → Portal Settings → Portal Sync.
- Under Entity Level Sync, select CRM Sync.
- Wait for the success message on the right side of the page.
Sync all entities or one entity
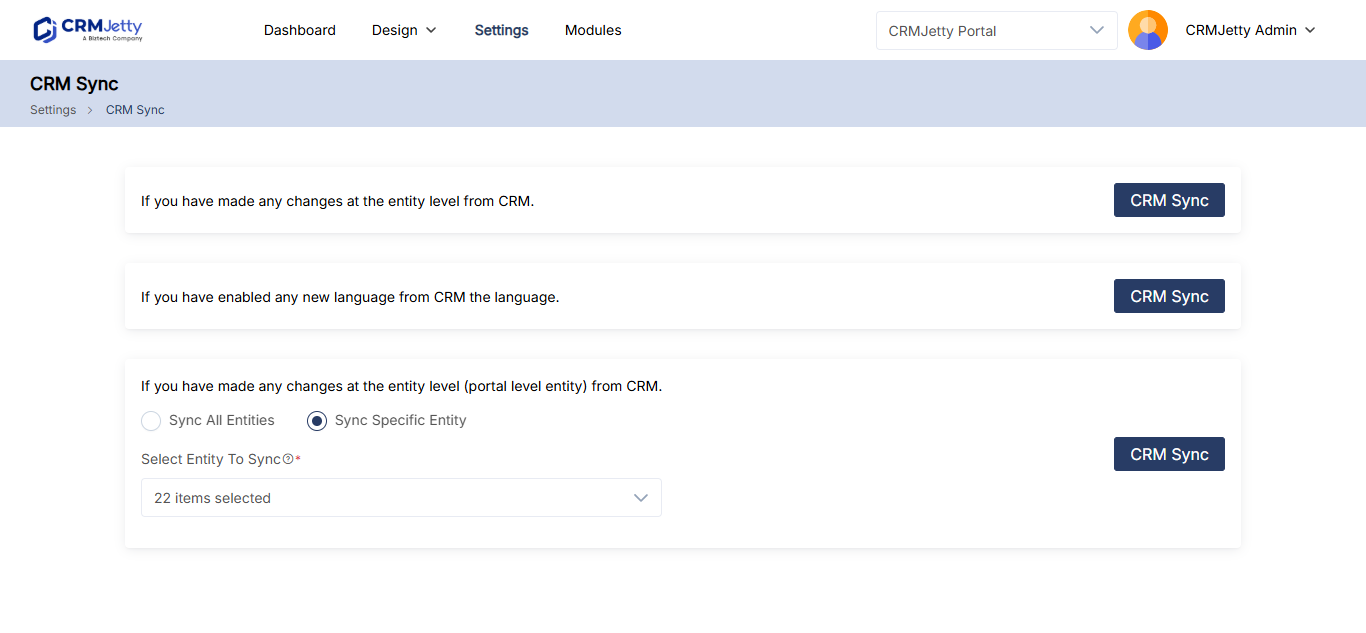
- On the Portal Sync page, go to Portal-level Entity Sync.
- Select Sync All Entities to update every entity in one action, or Sync Specific Entity to update only one.
- If you selected Sync Specific Entity, choose the entity in Select Entity to Sync.
- Select CRM Sync.
Tip: Use Sync Specific Entity when your changes are limited to one or a few entities. It updates only those entities and leaves other data alone.
Note: The sync can take a few minutes. Don’t sign out of the admin portal or make changes in your CRM until it finishes.
Sync a new language
In Dynamics 365 portals:
- On the Portal Sync page, under Language Level Sync, select CRM Sync.
- Check the message on the right side of the page.
If the portal finds a new language, a success message appears and you can configure the language in the portal. If there is no new language in your CRM, the message reads “No language available to sync”.
After the sync
- A new entity or custom object now appears in Settings → User Settings → Entity Configurations. Enable it there to use it in the portal. See How to Enable CRM Entities and Custom Objects in the Portal.
- New fields are available in the form and list builders. Add them to your portal forms and lists where you need them.
Troubleshooting
A new CRM field or entity is not in the portal: Run Entity Level Sync, or Portal-level Entity Sync for that entity, then check again. Entities must also be enabled in Entity Configurations before they appear in the builders.
“No language available to sync”: The portal found no new language. Check that the language is enabled in your CRM, then sync again.
Related articles
- How to Enable CRM Entities and Custom Objects in the Portal
- How to Use Existing CRM Forms and Views in the Portal
- How CRM Data Sync Works in CRMJetty Portal
- How to Translate Portal Forms and Lists