
How to Show or Hide Form Fields Conditionally
Conditional fields keep portal forms short. A field appears only when it is relevant, for example a Discount Code field that shows only when the portal user checks Special Offer. You set the condition on the field that should appear or disappear.
Before you start
- You need admin access to the CRMJetty admin portal.
- Both fields, the one you want to show or hide and the one that controls it, must be on the form.
- To hide a field completely and fill it with a default value instead, use the Hidden toggle. See How to Prefill and Hide Form Fields.
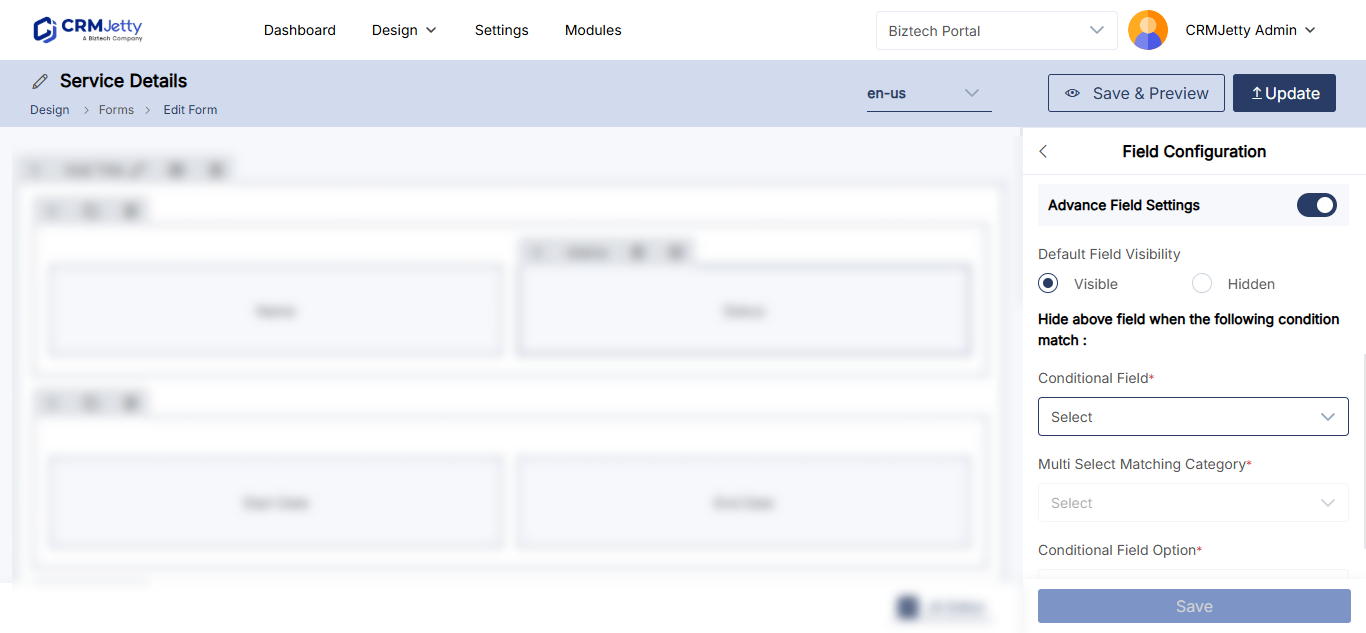
Advanced Field Settings
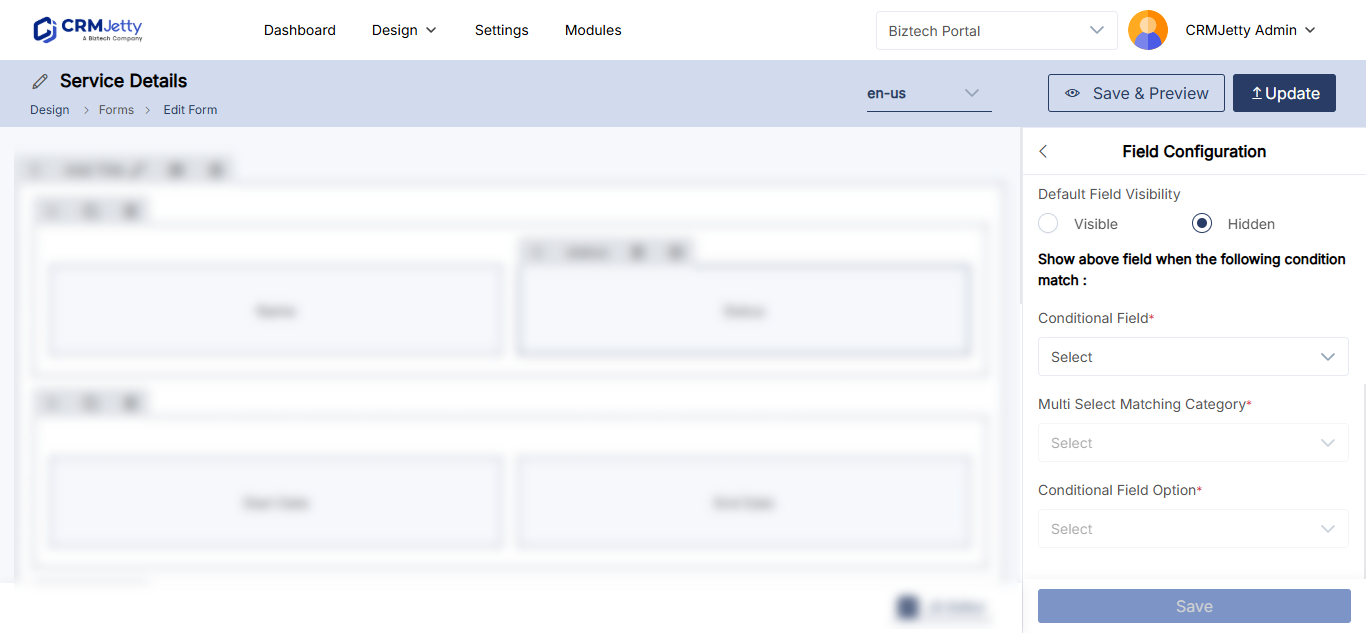
| Setting | What it does |
|---|---|
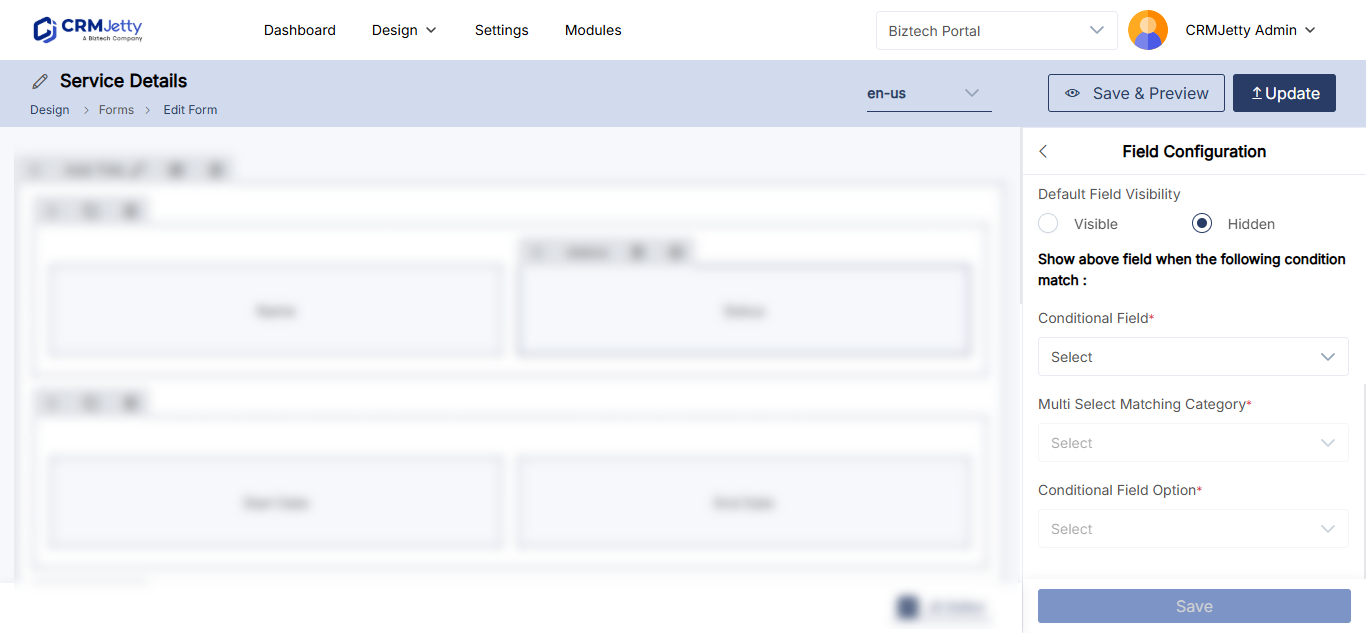
| Default Field Visibility | Visible: the field shows on the form by default. Hidden: the field does not show by default. |
| Conditional Field | The field whose value decides when the current field is shown or hidden. |
| Multi-Select Matching Category | For multi-select fields only: how the selected options must match the condition. See the table below. |
| Conditional Field Option | The value or values of the conditional field that trigger the change. |
Multi-Select Matching Category options:
| Option | Condition matches when |
|---|---|
| Any | The portal user selects any of the values in Conditional Field Option. |
| All | The portal user selects all of the values (multi-select fields only). |
| And | All the selected values of the conditional field are within the values in Conditional Field Option (multi-select fields only). |
Steps
- Go to Design → Form Builder.
- Select Edit on the form.
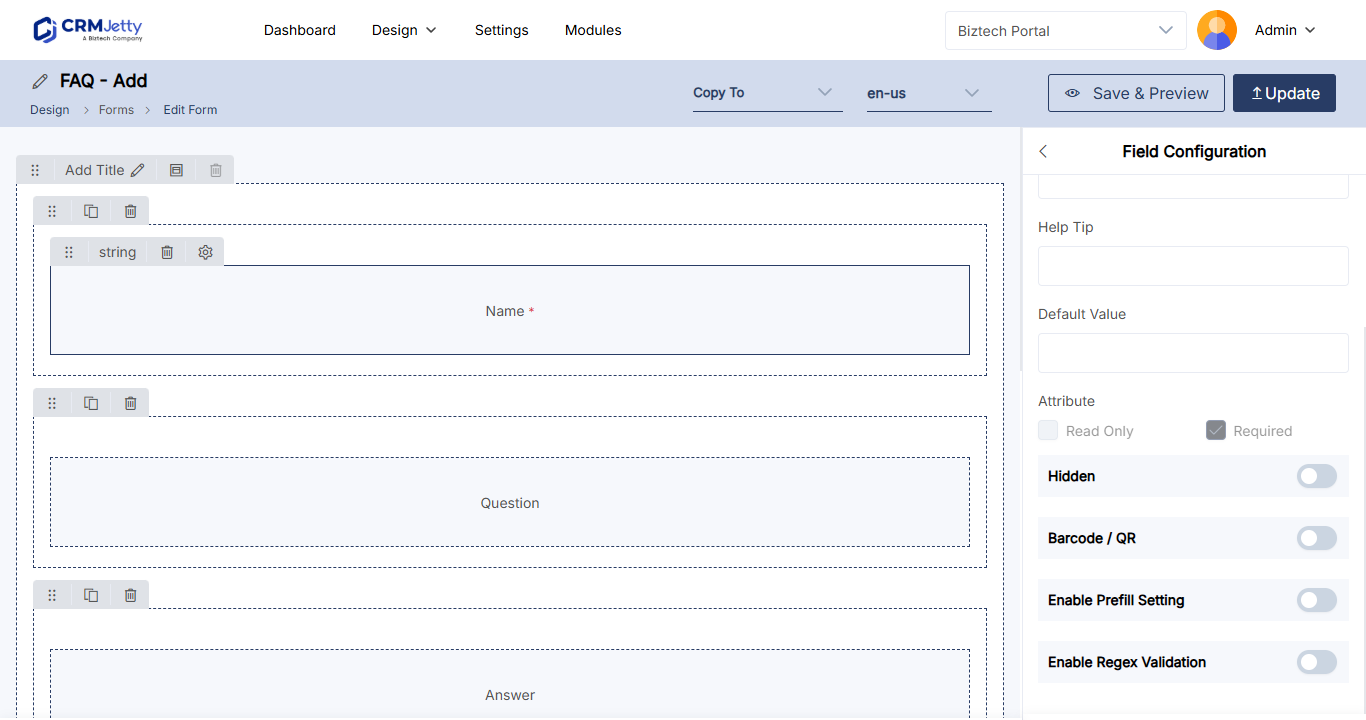
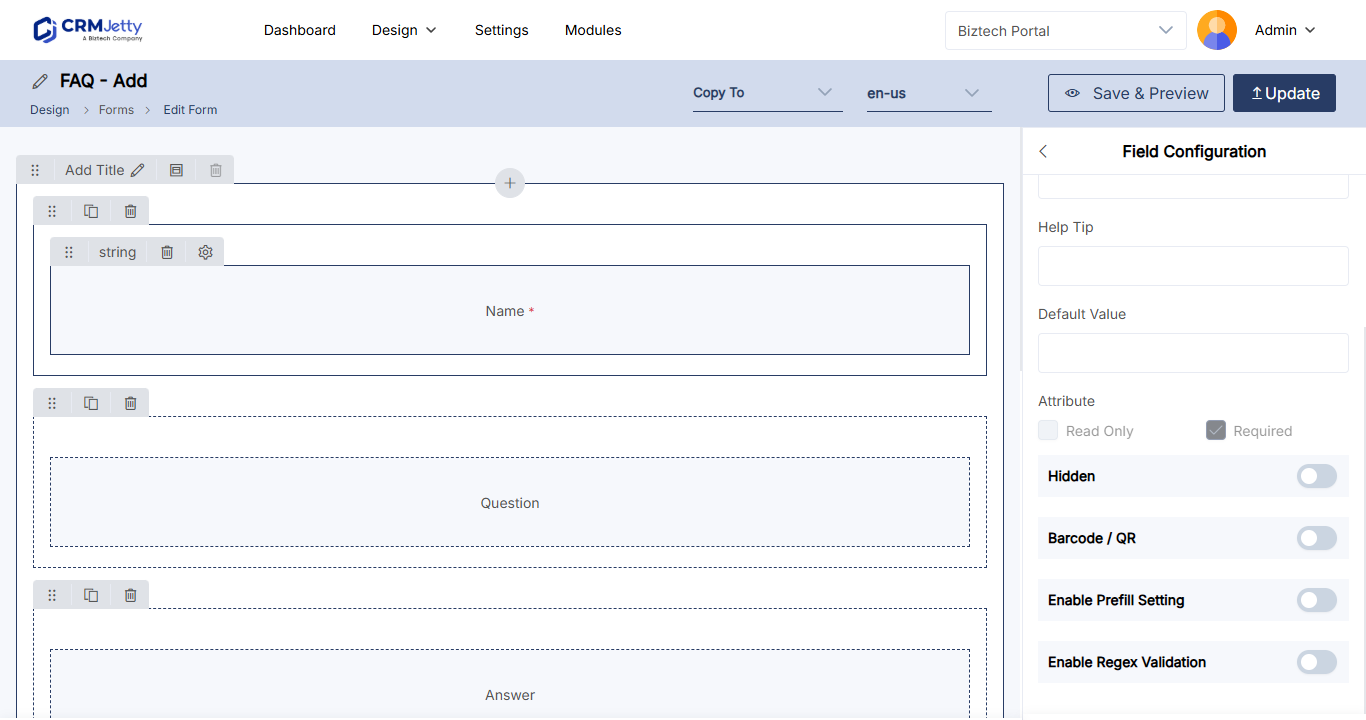
- Select the Settings icon on the field you want to show or hide. The Field Configuration panel opens.
- Scroll to Advanced Field Settings.
- In Default Field Visibility, select Visible or Hidden.
- In Conditional Field, select the field that controls this one.
- If the conditional field is a multi-select field, select a Multi-Select Matching Category.
- In Conditional Field Option, select the value or values that trigger the change.
- Select Save.
- Publish the form, then preview it to test the condition.
Example: show a Discount Code field for special offers
You want the Discount Code field to appear only when the portal user checks Special Offer. Open the settings of the Discount Code field and set:
| Setting | Value |
|---|---|
| Default Field Visibility | Hidden |
| Conditional Field | Special Offer (a checkbox) |
| Multi-Select Matching Category | Not needed; Special Offer is not a multi-select field |
| Conditional Field Option | Checked |
The Discount Code field now stays hidden until the portal user selects the Special Offer checkbox.
Tip: These settings also control the field options portal users see in a progress bar. See How to Display a Picklist Field as a Progress Bar.
Troubleshooting
The field never appears: Check that Conditional Field Option contains the value the portal user selects, and that the form was published after you saved the settings.
The condition works for one option but not several: For a multi-select conditional field, check the Multi-Select Matching Category. All and And need more than one value to match; use Any if one value is enough.
Related articles
- How to Edit Form Field Labels and Placeholders
- How to Set Up Cascading Lookups in Portal Forms
- How to Design Add, Edit and Detail Form Layouts