
How to Set Up a Multilingual Customer Portal
A multilingual portal lets portal users read the portal in their own language. You choose which languages the portal offers, translate the labels, and give portal users a language switcher. Multi-language support, auto-translation and the language switcher are part of every plan.
The portal supports 41 languages. English is the default language and can’t be disabled.
Before you start
- You need access to the CRMJetty admin portal.
- Enable the languages you need in your CRM first. Only languages enabled in your CRM appear in the portal’s language list.
- If you enabled a new language in Dynamics 365 after connecting the portal, run Language Level Sync. See How to Sync CRM Layout Changes to Your Portal.
- To translate automatically, have a Google Translate API key with the Translate API enabled for your portal domain.
Enable languages in the portal
- Sign in to the admin portal.
- Go to Settings → Portal Settings → Language Configuration.
- Drag each language you want from CRM Languages (Business Central: Business Central Languages) to CRMJetty portal Languages.
- Select Save.
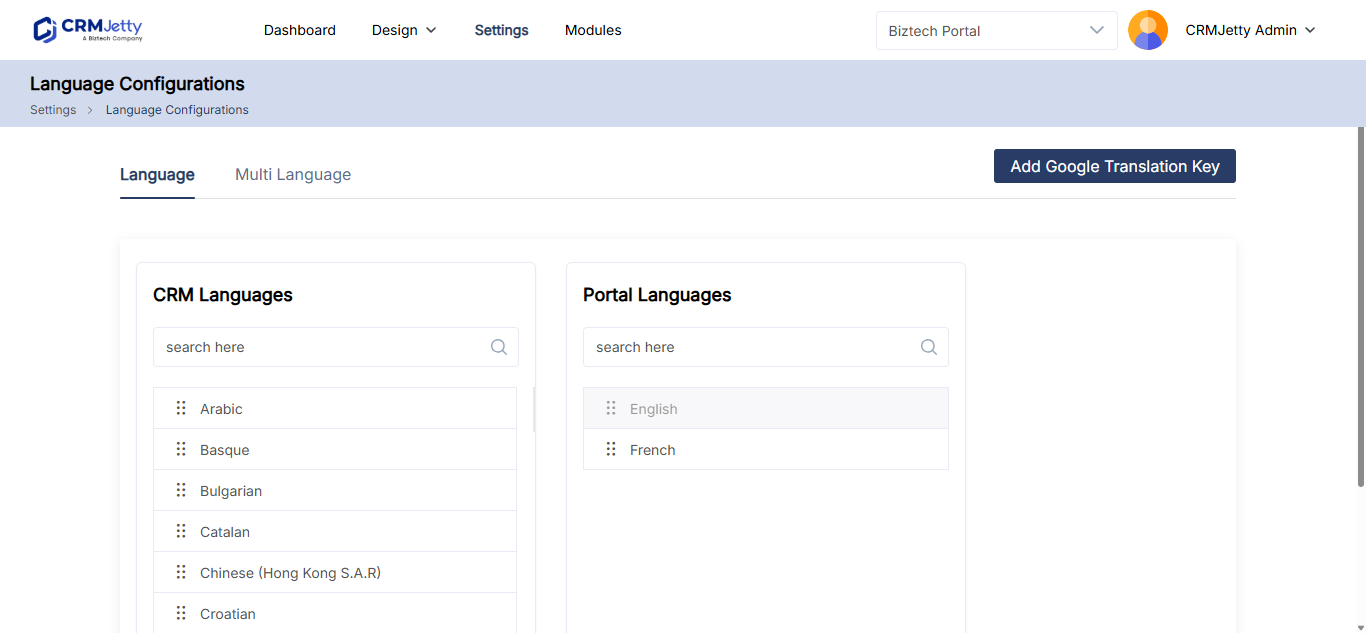
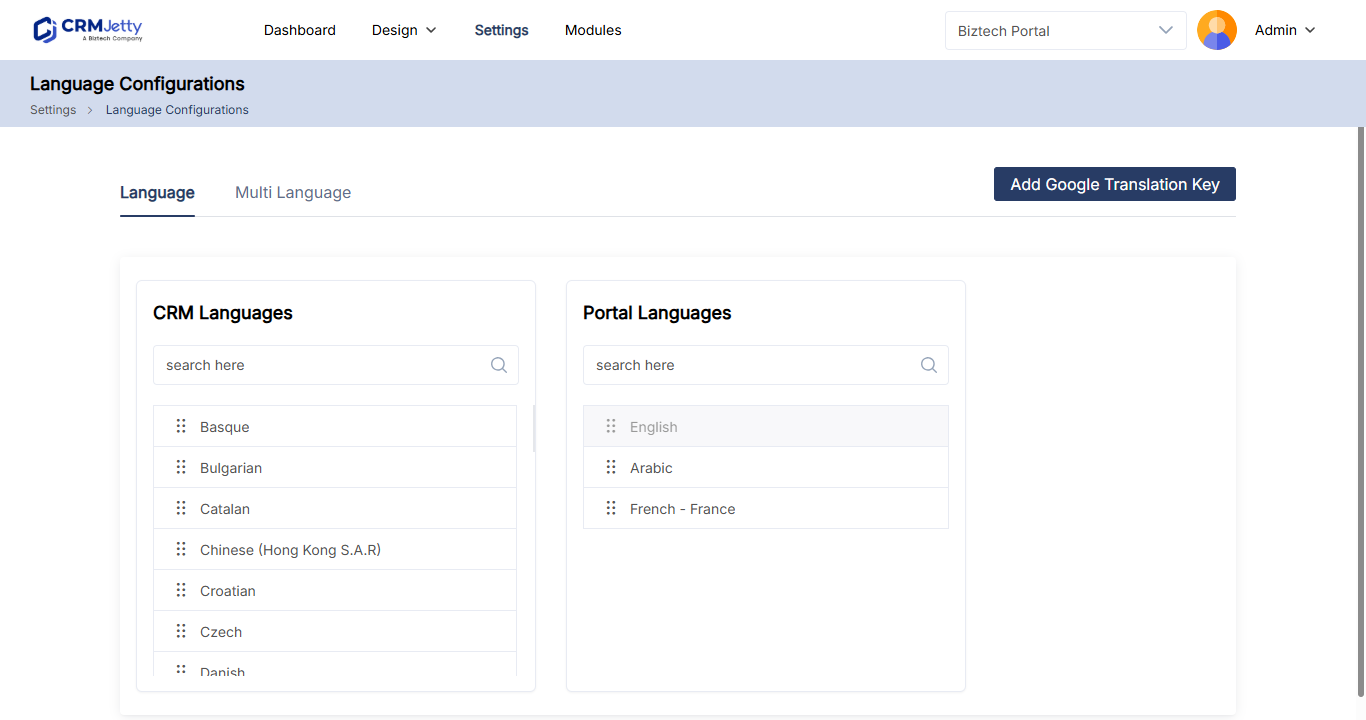
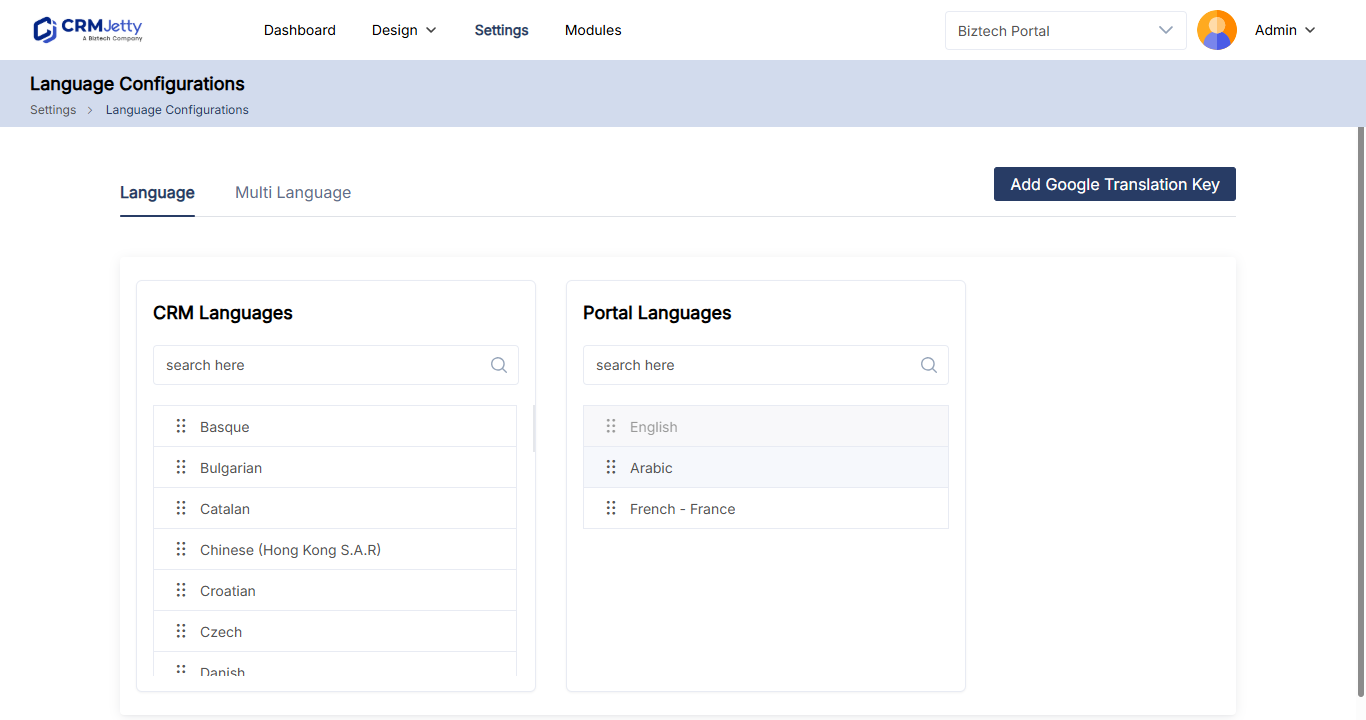
Note: CRM Languages shows only the languages that are enabled in your CRM, and Business Central Languages only those enabled in Business Central. If a language is missing, enable it there, run Language Level Sync (Dynamics 365), and check again.
If you run more than one portal site, each site also has its own Portal Enabled Language and Default Language settings. See How to Create and Manage Multiple Portal Sites.
Supported languages
English, Arabic, Basque, Bulgarian, Catalan, Chinese (Hong Kong S.A.R.), Croatian, Czech, Danish, Dutch – Netherlands, Estonian, Finnish, French – France, Galician, German, Greek, Hebrew, Hindi, Hungarian, Indonesian, Italian (Italy), Japanese, Kazakh, Korean, Latvian, Lithuanian, Malay – Malaysia, Norwegian (Bokmål), Polish, Portuguese – Brazil, Romanian, Russian, Serbian (Cyrillic), Slovak, Slovenian, Spanish – Spain (Modern Sort), Swedish, Thai, Turkish, Ukrainian and Vietnamese.
Translate labels manually
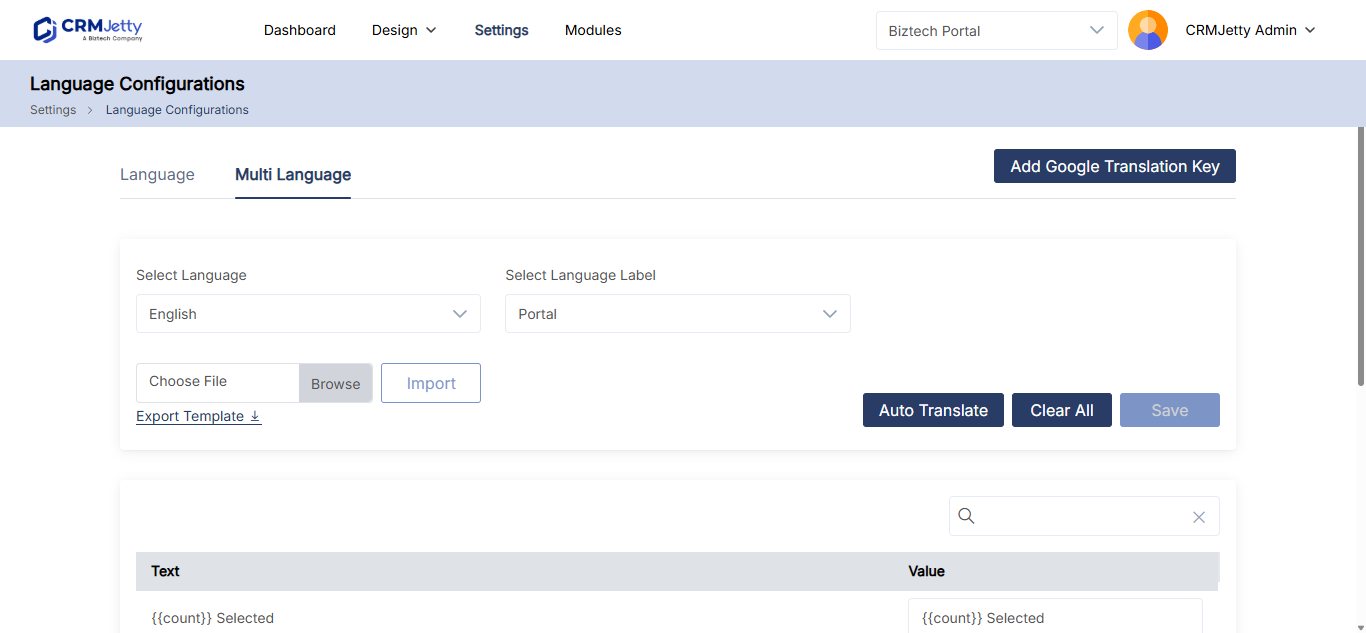
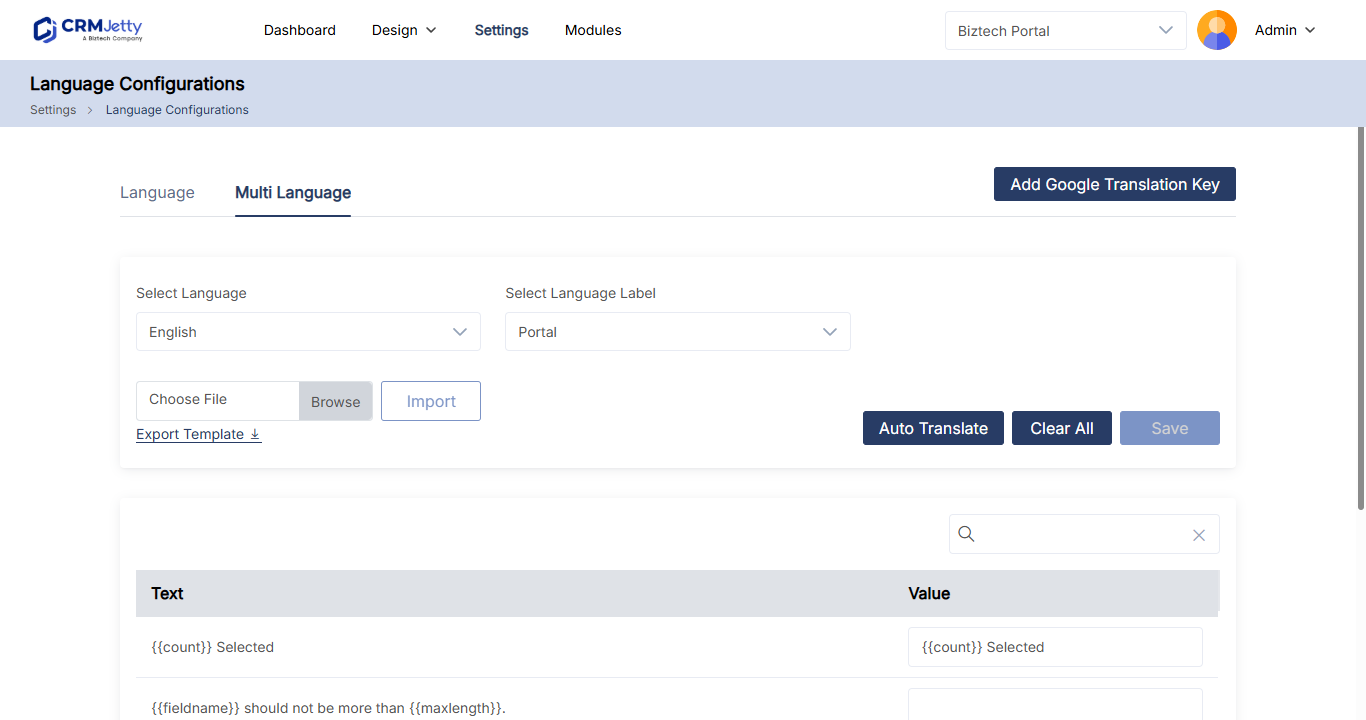
The Multi Language section holds the default text of every label and a value for each language.
- On the Language Configuration page, open Multi Language.
- In Select Language, choose the language to translate into.
- In Select Language Label, choose which labels to translate (see the table below).
- If you chose CRM, select the entity (Dynamics 365), object (Salesforce) or table (Business Central).
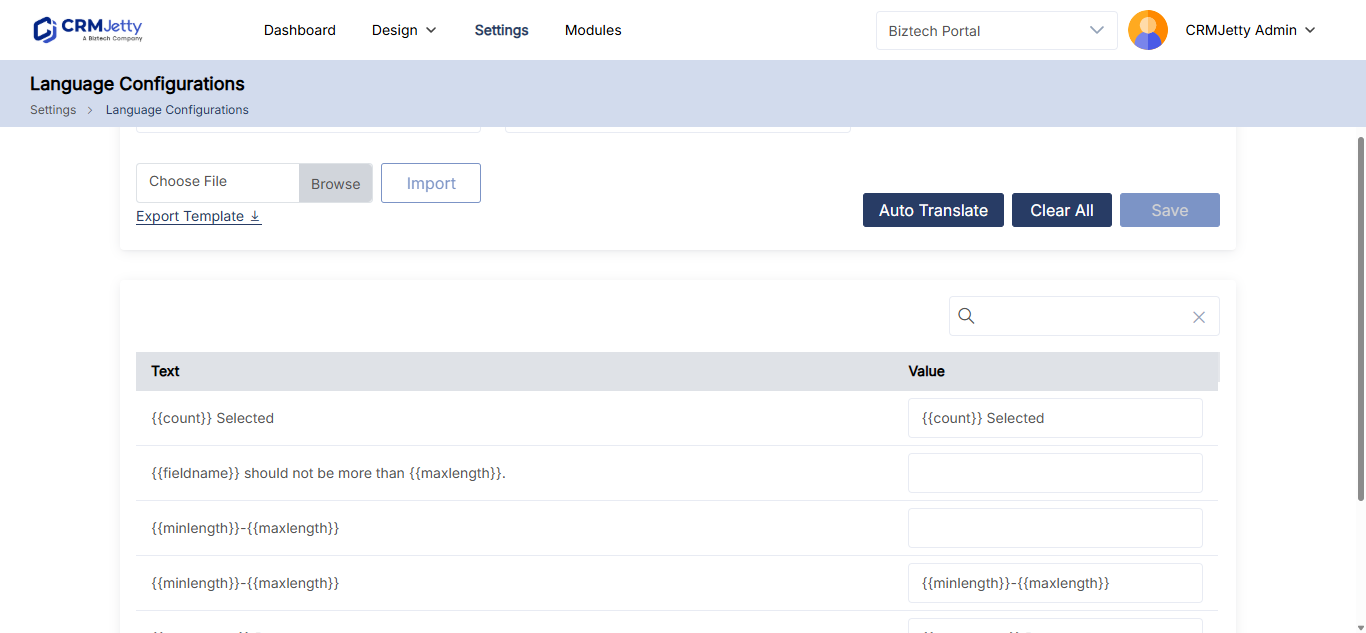
- Enter the translated text in the value field next to each default text.
- Select Save.
| Label type | What it translates |
|---|---|
| Portal | The default text and messages shown in the portal. |
| CRM | The text labels of one entity, object or table, for example the field labels of Case. |
| Admin | The text labels of the admin portal. |
Tip: Translate the CRM labels before you translate forms and lists. Form and list translation uses these labels. See How to Translate Portal Forms and Lists.
Watch the manual translation video for a walkthrough.
Translate labels with a spreadsheet
Use a spreadsheet when a translator works outside the portal, or when you have many labels.
- In Multi Language, select the language and label type.
- Select Export Template. The template file downloads to your computer.
- Open the file. It has the columns Text Key, Default Text and Language Specific Text.
- Enter each translation in the Language Specific Text column. Don’t change the other columns.
- Back in Multi Language, import the file. The translated labels fill in.
- Select Save.
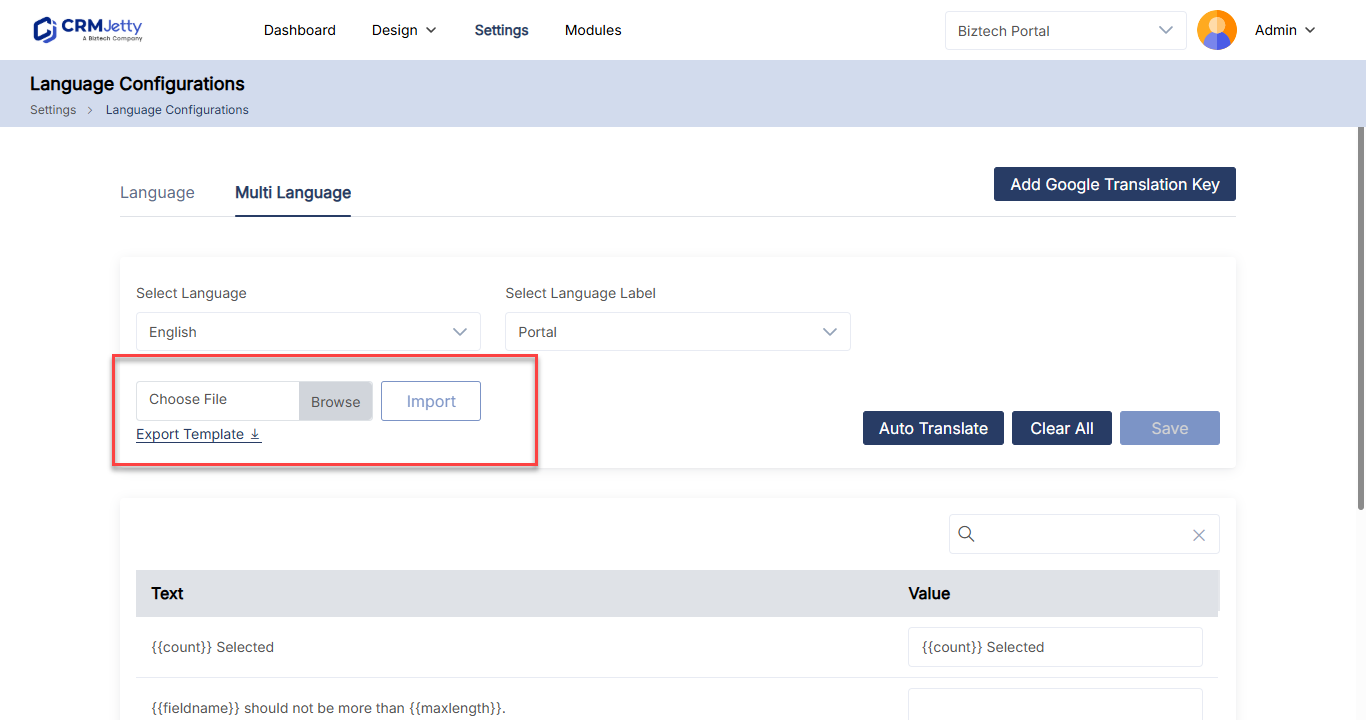
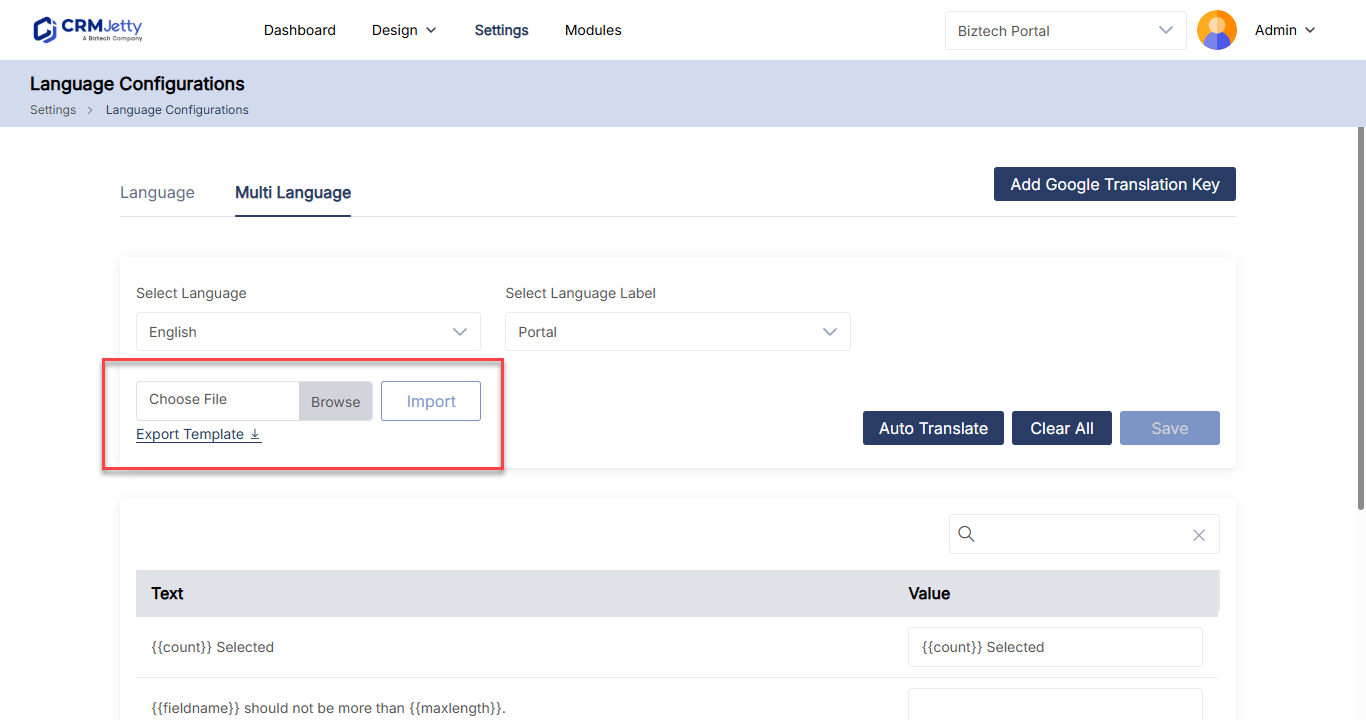
Important: The imported labels aren’t applied until you select Save.
Translate labels with Google Translate
Auto Translate translates all labels at once with Google Translate, instead of one by one.
- In the Google Cloud console, enable the Translate API for your portal domain and create an API key.
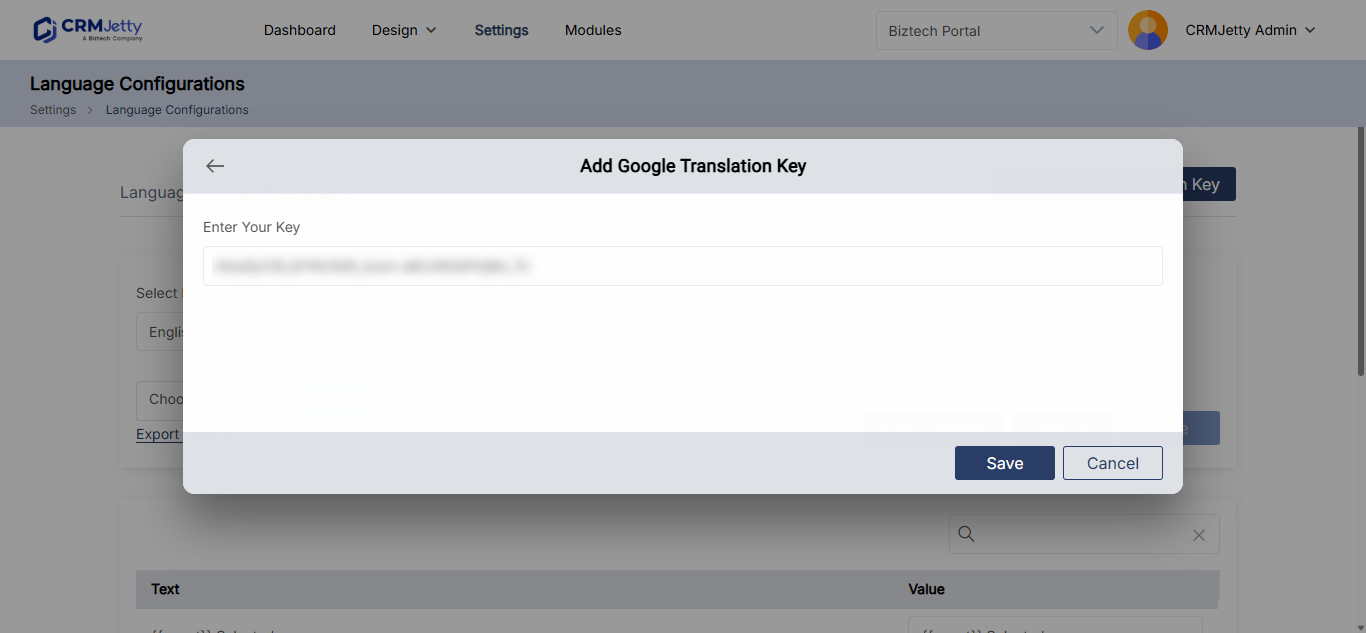
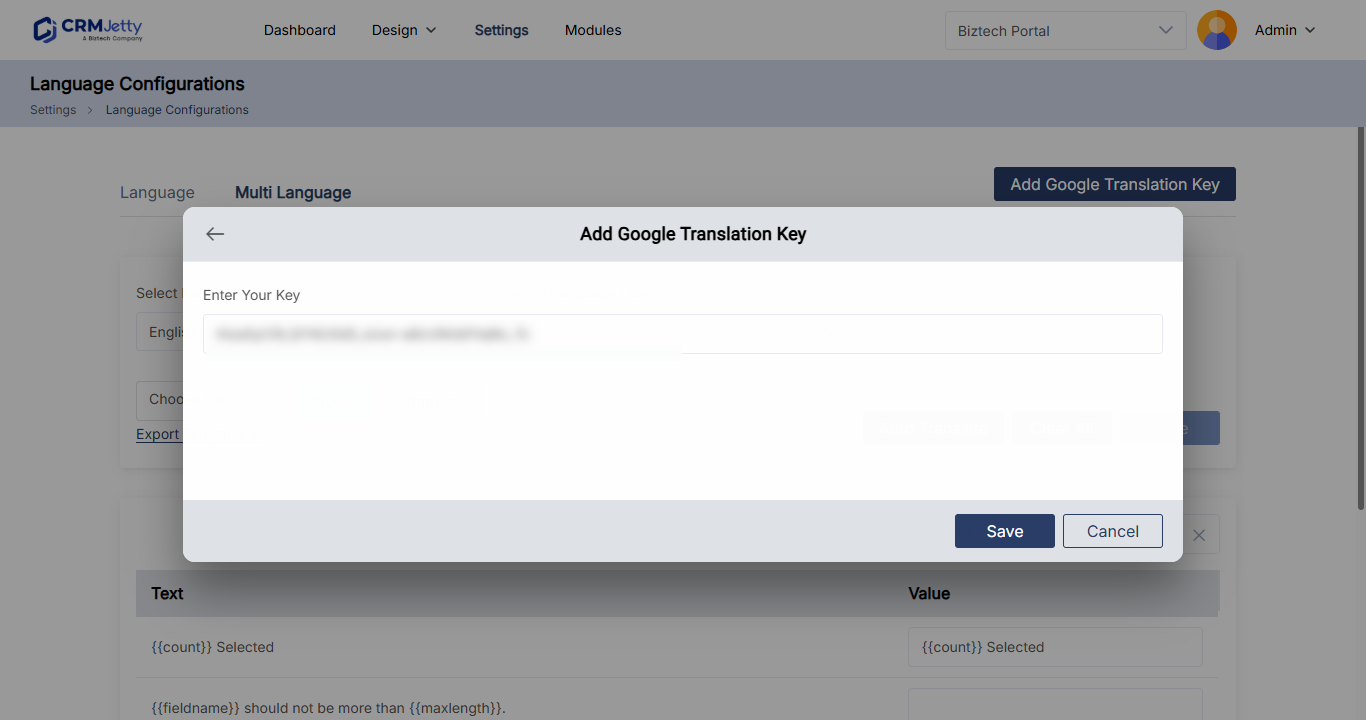
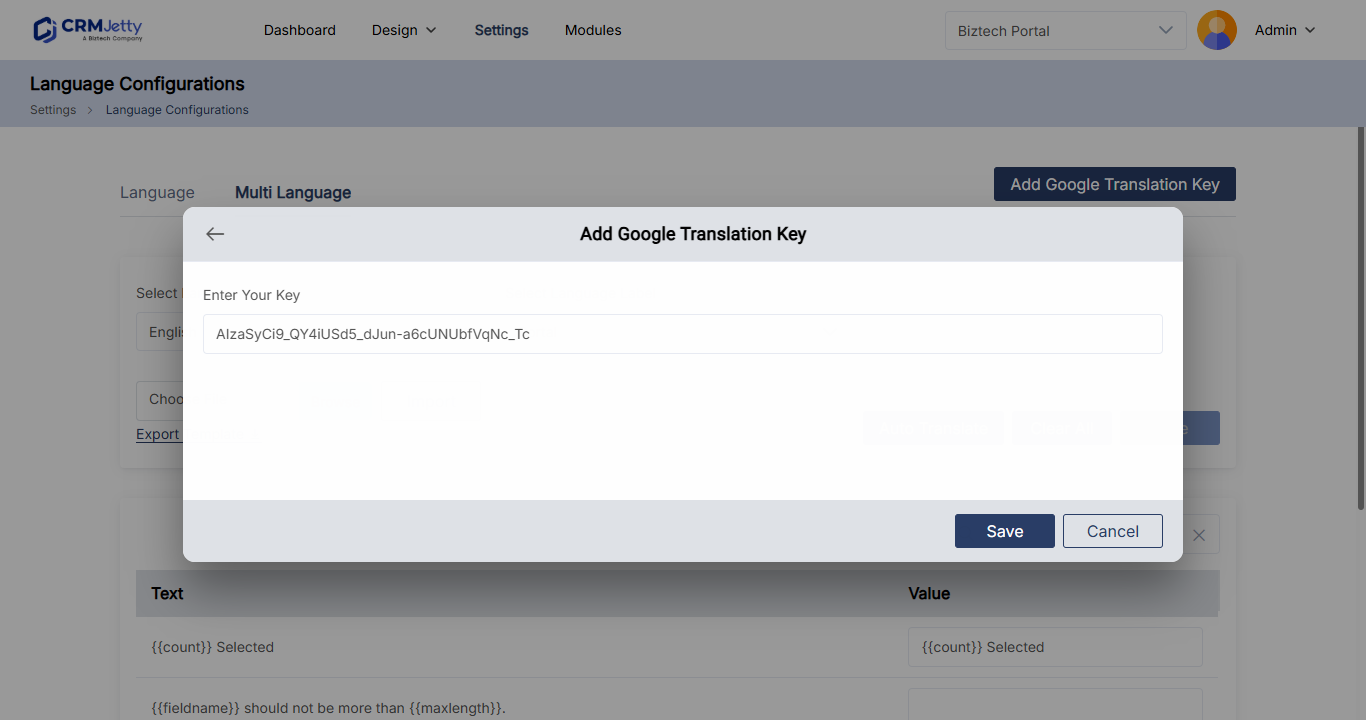
- On the Language Configuration page, select Add Google Translate key at the top right.
- Enter your Google Translate key and select Save.
- Select the language or languages to translate into.
- Select Auto Translate.
- Review the translated labels, then select Save.
Important: Auto Translate may overwrite translations you entered by hand for the selected languages. Run it first, then correct individual labels by hand.
Note: Auto Translate appears only when more than one language is enabled. Google charges for Translate API usage through your Google Cloud account.
To remove all translated values on the page, select Clear All.
Let portal users switch language
Add a language switcher to the portal menu so portal users can pick their language.
- Open the page that holds your header menu in the page builder.
- Open the settings of the Menu widget.
- Turn on Enable Language.
- Save and publish the page.
You can show the language switcher in only one Menu widget per page. See How to Design the Portal Header and Footer.
Troubleshooting
A language is missing from CRM Languages: Enable the language in your CRM, then run Language Level Sync (Dynamics 365) on Settings → Portal Settings → Portal Sync. Business Central has no Language Level Sync; enable the language in Business Central. If the message “No language available to sync” appears, the portal found no new language in your CRM.
The Auto Translate button doesn’t appear: Enable at least one language besides English, and add a Google Translate key.
Auto Translate fails: Check that the Translate API is enabled in the Google Cloud console for your portal domain, and that the key is correct.
Translated labels don’t show in the portal: Select Save after you edit, import or auto-translate labels. Forms, lists and pages must also be translated; see How to Translate Portal Forms and Lists.
Related articles
- How to Translate Portal Forms and Lists
- How to Sync CRM Layout Changes to Your Portal
- How to Create and Manage Multiple Portal Sites
- How to Create Portal Navigation Menus