
How to Create Portal Navigation Menus
Menus are the navigation portal users see in the portal. You build each menu in Menu Builder from your portal pages and custom links, then show it on a page with the Menu widget.
Before you start
- You need access to the Design menu in the admin portal.
- Create and publish the pages you want in the menu. Draft pages do not appear in page selection. See How to Create Pages in CRMJetty Portal.
Open Menu Builder
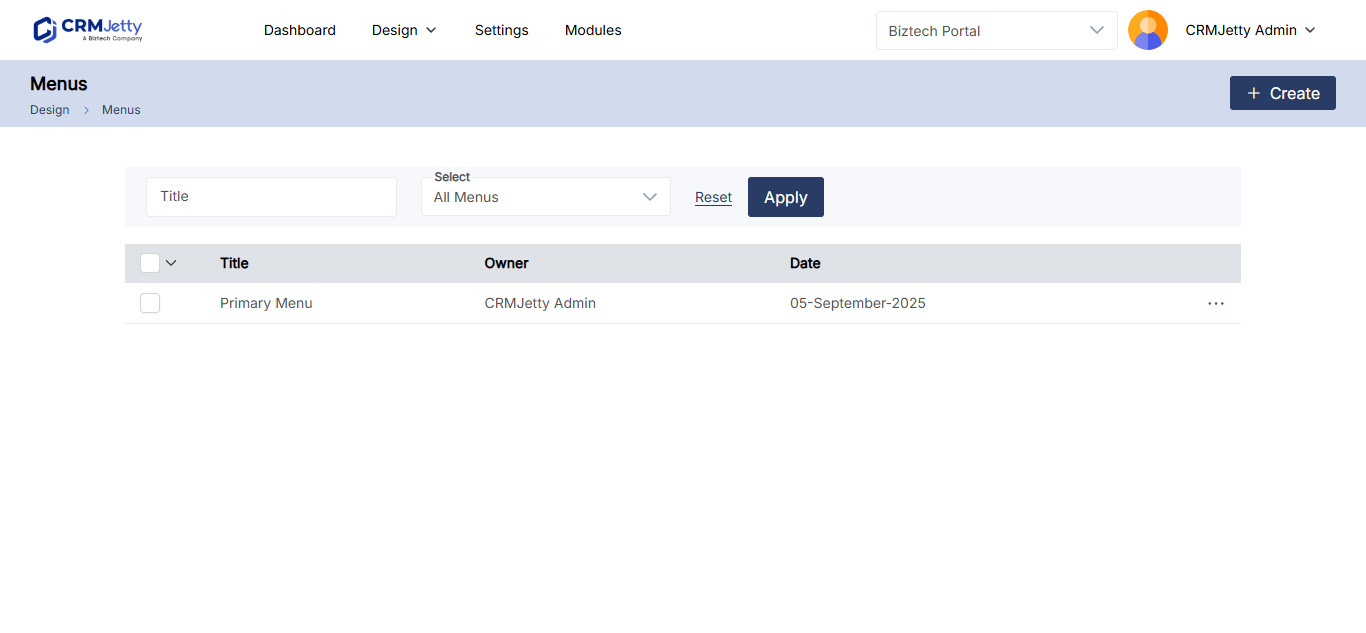
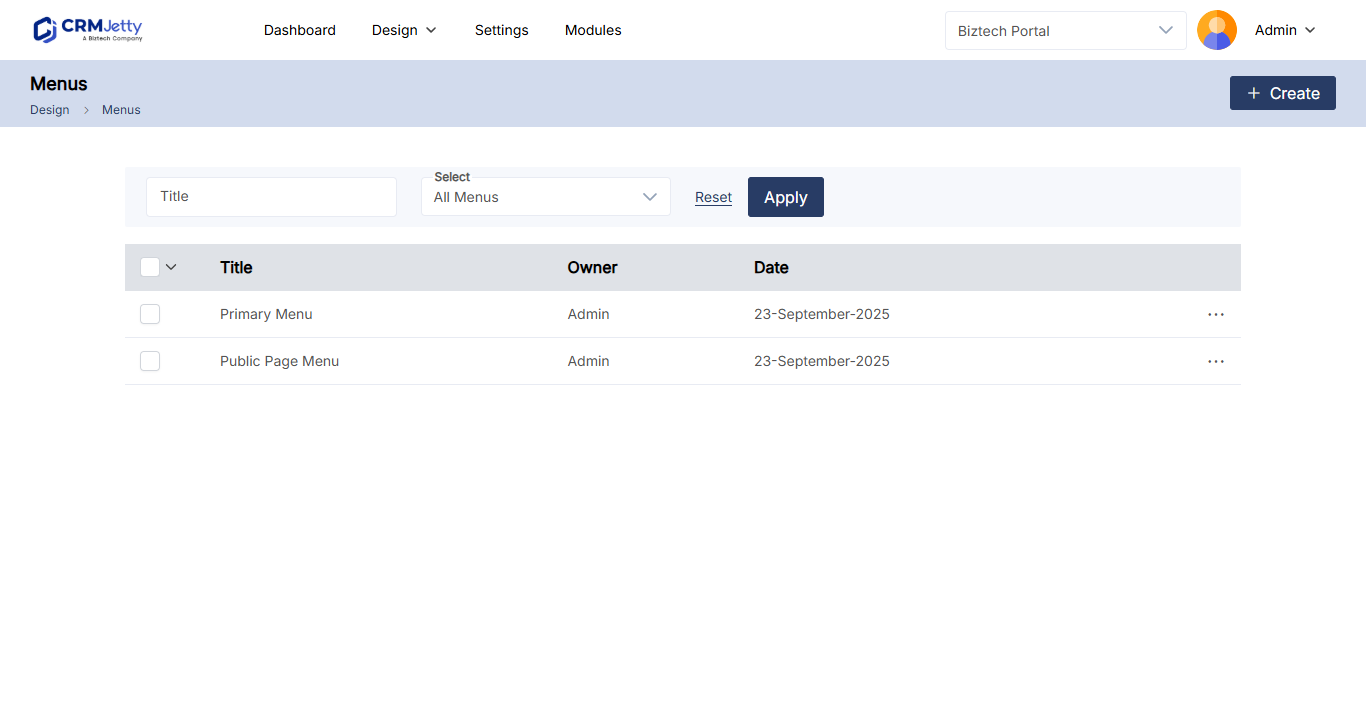
Go to Design → Menu Builder. The list shows every menu with these columns:
| Column | What it shows |
|---|---|
| Title | The name of the menu. |
| Owner | The admin who created or owns the menu. |
| Date | When the menu was created or last modified. |
To find a menu, search by title, or filter by All Menus or My Menu (the menus you created).
Create a menu
- In Menu Builder, select +Create.
- Enter a Title for the menu.
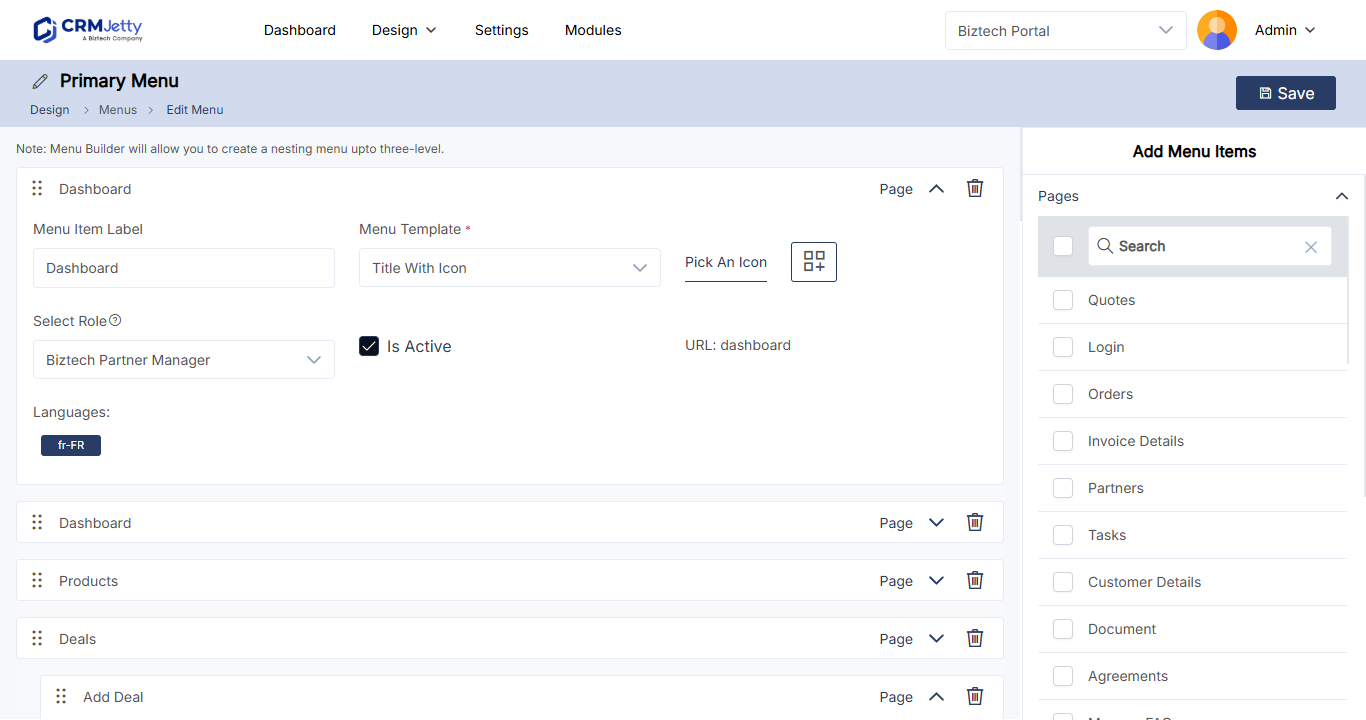
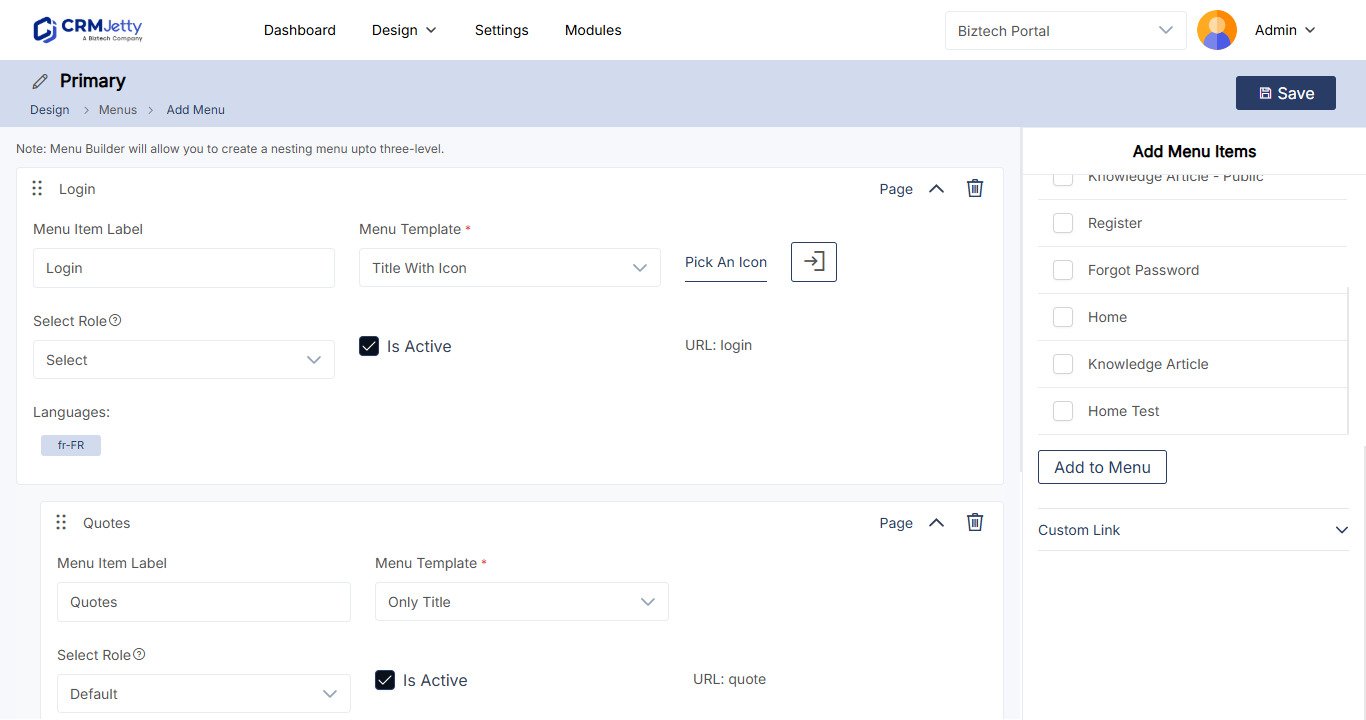
- Select Save. The menu editor opens, with pages and custom links on the right.
Add pages to the menu
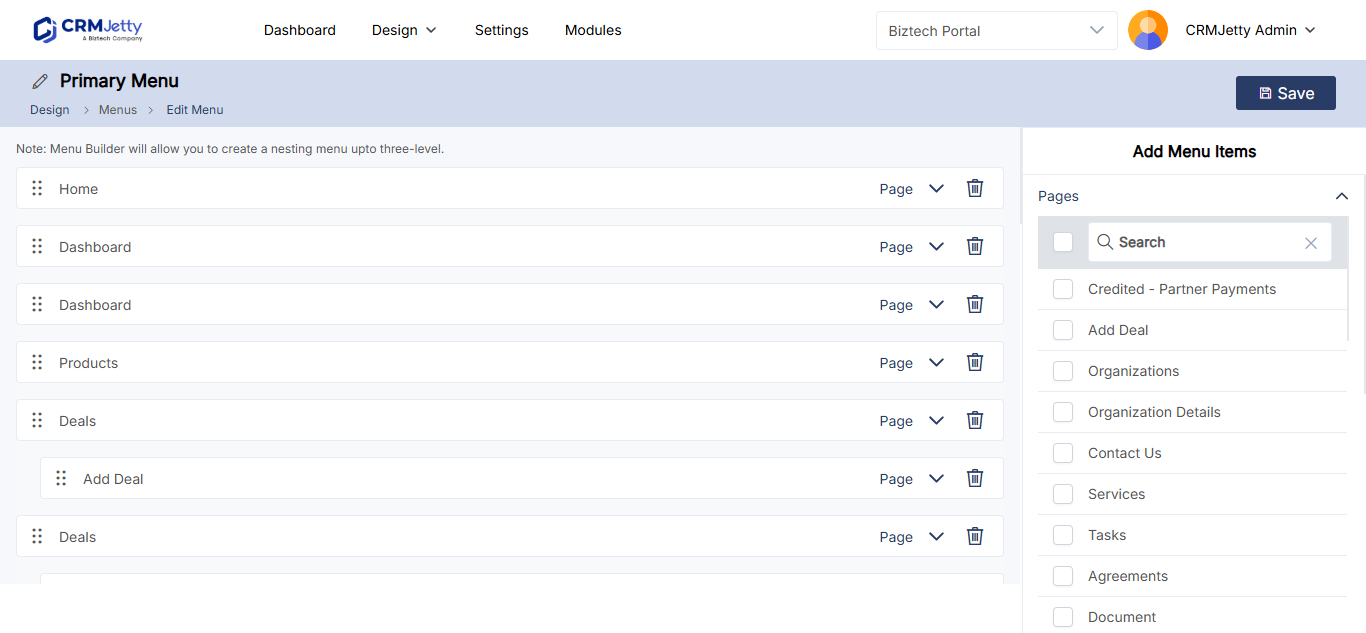
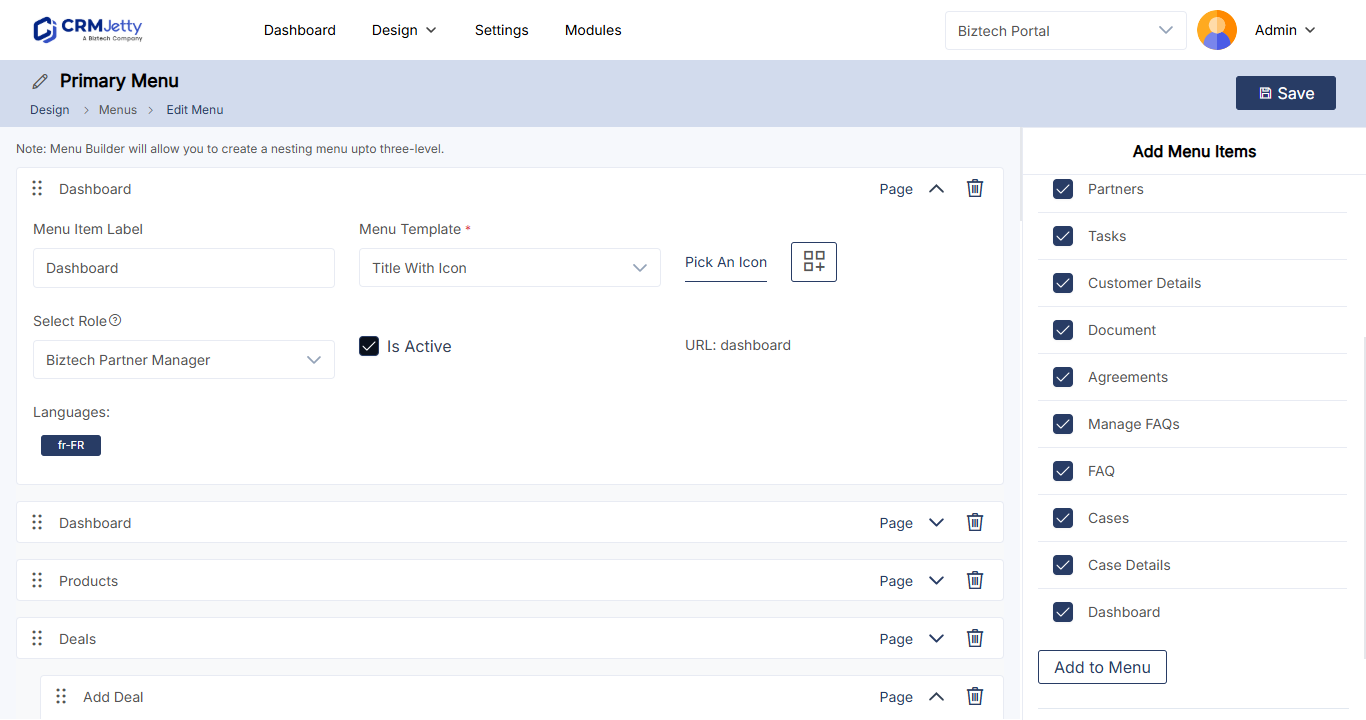
- On the right, select the checkbox next to each page you want in the menu.
- Select Add to menu. The pages appear as menu items on the left.
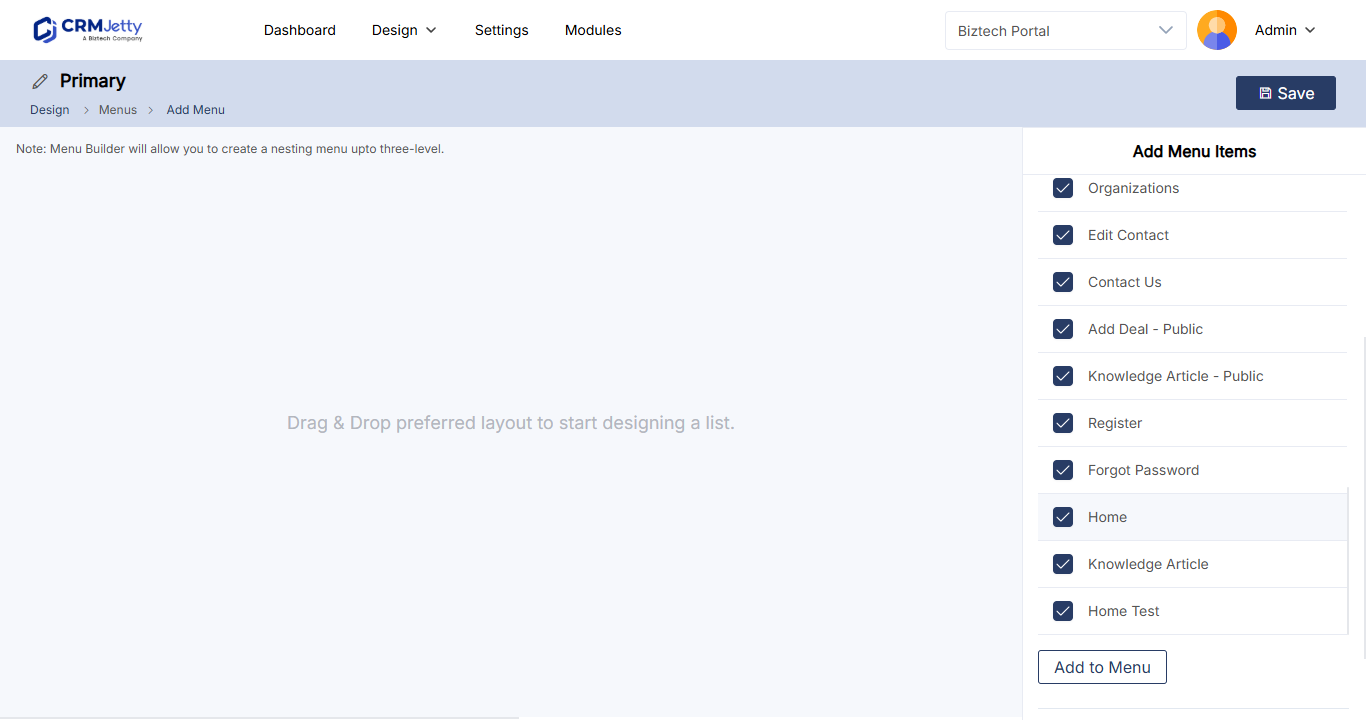
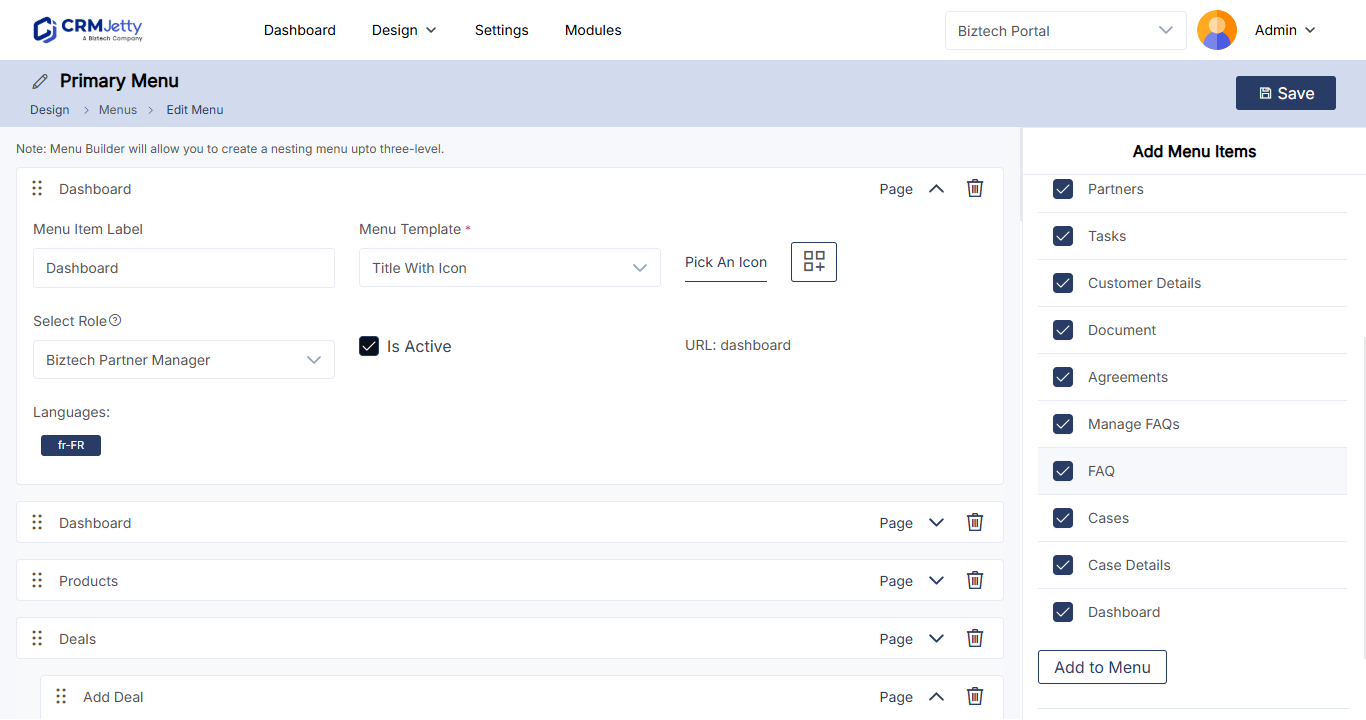
You can also add links to external sites or other URLs. See How to Add External Links to the Portal Menu.
Nest menu items
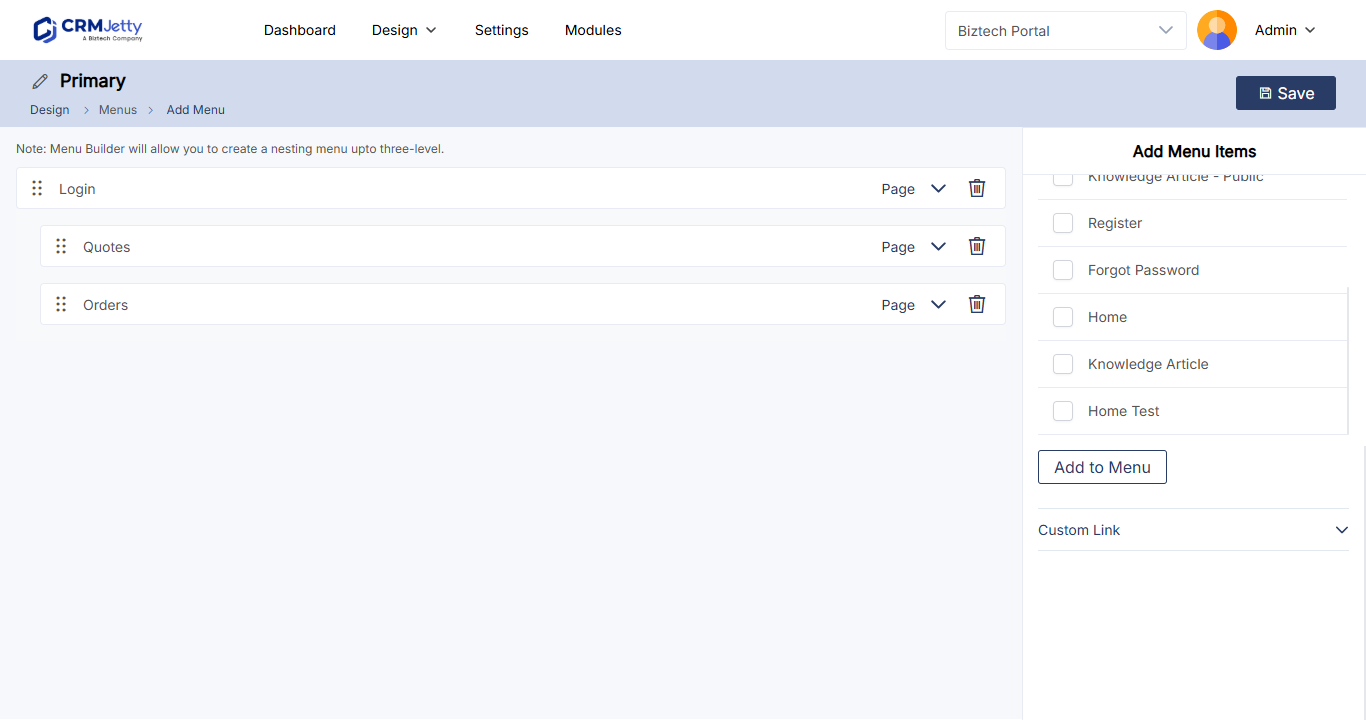
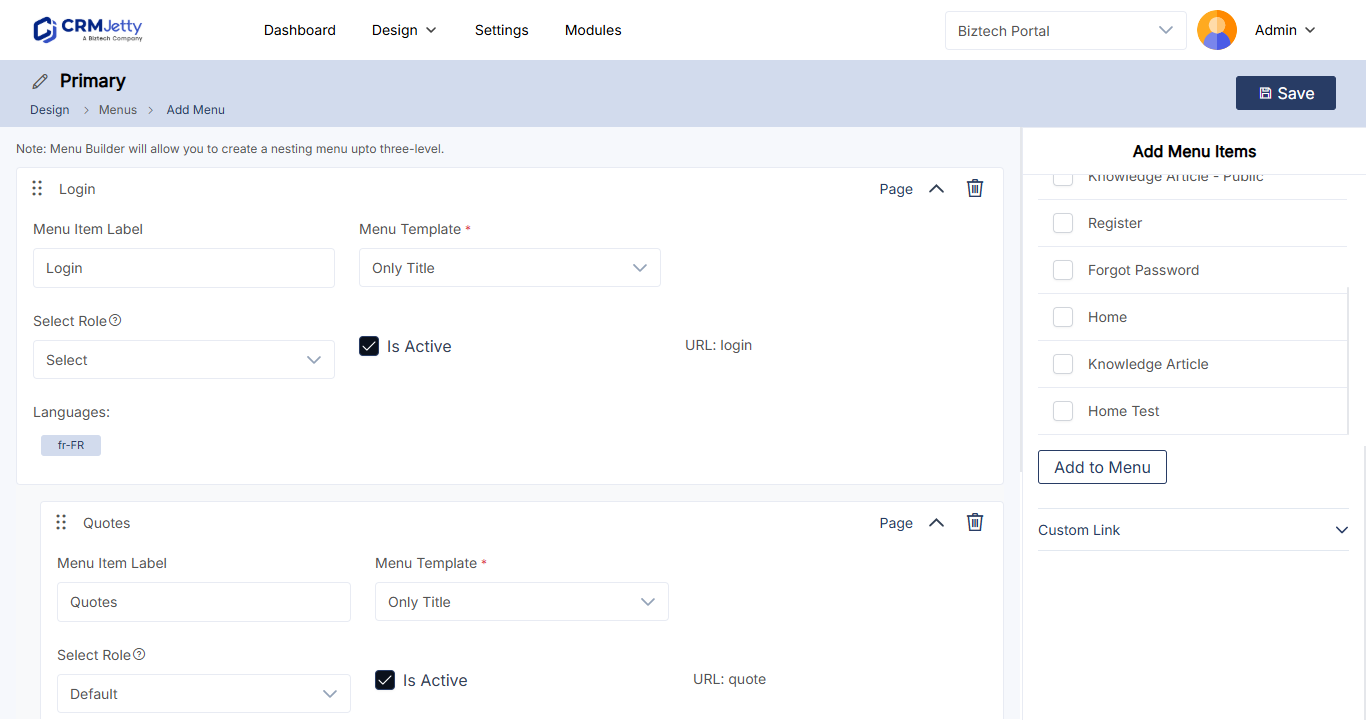
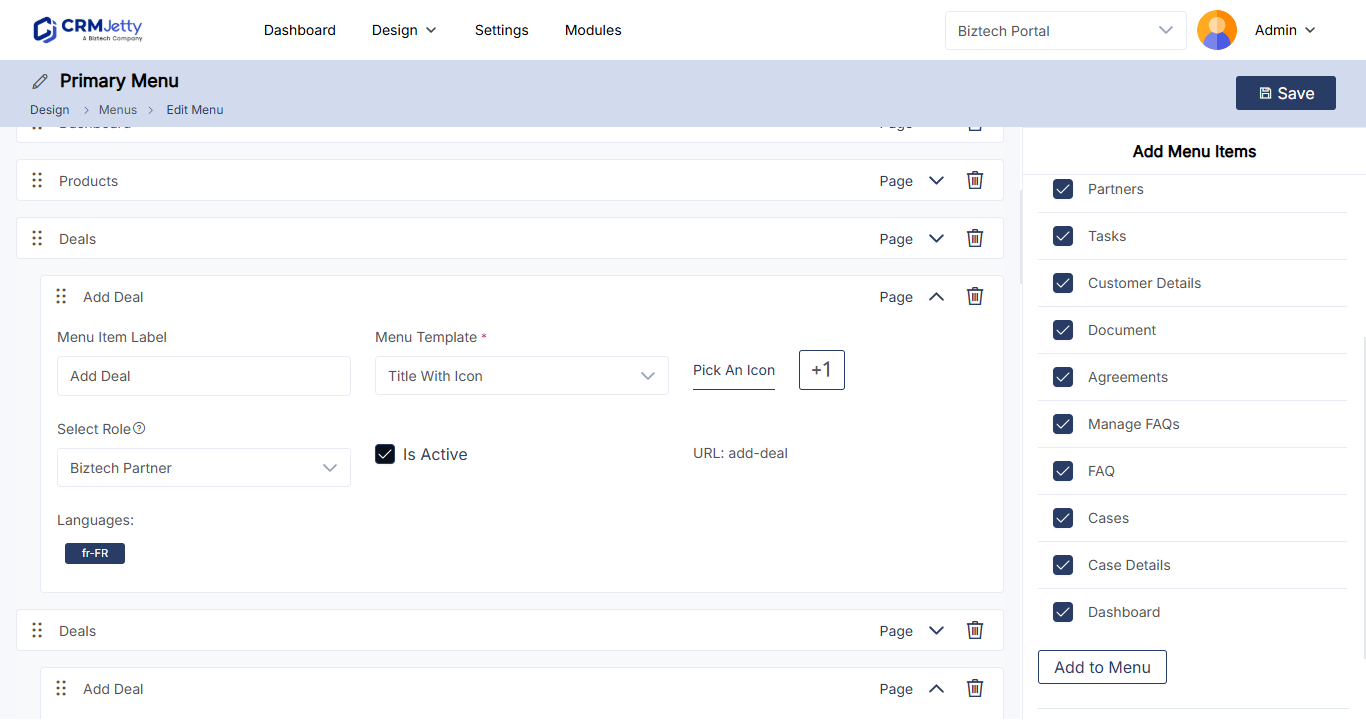
Drag and drop menu items to create sub-menus. A menu can have up to three levels.
| Level | Example | What it is |
|---|---|---|
| Level 1: main menu | Cases | A top-level item in the main navigation. |
| Level 2: sub-menu | Add Case, under Cases | An item nested under a Level 1 item. |
| Level 3: sub-sub-menu | Edit Case, under Add Case | An item nested under a Level 2 item. |
- To create a Level 2 item, drag a menu item under a Level 1 item.
- To create a Level 3 item, drag a menu item under a Level 2 item.
Edit a menu item
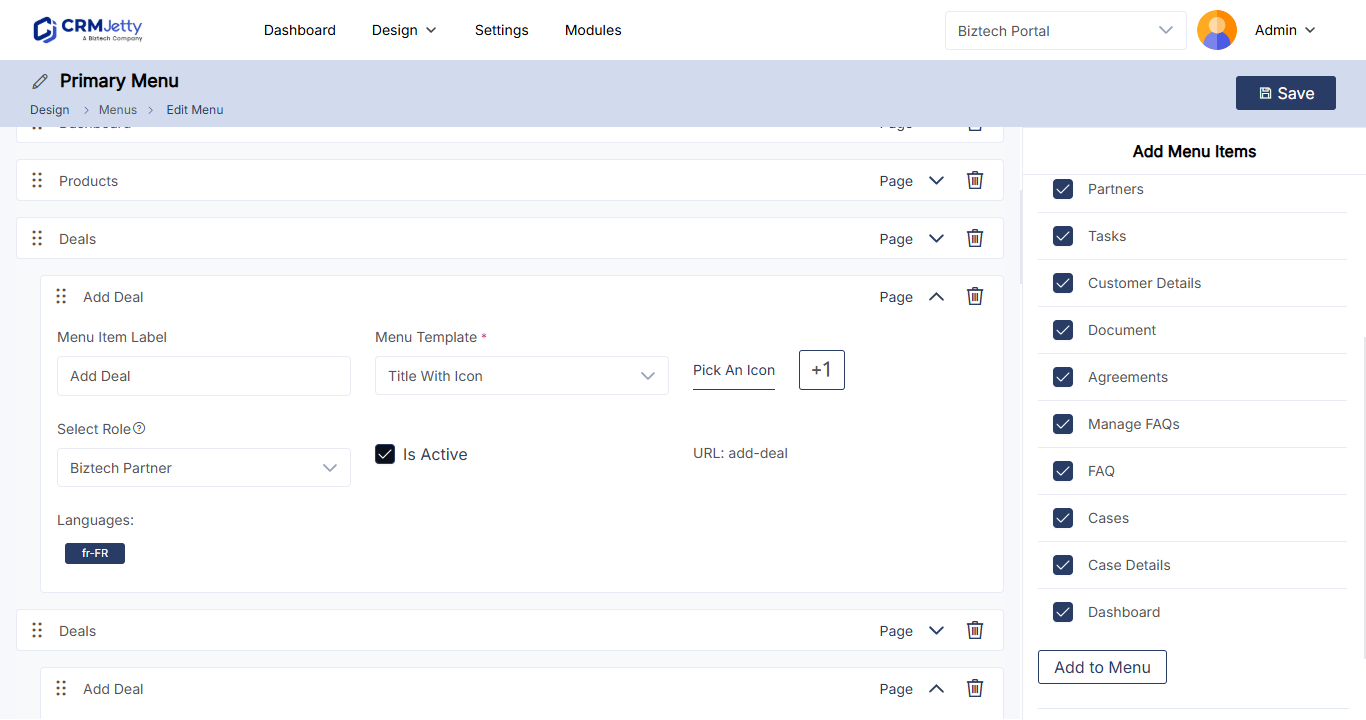
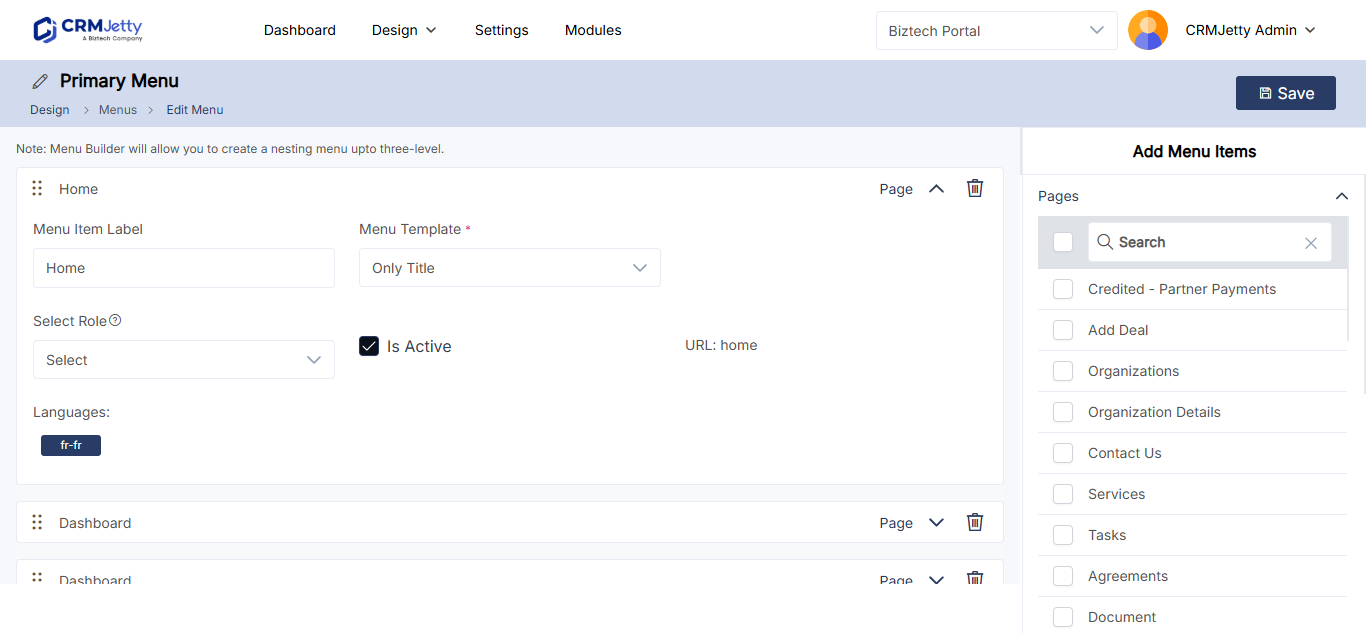
Select the down arrow on a menu item to open its settings.
| Setting | What it does |
|---|---|
| Menu Item Label | The text portal users see for the item. |
| URL | The item’s address. For a custom link, this is the URL you entered. |
| Is Active | Shows or hides the item in the portal. |
| Select Role | The portal user roles that see the item. Use the search to find a role. |
| Language | Translations of the Menu Item Label for each language enabled in the portal. |
Menu items follow the role selection after the portal user signs in: each portal user sees only the items enabled for their role. See How to Create Portal User Roles and Permissions.
To translate a label, select Language, edit the label for that language and select OK.
Add an icon or image to a menu item
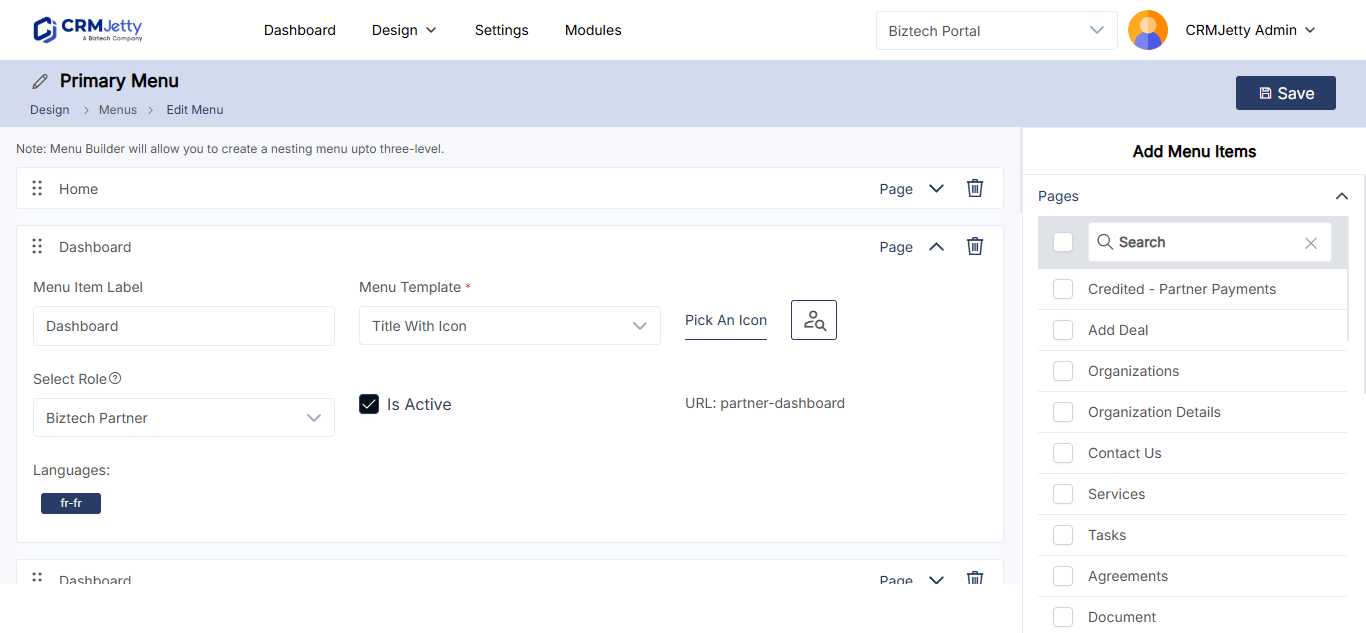
When you add or edit a menu item, choose how its label appears in Select Template:
| Option | What it shows |
|---|---|
| Only Title | The label text only. |
| Title with icon | The label with an icon. Select Select Icon to choose one from the Google icon picker. |
| Title with image | The label with an image. Select Upload Image to upload one from your device. |
The icon or image shows next to the label in the preview. You can change or remove it at any time before you publish the menu.
Save the menu
When the menu is ready, select Save.
Show the menu on a page
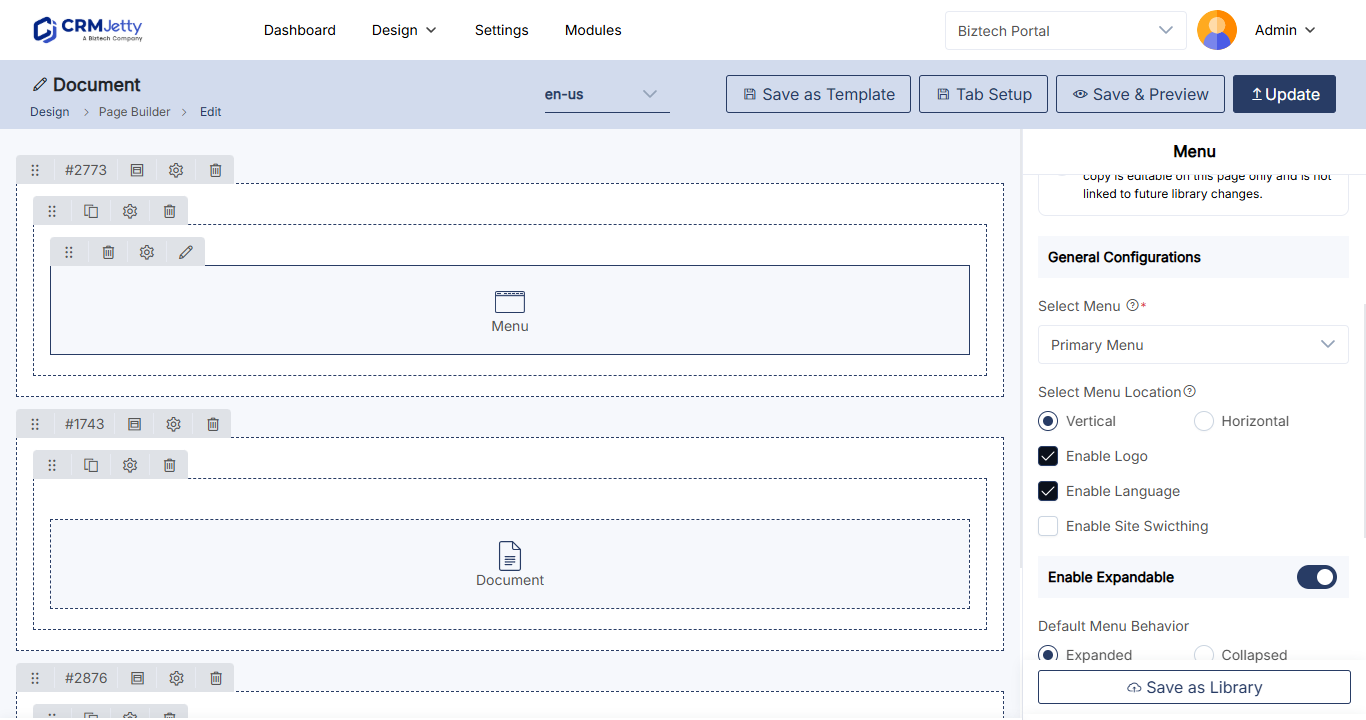
A menu appears in the portal only on pages that include it in a Menu widget.
- Go to Design → Page Builder and edit the page.
- Add the Menu widget to a grid.
- Select the Settings icon of the widget.
- In Select Menu, choose your menu.
- In Select Menu Location, select Horizontal or Vertical.
- Select Save, then select Publish.
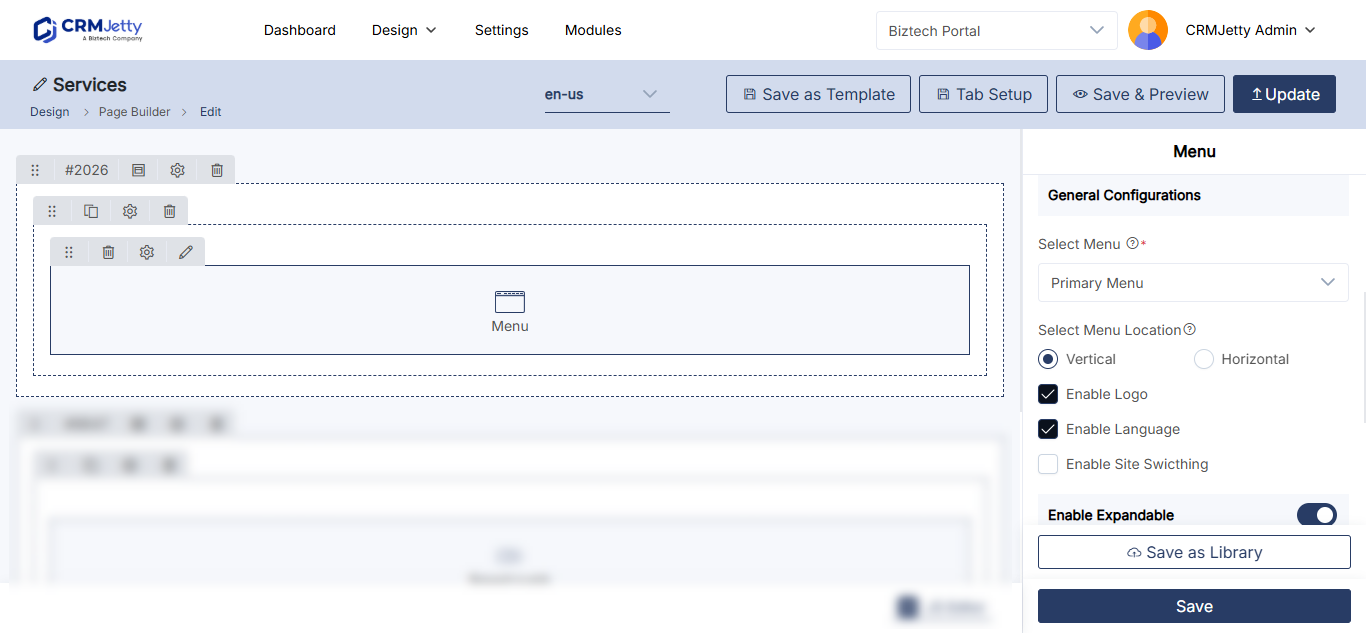
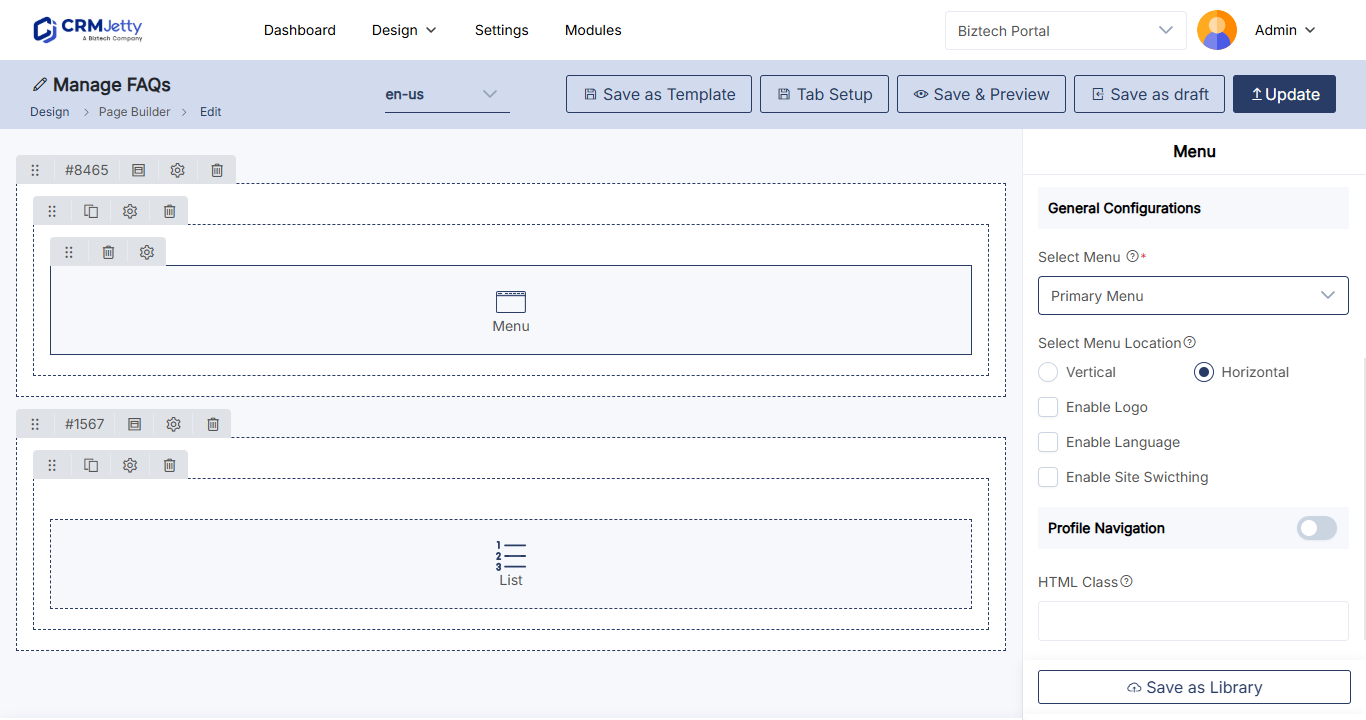
To add your logo, a language switcher or a profile menu to the menu, see How to Design the Portal Header and Footer. Menu colors, font size and alignment come from the site theme. See How to Customize Portal Theme Colors and Fonts.
Edit a menu
- In the menu list, select the three dots (…) next to the menu.
- Select Edit.
- Change the menu items and settings.
- Select Save.
Replace a menu on several pages
Replace Menu swaps one menu for another on the pages you choose, so you don’t have to edit each page.
- In the menu list, select the three dots (…) next to the menu you want to replace.
- Select Replace Menu. The Menu Replacement pop-up opens.
- In Replace With, select the new menu.
- Select the checkbox next to each page where you want to replace the menu. Select at least one page.
- Select Replace.
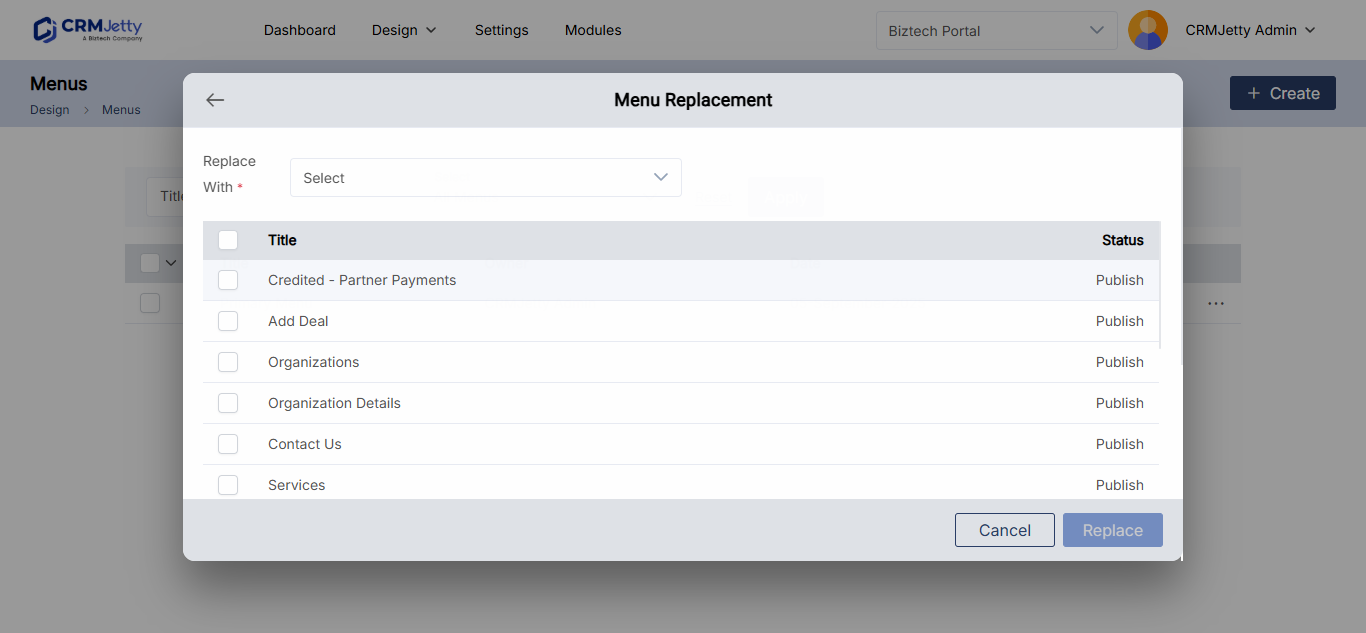
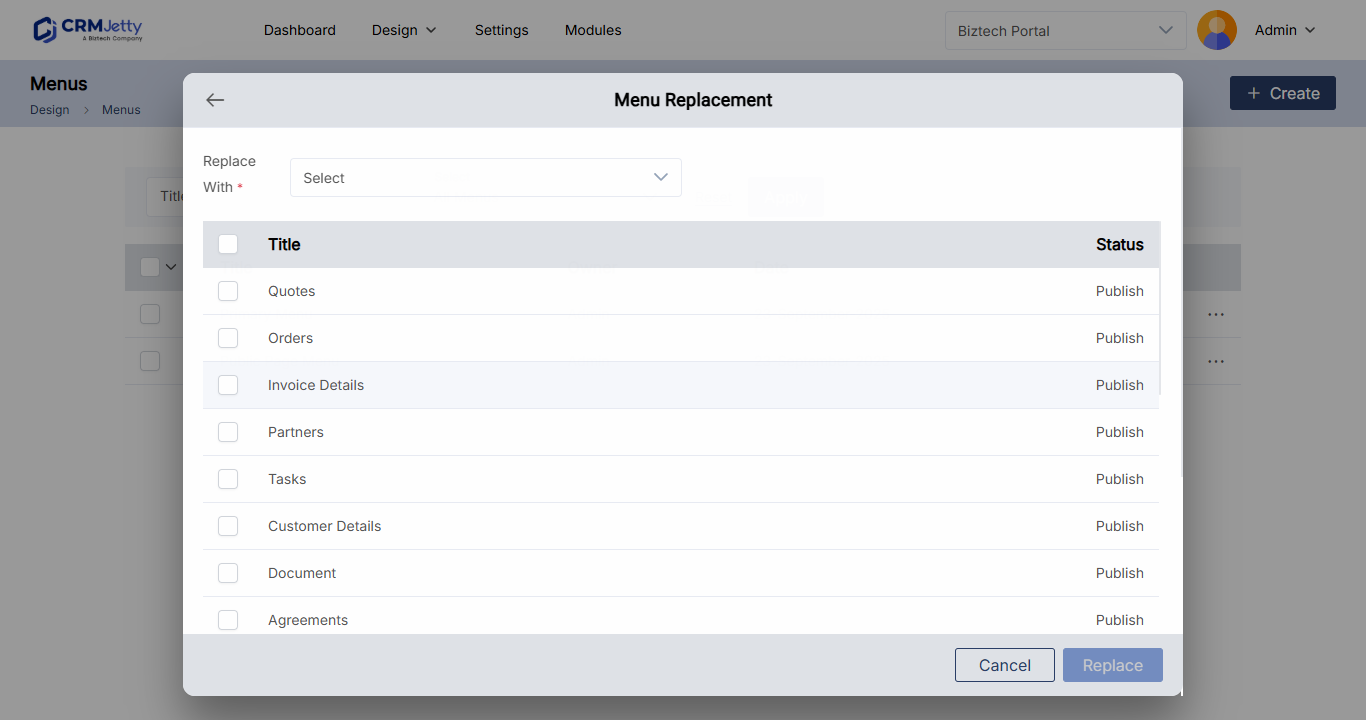
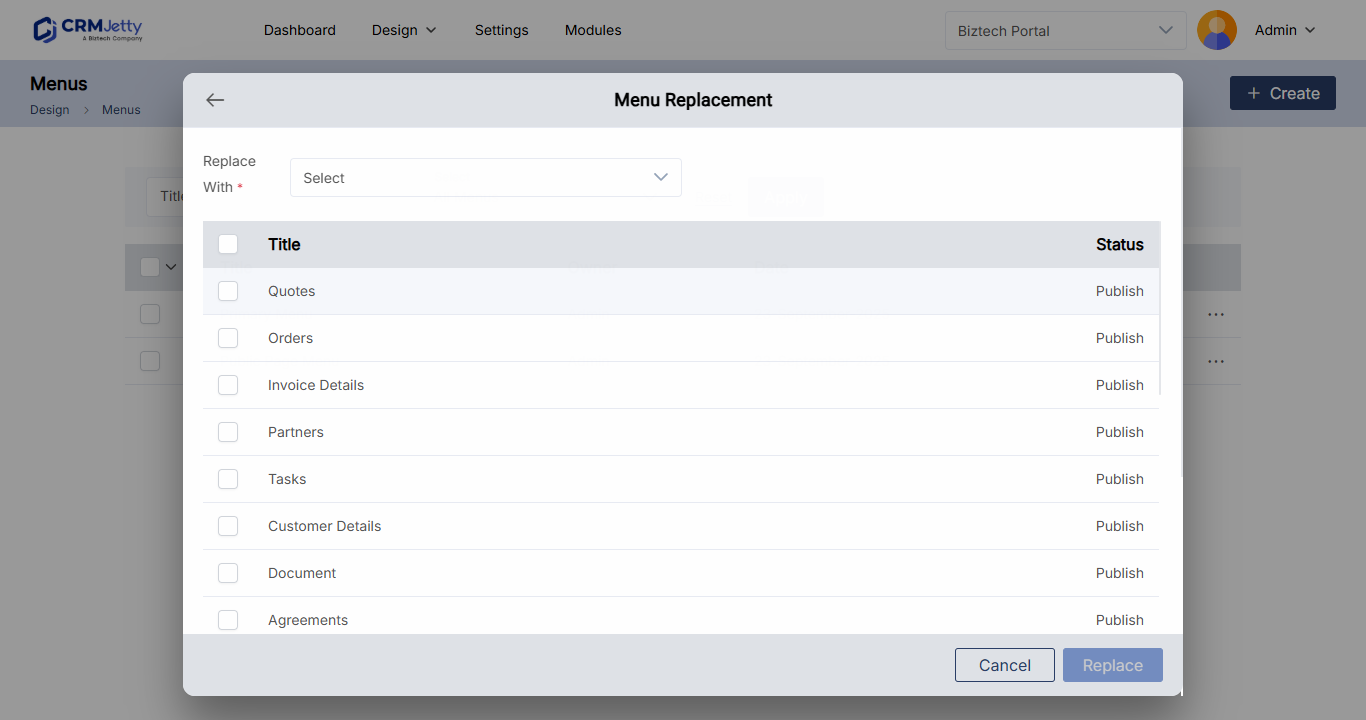
Only the pages you select change.
- First replacement: all pages that use the menu are listed.
- Later replacements: only the pages recently added to the menu are listed.
Note: You can replace only a menu that is used in Page Builder.
Duplicate a menu
- In the menu list, select the three dots (…) next to the menu.
- Select Duplicate.
The copy is named after the original with “ – Copy”, for example Primary Menu – Copy, and a success message appears.
To duplicate several menus, select their checkboxes, then choose Duplicate from the bulk actions.
Delete a menu
- In the menu list, select the three dots (…) next to the menu.
- Select Delete.
- In the warning pop-up, select OK.
To delete several menus, select their checkboxes, choose Delete from the bulk actions and select OK. Select Cancel to keep them.
Important: Deleting a menu is permanent.
Troubleshooting
A page is missing from the list of pages to add: The page is still a draft. Publish it, and it becomes available. See Why a Portal Page Is Missing from Page Selection.
Related articles
- How to Add External Links to the Portal Menu
- How to Create Pages in CRMJetty Portal
- How to Customize Portal Theme Colors and Fonts
- How to Create Portal User Roles and Permissions