
How to Design Add, Edit and Detail Form Layouts
A portal form can have three layouts, one for each thing portal users do with a record. You design each layout in the Form Builder, so the Add form can ask for fewer fields than the Edit form, and the Detail form can show extra information.
Before you start
- You need access to Design → Form Builder in the admin portal.
- Create the form and select its entity first. See How to Create a Portal Form for Any CRM Entity.
- You can design layouts for any entity (Dynamics 365), object (Salesforce) or table (Business Central) enabled in Entity Configurations (Business Central: Table Configurations).
Form types
| Form type | What portal users do with it |
|---|---|
| Add | Create a new record. |
| Edit | Update an existing record. |
| Detail | View a record. |
Design a layout
- Go to Design → Form Builder.
- Select Edit on the form. The form opens in the layout editor.
- Select the Entity, if it isn’t selected yet.
- In Form Type, select the type you want to design: Add, Edit or Detail.
- Add sections and grids to the layout.
- Drag the fields you need from the field list into the grid.
- Select Update to save your changes.
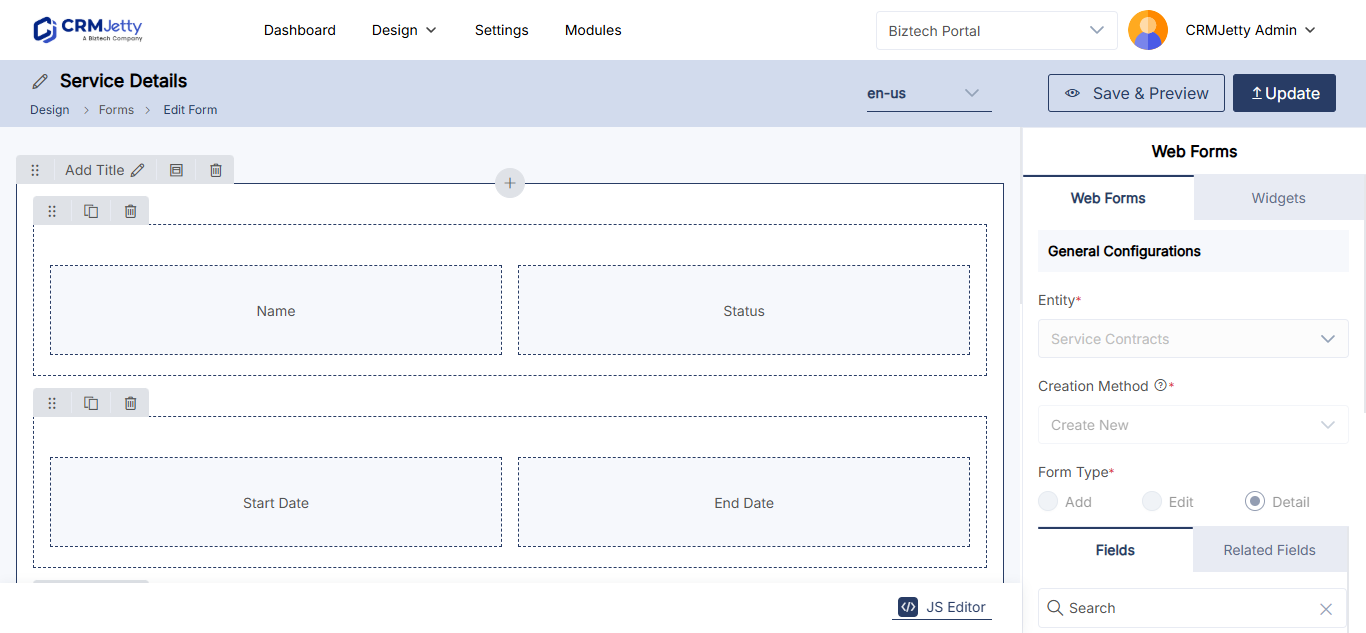
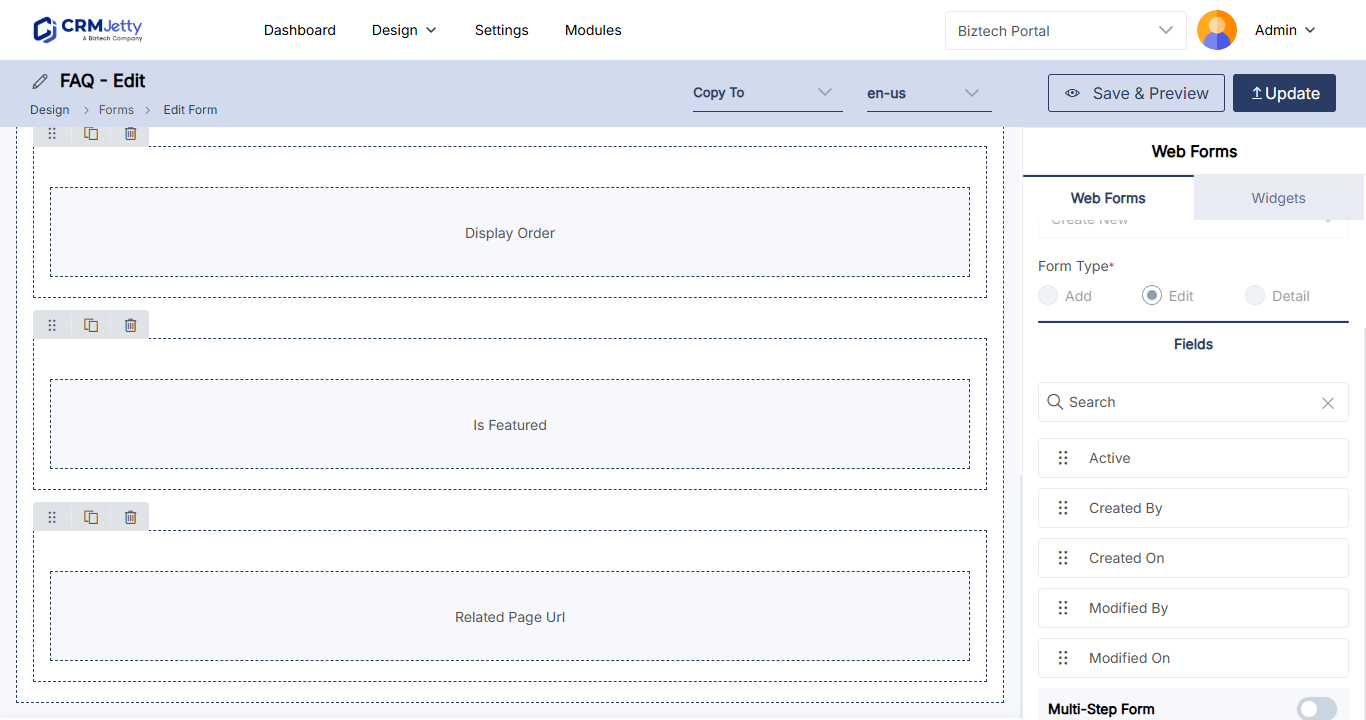
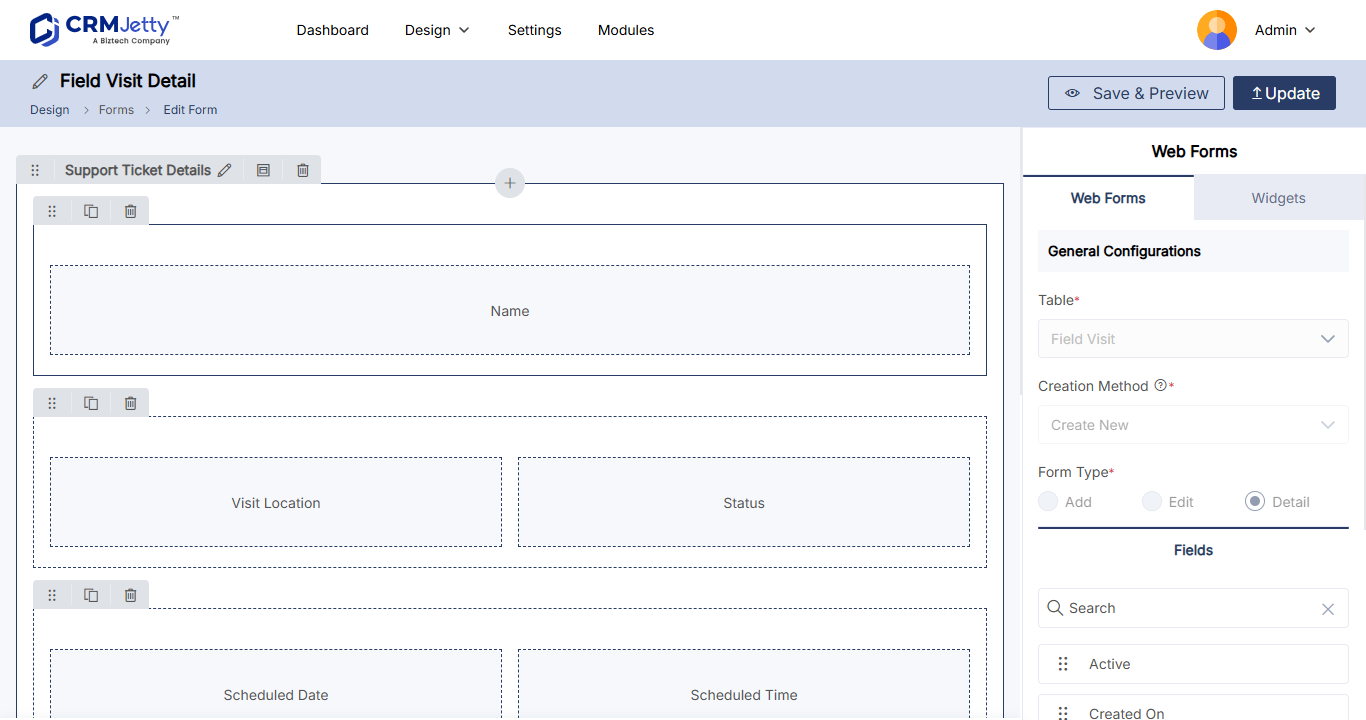
Each grid box holds one field. To group fields under titles, see How to Create Multi-Section Portal Forms.
Copy a layout to another form type
You don’t have to design each layout from scratch. Copy options create the same layout, with the same fields, on another form type.
| You are designing | Copy options |
|---|---|
| Add | Copy to Edit, Copy to Detail |
| Edit | Copy to Add |
| Detail | None. Copy to Add and Copy to Edit are not available. |
- Design the Add layout first.
- Select Copy to Edit to create the Edit layout from it.
- Select Copy to Detail to create the Detail layout from it.
- Open each copied layout and adjust the fields for that form type.
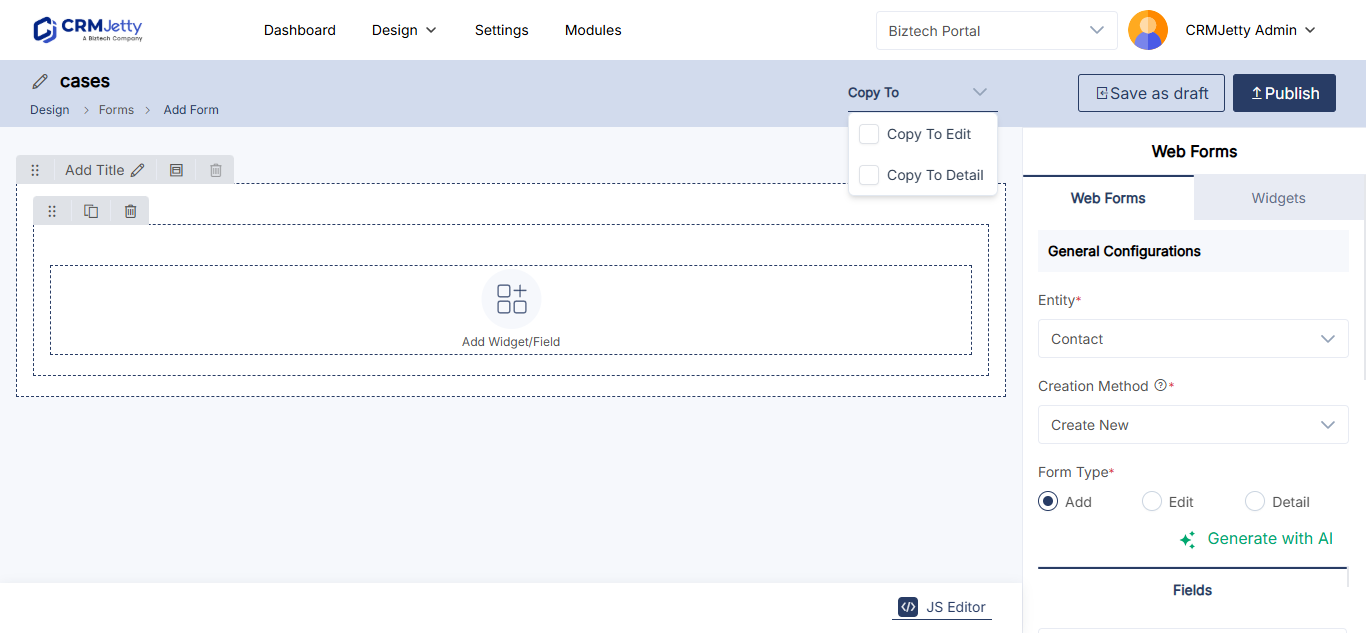
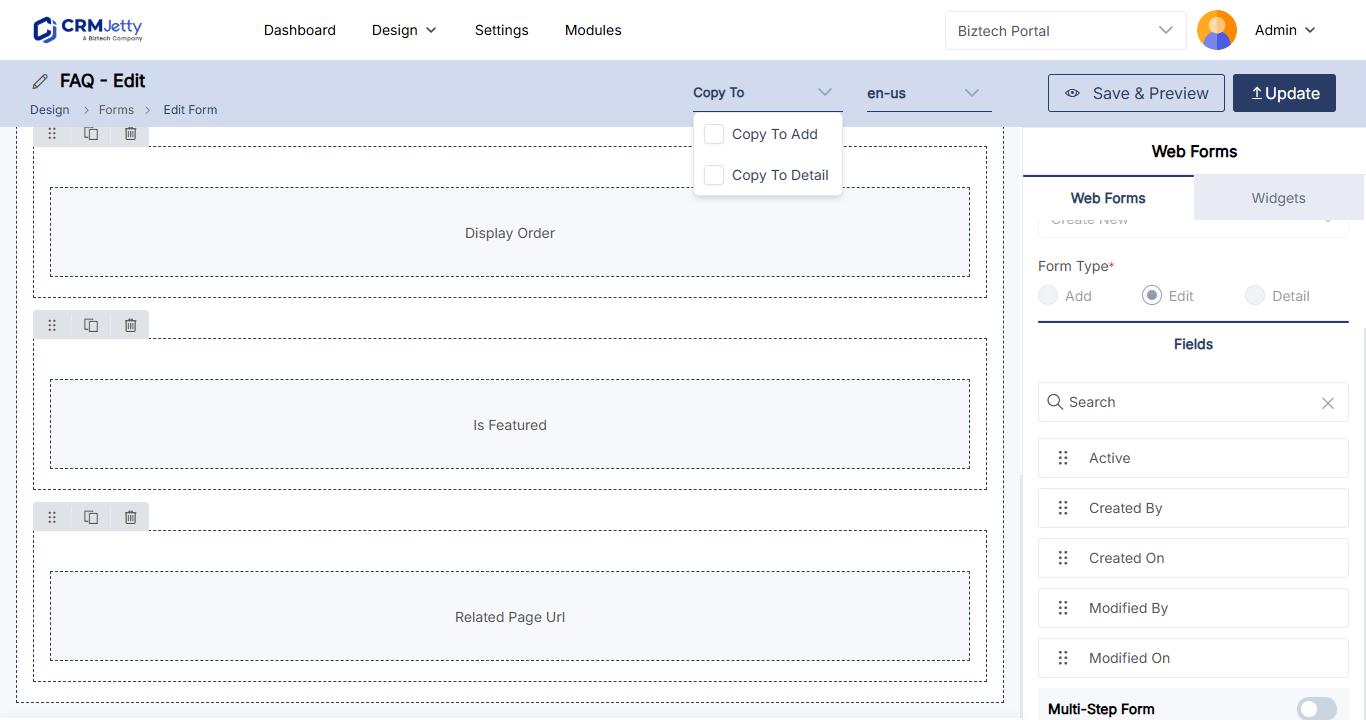
Tip: Copy first, then adjust. For example, remove fields portal users shouldn’t change from the Edit layout, or set them to Read Only.
What each form type supports
Some form features work only on certain form types.
| Feature | Add | Edit | Detail |
|---|---|---|---|
| Prefill fields from contact or account data | Yes | No | No |
| Multi-step form | Yes | Yes | No |
| Cascading lookups | Yes | Yes | No |
| Workflow setting on lookup fields | Yes | Yes | No |
| Rating fields | Yes | Yes | Yes |
| Barcode/QR input | Yes | Yes | Yes |
| Product widget | Yes | Yes | Yes |
| Counter widget | No | Yes | Yes |
| Chart widget | No | Yes | Yes |
| Sub-grid | No | Yes | Yes |
On an Edit form, a hidden field with a default value is filled in only when the field is empty, so existing data isn’t changed.
Preview the layout
- Save the form as a draft or publish it.
- On the Forms page, select the three dots (…) next to the form.
- Select Preview.
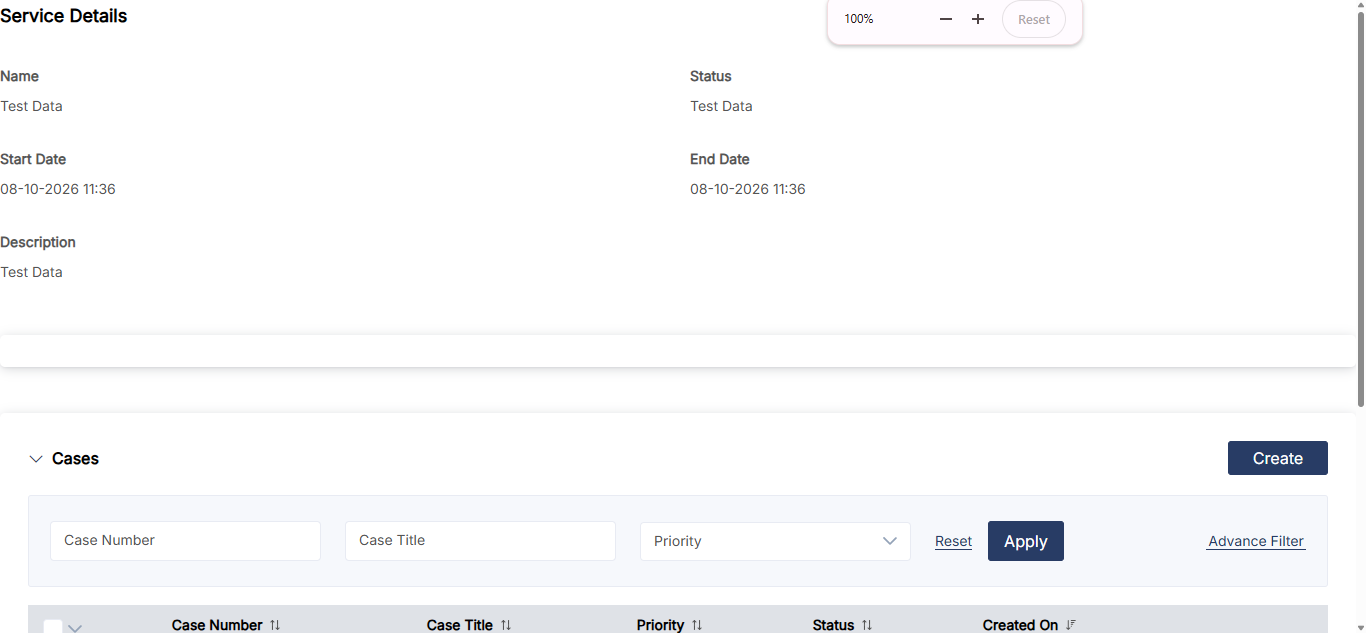
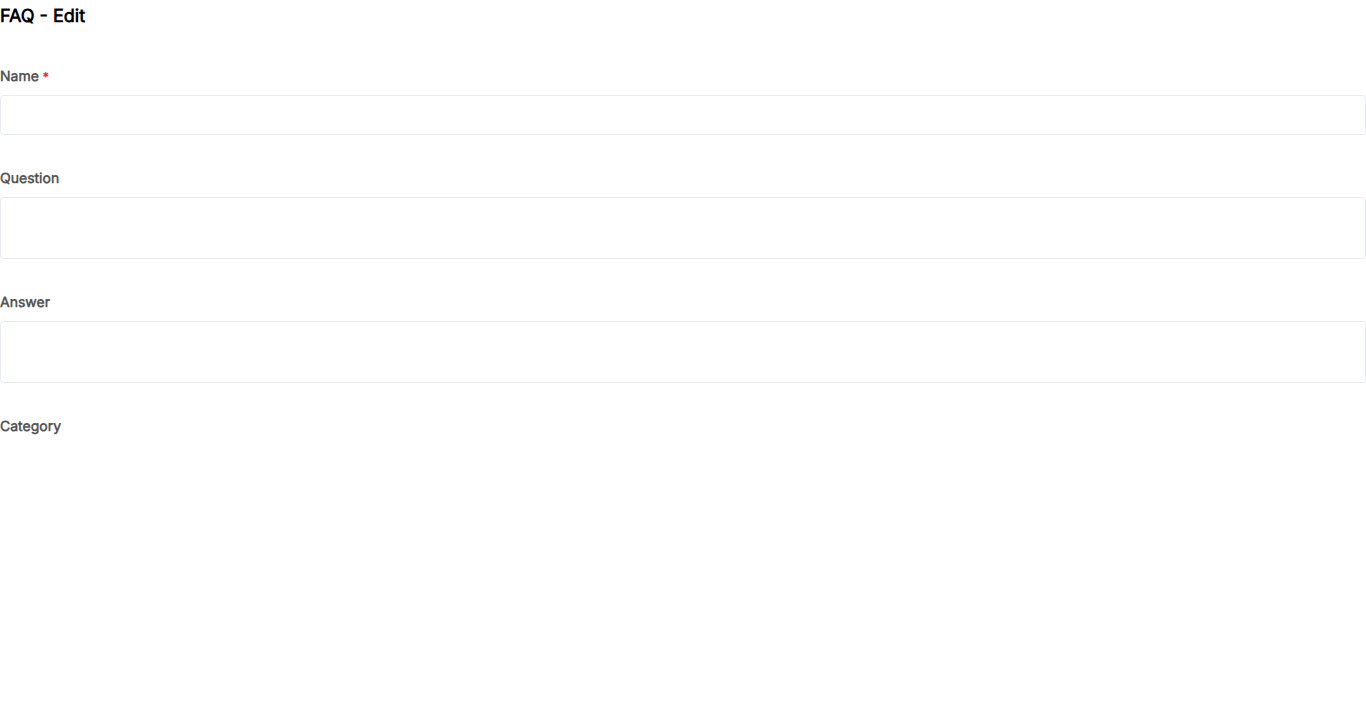
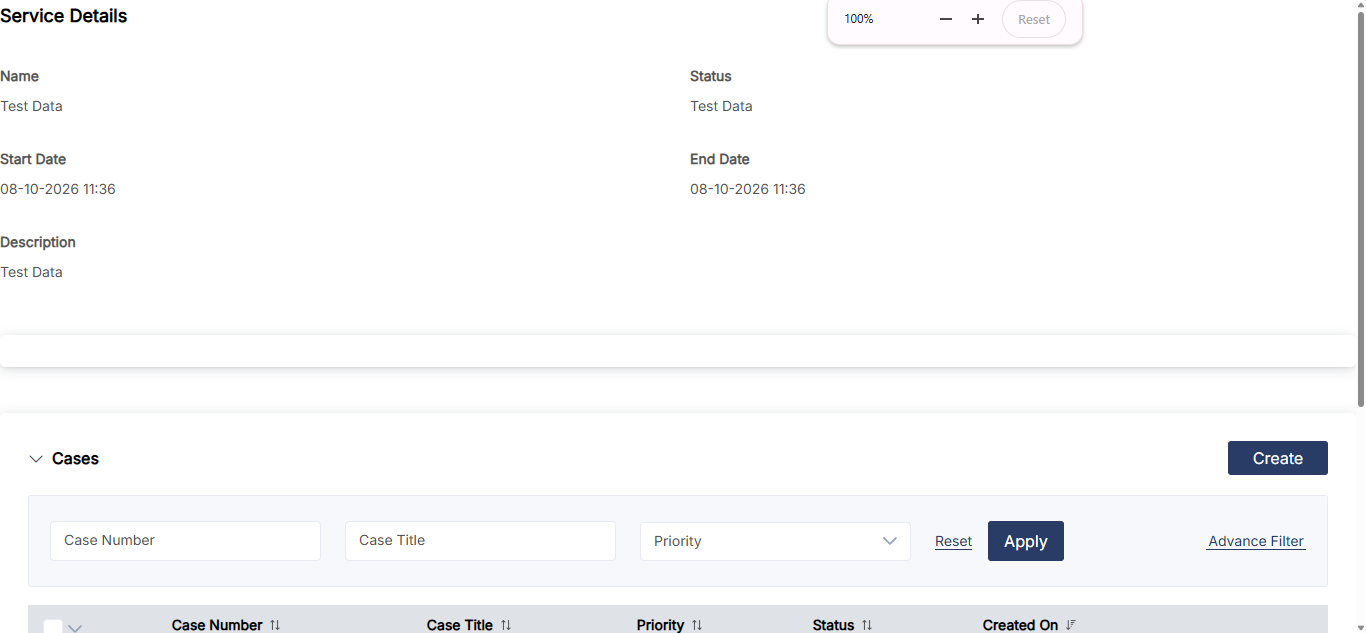
Note: The preview shows the layout only. You can’t select fields or enter data in it.
Show each layout in the portal
- On a page: add the Form widget and choose the layout in Select Form View. See How to Create a Portal Form for Any CRM Entity.
- From a list: in the List widget, the Create, Edit and Details action settings each have a Select Display Type. Choose Show as page to open a page with the form, or Show as Module and select Configure Form.
When the layouts are ready, publish the form. Draft forms are disabled in the portal.
Troubleshooting
Copy to Add and Copy to Edit are missing: You are designing a Detail form. Those options are available only on Add and Edit forms.
The Counter widget, Chart widget or sub-grid can’t be added: Check the form type. They work only on Edit and Detail forms.
Layout changes don’t show in the portal: Select Update and publish the form. Draft changes don’t appear in the portal.
Related articles
- How to Create a Portal Form for Any CRM Entity
- How to Create Multi-Section Portal Forms
- How to Create Multi-Step Forms in the Portal
- How to Add Sub-Grids to Portal Forms
- How to Edit Form Field Labels and Placeholders