
How to Add Sub-Grids to Portal Forms
A sub-grid shows the related records of a record inside its form, in a table. Portal users can review and manage linked data without leaving the main record. For example, a Project form can show a Project Tasks sub-grid where portal users view, add, edit or delete the project’s tasks.
Before you start
- You need access to Design → Form Builder in the admin portal.
- Sub-grids are available only on Edit and Detail form types.
- You can’t update a sub-grid form through the Use Existing option.
- Enable the related entity (Dynamics 365), object (Salesforce) or table (Business Central) in the portal. See How to Enable CRM Entities and Custom Objects in the Portal.
- Create the list the sub-grid shows, or create it from the sub-grid settings. See How to Create List Views in CRMJetty Portal.
- If portal users should add or edit related records, create the Add and Edit forms for the related entity.
Add the sub-grid
- Go to Design → Form Builder.
- Open the Edit or Detail form you want to add the sub-grid to.
- Drag the Sub-Grid widget onto the grid where the related records should appear.
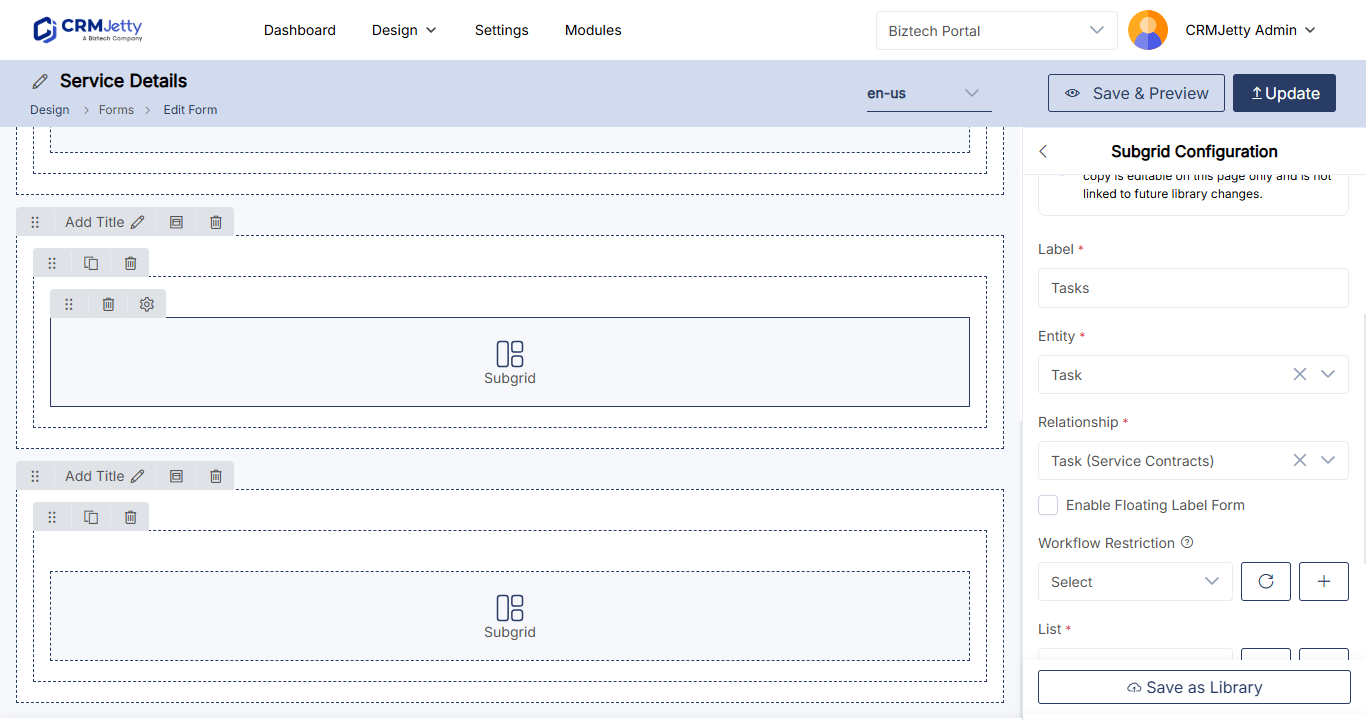
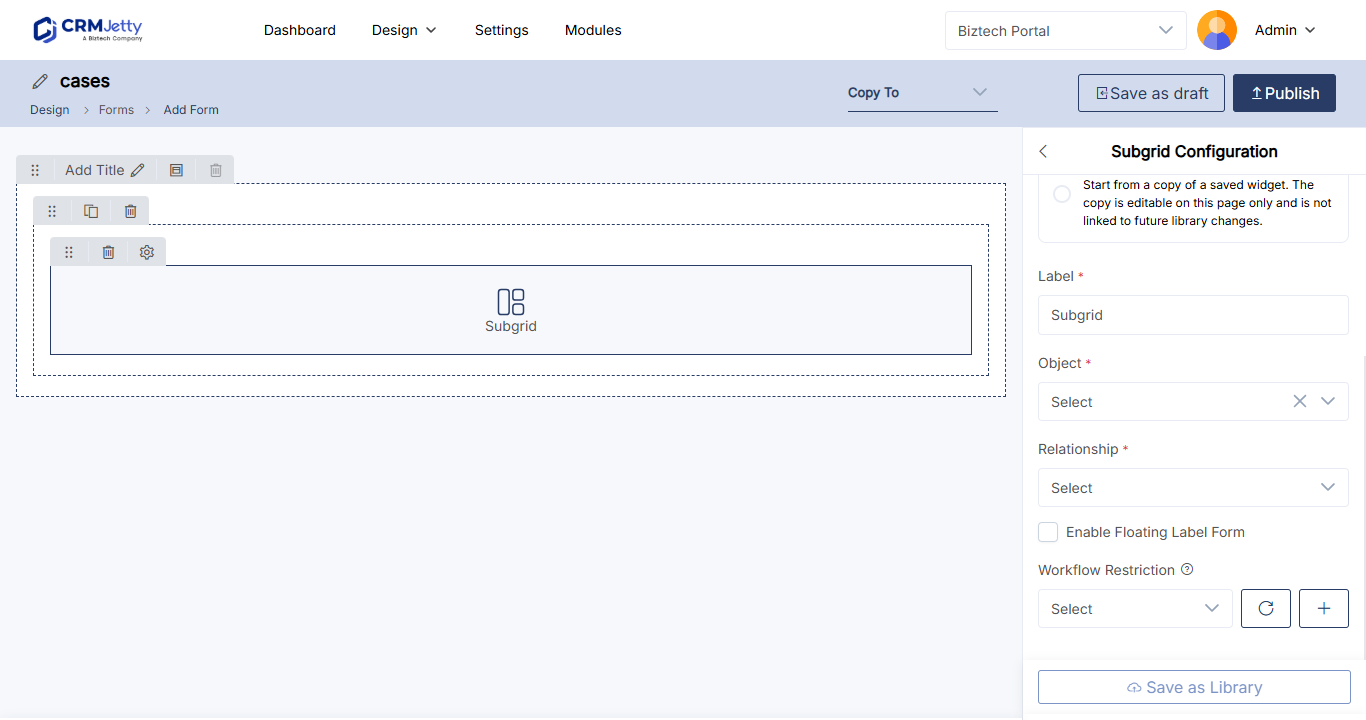
- Select the Settings icon on the widget. The Sub-Grid Configuration panel opens.
- Fill in the basic settings in the table below.
- Set the actions portal users can take. See Choose what portal users can do.
- Select Save, then publish the form.
| Setting | What it does |
|---|---|
| Label | The heading of the sub-grid section in the portal. |
| Select Entity | The entity the sub-grid section is created for. |
| Select Relationship | The relationship that links the related records to the form’s record. |
| Enable Floating Label | Shows floating labels in the sub-grid. |
| Select Workflow Restriction | A parent workflow that controls access rights to the child records. |
| View Type | Whether records show as a Data Card or a List view. |
| Default View Type | The view shown first: List, Data Card, Dynamic Card, Calendar or Map. |
| Select List | The list displayed in the sub-grid. Choose an existing list with Select, or create one with +. |
| Record Per Page | How many records show on one page. |
| Select Ordering Field | The field used to sort the records. |
Choose what portal users can do
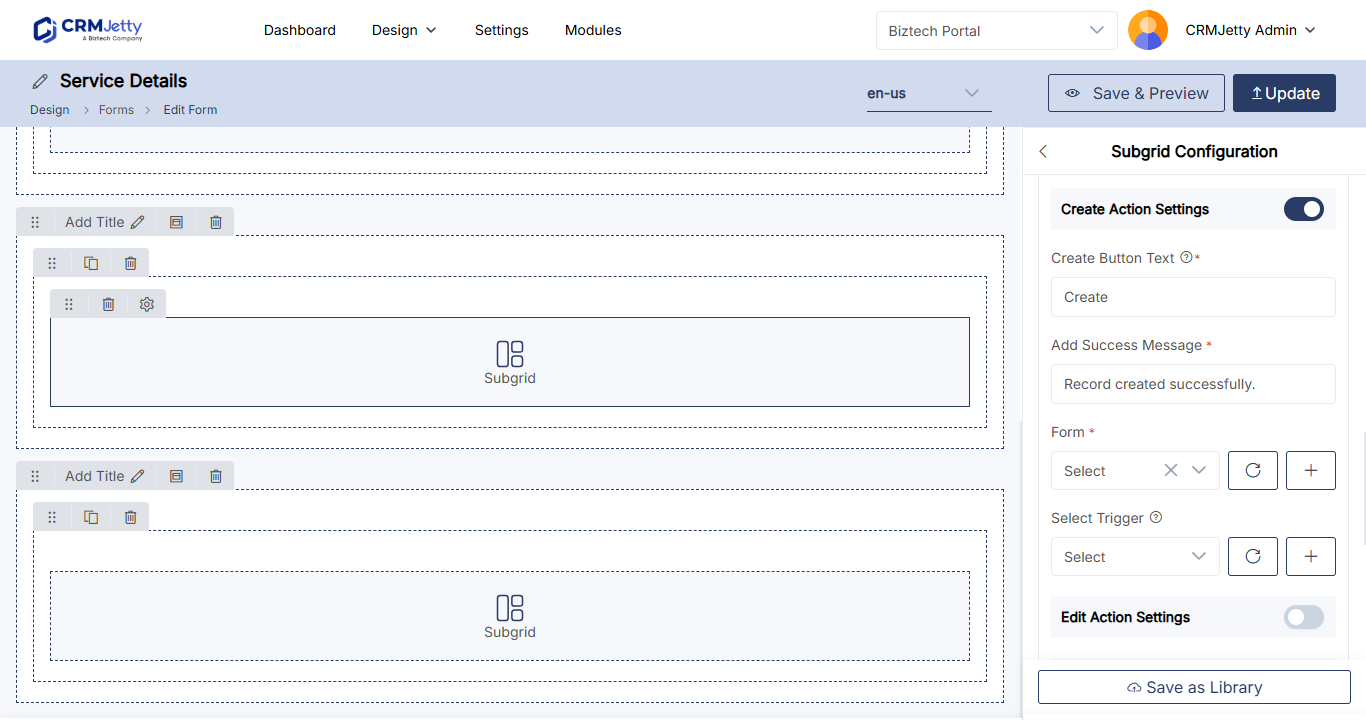
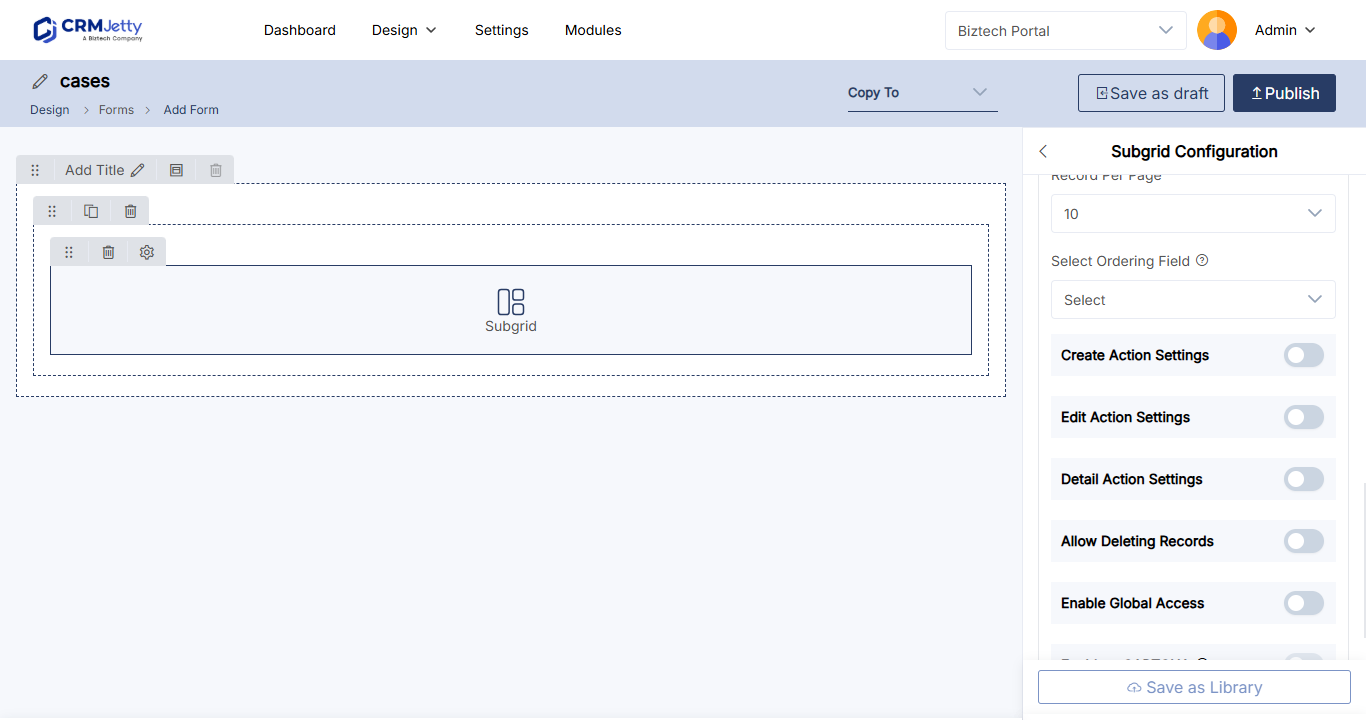
Under the access settings, turn each action on or off.
| Action | Settings |
|---|---|
| Create | Button Label for the create button, Select Form for the Add form portal users fill in, Select Record Type where your CRM uses record types, and Select Trigger to run a trigger when a record is created. |
| Edit | Select Form for the Edit form, and Select Trigger to run a trigger when a record is edited. |
| Details | Select Page: the page portal users open when they select Detail. |
| Allow Deleting Records | Turn on the toggle to let portal users delete records, and select a trigger in Select Trigger if needed. |
Note: Select Record Type appears only if the entity has record types in your CRM.
Triggers send notifications when the action happens. See How to Automate Portal Emails with Triggers.
More sub-grid options
| Option | What it does |
|---|---|
| Enable Global Access | Lets portal users see all records, not only their own. When it is on, portal users get a filter to switch between My Records and All Records. When it is off, they see only their own records. |
| Workflow Setting | Data loading Workflow selects the workflow that loads the data. Update Assign Rights Workflow selects the workflow that updates and assigns rights. See How to Apply Workflows to Portal Widgets. |
| Enable reCAPTCHA | Protects the sub-grid with reCAPTCHA. |
| Enable Export | Lets portal users export sub-grid records. In Select Export Formats, choose CSV, Excel or PDF. |
| Enable Top N Records | Shows only the top records. Enter a number from 1 to 20. |
| Template Download | Lets portal users download documents such as invoices and quotes. In Select Template, choose the downloadable template. Downloadable templates are available on selected plans; see How to Generate Downloadable PDF Documents. |
View type settings
The settings at the bottom of the panel depend on the view types you selected.
| View type | Settings |
|---|---|
| List | Select Action Display Type: show actions under the three dots or as action buttons. |
| Data Card | Image, rating field, header, sub-header, supporting text, tags, tabs and Enable Download for a file field. |
| Dynamic Card | Select Template Card and Columns Per Row (2 to 6). |
| Calendar | The available calendar views, Default View, Title Field, Start Date Field and End Date Field. |
| Map | Title Field, Latitude field, Longitude Field, Default Zoom Level (1 to 21) and an optional default center location. |
What portal users see
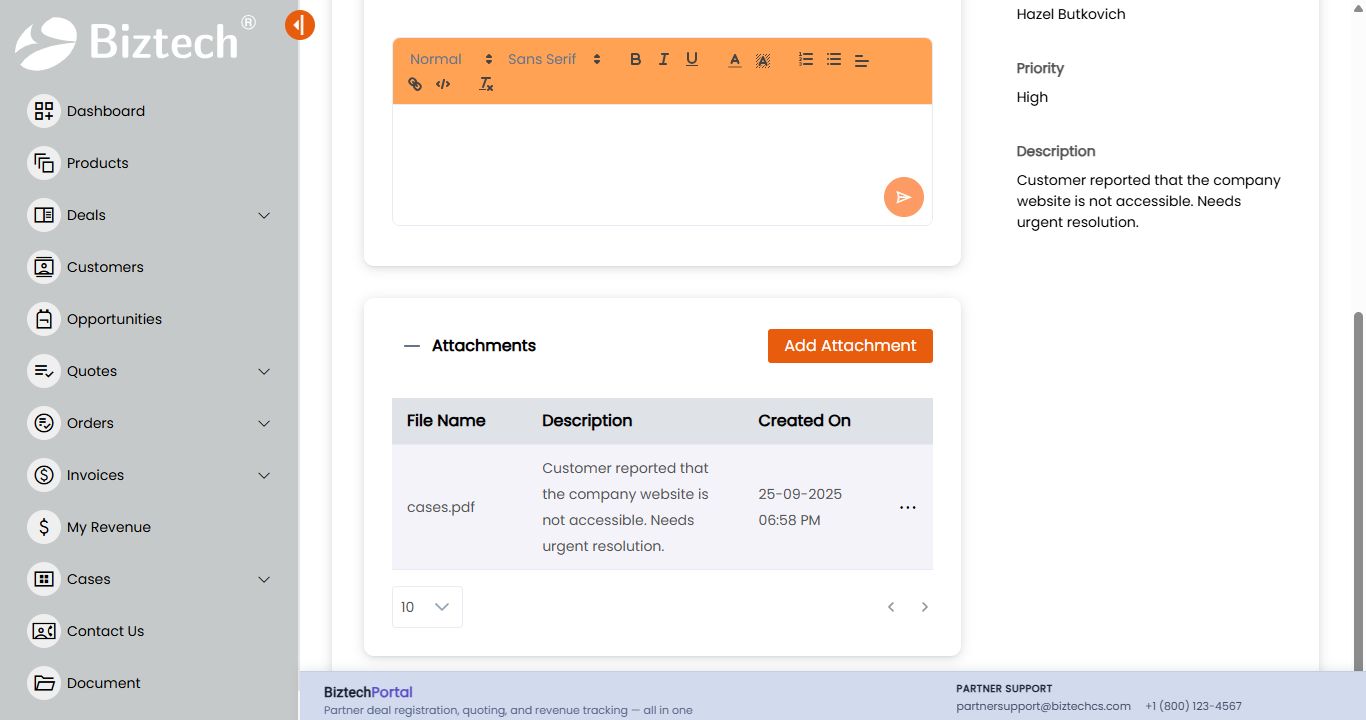
The form shows a sub-grid section with your label and the related records in a table or the view you chose. Depending on your settings, portal users can add, edit, open and delete related records from there.
Troubleshooting
The Sub-Grid widget is not available: Check the form type. Sub-grids work only on Edit and Detail forms.
Portal users see only their own records: Turn on Enable Global Access if they should see all related records.
Related articles
- How to Link Parent and Child Records in a Form
- How to Create List Views in CRMJetty Portal
- How to Design Add, Edit and Detail Form Layouts
- How to Apply Workflows to Portal Widgets