
How to Set Add, Edit and Delete Permissions by Role
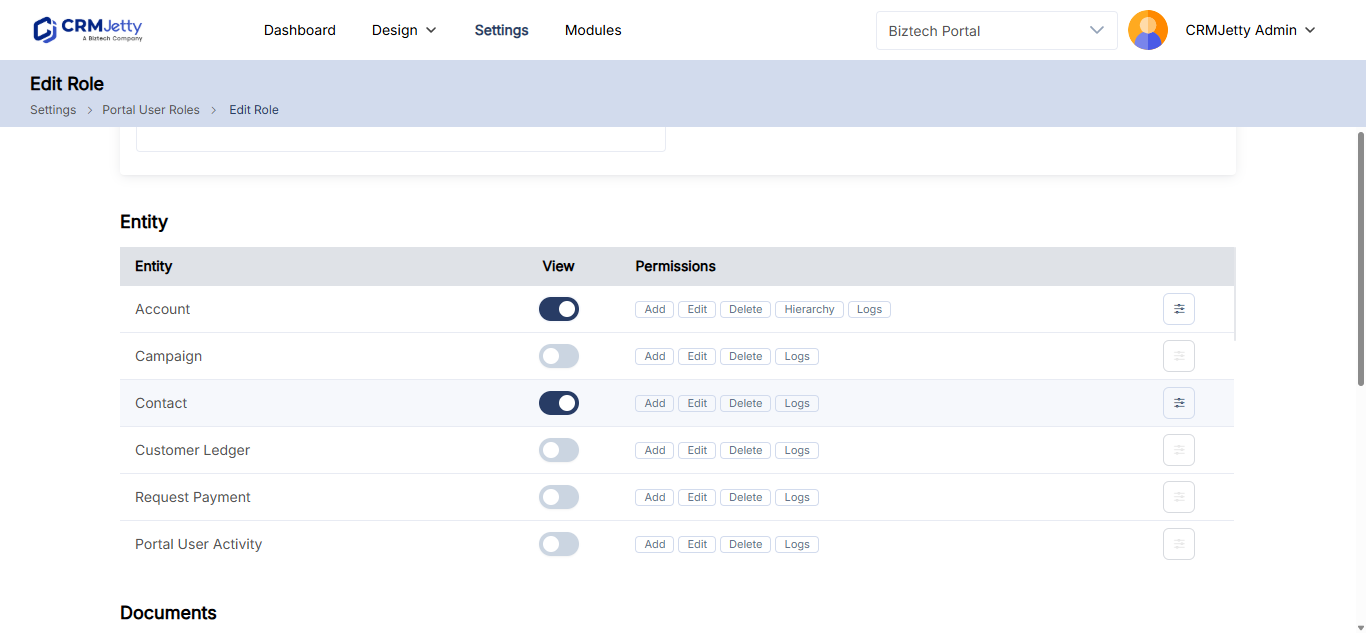
Each portal user role decides, entity by entity, what its users can do with records. Give a role Add, Edit or Delete to let its users create, change or remove records of that entity, for example to let customers open cases but not delete them.
Before you start
- You need admin access to the CRMJetty admin portal.
- Enable the entity in the portal first. Only portal entities appear in a role’s permission list. See How to Enable CRM Entities and Custom Objects in the Portal.
- Create the role if it doesn’t exist yet. See How to Create Portal User Roles and Permissions.
What each permission allows
| Permission | Portal users with this role can |
|---|---|
| View | See records of this entity. Required before you can select any other permission. |
| Add | Create new records of this entity. |
| Edit | Change existing records of this entity. |
| Delete | Delete records of this entity. |
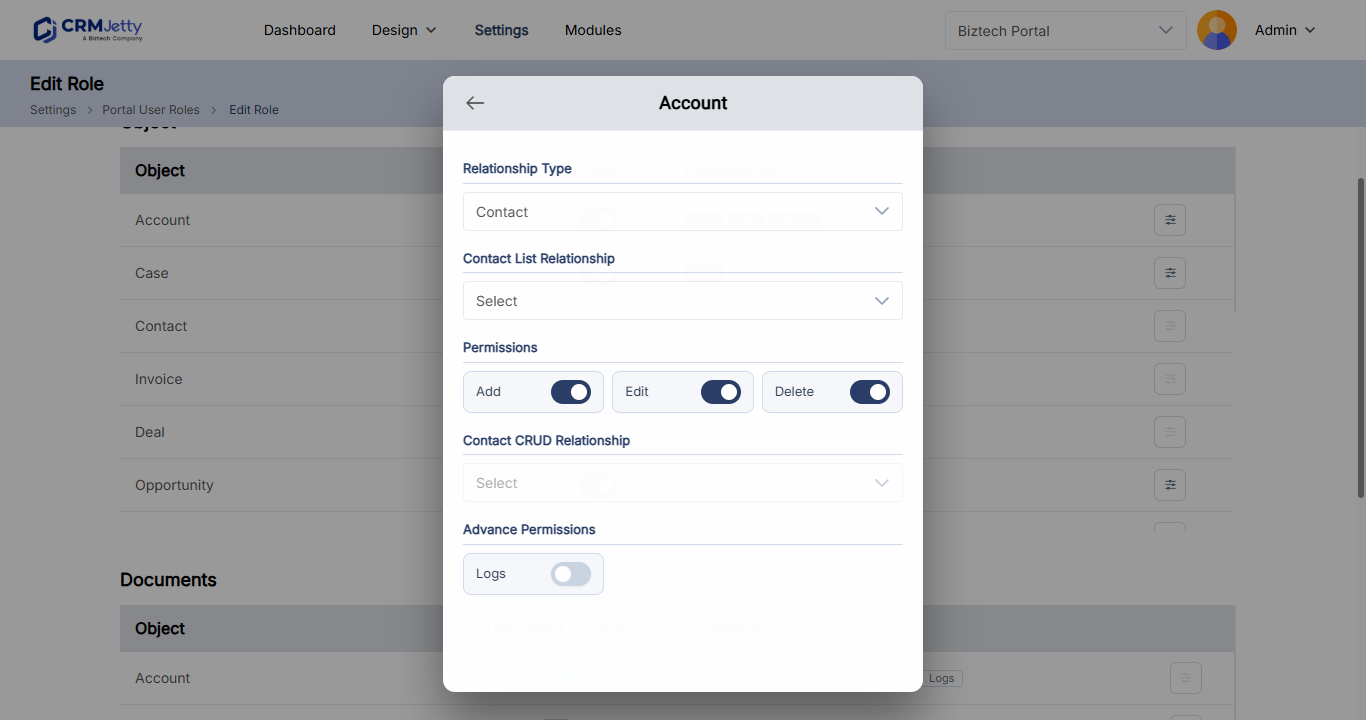
Permissions apply only to the records the user can reach. The Relationship Type you set for the entity decides which records those are, for example only the user’s own records or all records of their account. See How to Give Portal Users Account-Level Record Access.
Set permissions for an entity
- Go to Settings → User Settings → Portal User Roles.
- Select the three dots (…) next to the role, then select the Edit icon. For a new role, select Create.
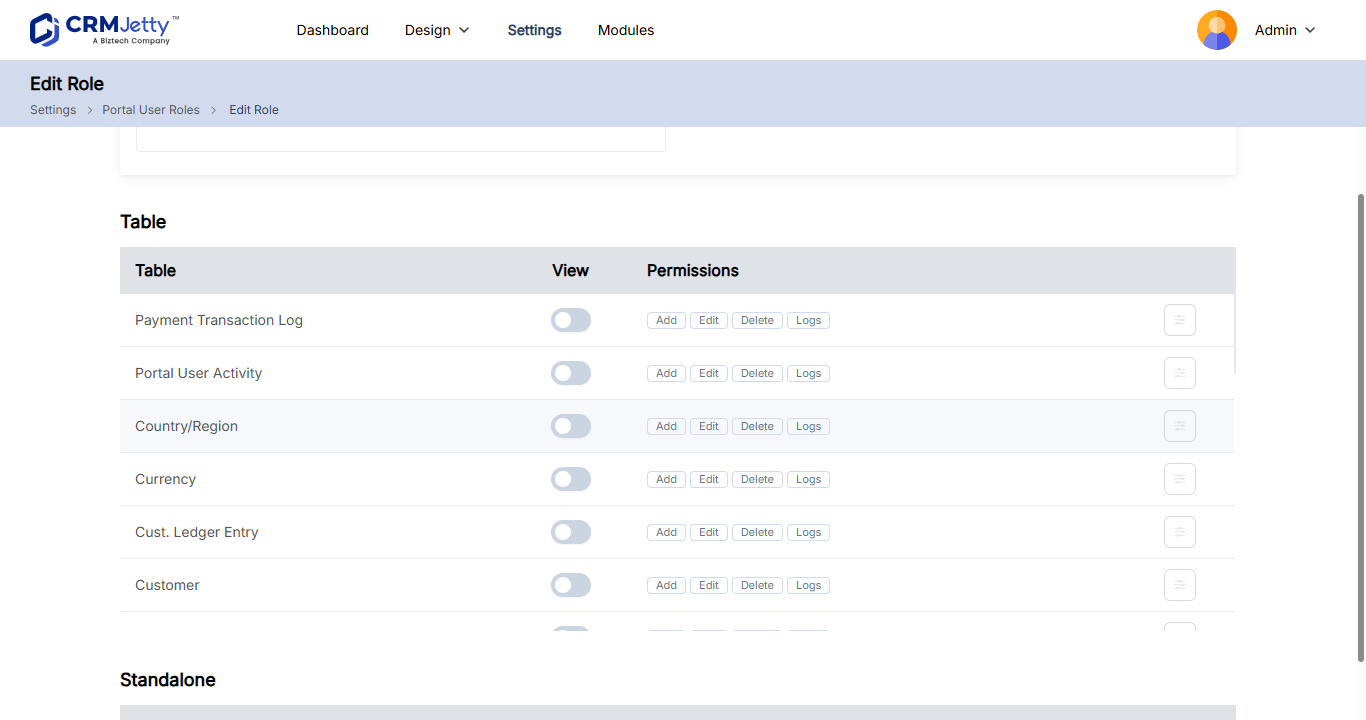
- In Entity Permissions, find the entity.
- Select View.
- Select Add, Edit and Delete as needed. Leave a box clear to withhold that right.
- Repeat for each entity.
- Select Save.
Example
| Entity | View | Add | Edit | Delete | Result |
|---|---|---|---|---|---|
| Case | Yes | Yes | Yes | No | Users can open and update cases but not delete them. |
| Invoice | Yes | No | No | No | Users can only see invoices. |
| Order | Yes | Yes | No | No | Users can place orders but not change or delete them. |
The same entity can have different permissions in different roles. For example, give a manager role Delete on cases and leave it off the standard user role.
Tip: The Entity Permissions table also has Enable Product, Enable Hierarchy and Enable Logs. For what they do, and for the SharePoint Document Access and Delete rights in Dynamics 365, see How to Create Portal User Roles and Permissions.
Restrict rights for some records with a workflow
Role permissions apply to every record of the entity the user can reach. To take away a right only for certain records, for example no deleting of completed cases, add an Update Assigned Rights workflow under Settings → Portal Settings → Workflow Management.
The workflow can disable Edit, Detail or Delete for records that match conditions you set. It only restricts rights the role already gives; it can’t grant a right the role doesn’t have.
For the steps, see How to Restrict Record Access with Conditional Workflows.
Troubleshooting
You can’t select Add, Edit or Delete: Select View for the entity first.
The entity isn’t in the Entity Permissions list: The entity isn’t enabled in the portal. Enable it under Settings → User Settings → Entity Configurations (Business Central: Table Configurations), then edit the role again.
A portal user can’t edit or delete some records although the role allows it: Check for an active Update Assigned Rights workflow on that entity and role in Workflow Management. Also check the entity’s Relationship Type, which limits which records the user can reach.
Related articles
- How to Create Portal User Roles and Permissions
- How to Give Portal Users Account-Level Record Access
- How to Restrict Record Access with Conditional Workflows
- How to Assign Roles to Portal Users in Bulk
- Portal Roles vs CRM Roles Explained