
How to Filter Which Records Portal Users See
A workflow filters the records portal users see. For example, show customers only invoices with the status New, or only cases that are In Progress or On Hold. Workflows run in the portal on top of role permissions; they don’t change anything in your CRM.
Note: Portal workflows filter or restrict records. They are different from triggers, which send notifications, and from workflows that run in your CRM. See How to Automate Portal Emails with Triggers.
Before you start
- You need admin access to Settings → Portal Settings.
- Enable the entity (Dynamics 365), object (Salesforce) or table (Business Central) in the portal. See How to Enable CRM Entities and Custom Objects in the Portal.
- Create the portal user roles the workflow applies to, and give them View permission on the entity. See How to Create Portal User Roles and Permissions.
How filtering works
| Layer | What it decides |
|---|---|
| Role permissions | Whether users with the role can see records of the entity at all. |
| Relationship type | Which records the user can reach, for example only their own or all records of their account. |
| Load Data workflow | Which of those records actually load in a widget, based on conditions you set. |
A workflow only narrows what the role already allows. It can’t show records the user’s role and relationship type don’t give access to.
Create a Load Data workflow
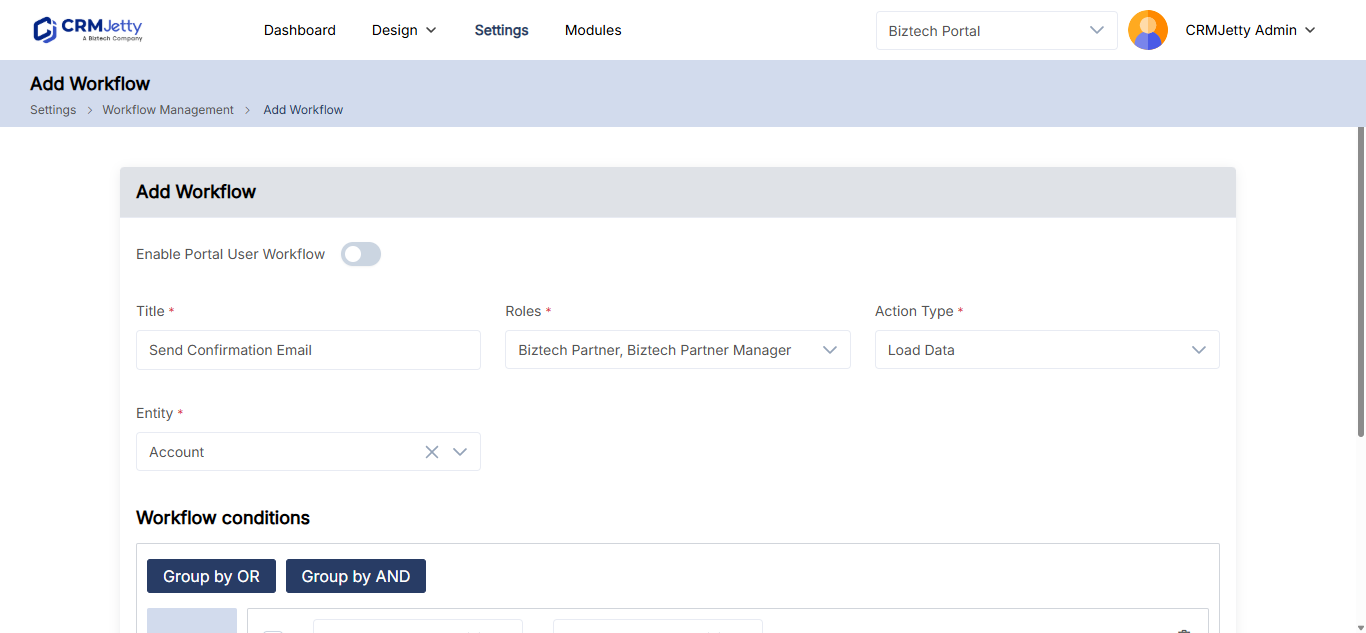
- Go to Settings → Portal Settings → Workflow Management.
- Select + Create. The Create Workflow page opens.
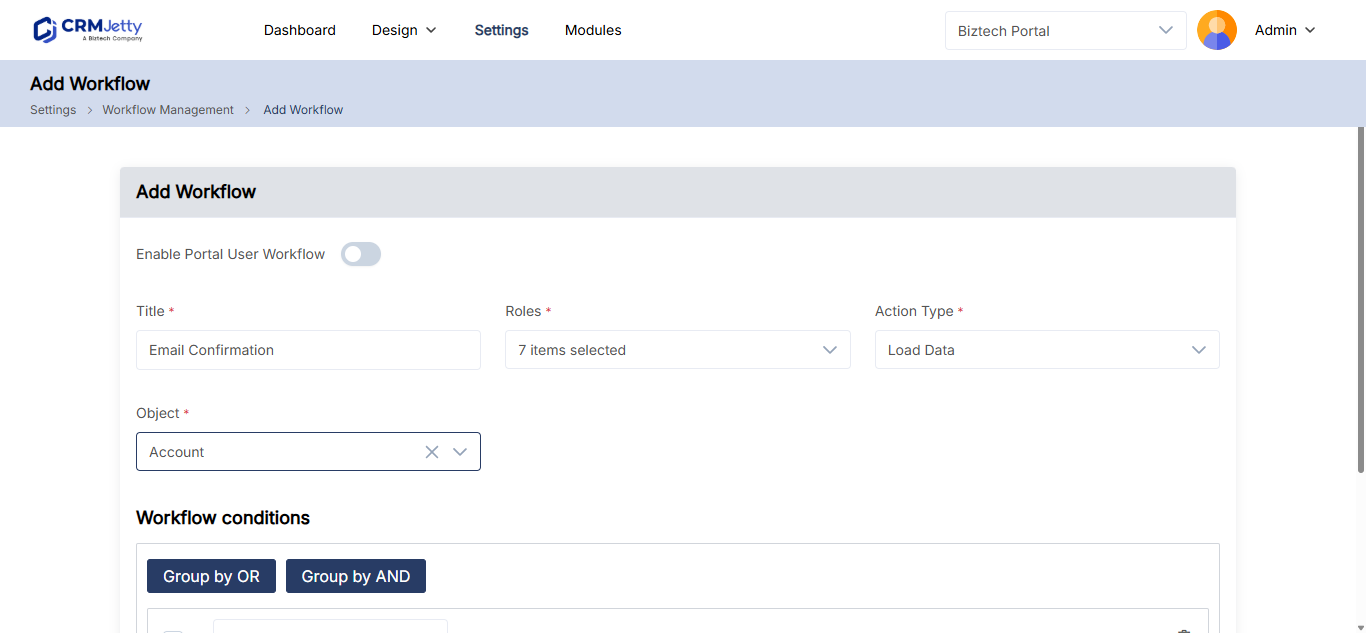
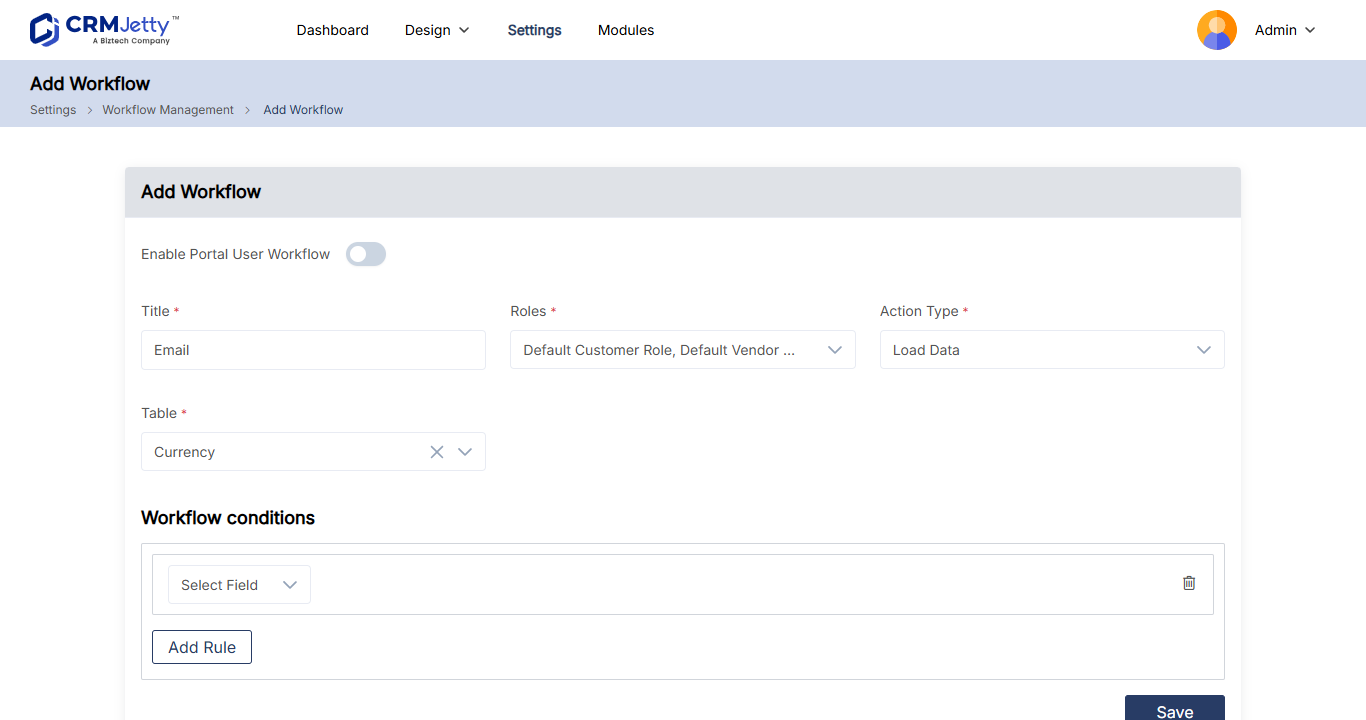
- In Title, enter a name that describes the filter, for example
New invoices only. - In Roles, select the portal user roles the workflow applies to.
- In Entity (Business Central: Table), select the entity to filter, for example Invoice.
- In Action Type, select Load Data.
Add conditions
Each condition compares a field of the record with a value.
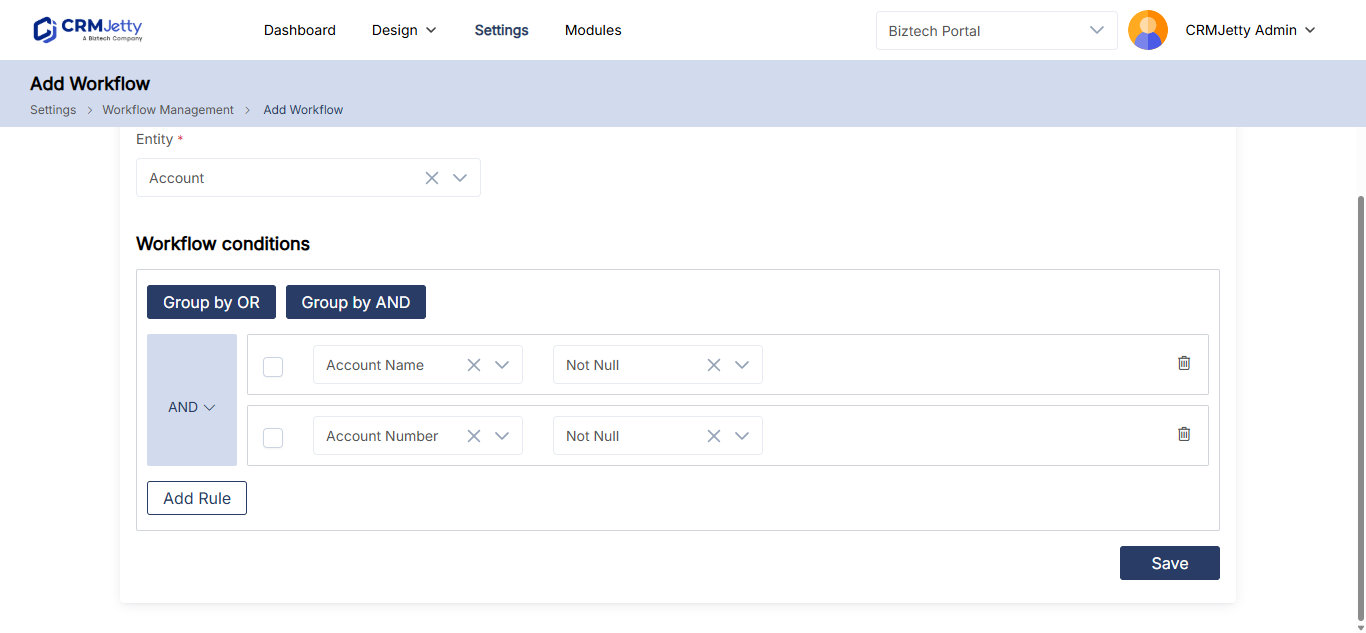
- In Field, select the field to filter on, for example Status Reason. The list shows the fields of the selected entity.
- In Operator, select how to compare, for example Equals. The operators depend on the field type.
- Select or enter the value, for example New. For some fields you can select several values.
- To add another condition, select Add Rule.
- Select Save.
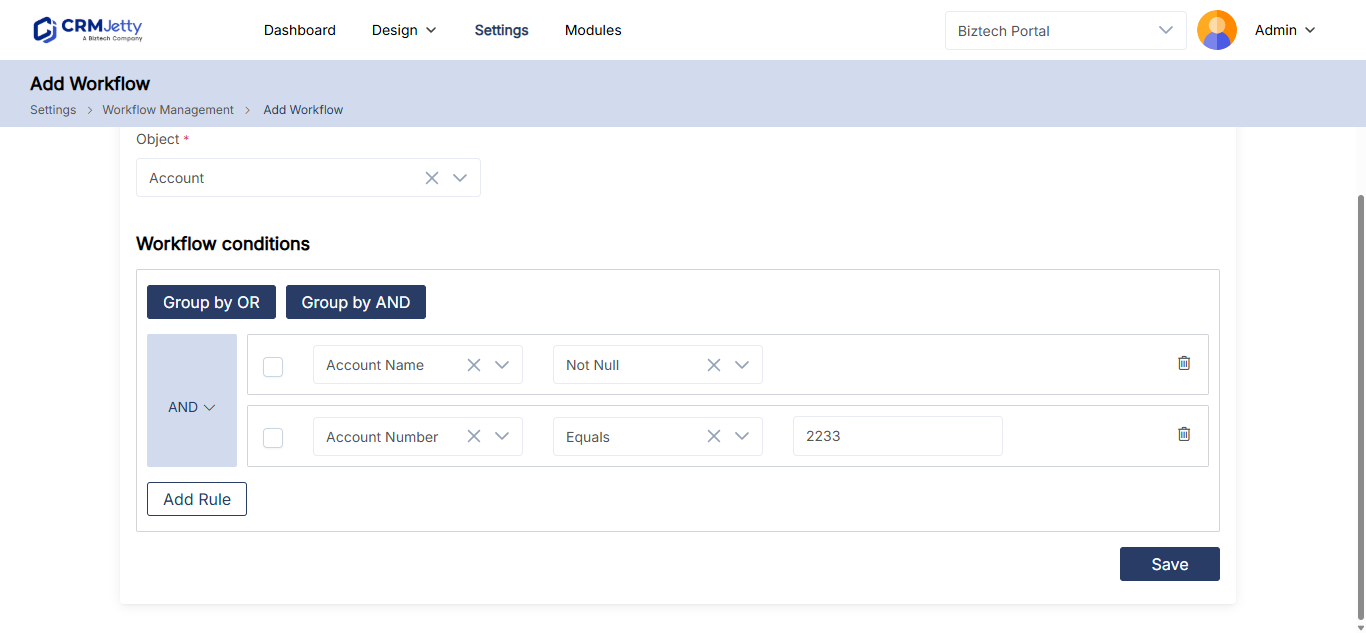
The value input depends on the field type:
| Field type | How you enter the value |
|---|---|
| Option set or picklist | Select one or more values. Some fields allow only one (radio buttons). |
| Date | Pick a date or date range in the calendar. |
| Number or currency, such as Amount | Type the value. |
| Lookup, such as Account | Select the related record. |
Example
| Setting | Value |
|---|---|
| Entity | Invoice |
| Field | Status Reason |
| Operator | Equals |
| Value | New |
Portal users with the selected roles see only invoices whose status reason is New.
Combine conditions with AND and OR
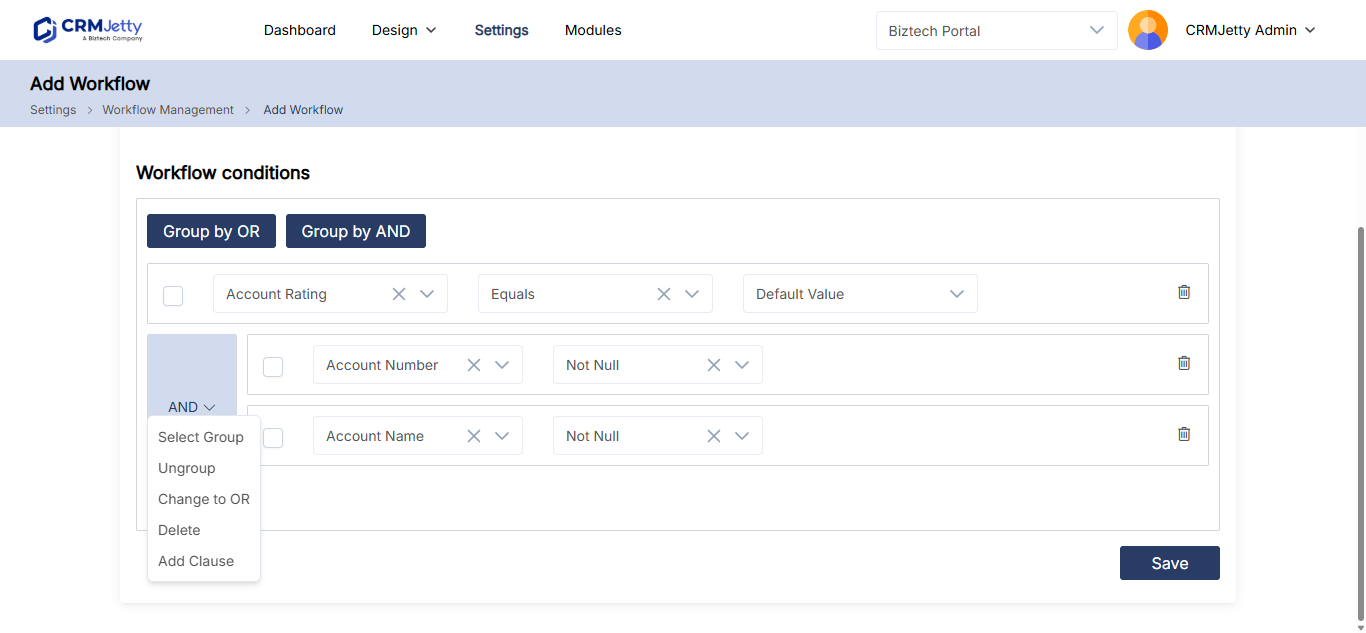
With several rules, group them to decide how they combine.
- Select the rules you want to group.
- Select By AND (all rules must match) or By OR (any rule can match).
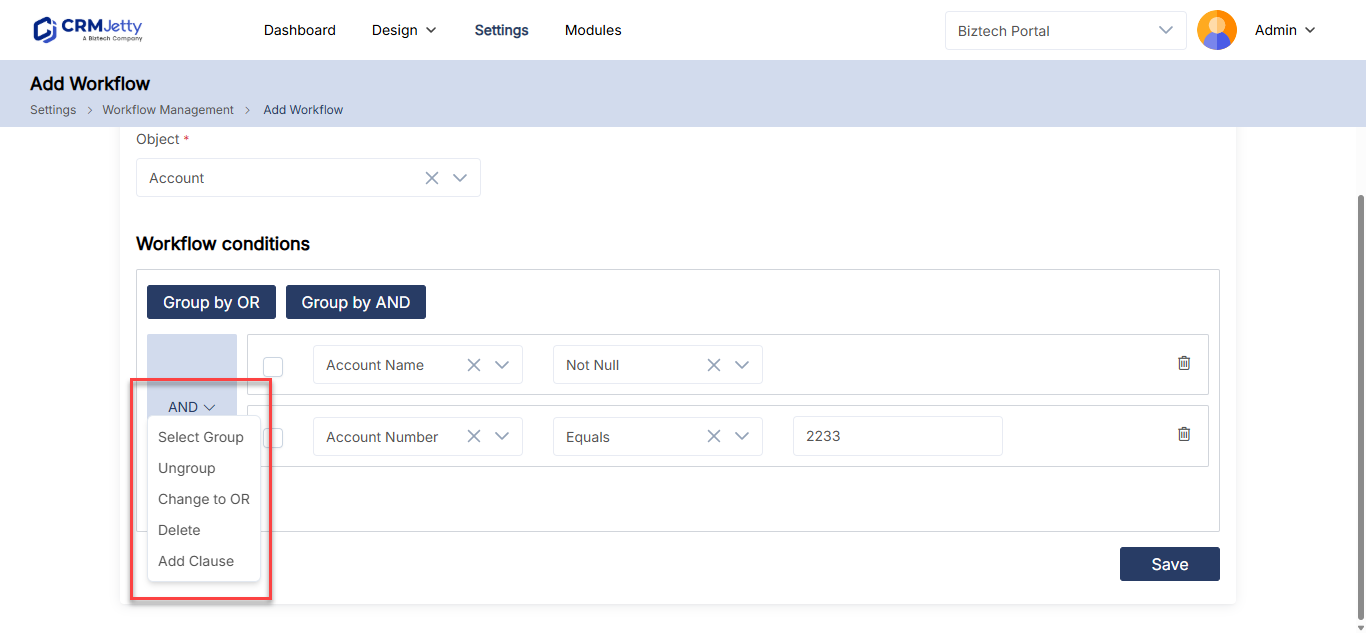
To change a group, select the down arrow on the group and choose an option:
| Option | What it does |
|---|---|
| Ungroup | Separates the rules so you can manage them individually. |
| Change to OR / Change to AND | Switches how the rules in the group combine. |
| Add Clause | Adds a new condition to the group. |
| Delete | Removes the condition or group. |
You can create several groups, and group whole groups together.
Apply the workflow
Saving a workflow doesn’t filter anything yet. Select it in each widget that shows the entity’s records, such as a List, Data Card, Counter, Chart or Recent Activity widget, then publish the page. For the steps and the setting in each widget, see How to Apply Workflows to Portal Widgets.
You can also use a Load Data workflow to limit the values portal users can pick in a lookup field, in the list builder and the form builder. See How to Add Filters to Portal List Views.
Manage workflows
The Workflow Management page lists all workflows. Search by title, or filter by Action Type, Entity (Business Central: Table), Owner and Date.
To move a workflow to another portal instance, use Export in the three dots (…) menu. See How to Export and Import Portal Configuration.
Choose which contacts belong to a site
A contact workflow decides which CRM contacts are associated with a portal site, for example only contacts from one region. Select it on the site’s Workflow Setup tab. See How to Create and Manage Multiple Portal Sites.
Troubleshooting
Portal users still see all records: The workflow isn’t selected in the widget. Open the widget settings, select the workflow, save and publish the page. Also check that the portal user has one of the workflow’s roles.
Portal users see no records: The conditions match no records the user can reach. Check the field values and whether the rules are grouped with AND where you meant OR.
Another workflow stopped working: If you activate a workflow with the same action type and entity, the active one may be deactivated. Check the status of both in Workflow Management.
Related articles
- How to Restrict Record Access with Conditional Workflows
- How to Apply Workflows to Portal Widgets
- How to Give Portal Users Account-Level Record Access
- Portal Roles vs CRM Roles Explained
- How to Create List Views in CRMJetty Portal