
How to Create a Portal Form for Any CRM Entity
You can create a portal form for any entity (Dynamics 365), object (Salesforce) or table (Business Central) that is synced with the portal. Portal users then use the form to add, edit or view records, and the data goes to your CRM.
Before you start
- You need access to Design → Form Builder in the admin portal.
- The entity must be synced with the portal. If it isn’t, enable it first. See How to Enable CRM Entities and Custom Objects in the Portal.
- Decide which form types you need: Add (create a record), Edit (update a record) or Detail (view a record).
Open Form Builder
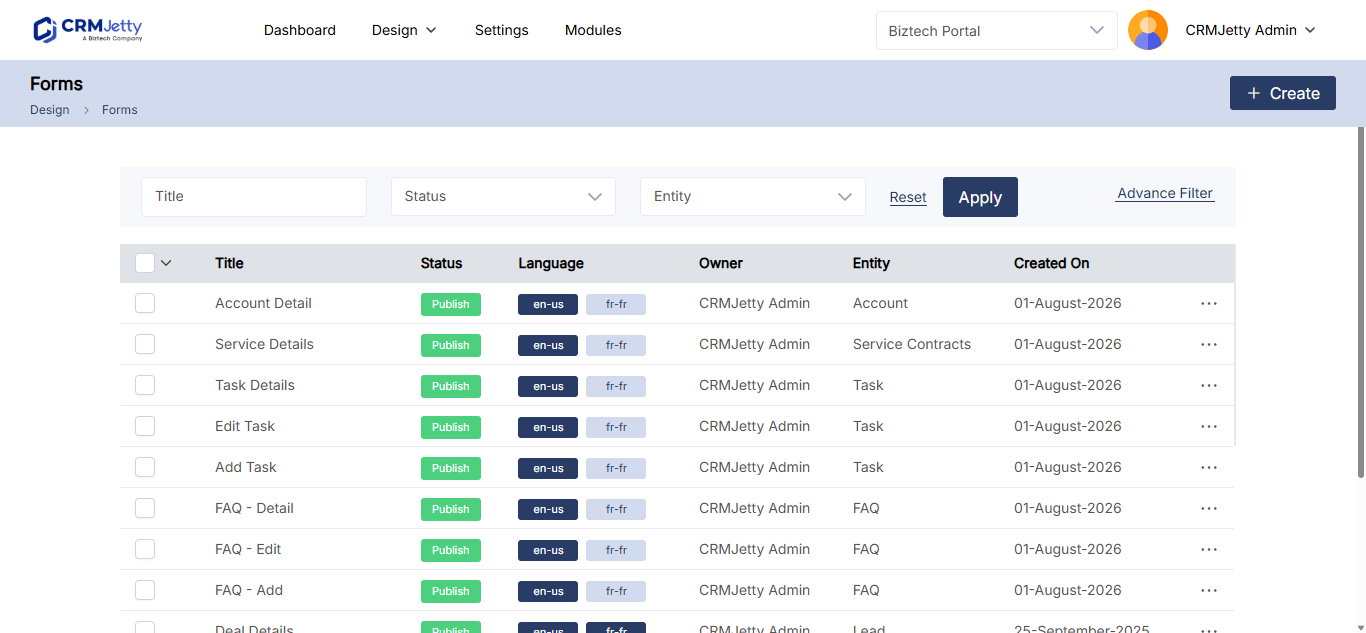
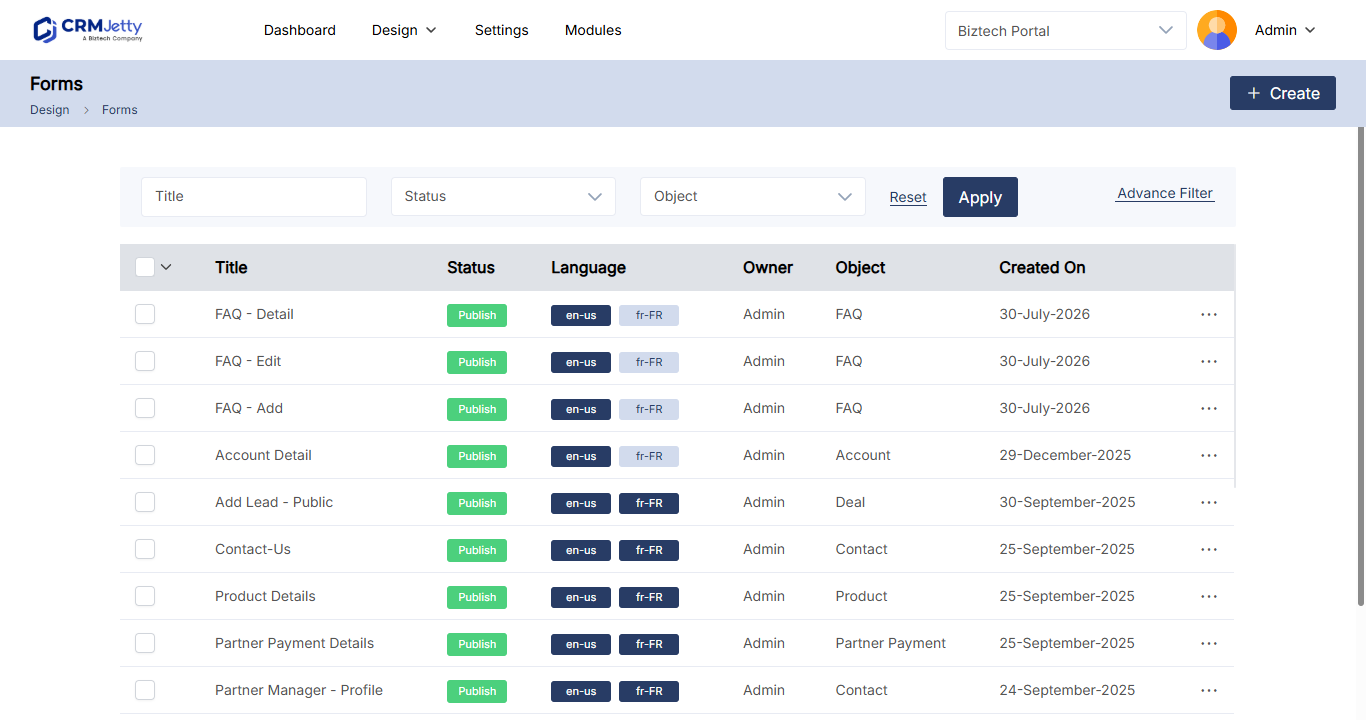
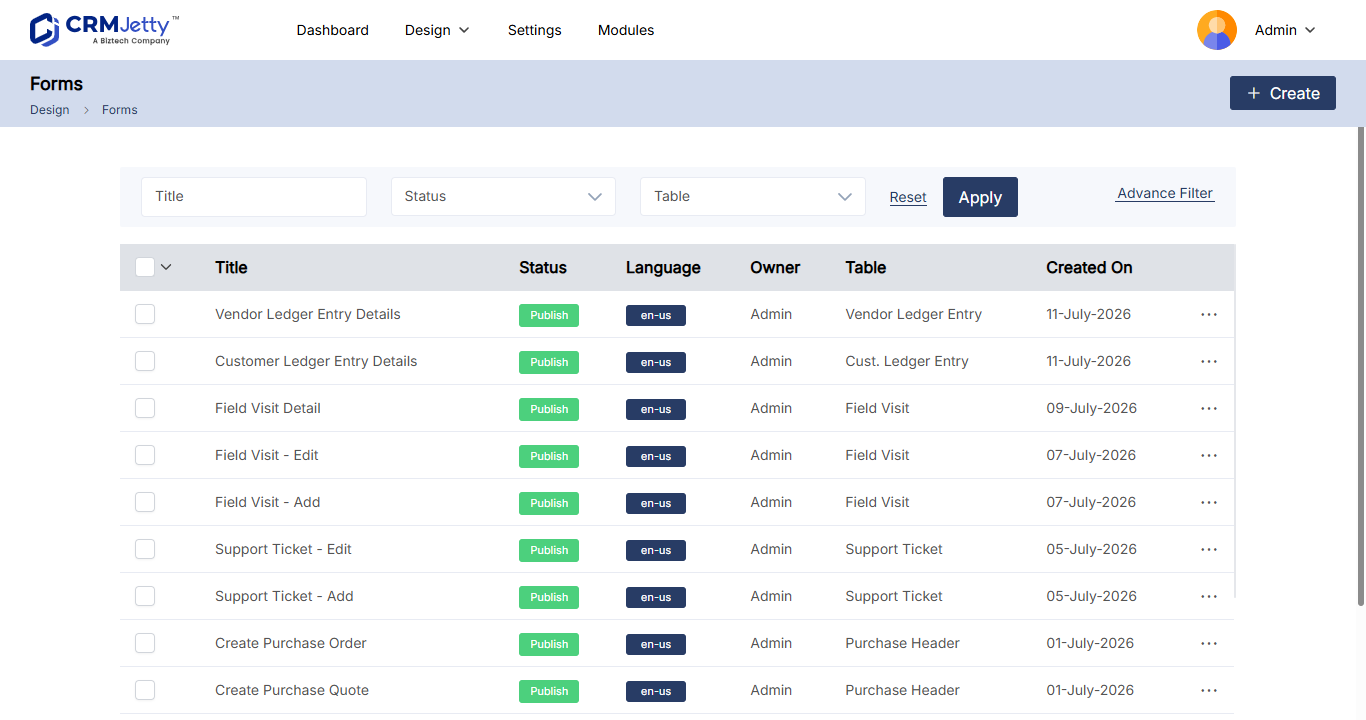
Go to Design → Form Builder. The Forms page lists every form with these columns:
| Column | What it shows |
|---|---|
| Title | The name of the form. |
| Status | The status of the form. |
| Language | The language of the form. |
| Owner | The admin who owns the form. |
| Entity | The entity the form is built on. |
| Created On | The date the form was created. |
From this page you can also create, duplicate, delete, filter, preview and translate forms.
Create the form
- On the Forms page, select + Create.
- In the pop-up, enter the Title of the form.
- Select Save. The form layout design page opens.
Build the form layout
Every form layout is built in the same order: Add Section → Add Grid → Add Fields.
- On the left side of the page, select the + icon to add a section.
- Optionally, edit the section’s Panel Title and select Save.
- In the section, select Add Grid.
- Select a grid option. It is added to the selected section.
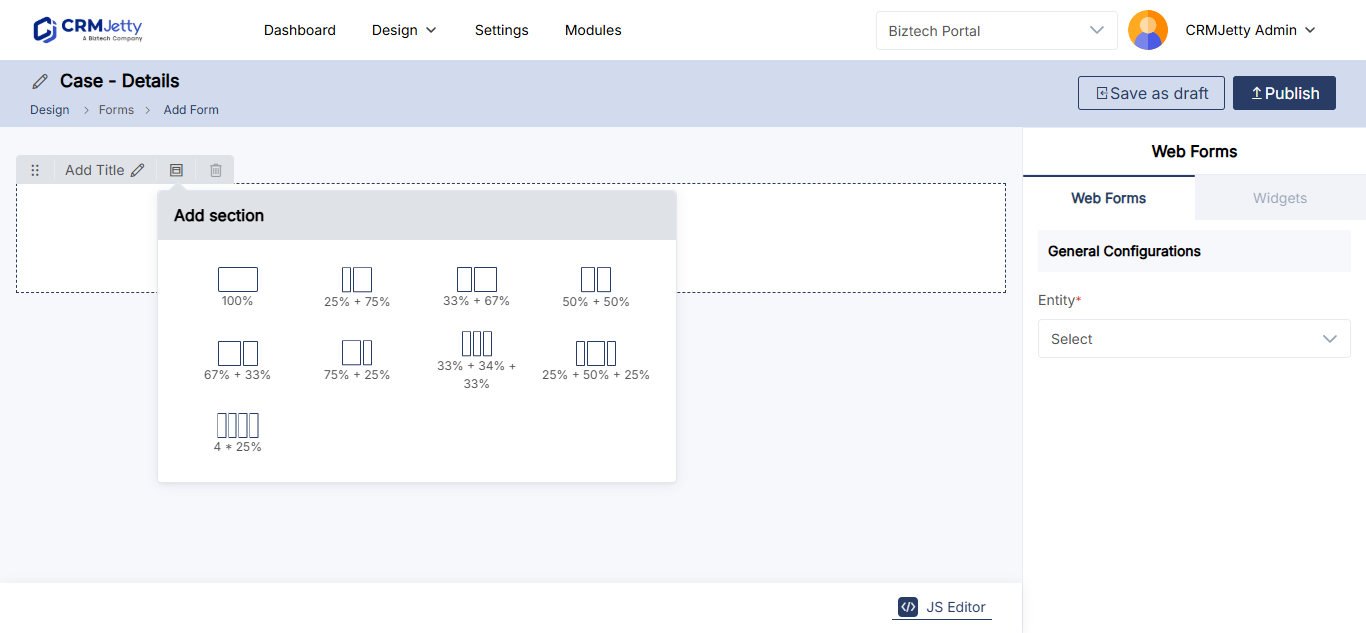
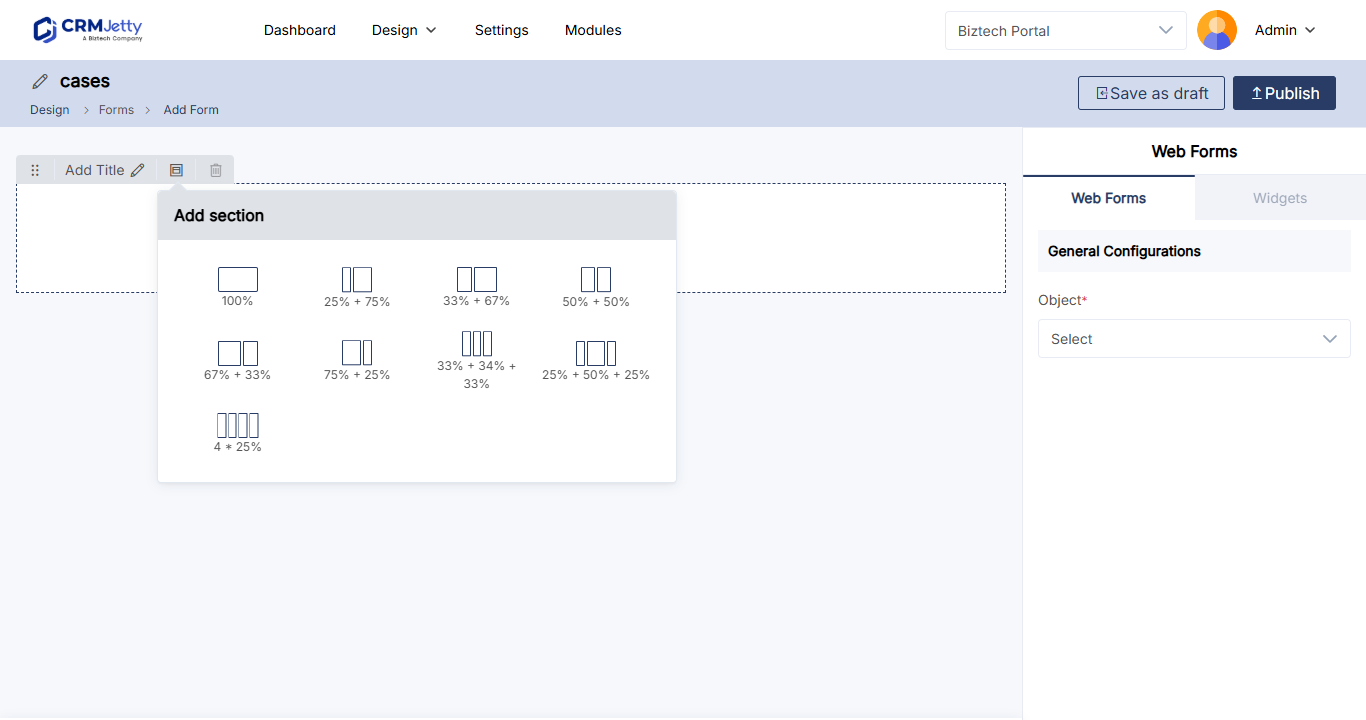
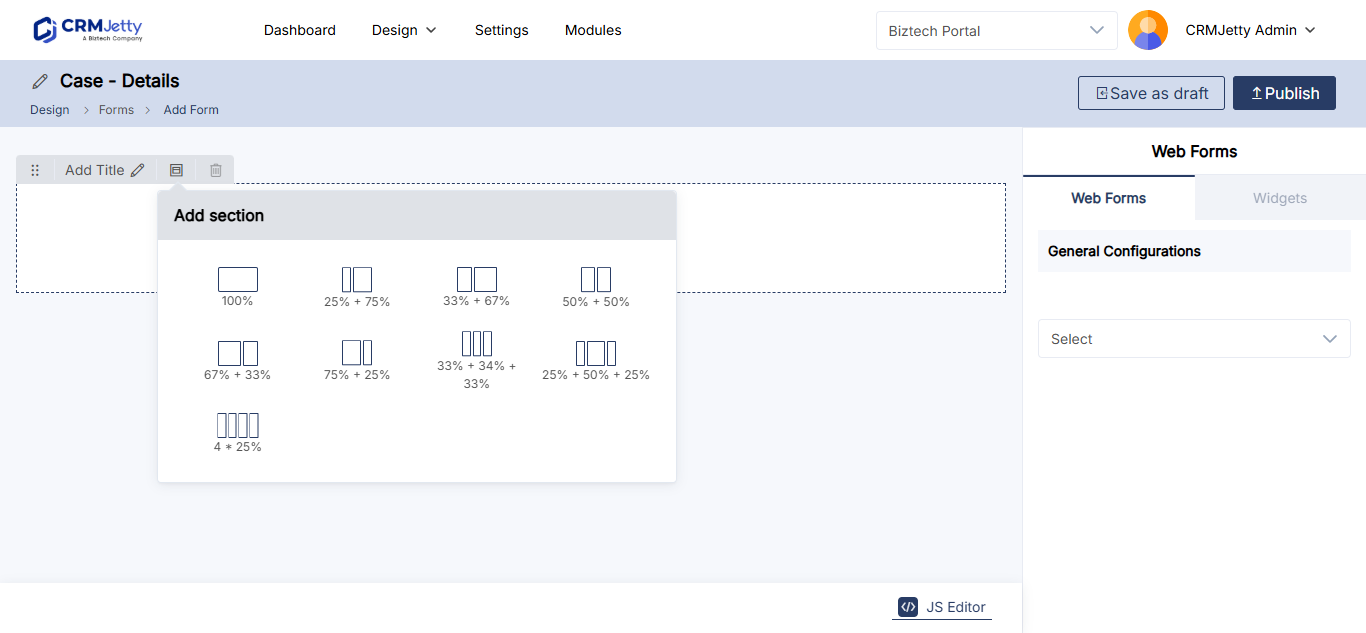
Note: Each grid box holds only one field. Design your sections and grids with enough boxes for your fields.
For forms with several titled sections, see How to Create Multi-Section Portal Forms.
Select the entity and creation method
- Select the Entity (Business Central: Table) from the drop-down list.
- Select how you want to add fields:
| Creation method | What it does |
|---|---|
| Create New | Build the form from scratch by dragging in the fields you need. |
| Use Existing | Start from a form that already exists in your CRM. See How to Use Existing CRM Forms and Views in the Portal. |
| Use All | Add all the fields of the selected entity. |
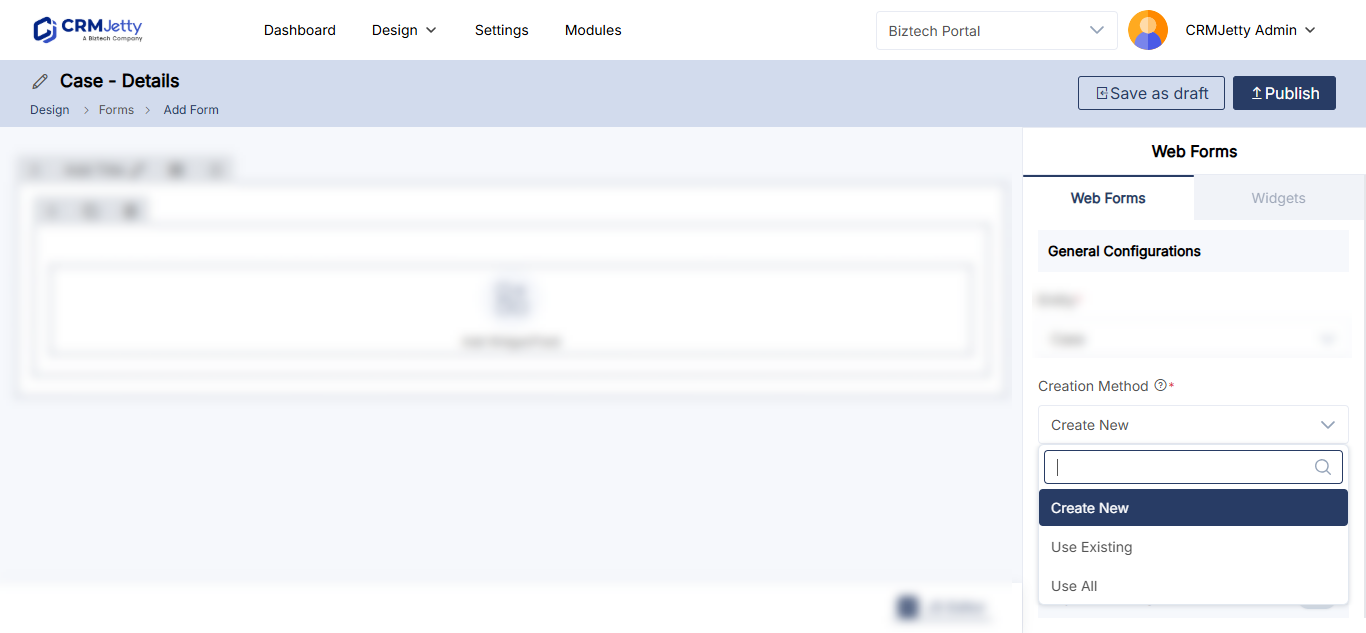
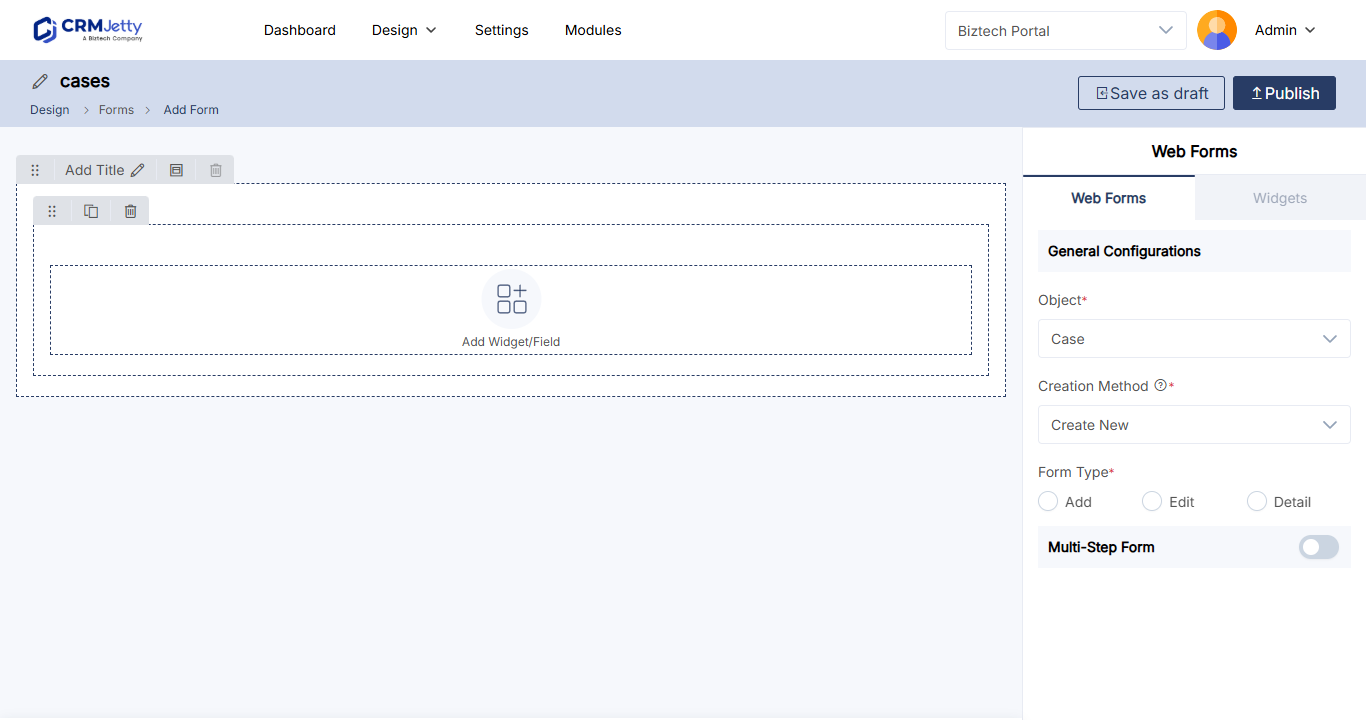
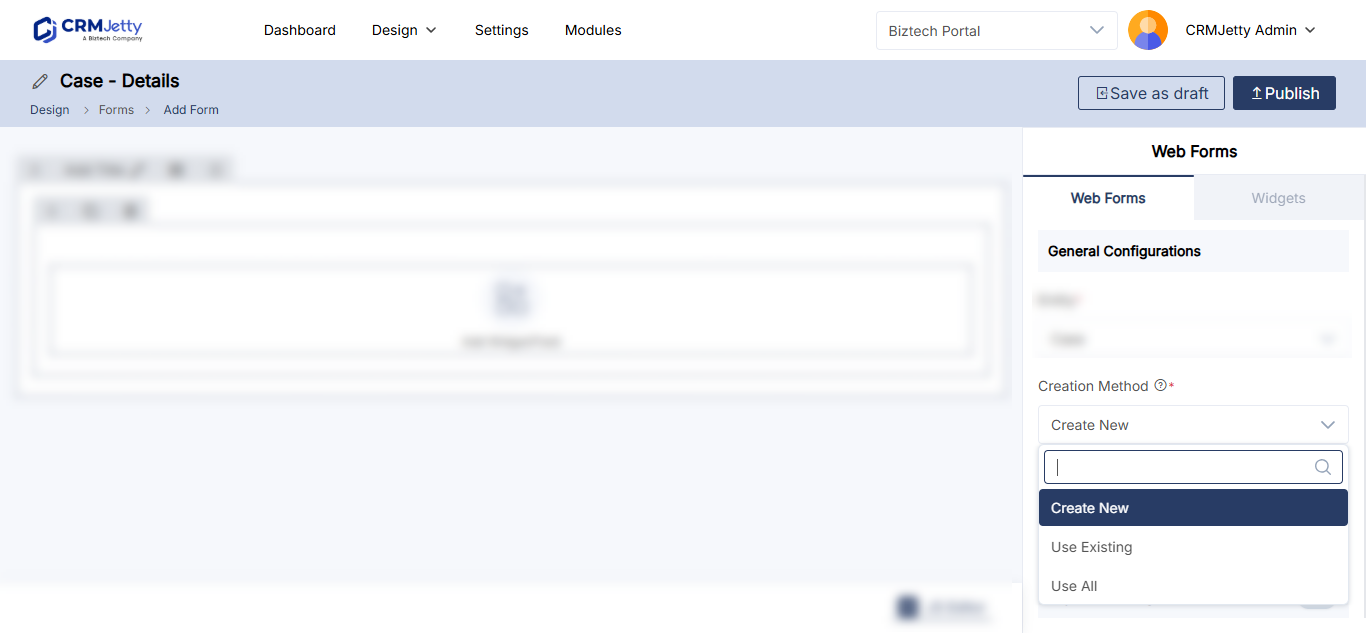
Note: You can only select entities that are synced with the portal. If the entity is missing, sync the CRM entity to the portal entities first.
Add and configure fields
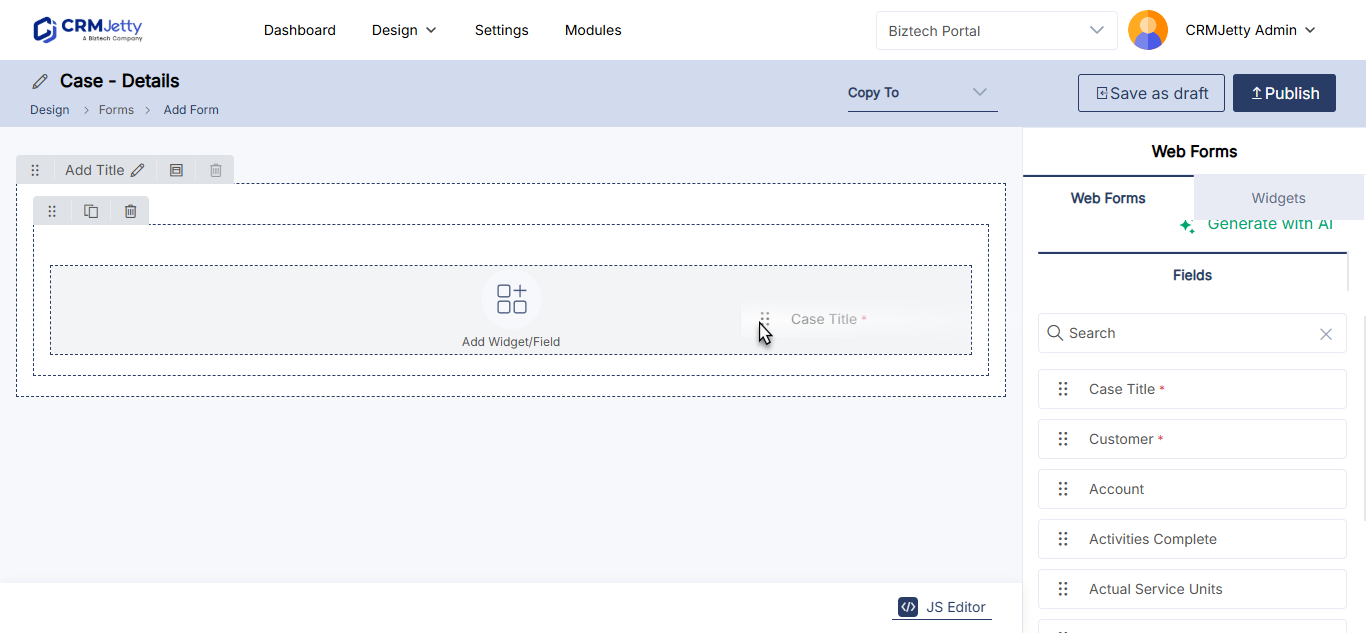
- In the field list on the right, find the field. Use the search box to find it quickly.
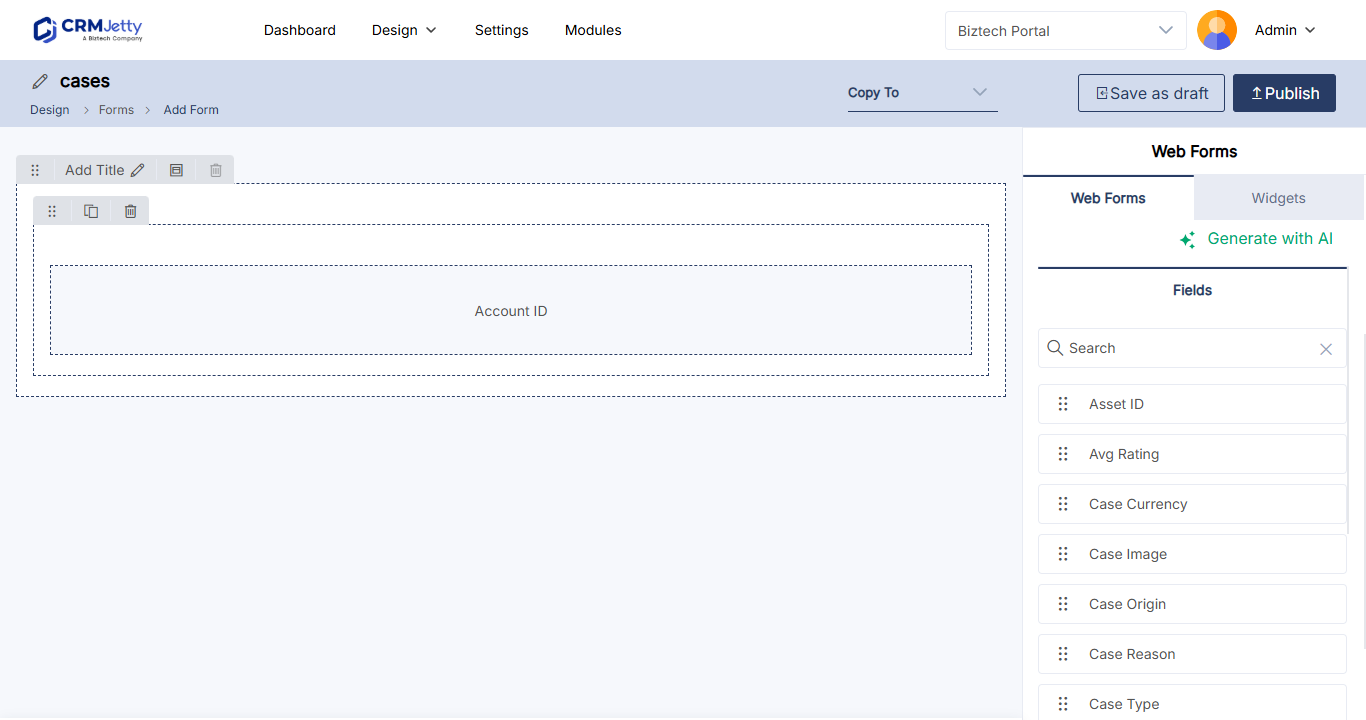
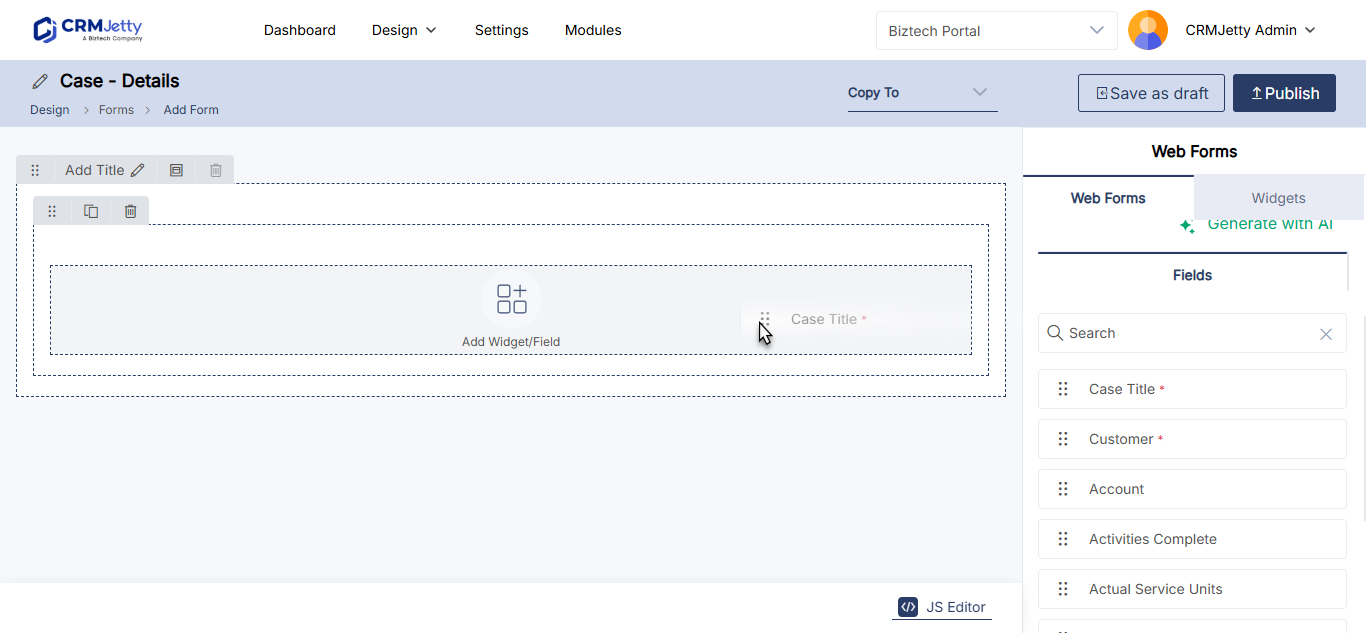
- Drag the field into a grid box on the left.
- Repeat for each field you need.
- To configure a field, select its Settings icon and change the settings below.
- Select Save.
| Setting | What it does |
|---|---|
| Label | The field name portal users see. |
| Placeholder | Text shown inside the field before the portal user enters data. |
| Help Tip | Extra guidance about the field. |
| Default Value | A value the field is filled with by default. |
| Read Only | Portal users can’t enter data in the field. |
| Required | Portal users must fill in the field before they can continue. |
For more, see How to Edit Form Field Labels and Placeholders.
Design the Add, Edit and Detail forms
After you select the entity and creation method, you can design the layout of the Add, Edit and Detail pages of the form.
- Use Copy to Edit and Copy to Detail to copy the Add form design, with the same layout and fields, to the Edit and Detail forms.
- On a Detail form, the Copy to Add and Copy to Edit options are not available.
- On a Detail form, you can let portal users add notes to the record. See How to Enable Notes and Attachments in the Portal.
See How to Design Add, Edit and Detail Form Layouts.
Publish the form
- Select Publish, or save the form as a draft to finish later.
- Optionally, preview the form to check its layout. You can preview a form after you save it as a draft or publish it.
Note: Draft forms are disabled in the portal. Publish a form before you use it on a page.
Add the form to a page
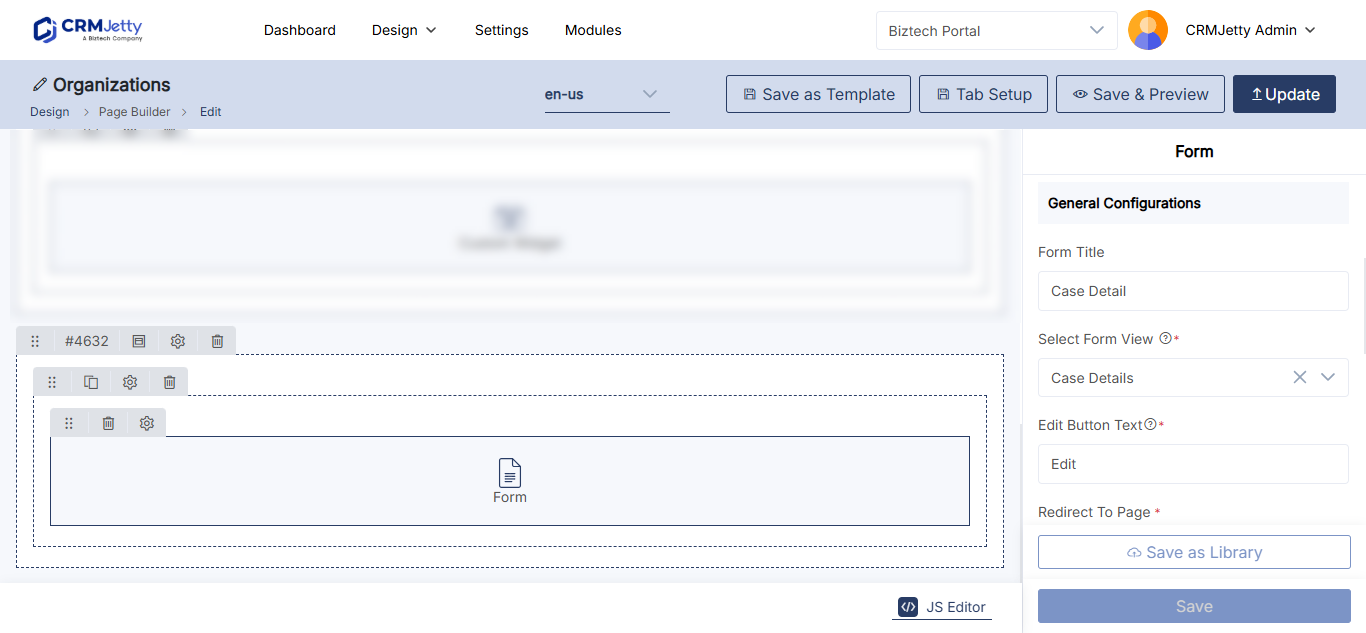
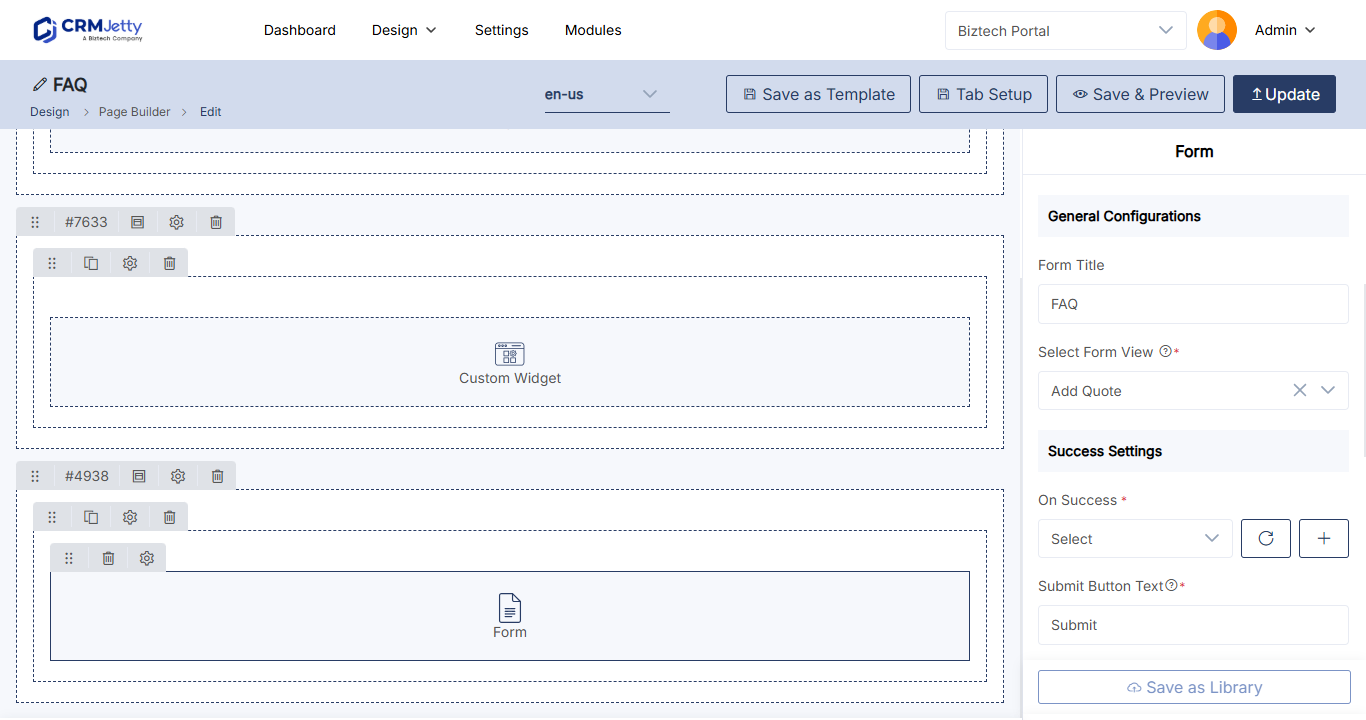
- Open the page in Design → Page Builder.
- Drag the Form widget onto a grid.
- Select the Settings icon on the widget.
- Enter a Form Title and, in Select Form View, select the form view to show.
- Set the success and exit settings, such as the On Success page and the Submit Button Text.
- Select Save, then publish the page.
Troubleshooting
The entity is not in the Entity drop-down: Only entities synced with the portal appear. Enable the entity in Entity Configurations (Business Central: Table Configurations) or sync your CRM, then reopen the form.
The form doesn’t appear in the portal: The form is still a draft. Publish the form and the page it’s on.
A field won’t drop into a grid box: The box already holds a field. Add another grid or choose a grid with more boxes.
Related articles
- How to Use Existing CRM Forms and Views in the Portal
- How to Design Add, Edit and Detail Form Layouts
- How to Create Multi-Section Portal Forms
- How to Enable CRM Entities and Custom Objects in the Portal