
How to Show Images in Portal List Views
A list can show an image with each record, such as a product photo or a contact’s picture. You can use a record’s own image field, or show a text field that stores an image path as an image.
Before you start
- You need access to the Design menu in the admin portal.
- Create the list first. See How to Create List Views in CRMJetty Portal.
- If the image field doesn’t appear in the list builder, sync your CRM layout changes. See How to Sync CRM Layout Changes to Your Portal.
Choose a method
| Method | Use it when |
|---|---|
| Add the record image field | The record has an image field in your CRM, such as Entity Image in Dynamics 365. |
| Show a text field as an image | A text (string) field holds the path or URL of an image. |
Add the record image field
- Go to Design → Lists.
- Select the three dots (…) next to the list, then select Edit.
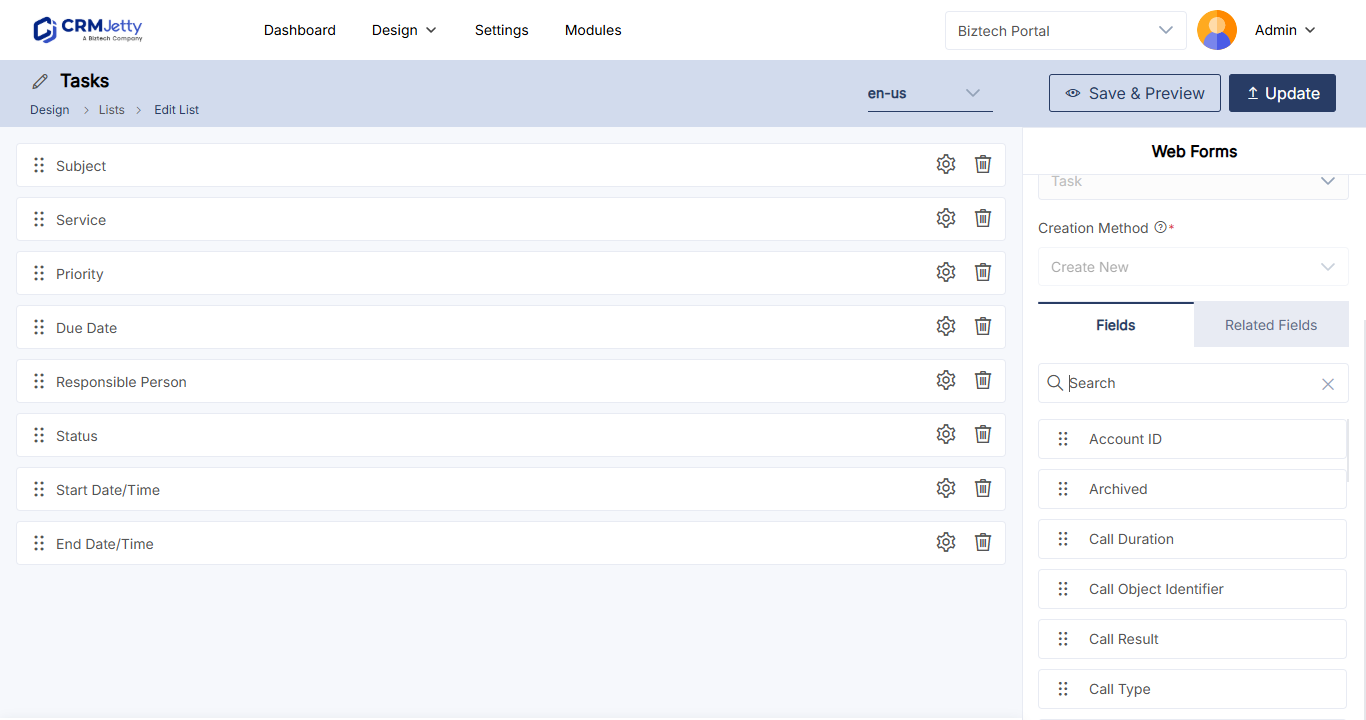
- In the field search on the right, type the name of the image field, for example
Entity Image. - Drag the field into the list layout.
- To change its column heading, select the Settings icon on the field, edit the label and select Save.
- Select Publish.
Show a text field as an image
- Open the list in edit mode.
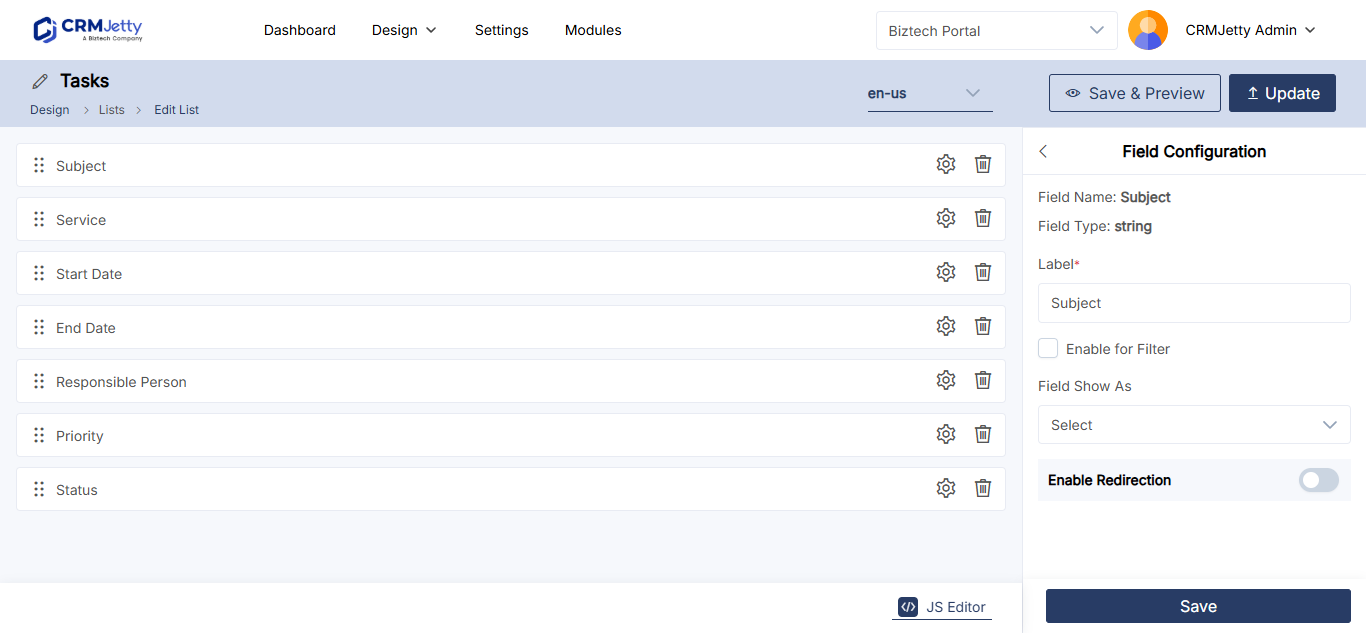
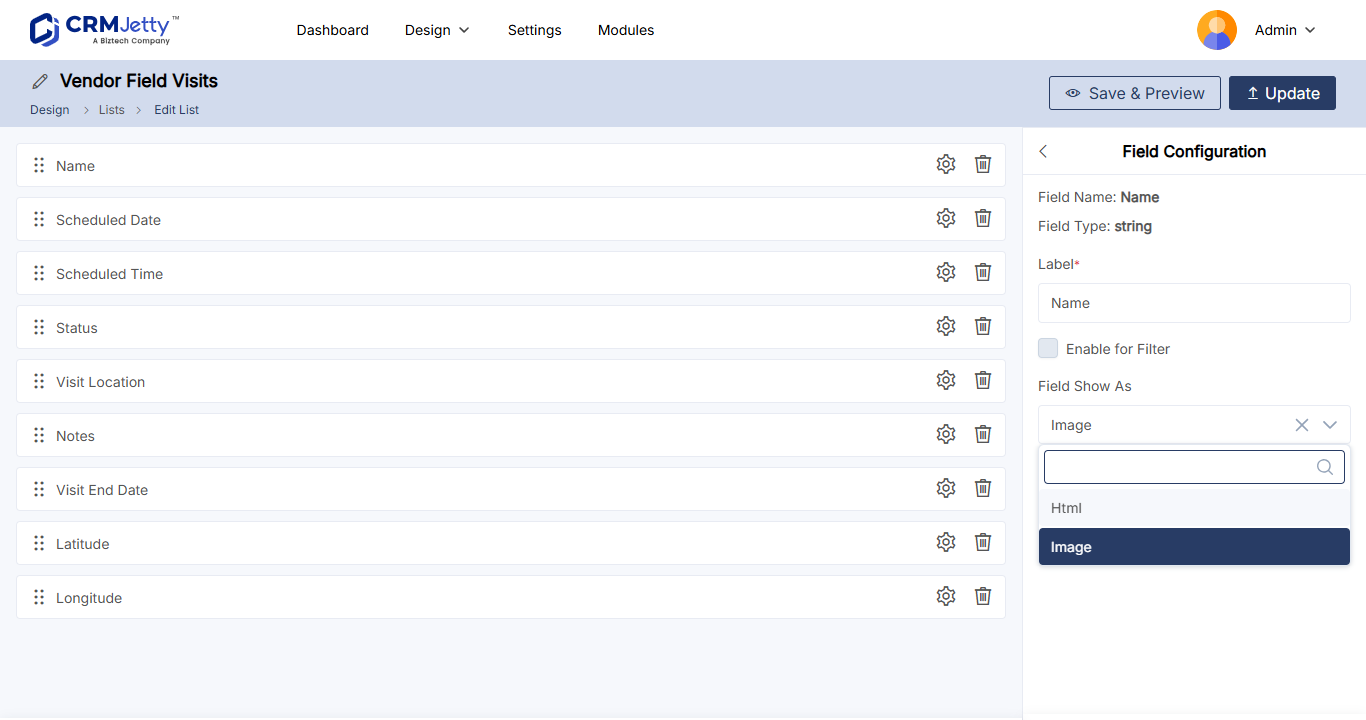
- Select the Settings icon on the text field that holds the image path.
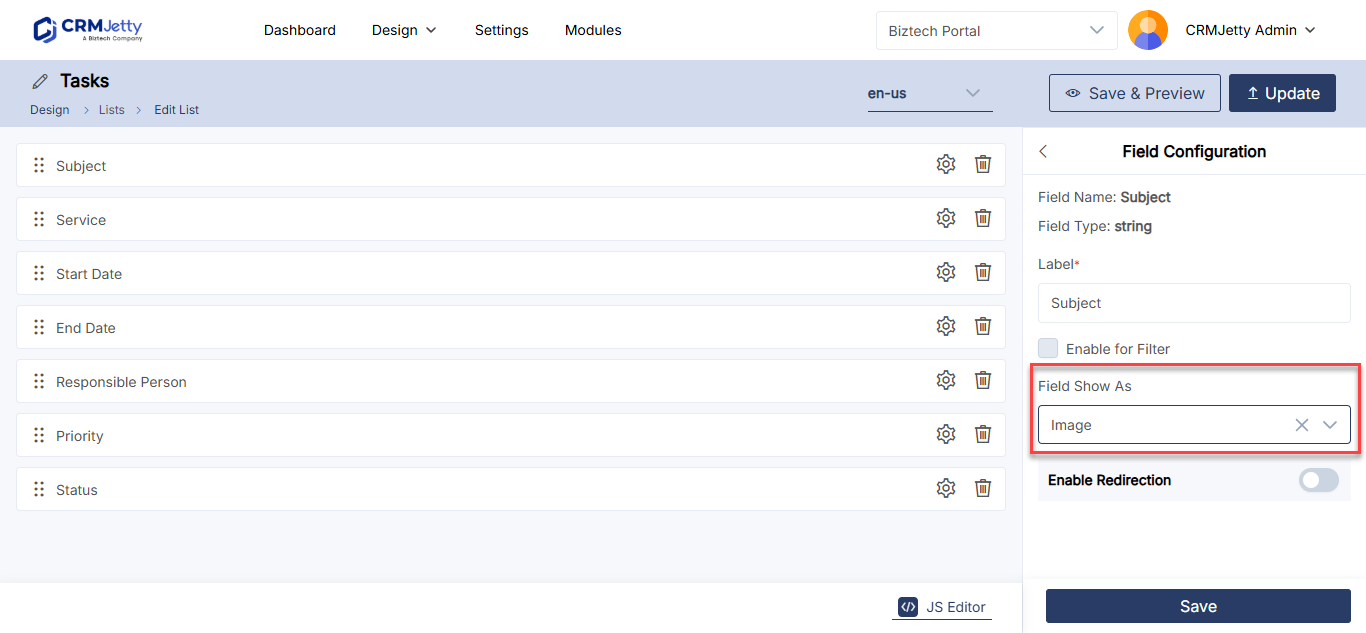
- Select Show as Image.
- Select Save.
- Select Publish.
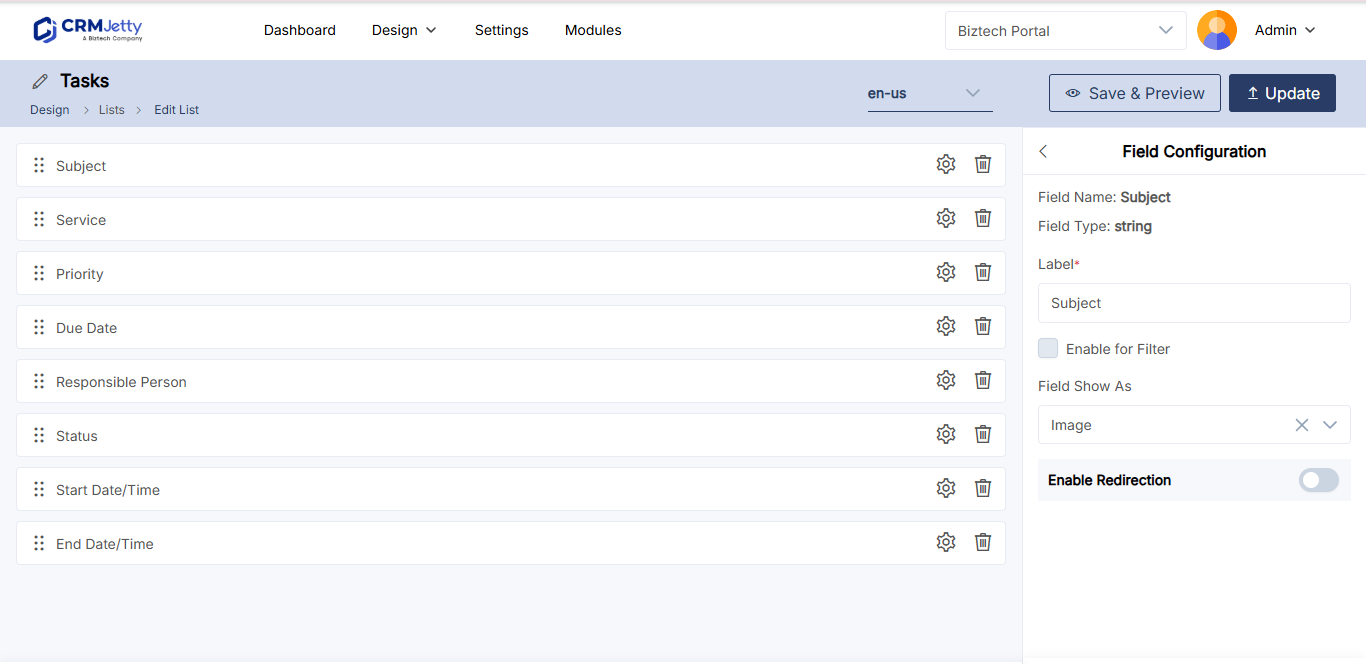
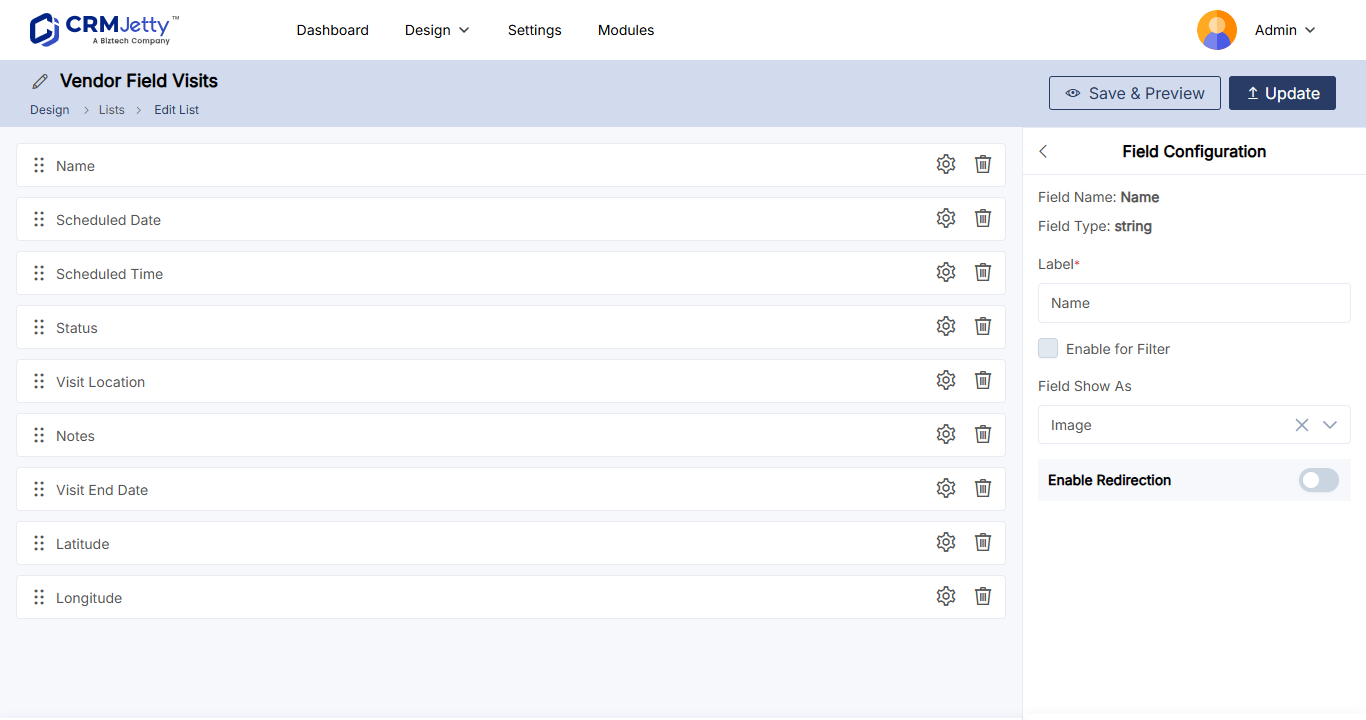
Important: The field must contain a correct image path. If it doesn’t, the portal shows a placeholder image instead.
Note: You can’t filter on an image. When Show as Image is selected, Enable for Filter is disabled for that field.
Use the image in Data Cards
The Data Card widget takes its image from the list it uses. After you add the image field to the list, select it in the widget’s Image setting and choose an Image Layout. If the list has no image field, the image option in the widget is disabled.
See How to Show CRM Records as Cards in the Portal.
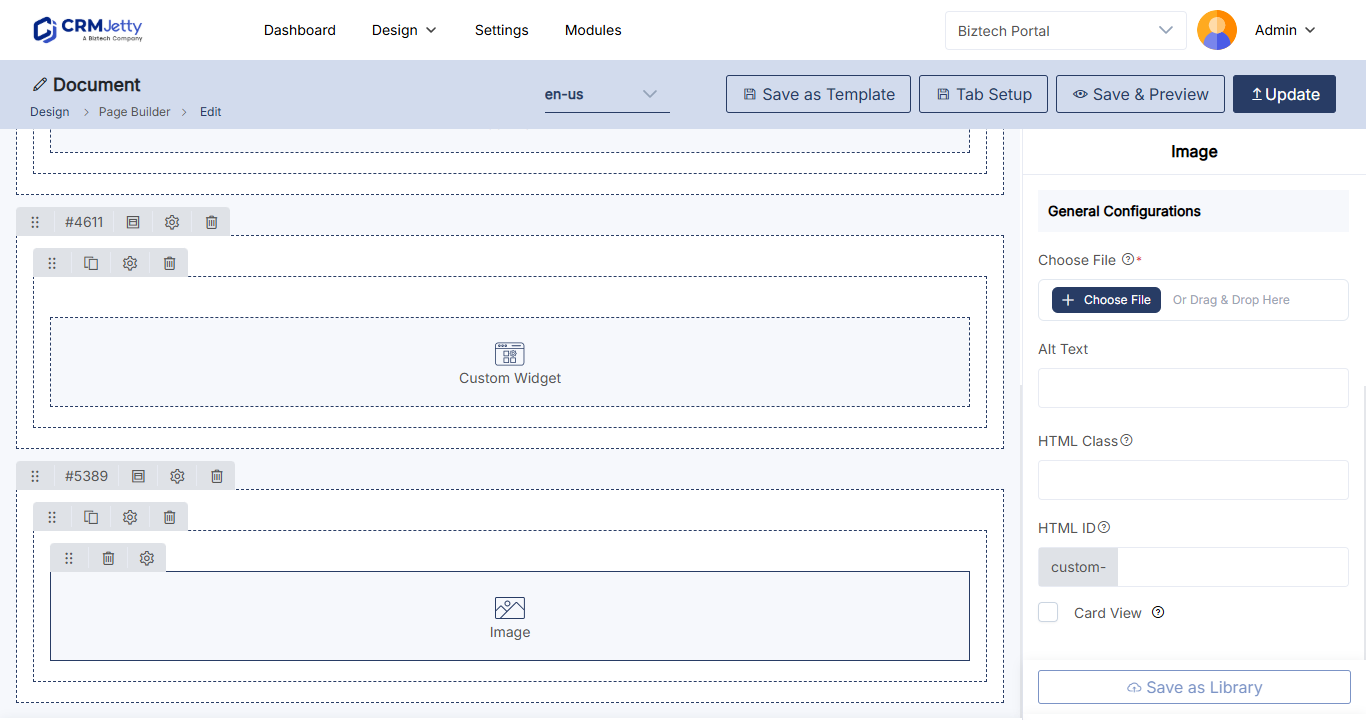
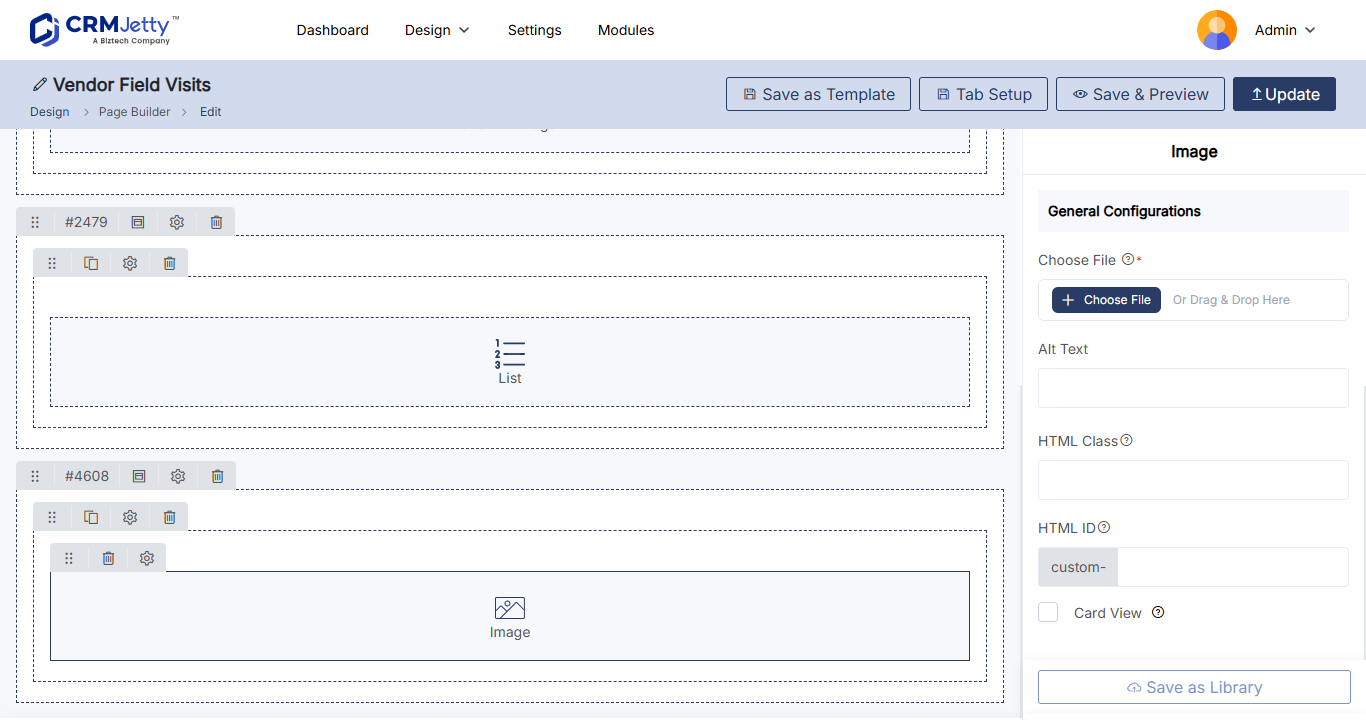
Show the image on forms
To show the same image on a record’s add, edit or detail form:
- Go to Design → Form Builder and open the form in edit mode.
- Select the Settings icon on the Image type field.
- Set the options in the table below.
- Select Publish.
| Setting | What it does |
|---|---|
| Label | The label shown above the image. |
| Read Only / Required | Makes the field read-only or required. |
| Default Field Visibility | Under Advanced Field Settings: shows the field (Visible) or hides it (Hidden) by default. |
| Conditional Field | A field, such as Case Type or Priority, whose value decides when the image shows. |
| Conditional Field Option | The values of that field that show the image. |
Troubleshooting
A placeholder image appears instead of the picture: The field doesn’t hold a correct image path. Check the value in your CRM.
The image field isn’t in the list builder: Search for it by name in the field list. If it’s still missing, sync your CRM layout changes to the portal.
The image option is disabled in the Data Card widget: The list the widget uses has no image field. Add one, publish the list, then select the list in the widget again.
Related articles
- How to Create List Views in CRMJetty Portal
- How to Show CRM Records as Cards in the Portal
- How to Add Filters to Portal List Views
- How to Sync CRM Layout Changes to Your Portal