
Getting Started with CRMJetty Portal
CRMJetty Portal gives your customers, partners or vendors a secure place to sign in and view and manage their own CRM data, such as cases, invoices and profile details. As the admin, you connect the portal to your CRM, decide who can see what, and design how the portal looks, without writing code.
How the portal is organized
CRMJetty has two sides:
| Side | Who uses it | What it is for |
|---|---|---|
| Admin portal | Admins and sub-admins | Connecting your CRM, managing portal users and roles, and designing pages, forms, lists and menus. |
| Portal (front end) | Portal users | The site your customers, partners or vendors sign in to: viewing records, submitting forms and using the pages you publish. |
In the admin portal, most work happens in two menus:
- Settings: portal setup, such as SMTP, CRM authentication, entity configuration, portal users, roles and integrations.
- Design: the builders for Page Builder, Form Builder, Lists, Menu Builder and Template Builder.
Before you start
- You need the email address registered as the portal admin.
- Have the connection details for your CRM ready, such as the service URL, app ID and client secret. See CRM Connection Requirements for CRMJetty Portal.
- Have the details of the mail account the portal will send email from.
- Self-hosted portals need an SSL certificate. See Cloud vs On-Premise vs Azure Deployment for CRMJetty.
Step 1: Sign in to the admin portal
The first time you sign in, you verify your admin email and set a password.
- On the admin login screen, enter your registered admin email address.
- Select Verify. A “Set Password” link is sent to that email address.
- Open the email and select the link.
- On the Create New Password page, enter your password in New Password and Confirm Password.
- Select Save. You return to the admin login screen.
- Enter your admin email and the new password, then select Login.
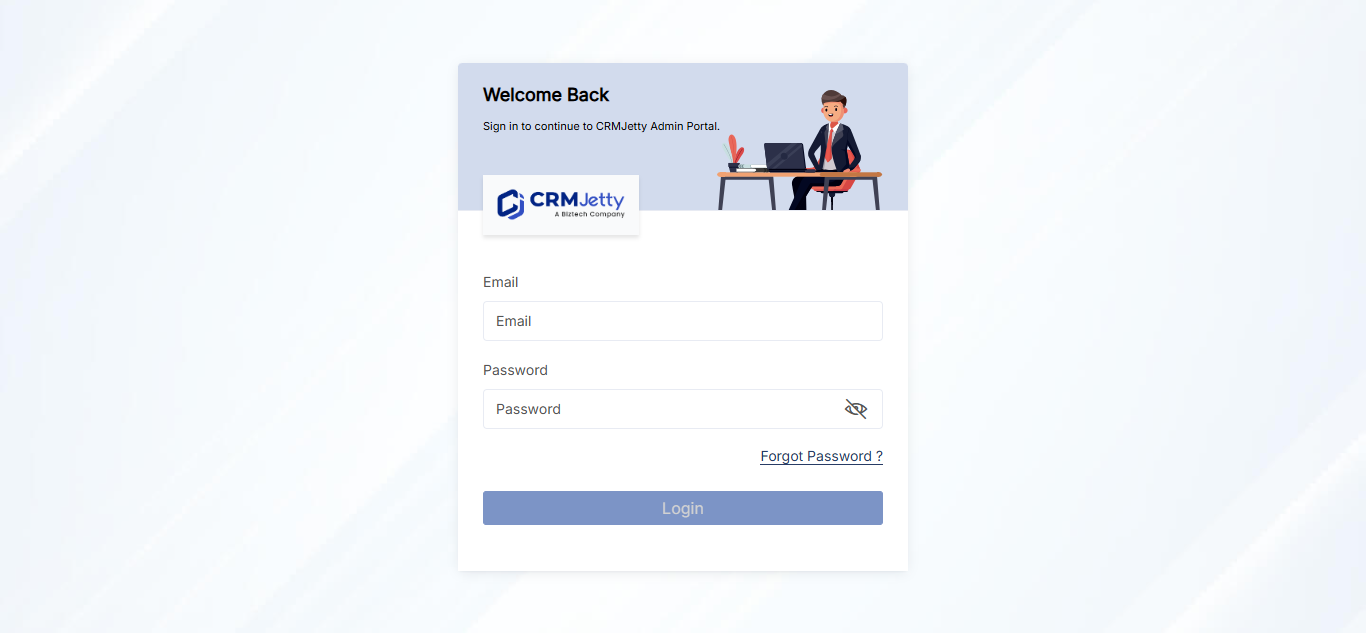
After you sign in, the admin Dashboard opens.
Note: If the “Set Password” email does not arrive, check the email address you entered, or contact the person who manages your CRM.
Tip: If you forget your password later, select Forgot Password on the login page, enter your registered admin email and select Send. A password reset link is sent to that address.
Step 2: Set up SMTP email
Set up email first so the portal can send verification, password and notification emails.
- Go to Settings → Portal Settings → SMTP Settings.
- Select an Authentication Type: Credential/App Password, Google OAuth or Microsoft OAuth.
- Enter your mail server details and select Save.
- Select Send Test Email to confirm the connection.
For every field and the common server settings, see How to Configure SMTP Email in CRMJetty Portal.
Step 3: Connect your CRM
- Go to Settings → Portal Settings → CRM Authentication.
- Enter the OTP sent to your registered email address.
- Enter the connection details for your CRM. The fields differ by CRM; follow the CRM-specific article linked below.
- Select Save, then Test Connection.
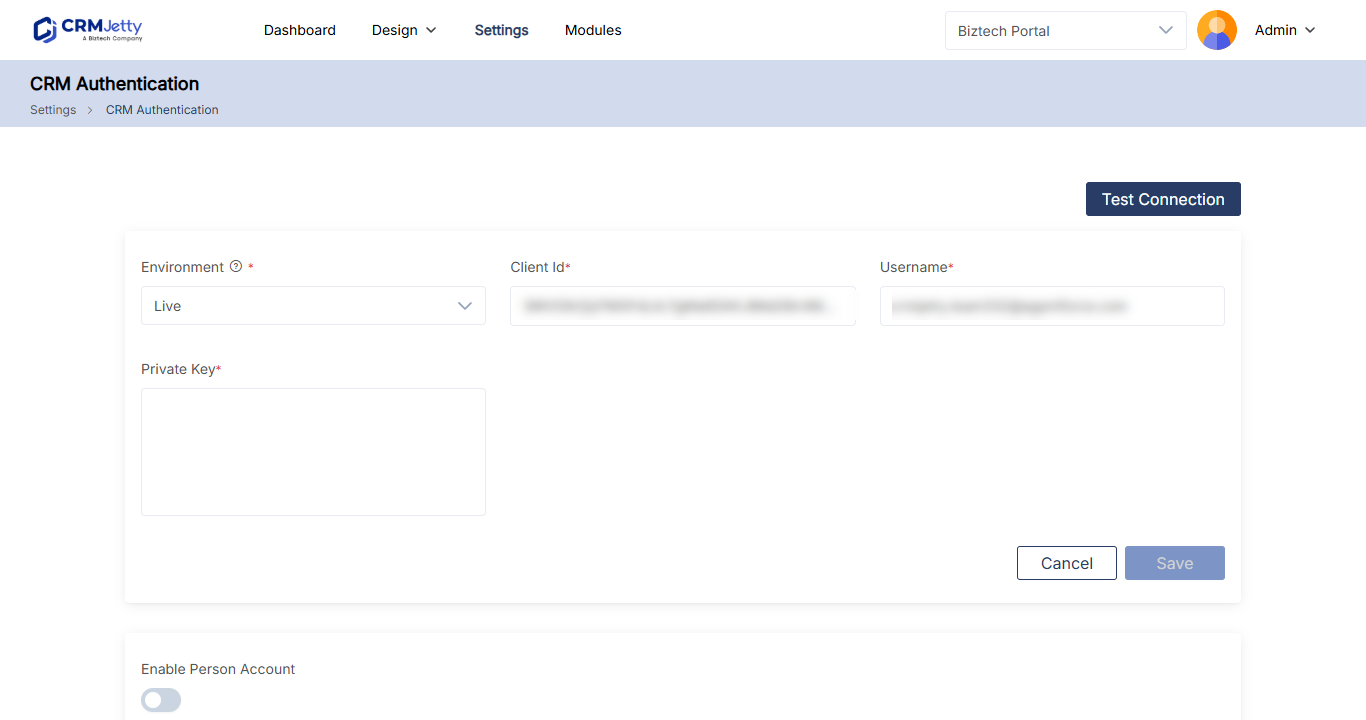
For Business Central, the page is Settings → Portal Settings → Business Central Authentication.
Note: Only the super admin receives the OTP for the CRM authentication screen.
When you connect a CRM to a fresh portal for the first time, the portal creates a starting setup for you:
- A default role connected to contact relations.
- Access to the case entity.
- Default pages, lists and forms, such as Registration, Login and Forgot Password, plus basic create, read, update and delete pages for the entities.
For CRM-specific steps, see How to Connect Dynamics 365 to CRMJetty Portal, Getting Started with Salesforce Customer Portal Setup or How to Connect Business Central to CRMJetty Portal.
Step 4: Enable CRM entities
Choose which entities (Dynamics 365), objects (Salesforce) or tables (Business Central) the portal can use.
- Go to Settings → User Settings → Entity Configurations.
- Drag the entities you need from CRM Entities into Portal Entities.
- Select Save.
See How to Enable CRM Entities and Custom Objects in the Portal. For Business Central, see How to Configure Business Central Table Sync.
Step 5: Set up roles and portal users
- Create or edit roles under Settings → User Settings → Portal User Roles. A Default role already exists, and you can modify it or add new roles.
- Add portal users under Settings → User Settings → Portal User Setup. Portal users can come from CRM contacts, be created in the admin portal, or register through the website. In Business Central, portal users are set up from customers or vendors. See How to Set Up Customers in Business Central Portal.
See How to Create Portal User Roles and Permissions and How to Add Portal Users from CRM Contacts.
Step 6: Design the portal
Use the builders under Design to shape what portal users see:
| Builder | What you build |
|---|---|
| Form Builder | Add, edit and detail forms for CRM entities. |
| Lists | List views of CRM records. |
| Page Builder | Portal pages built from sections, grids and widgets. Forms and lists are added to pages with widgets. |
| Menu Builder | Navigation menus that link to your pages and to external URLs. |
| Template Builder | Reusable page layouts. |
Start with How to Create Pages in CRMJetty Portal.
Use the admin dashboard
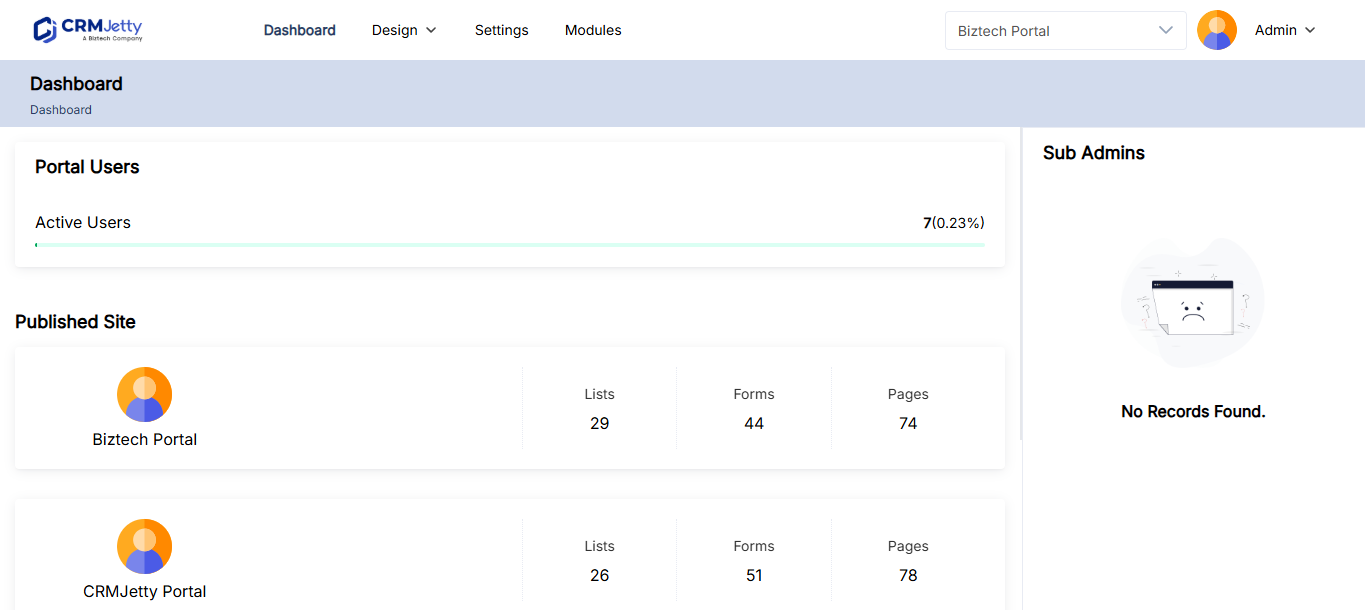
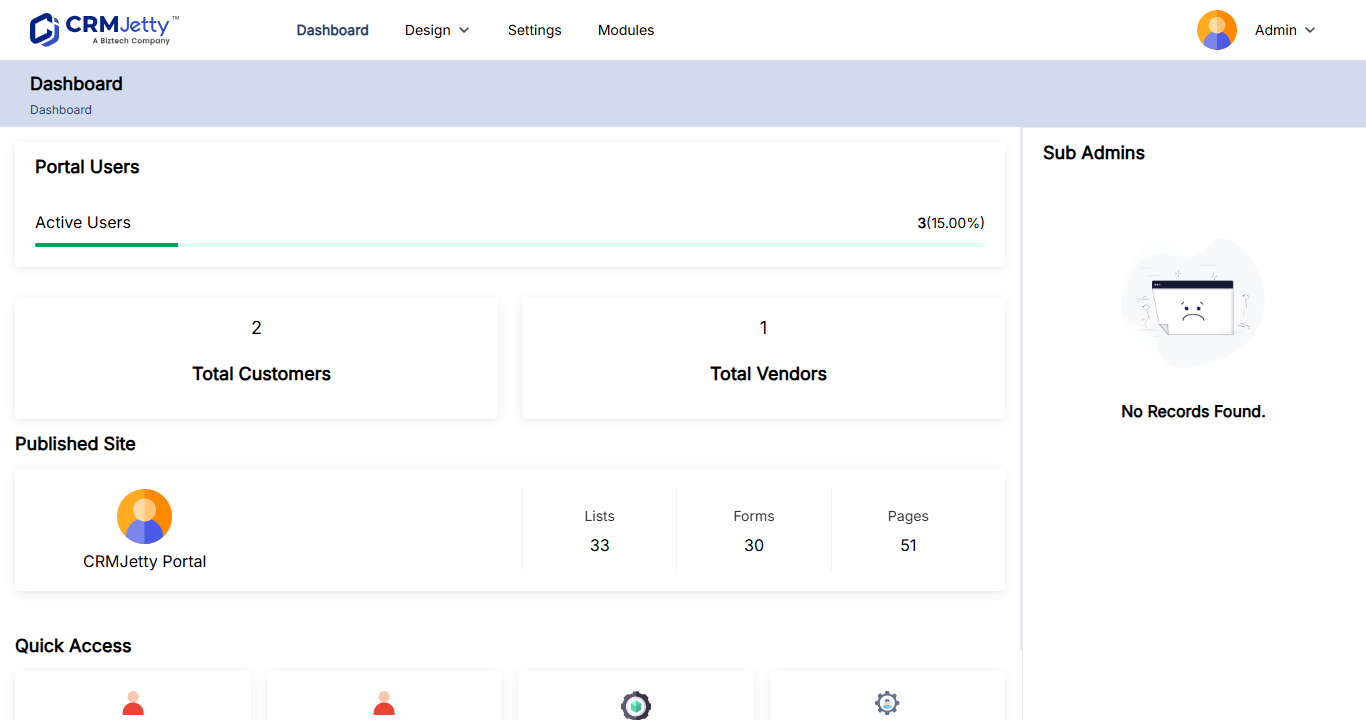
The admin Dashboard shows the current state of your portal:
- Portal Users: the number of active users, with a progress indicator showing the percentage of active users.
- Portal Overview: how many lists, forms and menus the portal has.
- Quick Access: shortcuts to Create New Portal User, Enable New Entity, Create New Role, Generate Credentials, Build A Form, Create New Menu, Create New Page and Create New List.
- Sub Admin: the sub-admins on the portal, or “No Records Found” if there are none.
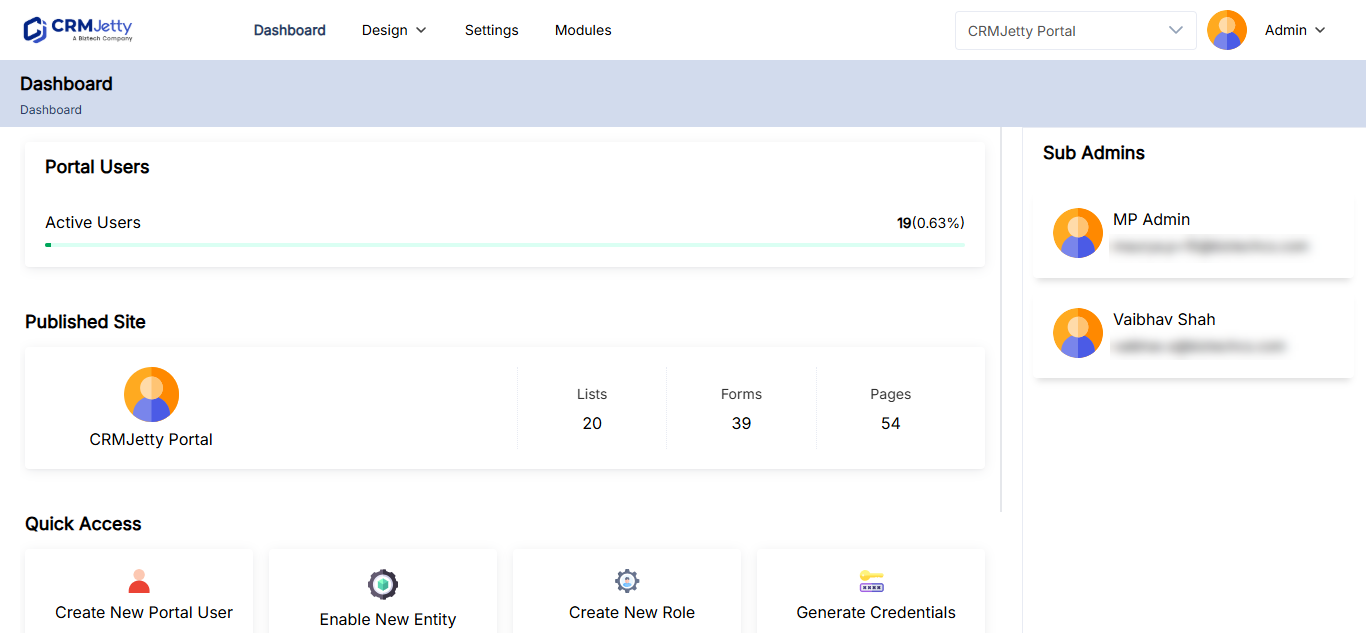
See How to Use the CRMJetty Portal Admin Dashboard.
Related articles
- How to Configure SMTP Email in CRMJetty Portal
- How to Enable CRM Entities and Custom Objects in the Portal
- How to Create Portal User Roles and Permissions
- How to Create Pages in CRMJetty Portal