
How to Create Admin Roles and Permissions
Admin roles control what sub-admins can do in the admin portal. Each role sets which entities and modules a sub-admin can view, and whether they can add, edit, delete, export or import, so you can give each person only the access their job needs.
Note: Admin roles are assigned to sub-admin users. This feature is available on selected plans. See Pricing.
Before you start
- You need super admin access, or a sub-admin role with permission to manage admin roles.
- Admin roles apply only to the admin portal. To control what portal users can see and do, see How to Create Portal User Roles and Permissions.
- The Admin and Sub-Admin roles are available by default.
Create an admin role
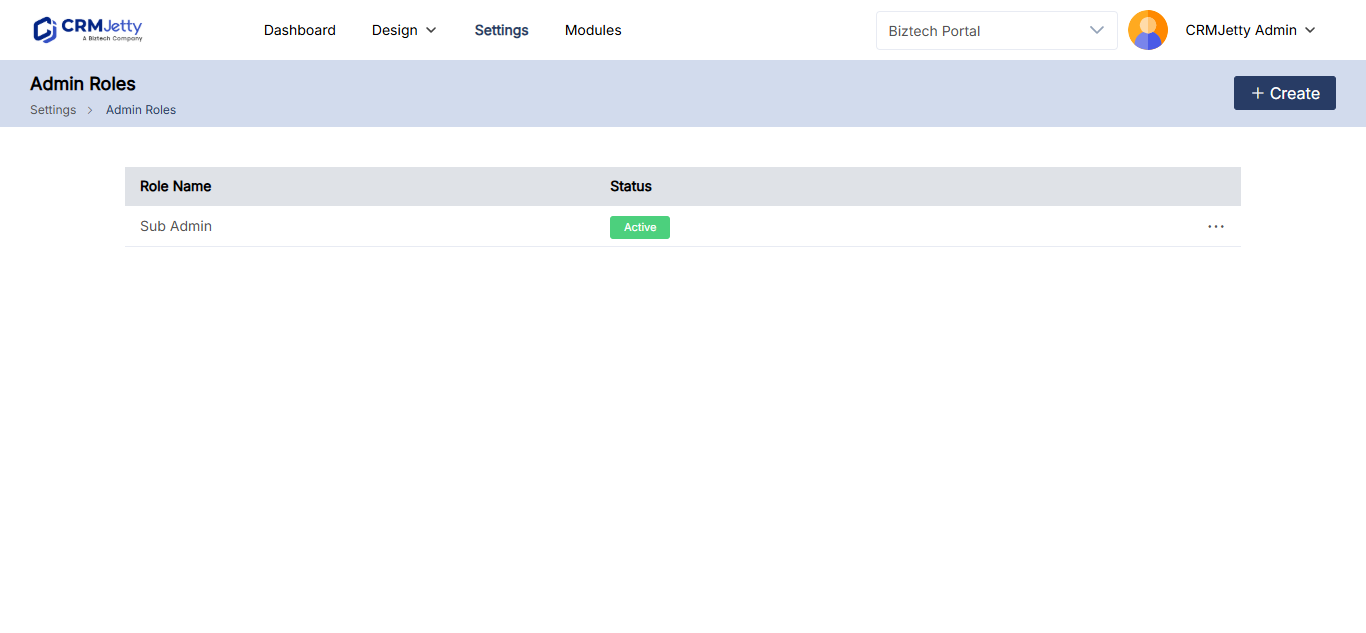
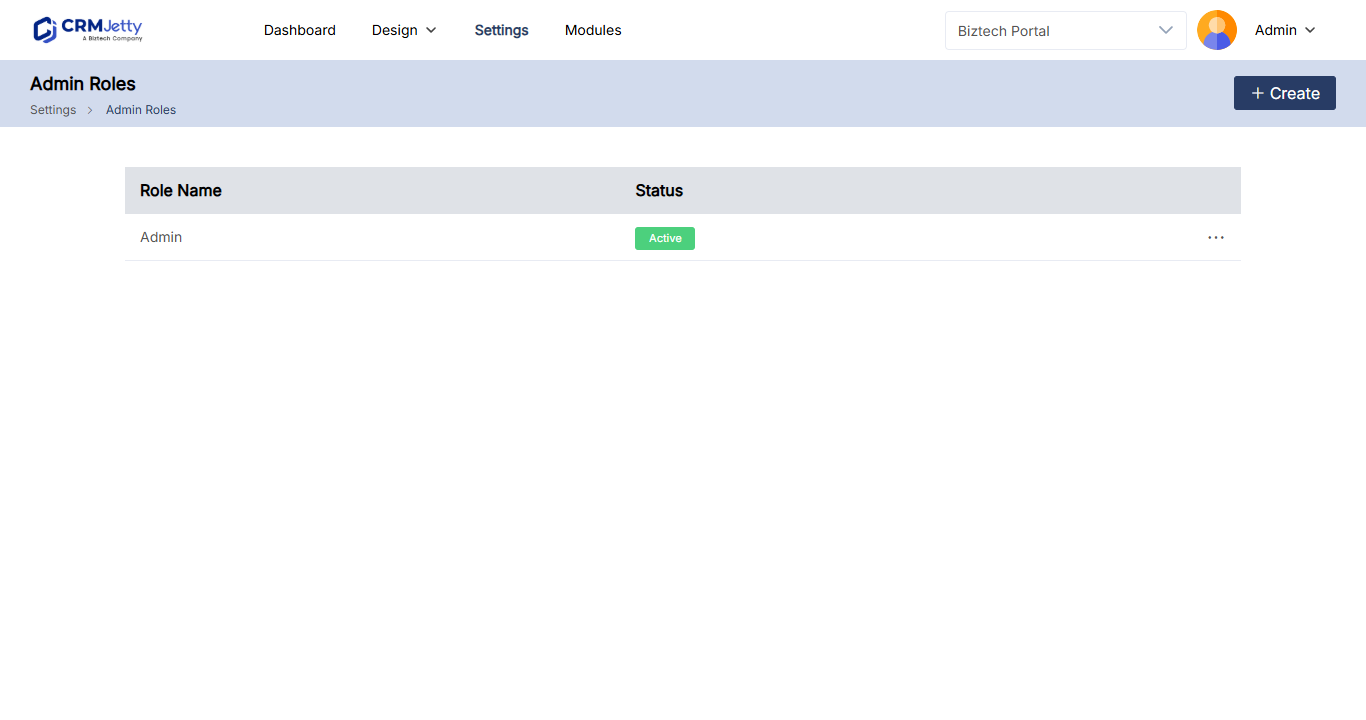
- Go to Settings → User Settings → Admin Roles. The list shows each role’s Role Name and Status.
- Select Create. The Add Role page opens.
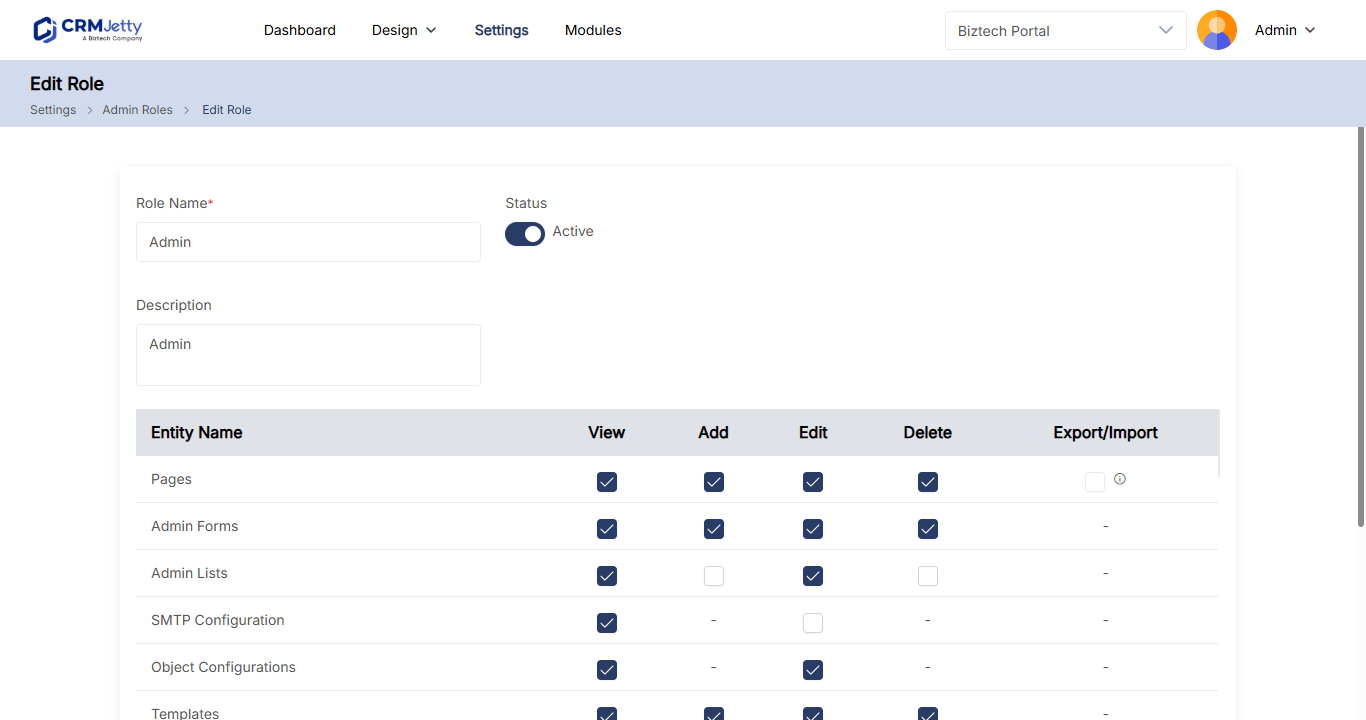
- Enter the role details in the table below.
- Set the permissions (see the next section).
- Select Save.
| Field | What to enter |
|---|---|
| Role Name | A unique name for the sub-admin role. |
| Status | Set the role to Active or Inactive. |
| Description | A short description of the role for future reference. |
Set permissions
In Permissions, select the checkbox for each action a sub-admin with this role can take on each entity:
| Permission | What it allows |
|---|---|
| View | Open and see the entity or module. |
| Add | Create new items. |
| Edit | Change existing items. |
| Delete | Delete items. |
| Export/Import | Export and import items. |
Sub-admins can access only the entities the super admin has allowed in their role.
Tip: Start with View only, then add the actions each person needs. A sub-admin who can add admin users can’t change their own permissions.
Assign the role to a sub-admin
Roles you create here appear in the Roles drop-down when you add or edit an admin user in Settings → User Settings → Admin Users Setup. See How to Add Admin and Sub-Admin Users to the Portal.
Edit an admin role
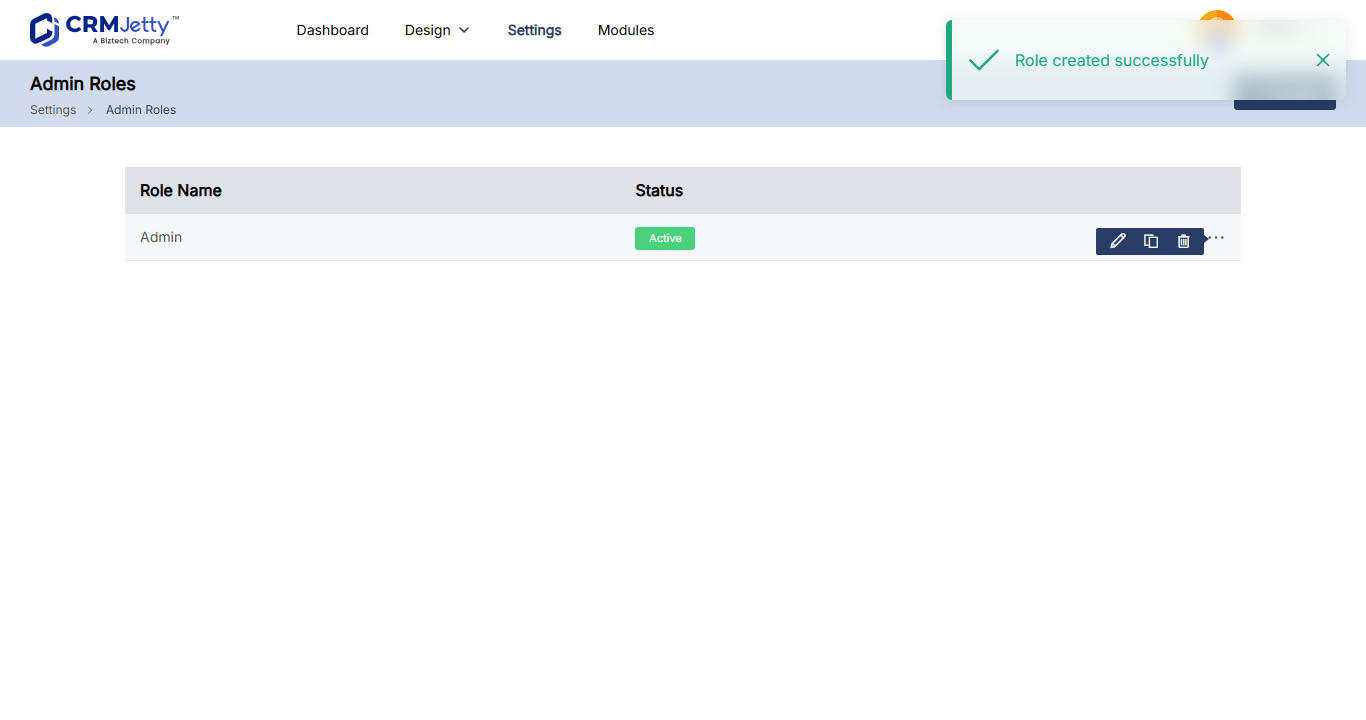
- In Admin Roles, select the three dots (…) next to the role.
- Select the Edit icon. The edit role page opens.
- Change the name, status, description or permissions.
- Select Save.
Delete an admin role
- In Admin Roles, select the three dots (…) next to the role.
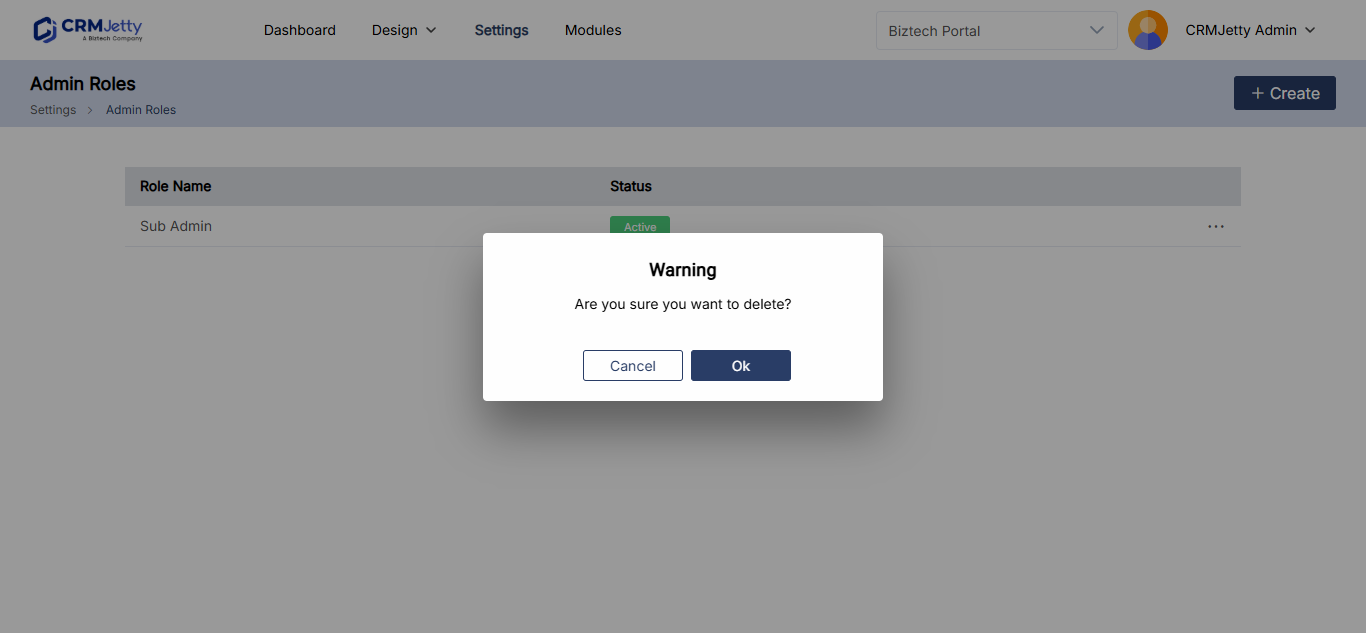
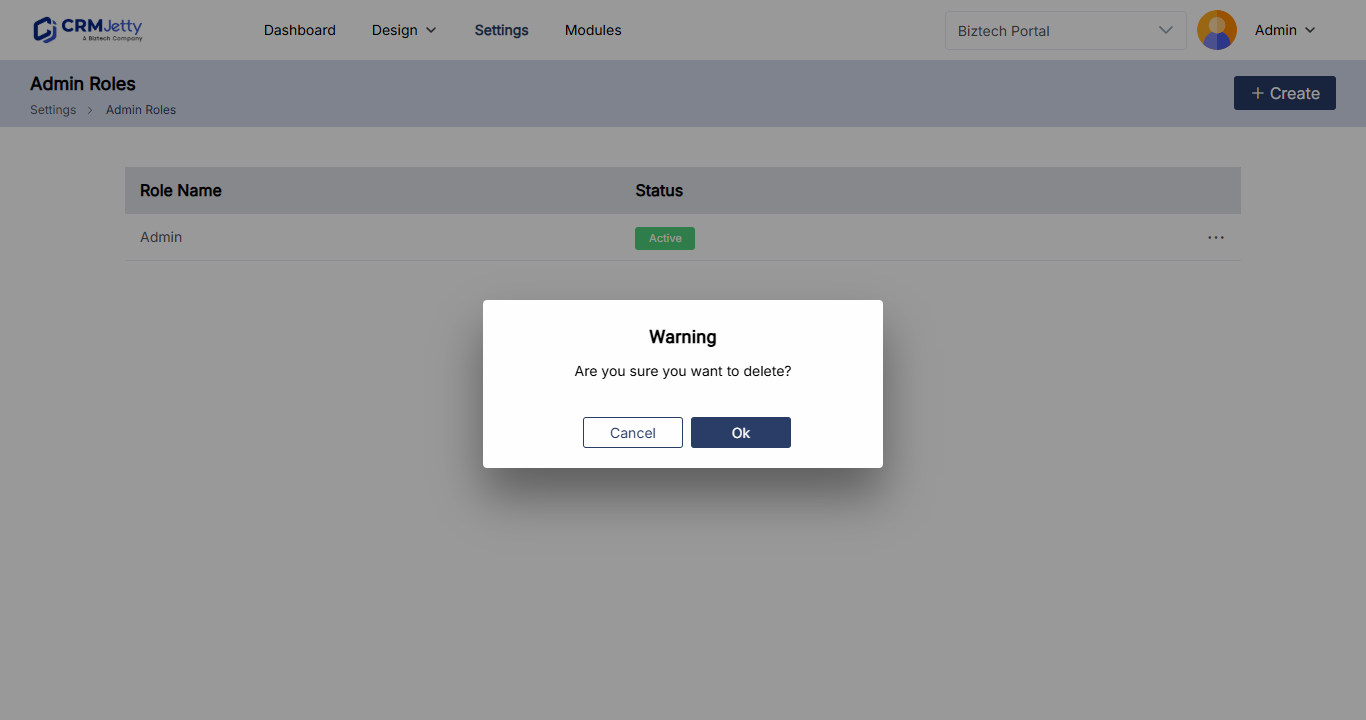
- Select the Delete icon. A pop-up appears.
- Select OK to delete the role permanently, or Cancel to keep it.
Troubleshooting
A sub-admin can’t add new roles: Only the super admin, or a sub-admin whose role gives permission to manage admin roles, can add roles. Edit the sub-admin’s role to add that permission.
A sub-admin can’t see an entity: Edit their role and select View for that entity, then select Save.
Related articles
- How to Add Admin and Sub-Admin Users to the Portal
- How to Create Portal User Roles and Permissions
- Portal Roles vs CRM Roles Explained
- How to Use the CRMJetty Portal Admin Dashboard