
How to Add Custom CSS to CRMJetty Portal
The theme settings cover fonts, colors and menus. When you need more, such as a different card style, extra spacing or a branded section, add custom CSS. The CSS Editor applies your styles across the portal site, and you can target specific sections and widgets with your own HTML classes and IDs.
Before you start
- You need admin access to Settings → Portal Settings.
- Set fonts and colors in the theme settings first; use CSS only for what they don’t cover. See How to Customize Portal Theme Colors and Fonts.
- You need a working knowledge of CSS.
- Keep a copy of your CSS outside the portal so you can restore it if needed.
Add CSS in the CSS Editor
- Go to Settings → Portal Settings → Site Management.
- Open the site you want to style for editing.
- Open CSS Editor.
- Add or paste your CSS.
- Adjust the class names and CSS properties to the sections you want to change.
- Select Save.
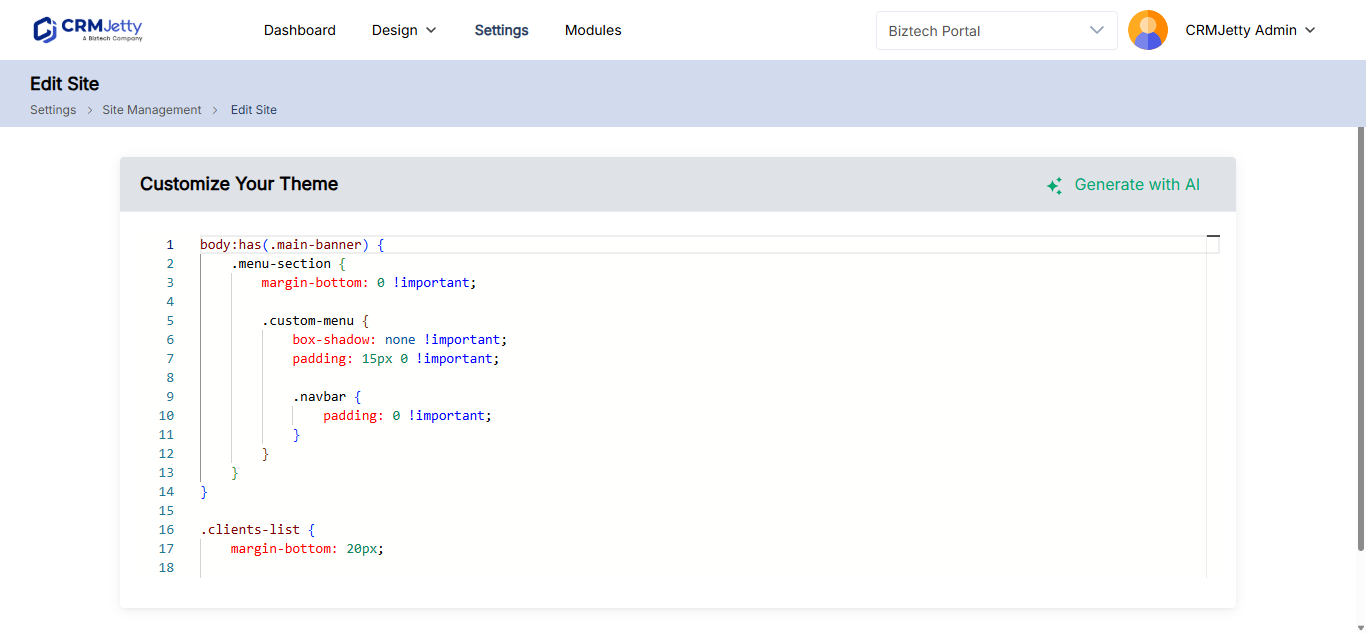
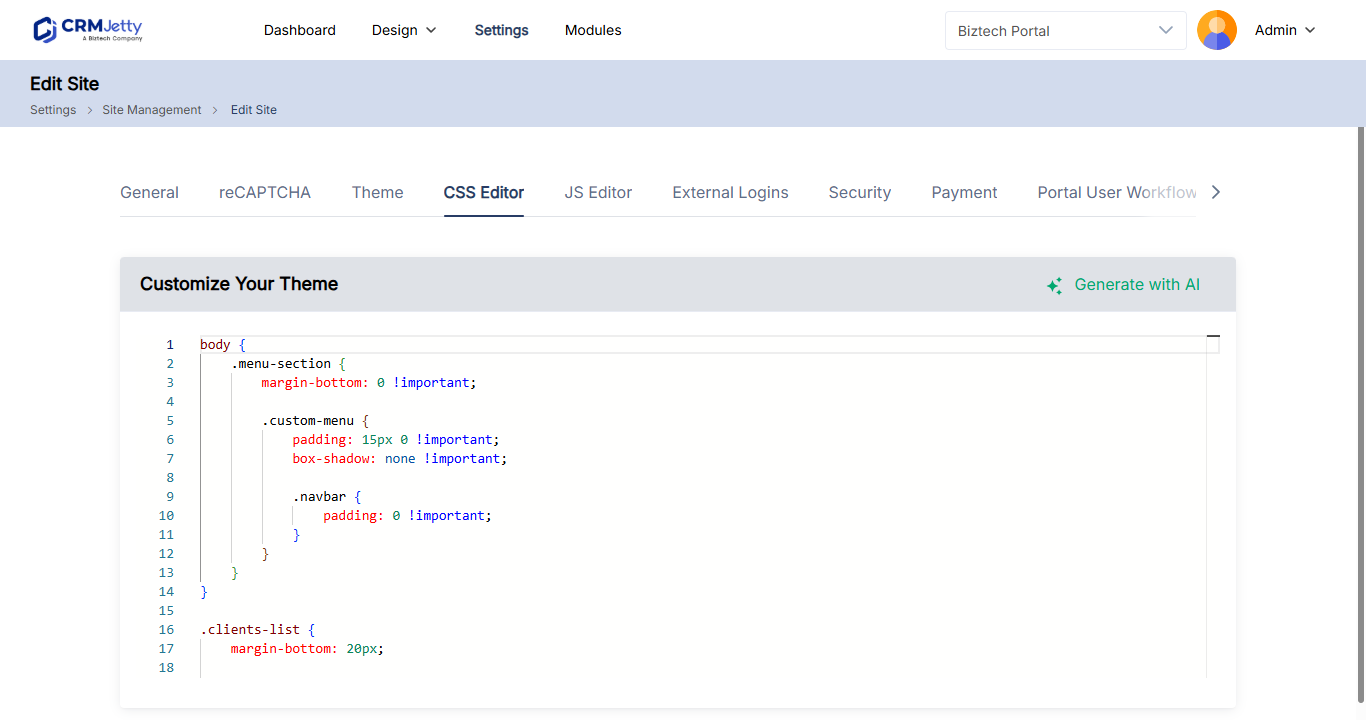
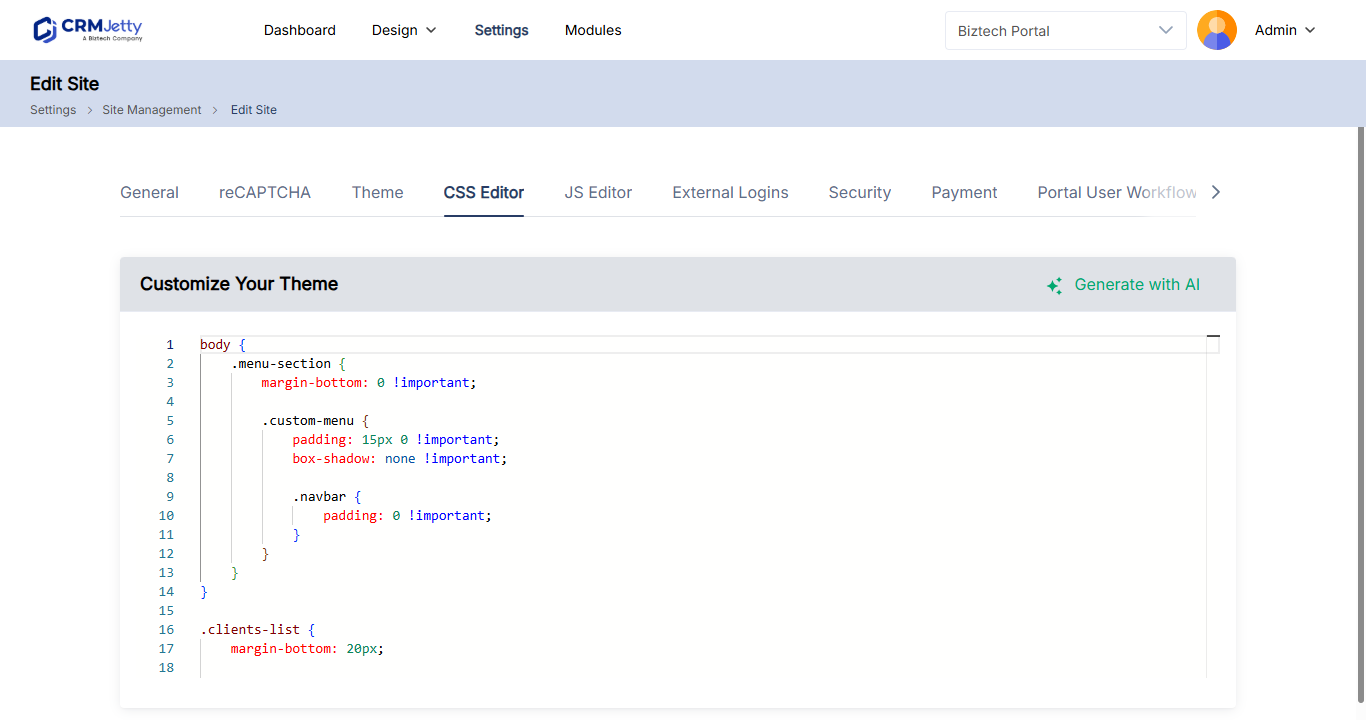
Open the portal and check your changes on the pages they affect. If you run several sites, add the CSS to each site that needs it. See How to Create and Manage Multiple Portal Sites.
Target a section or widget with your own class or ID
Give the element a class or ID in Page Builder, then use it in your CSS. This is more reliable than targeting the portal’s built-in class names.
- In Design → Page Builder, edit the page.
- Select the Settings icon on the section or widget.
- Enter an HTML Class, an HTML ID, or both.
- Select Save, then publish the page.
- Add CSS for that class or ID in the CSS Editor.
| Setting | How to use it |
|---|---|
| HTML Class | One or more classes, separated by commas. Reuse a class on several elements on the same page. |
| HTML ID | A unique ID for one element per page. The portal adds the prefix custom- automatically, so the ID welcome becomes custom-welcome. |
Important: Do not use spaces in classes and IDs. If you need special characters, use only hyphens (
-) or underscores (_).
For example, if you give a section the class promo-panel and a widget the ID welcome:
.promo-panel {
  background-color: #f4f7fb;
  border-radius: 8px;
  padding: 24px;
}

#custom-welcome h2 {
  font-size: 28px;
}
For more, see How to Add Custom HTML IDs and CSS Classes to Widgets.
Tip: Change one thing at a time and check the result in the portal before you add more. If a page looks wrong after a change, remove the last rule you added and save again.
Add custom JavaScript
To change behavior rather than style, use the code editor of a page, form or list. See How to Add Custom JavaScript to the Portal.
Troubleshooting
Your CSS has no effect: Check that you saved in the CSS Editor of the right site, that the class or ID in your CSS matches the one in Page Builder (including the custom- prefix for IDs), and that the page is published. Then reload the portal page, clearing the browser cache if needed.
Related articles
- How to Customize Portal Theme Colors and Fonts
- How to Add Custom HTML IDs and CSS Classes to Widgets
- How to Add Custom JavaScript to the Portal
- How to Create Pages in CRMJetty Portal