
How to Create Portal User Roles and Permissions
Portal user roles control what portal users can see and do. Each role sets which CRM entities are visible and whether users can add, edit or delete records, so you can give different departments or customer types the access they need.
Before you start
- You need admin access to the CRMJetty admin portal.
- Enable the CRM entities you want to share in the portal first. Only portal entities appear in the role’s permission list.
- Portal user roles are managed only in the CRMJetty admin portal. Roles and users in your CRM have no effect on portal user roles, and you can’t create or edit portal roles from your CRM.
- You can create unlimited roles. The number of portal users depends on your plan. See CRMJetty Plans and Feature Availability.
Note: Portal user roles are different from admin roles. To control what sub-admins can do in the admin portal, see How to Create Admin Roles and Permissions.
Create a role
- Go to Settings → User Settings → Portal User Roles.
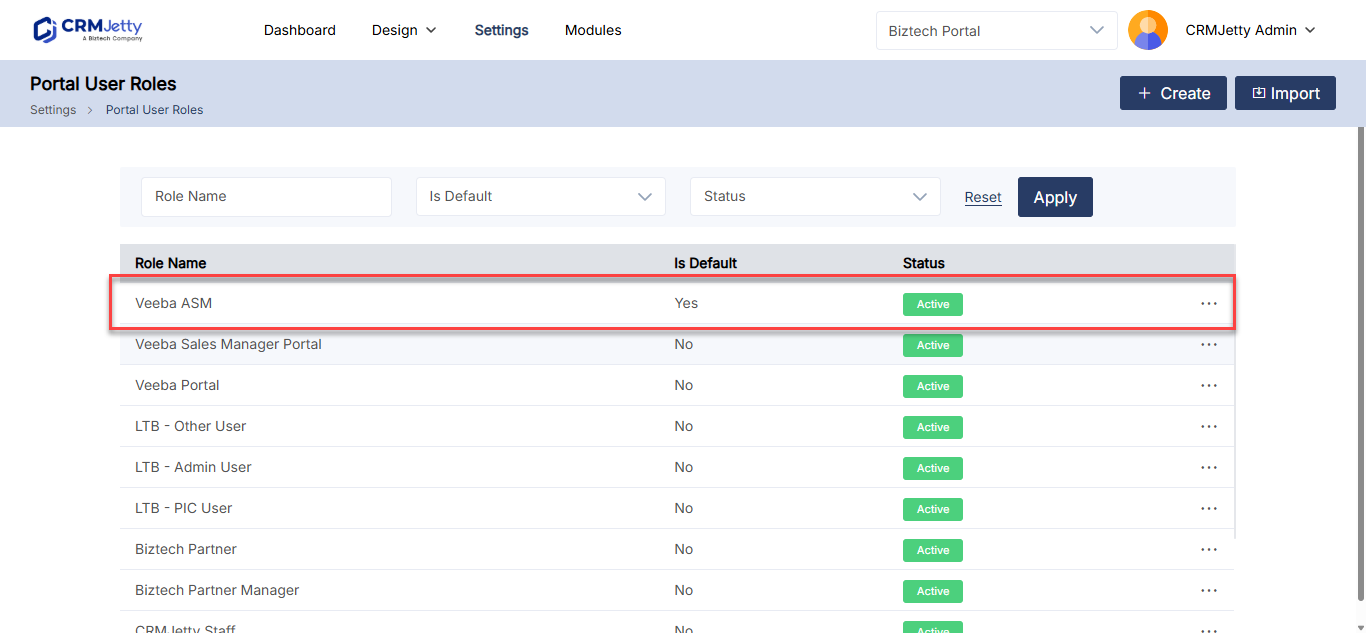
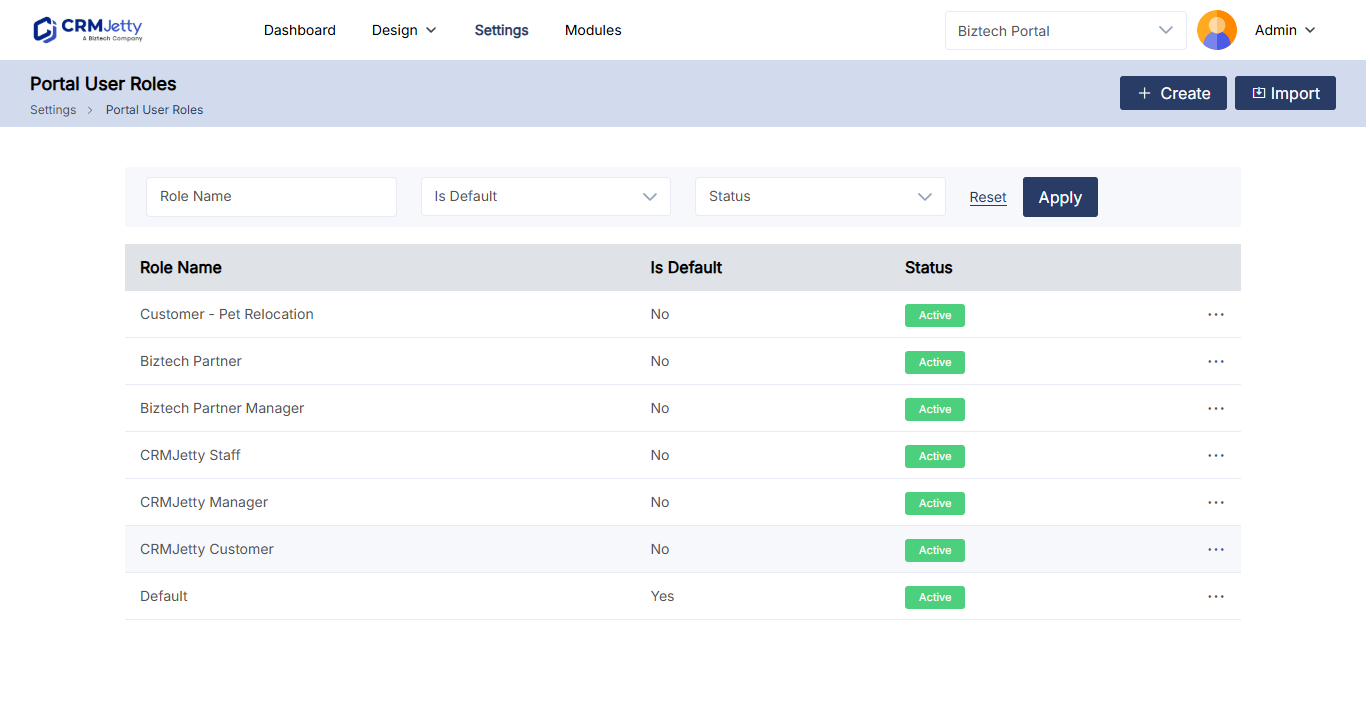
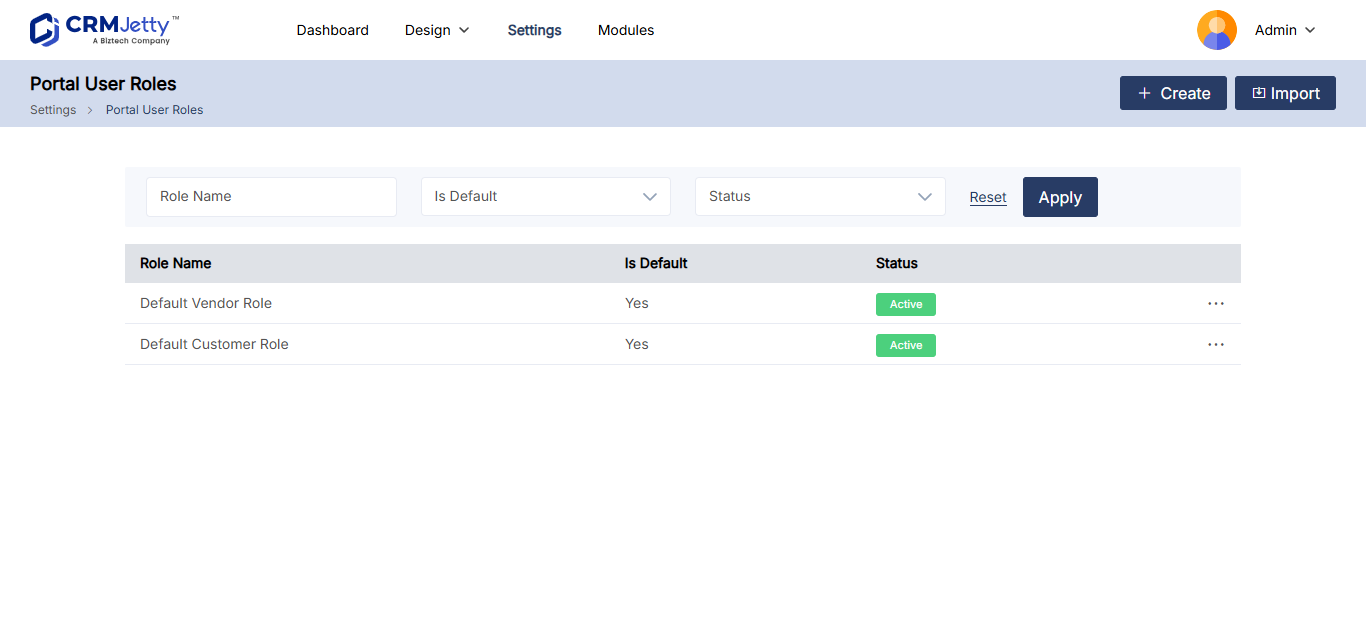
- Review the role list. It includes a pre-existing Default role with standard permissions, which you can modify.
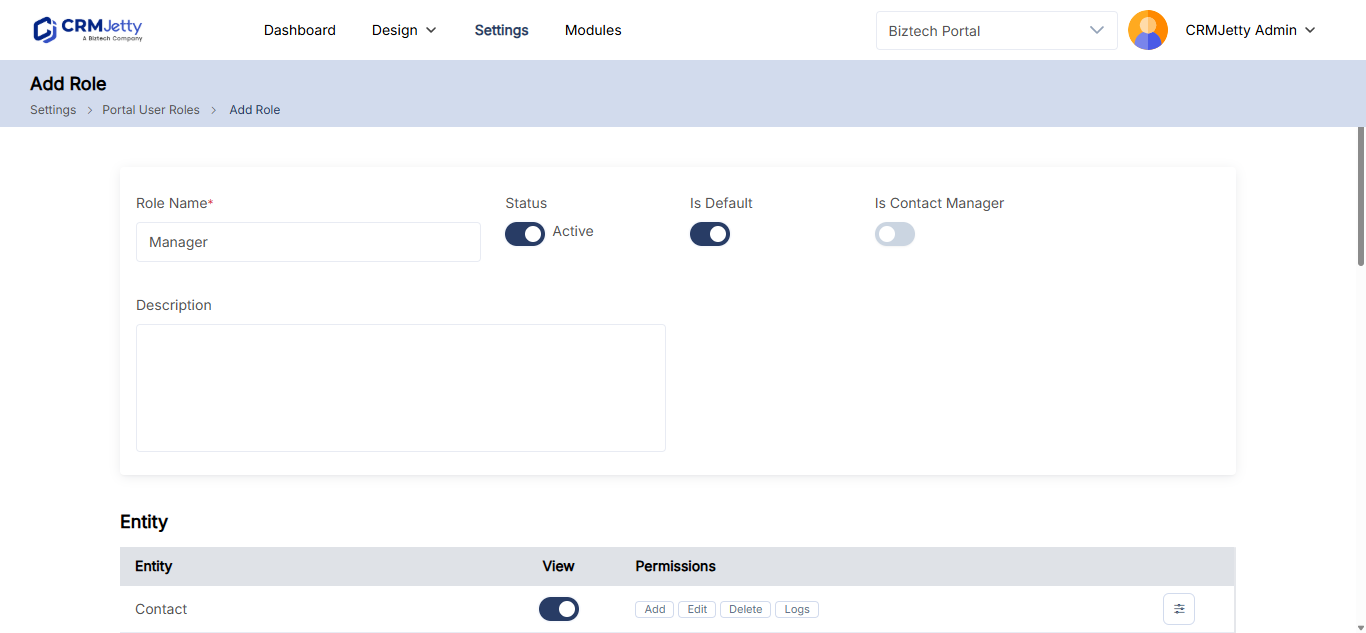
- Select Create. The Add Role page opens.
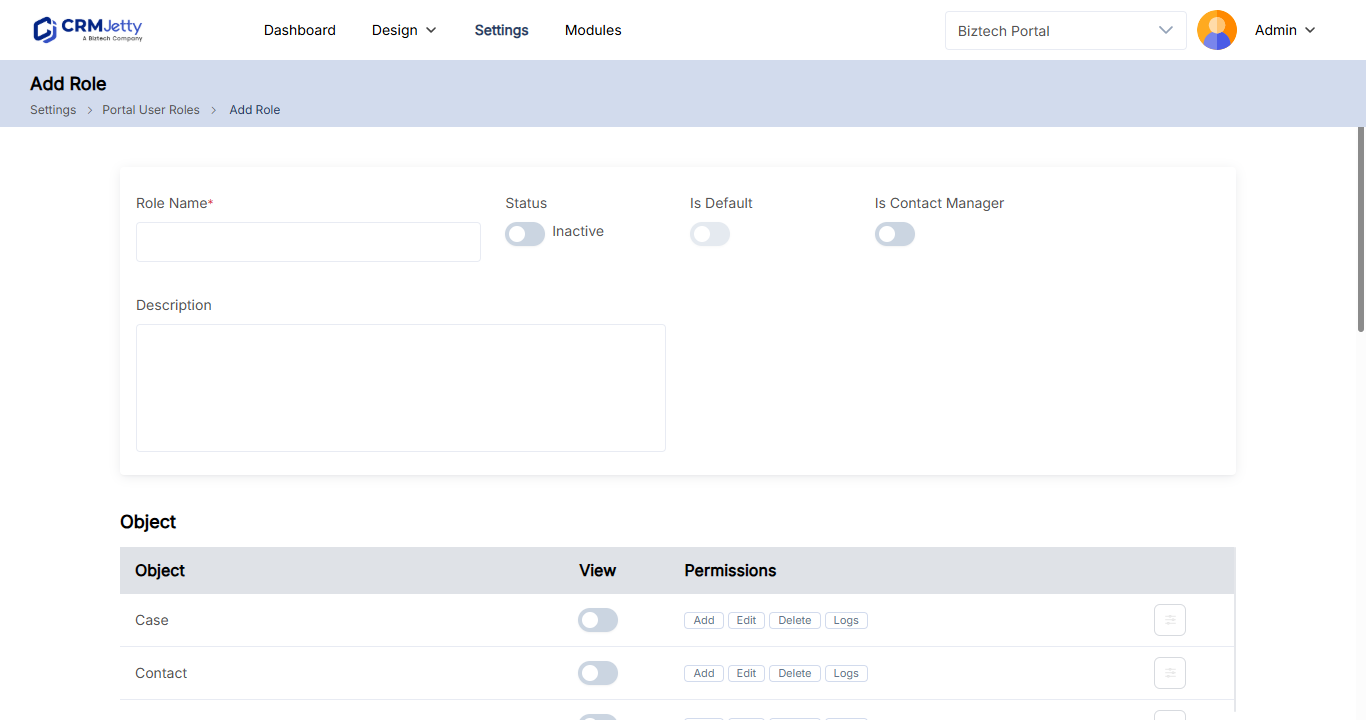
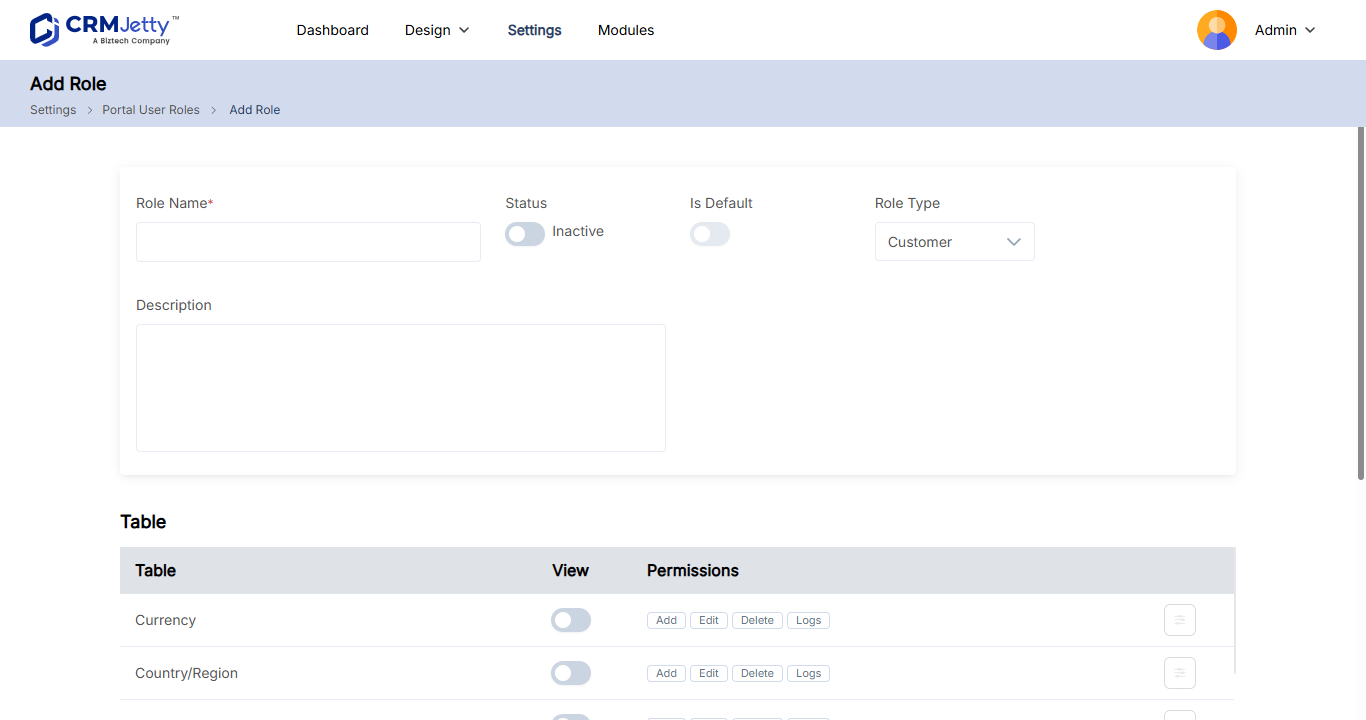
- Enter the role details (see the table below).
- Set the entity permissions (see the next section).
- Select Save.
| Field | What it does |
|---|---|
| Role Name | The name of the role. |
| Status | Set the role to active or inactive. |
| Is Default | Turn on to make this the default role for new portal users. Only one role can be the default at a time. |
| Is Contact Manager | Turn on to designate users with this role as Contact Managers in the portal. |
| Description | A short description of the role. |
Set entity permissions
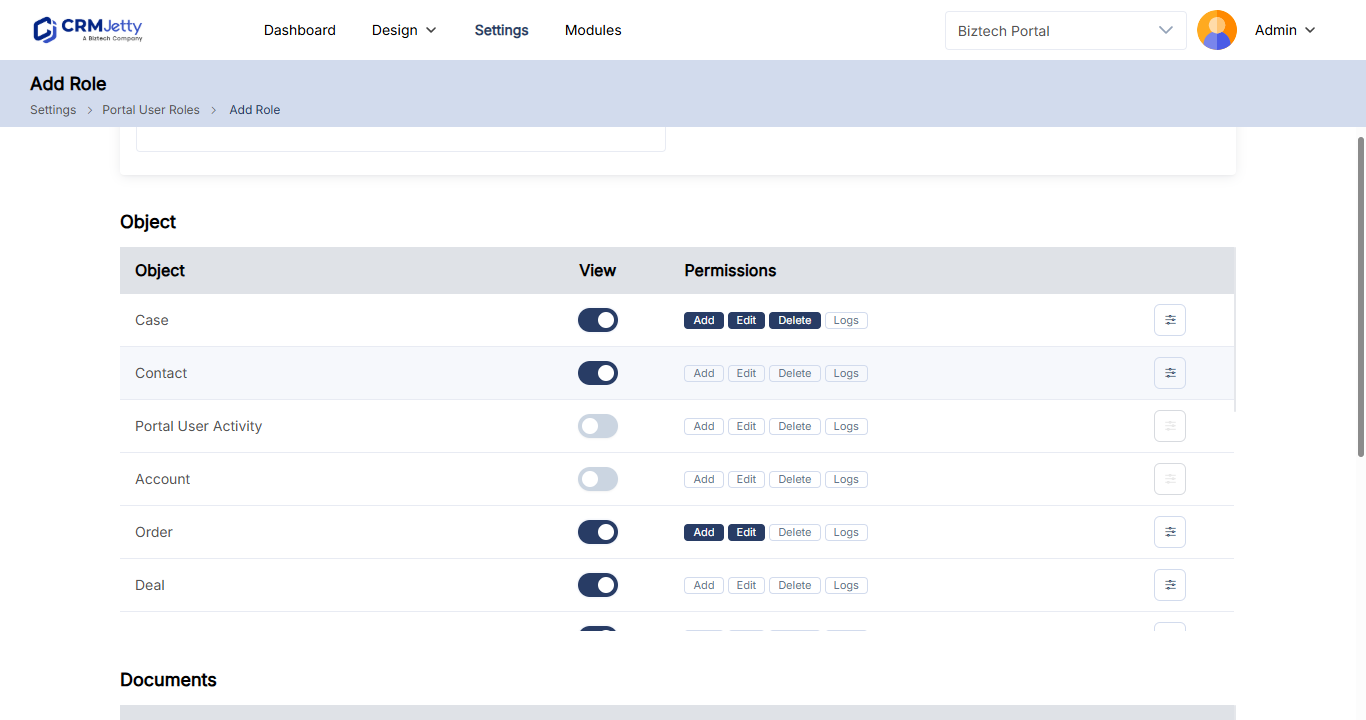
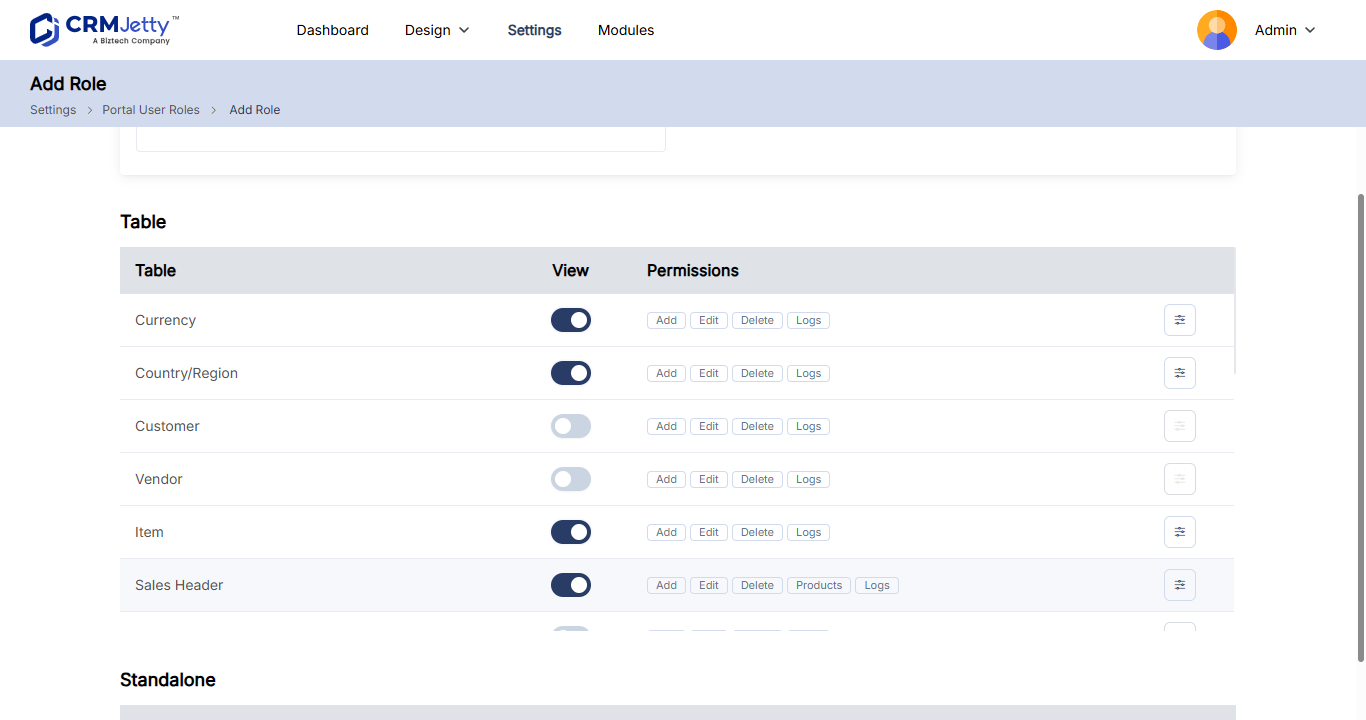
The Entity Permissions section lists your portal entities. For each entity, set the following:
| Setting | What it does |
|---|---|
| Entity name | The CRM portal entity name (read-only). |
| View | Lets portal users see this entity. View must be selected before you can select the other permissions. |
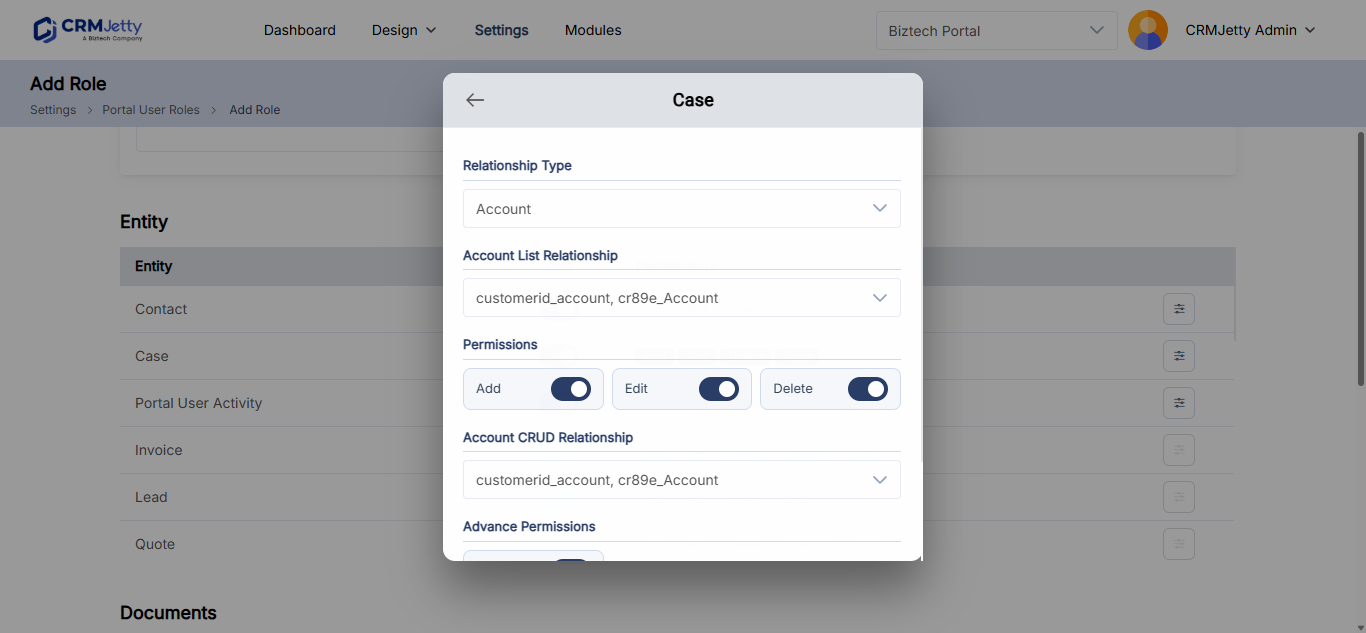
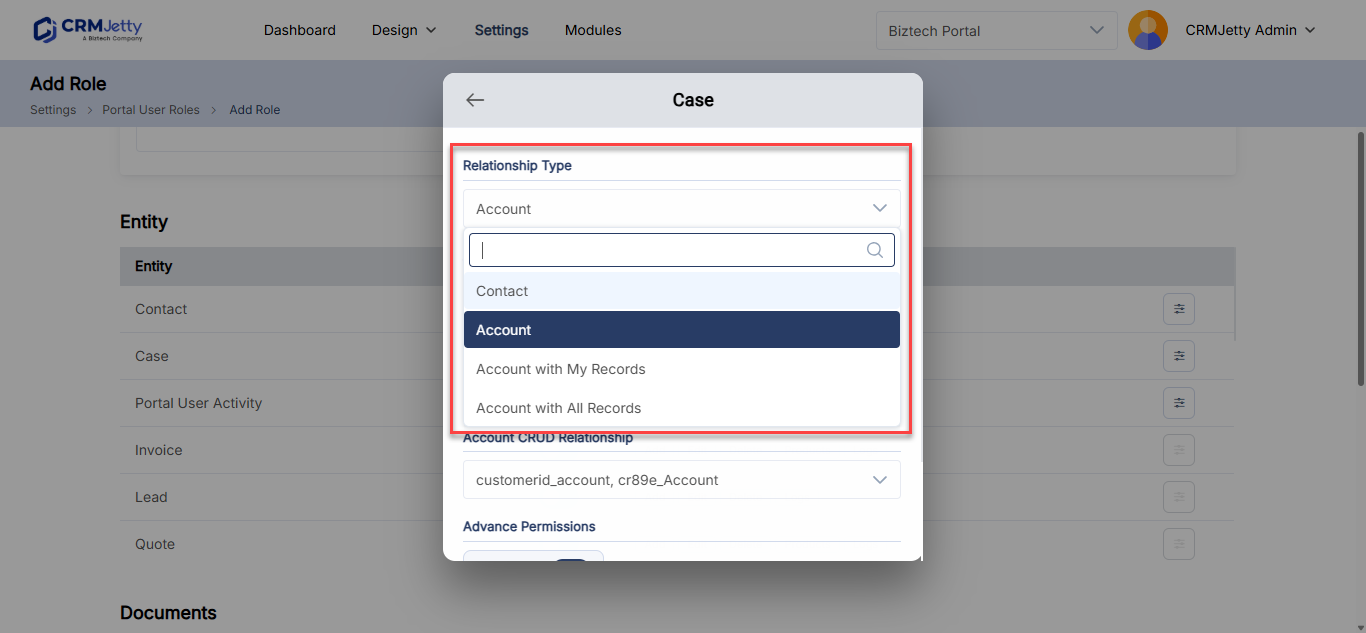
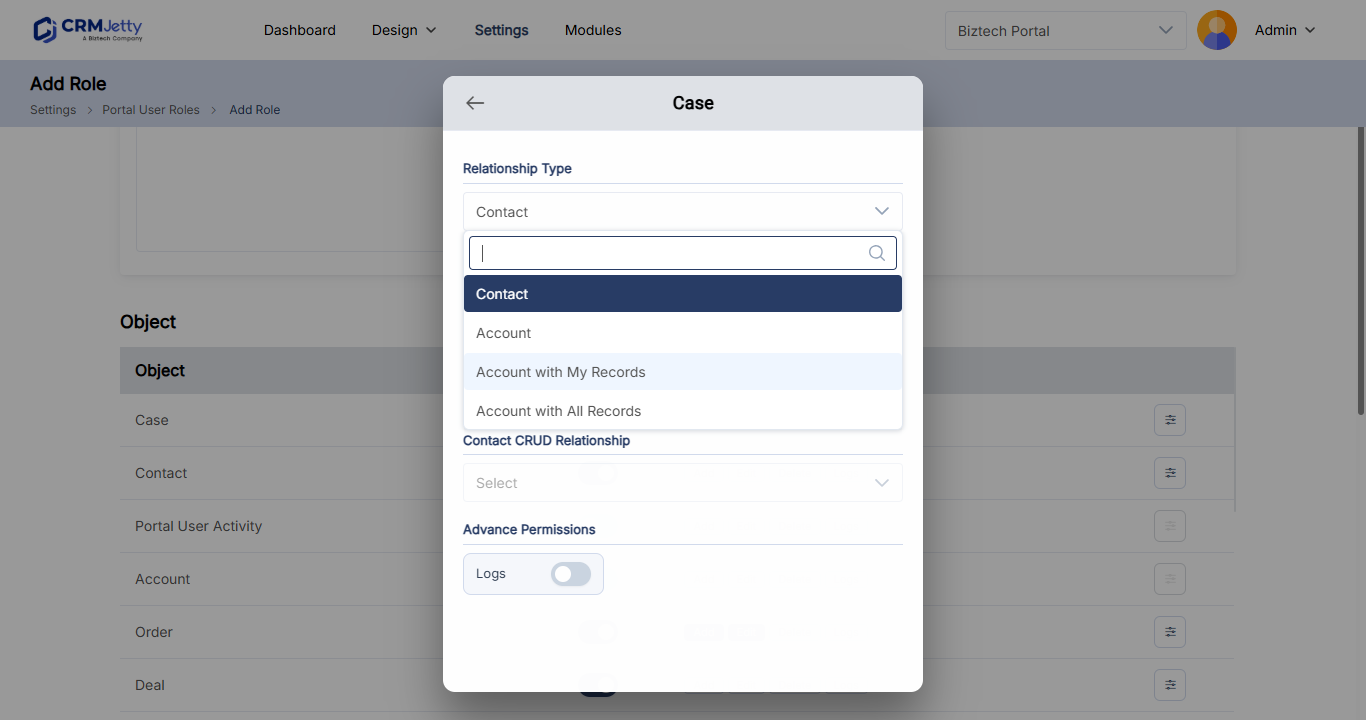
| Relationship Type | How the portal user is connected to the records, which sets which records they can access (see below). |
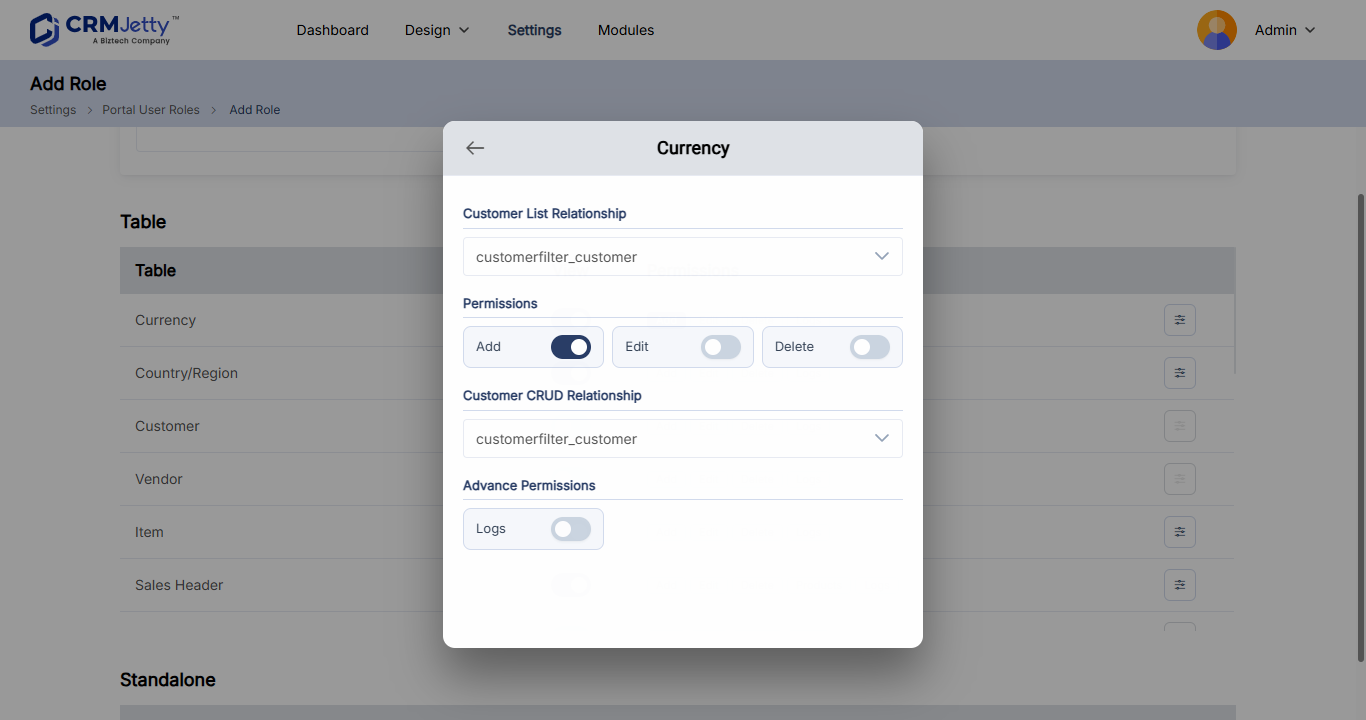
| Add | Lets portal users add records. |
| Edit | Lets portal users edit records. |
| Delete | Lets portal users delete records. |
| Enable Product | Lets portal users perform product-related actions, for example on Order and Quote entities. |
| Enable Hierarchy | Gives portal users hierarchical permissions. |
| Enable Logs | Records logs for this permission. |
Relationship types
The relationship type uses the relationship created in your CRM between the contact or account and the entity.
| Relationship type | Portal users can access |
|---|---|
| Contact | Only records related to their own contact profile. |
| Account | Records tied to their associated account. |
| Account with My Records | Their own records within the associated account. |
| Account with All Records | All records within their associated account, including other users’ records. |
- Contact relationship limits access to records linked directly to the portal user’s contact, for personalized data access.
- Account relationship gives access to data for the user’s whole account, which can include records linked to other users of that account.
Note: In Business Central, portal users are linked to customers or vendors. The relationship types available depend on your connected system.
Document permissions (SharePoint, Dynamics 365)
If you have authenticated SharePoint in the portal, you can also manage document sharing rights for the role:
- Turn on Document Access to let portal users add files and folders from the portal.
- Turn on Delete to let portal users delete documents.
Note: For Dynamics 365, entities enabled for SharePoint in your CRM are listed in the Documents section.
Edit a role
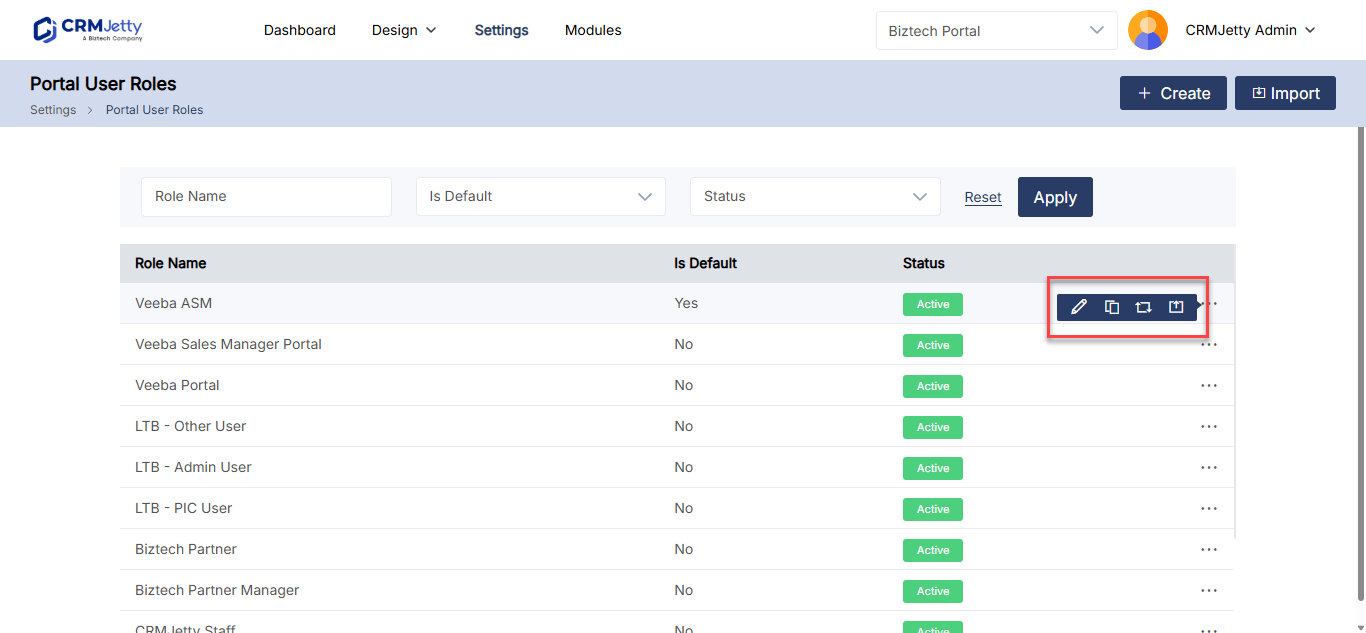
- In Portal User Roles, select the three dots (…) next to the role.
- Select the Edit icon.
- Update the details and permissions.
- Select Save.
Delete a role
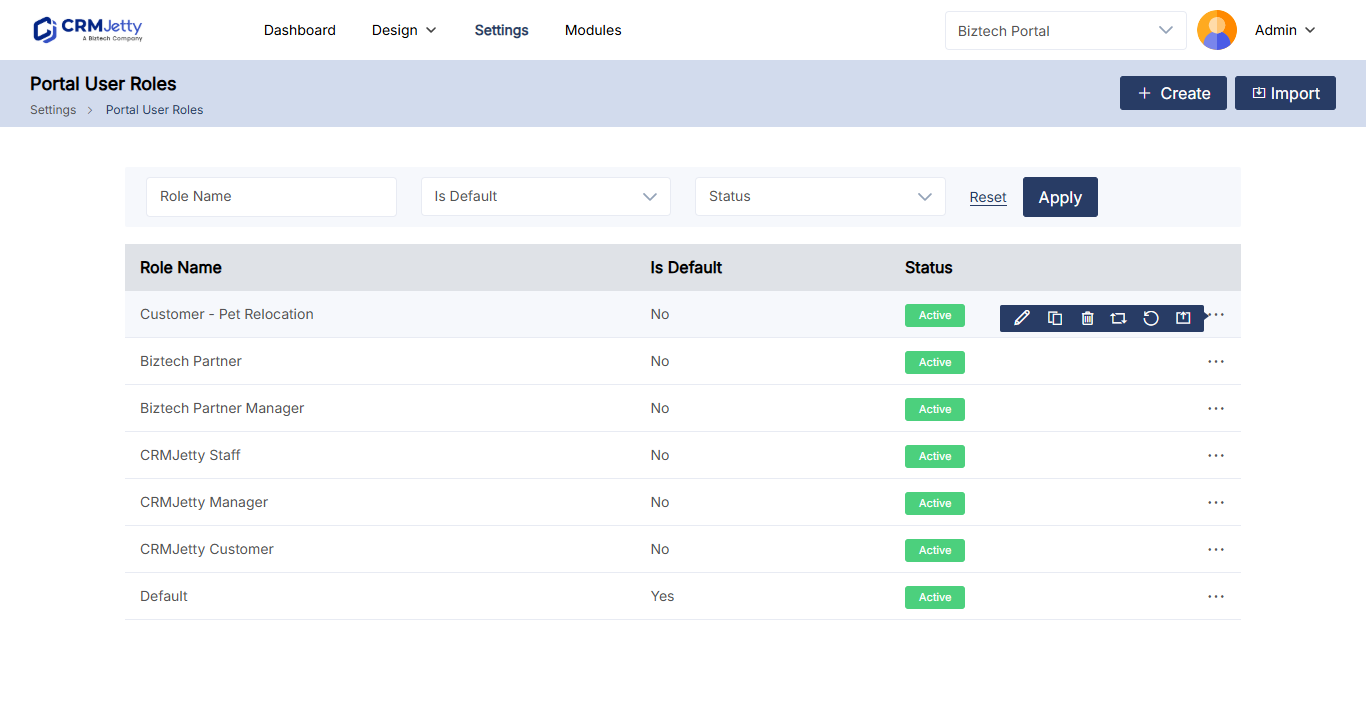
- In Portal User Roles, select the three dots (…) next to the role.
- Select Delete. A warning message appears.
- Select OK to permanently delete the role.
Note: You can’t delete the default role.
Other role actions
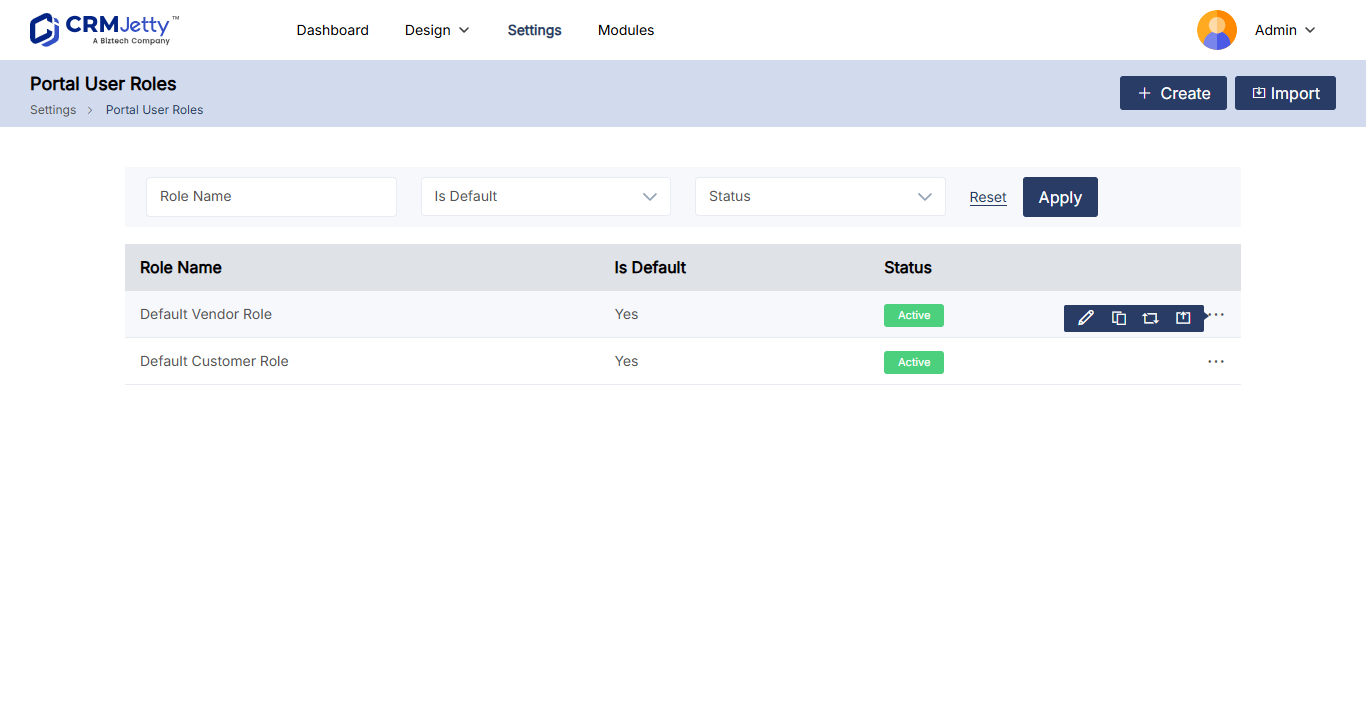
The three dots (…) menu next to each role also has these options:
| Option | What it does |
|---|---|
| Replace Role | Opens a pop-up where you select another role. The new role replaces the current one for all contacts (portal users) who have it. |
| Default Role | Makes this role the default. Select OK in the warning pop-up to confirm, or Cancel to keep the current default. The role then shows Is Default as Yes. |
| Export | Exports the role with its Role ID, Role Name and Permissions (for example Add, Edit, Delete, List). |
Related articles
- How to Set a Default Role for New Portal Users
- How to Set Add, Edit and Delete Permissions by Role
- How to Assign Roles to Portal Users in Bulk
- How to Give Portal Users Account-Level Record Access
- Portal Roles vs CRM Roles Explained