
How to Switch the Portal Between Sandbox and Live CRM
The portal can connect to two types of CRM environment: Live, your production environment with real data and transactions, and Sandbox, a test environment where you can develop and test without affecting live data. You choose the environment in the CRM authentication settings.
Before you start
- You need super admin access to the admin portal. Only the super admin receives the OTP that opens the CRM Authentication page.
- Have the connection details for the environment you are switching to. See CRM Connection Requirements for CRMJetty Portal.
- To test against a sandbox, create one in your CRM first. See How to Create a Dynamics 365 Sandbox for Portal Testing or How to Create a Salesforce Sandbox for Portal Testing.
- SMTP must be working, because the OTP is sent by email. See How to Configure SMTP Email in CRMJetty Portal.
Live and Sandbox environments
| Environment | What it is | Use it for |
|---|---|---|
| Live | Your production CRM, where real data and transactions occur. | The portal your portal users work in every day. |
| Sandbox | A test copy of your CRM, separate from live data. | Building and testing pages, forms, lists and workflows before you release them. |
For Salesforce, the Environment setting (called Mode in older versions) follows your Salesforce org: choose Sandbox when you connect to a Salesforce sandbox org.
Steps
- Sign in to the admin portal.
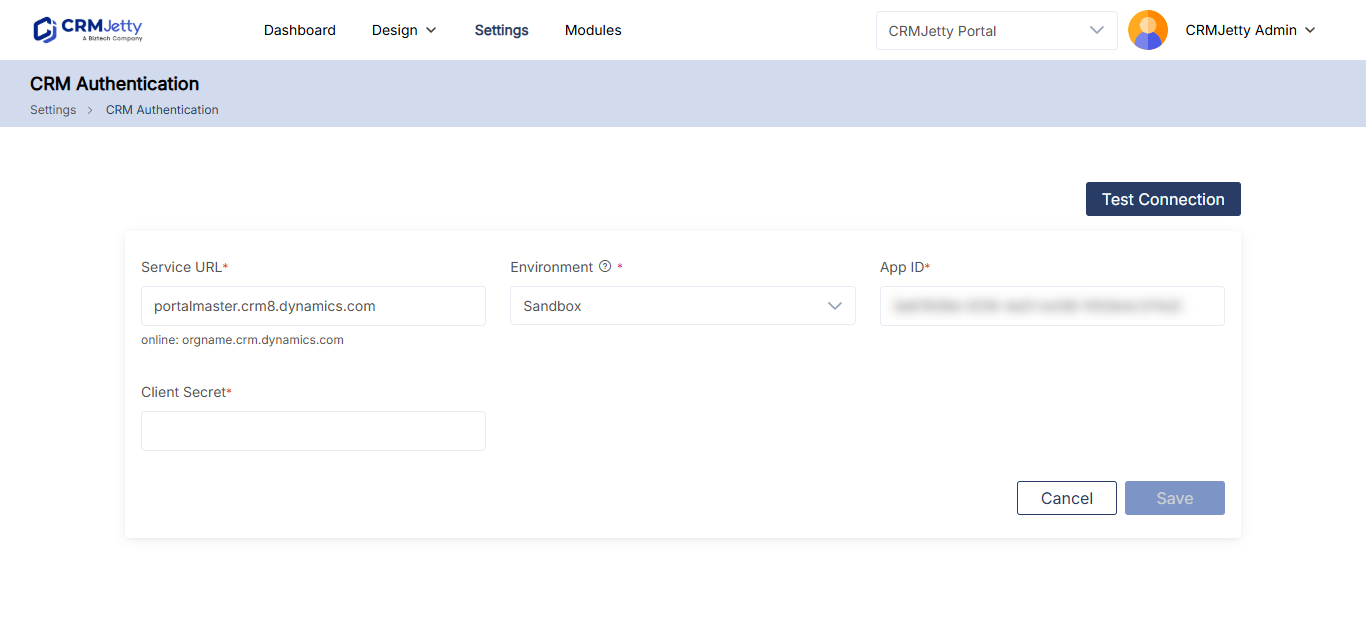
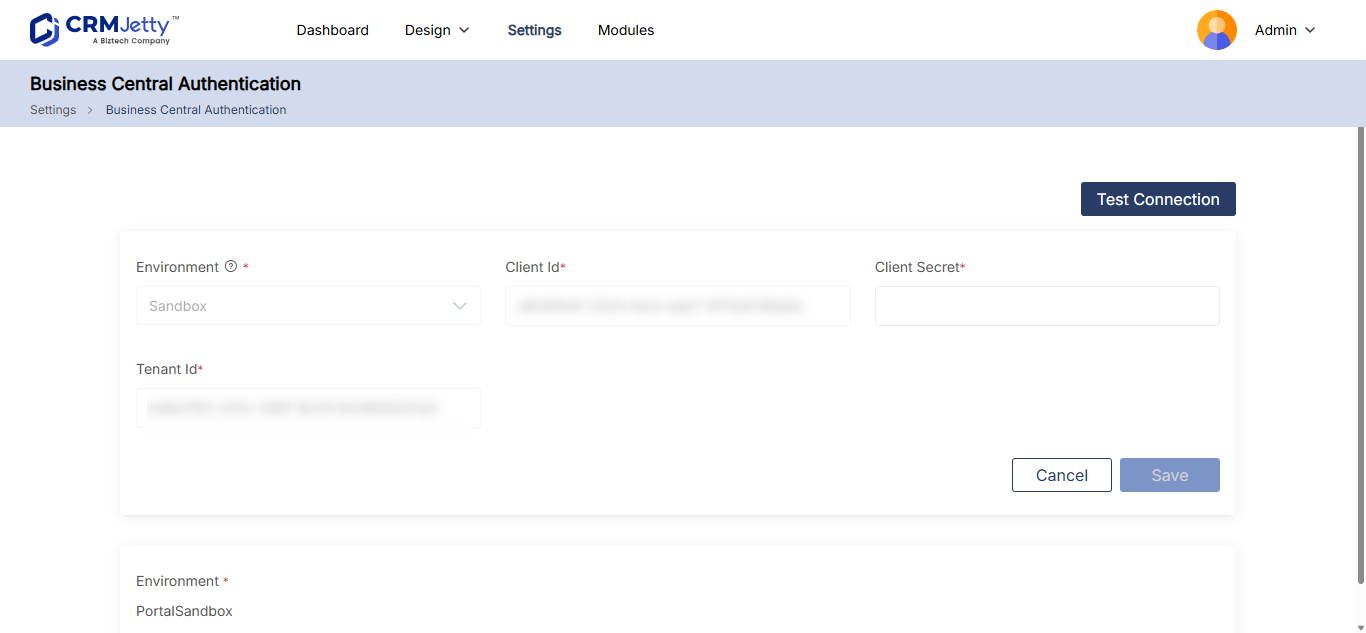
- Go to Settings → Portal Settings → CRM Authentication. For Business Central, go to Settings → Portal Settings → Business Central Authentication.
- Enter the OTP sent to the super admin’s registered email address.
- In Environment, select Live or Sandbox.
- Enter the connection details for that environment (see the table below).
- Select Save.
| System | Connection details |
|---|---|
| Dynamics 365 | Service URL, App ID and Client Secret |
| Salesforce | The connected app and user details for that org. See How to Find Your Salesforce Consumer Key and Secret. |
| Business Central | Client ID, Client Secret and Tenant ID |
Test the connection
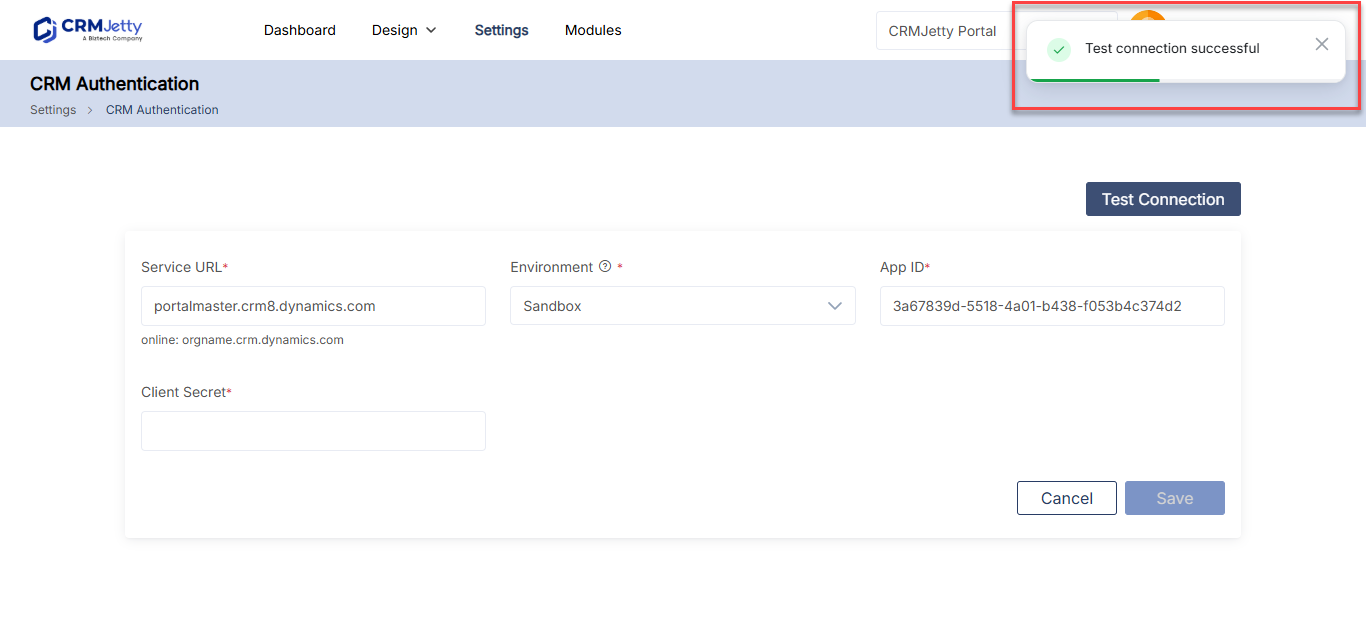
- On the CRM Authentication page, select Test Connection.
- Check the connection status on the right side of the page.
If the connection succeeds, a success message appears. If it fails, check that Environment and all the connection details belong to the same CRM environment.
Important: Connecting the portal to a different CRM changes the data behind your pages, forms and lists. If a CRM is already connected and you change it, or change the Service URL or organization, a warning asks you to choose Preserve Data or Reset Data. Reset Data removes all pages, forms, lists, templates and site configuration. Read How to Preserve or Reset Portal Data After Reconnecting before you switch a portal that is already in use.
Separate sandbox and live portal instances
Some deployments run two portal instances, one connected to the sandbox CRM and one to the live CRM. You manage each instance separately from its own domain. To copy configuration such as pages, forms, lists and menus from one instance to the other, see How to Sync Portal Changes from Sandbox to Live.
Troubleshooting
Test Connection fails after switching: The details still belong to the previous environment. Re-enter the connection details for the environment selected in Environment, select Save and test again. If it still fails, ask the person who manages your CRM to confirm the details.
You don’t receive the OTP: Only the super admin receives the OTP, at their registered email address. Check that SMTP is configured and send a test email.
Related articles
- How to Create a Dynamics 365 Sandbox for Portal Testing
- How to Create a Salesforce Sandbox for Portal Testing