
How to Display a Picklist Field as a Progress Bar
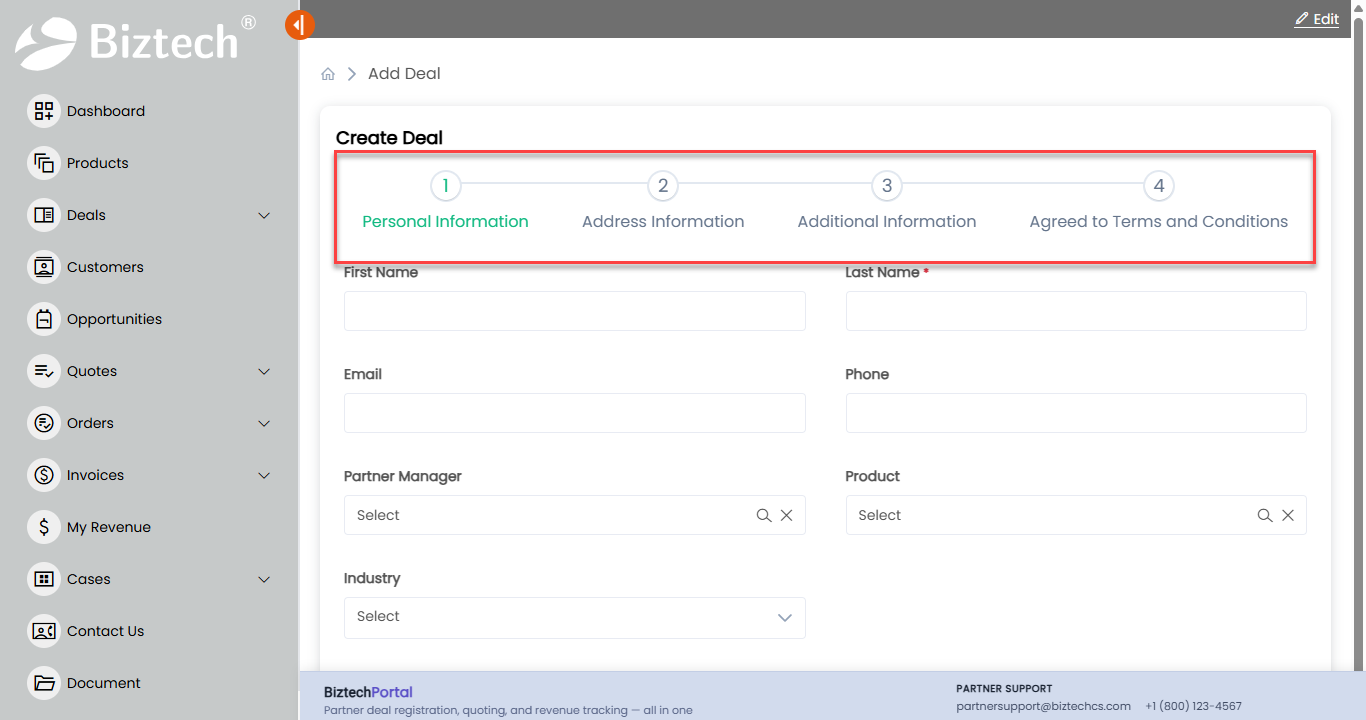
A progress bar shows the value of a dropdown field as a row of stages, for example the status of a case or the stage of an opportunity. Portal users see at a glance where a record stands and can move it to another stage by selecting it.
Before you start
- You need admin access to the CRMJetty admin portal.
- The progress bar works with dropdown-type fields, such as picklist, state and status fields.
- The field must be on the form. See How to Create a Portal Form for Any CRM Entity.
Steps
- Go to Design → Form Builder.
- Select Edit on the form.
- Select the Settings icon on the dropdown field. The Field Configuration panel opens.
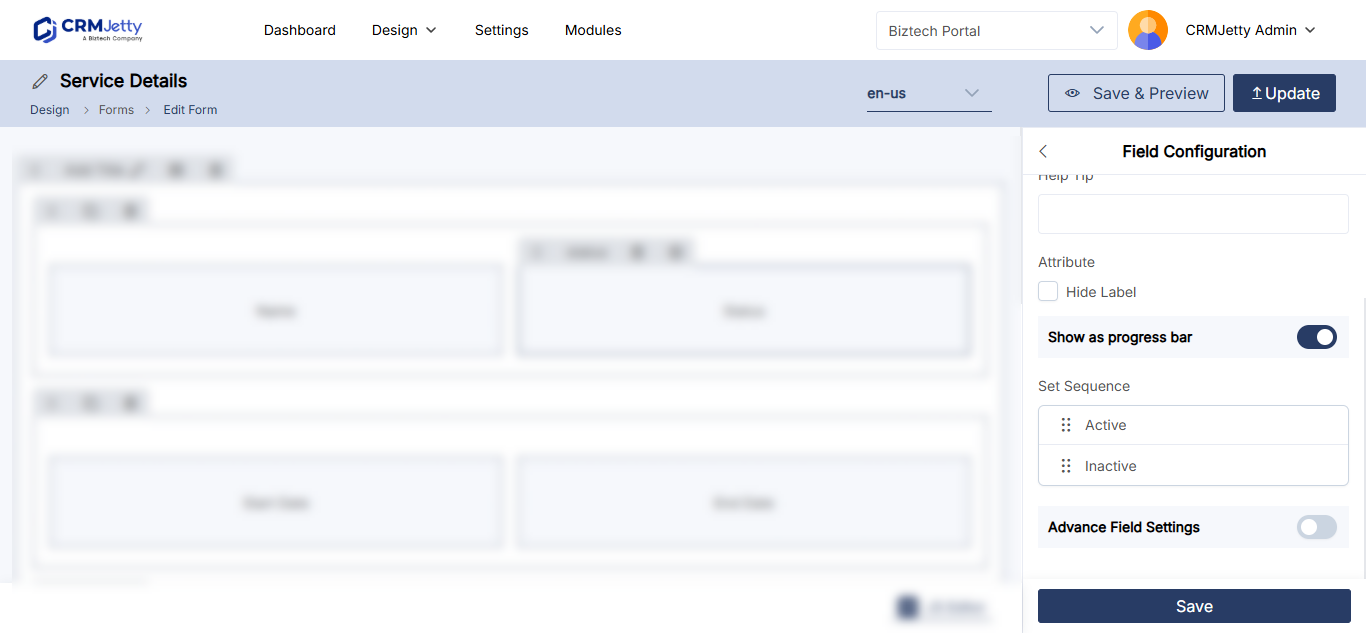
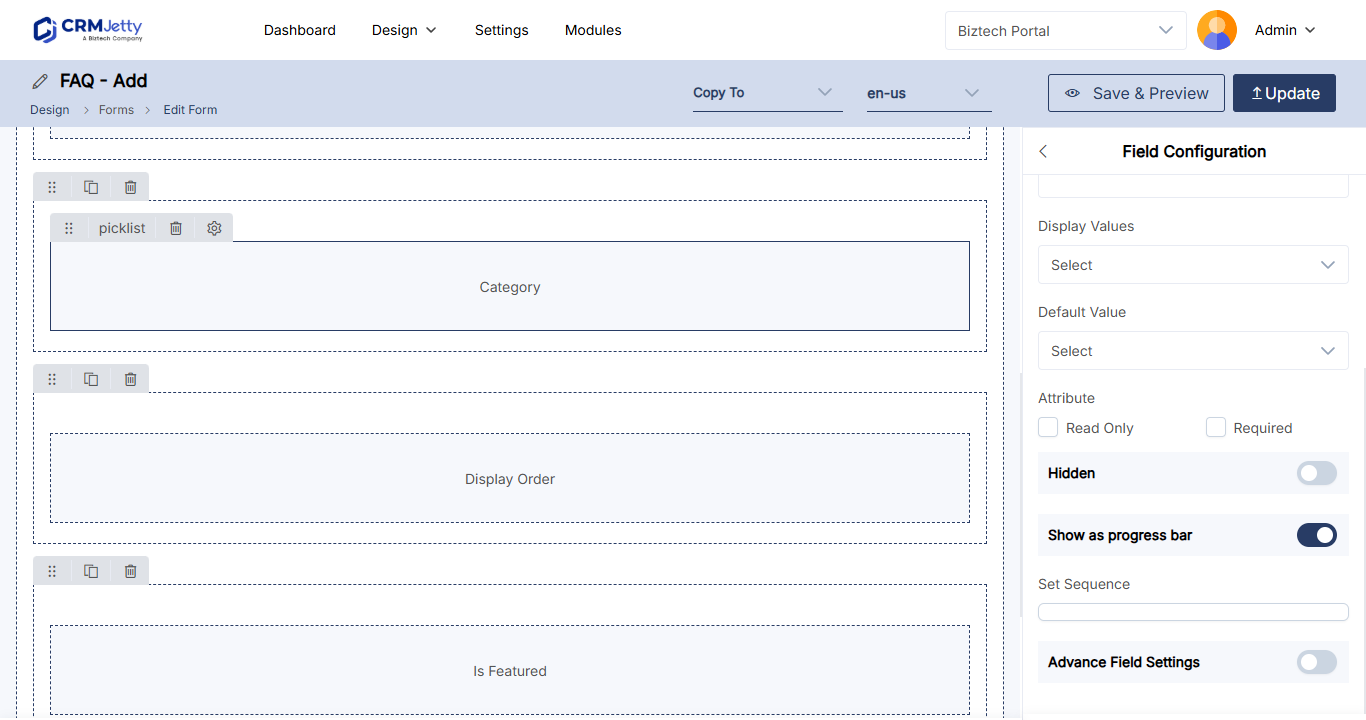
- Scroll down and turn on Show as Progress Bar.
- Drag the field options up or down to set the order of the stages.
- Select one of the two design layouts for the progress bar.
- Select Save.
- Publish the form.
Note: The progress bar follows the field’s Advanced Field Settings, which control the field options visible to portal users. See How to Show or Hide Form Fields Conditionally.
What portal users see
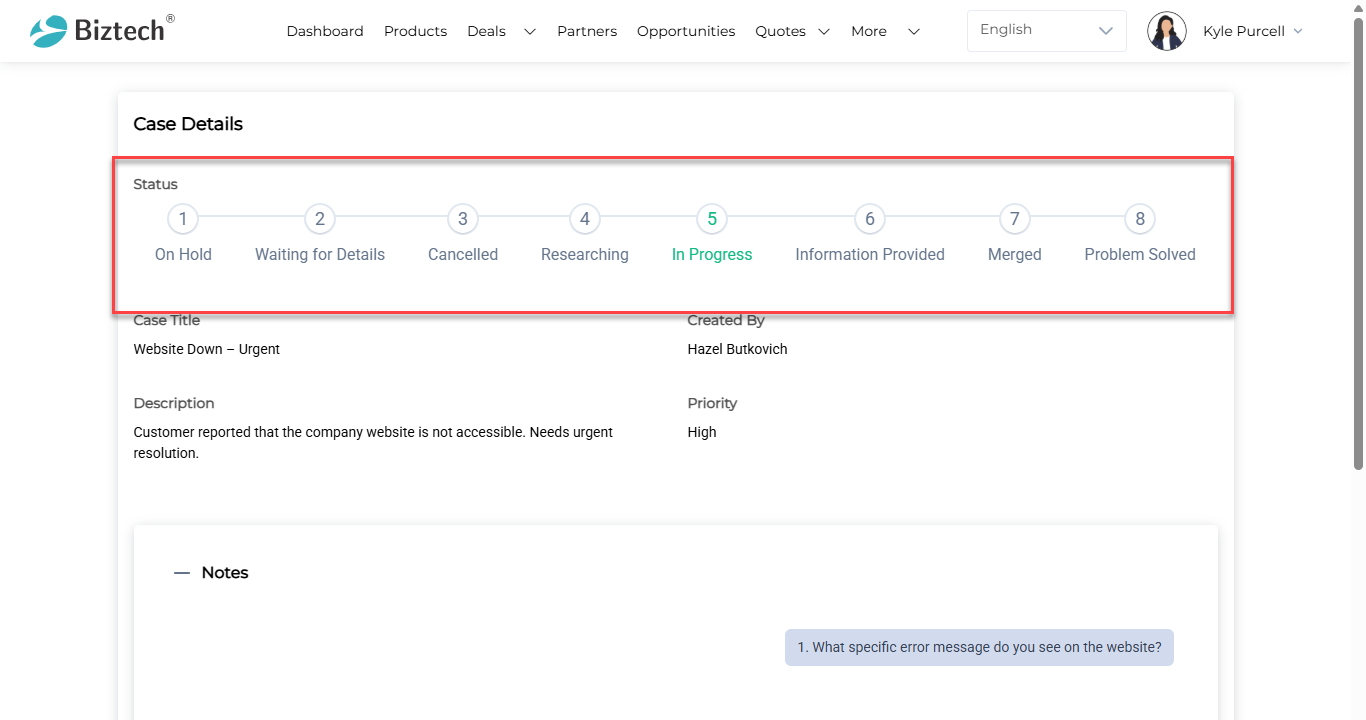
- The field shows as a progress bar, with the options as stages in the order you set.
- Portal users change the field value by selecting a stage on the bar. The field value updates to match the selected stage.
Troubleshooting
Show as Progress Bar is missing: The option is available only for dropdown-type fields. Check the field’s data type in your CRM.
A stage is missing from the bar: Check the field’s Advanced Field Settings. Options hidden there are not shown to portal users.
The stages are in the wrong order: Open the field settings again, drag the options into the right order, save and publish the form.
Related articles
- How to Show or Hide Form Fields Conditionally
- How to Edit Form Field Labels and Placeholders
- How to Design Add, Edit and Detail Form Layouts