
How to Set a Default Role for New Portal Users
The default role is the portal user role that new portal users get automatically. Choose a role with safe, limited permissions, so new users see only what every user should see.
Before you start
- You need admin access to the CRMJetty admin portal.
- Create the role you want to use as the default and set its permissions. See How to Create Portal User Roles and Permissions.
When the default role is used
- Portal registration: users who register through the portal get the default role.
- Contacts created in the admin portal: if you don’t select a role in the Role lookup, the contact is created with the default role.
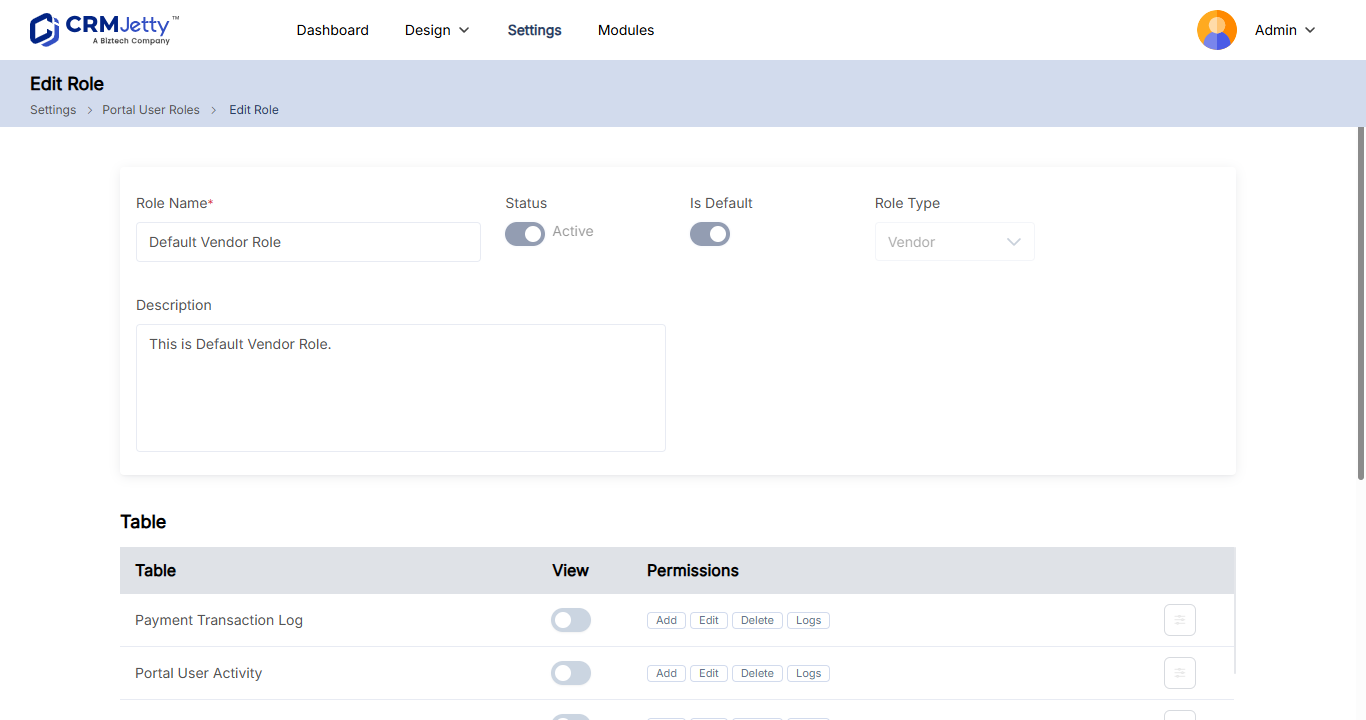
A new portal comes with a pre-existing Default role. When you first connect your CRM, the portal creates it with the contact relationship and access to the case entity. You can modify it or make another role the default.
Note: Only one role can be the default at a time. Setting a new default replaces the current one.
Set the default role from the role list
- Go to Settings → User Settings → Portal User Roles.
- Select the three dots (…) next to the role.
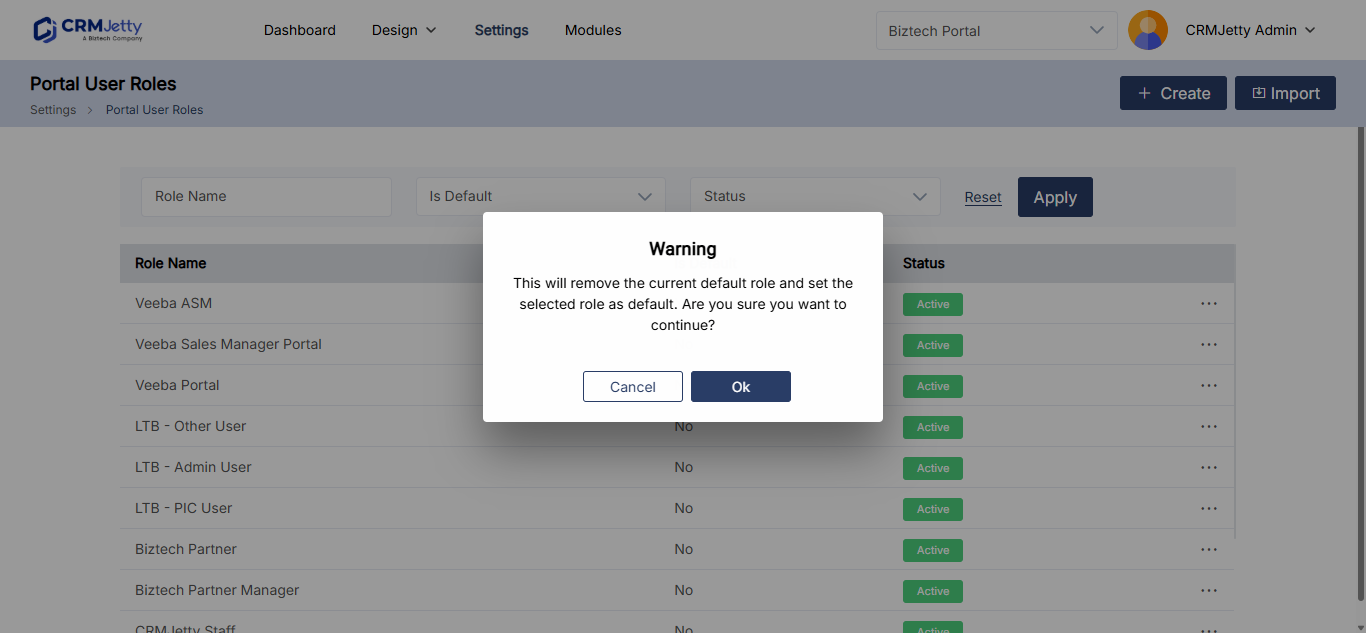
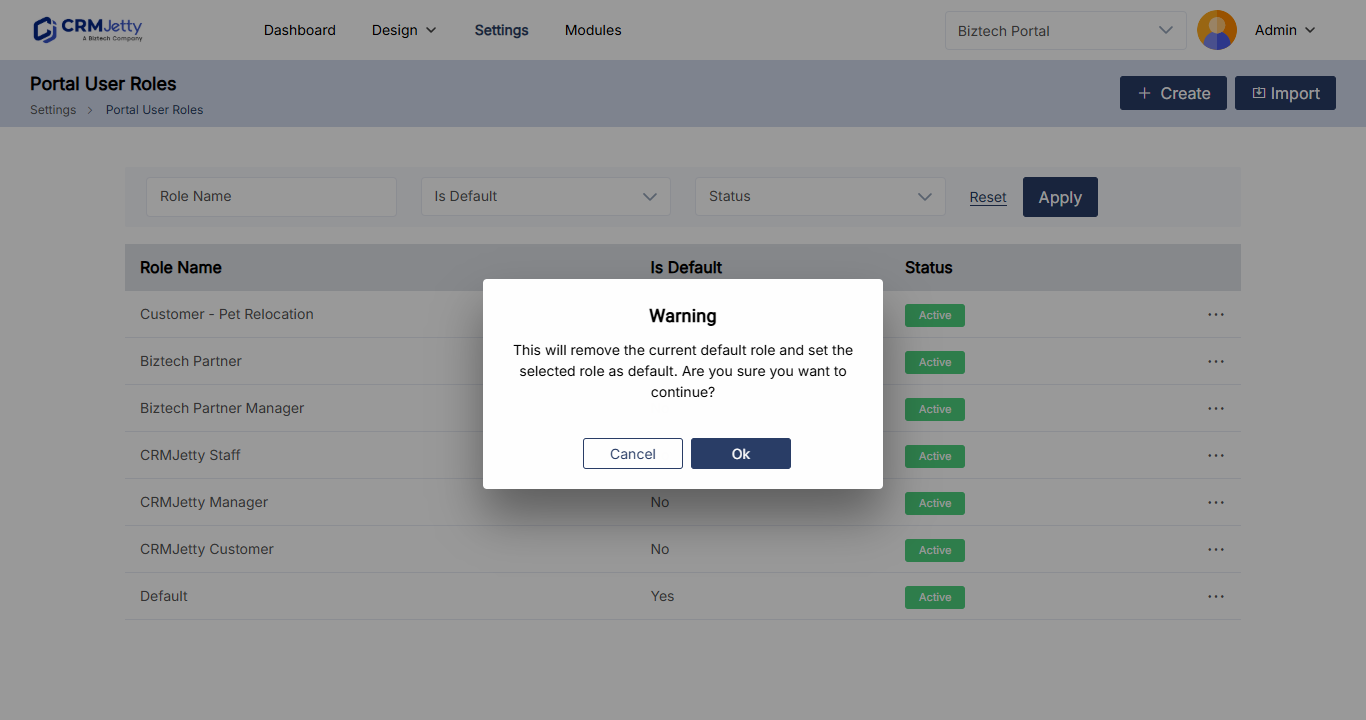
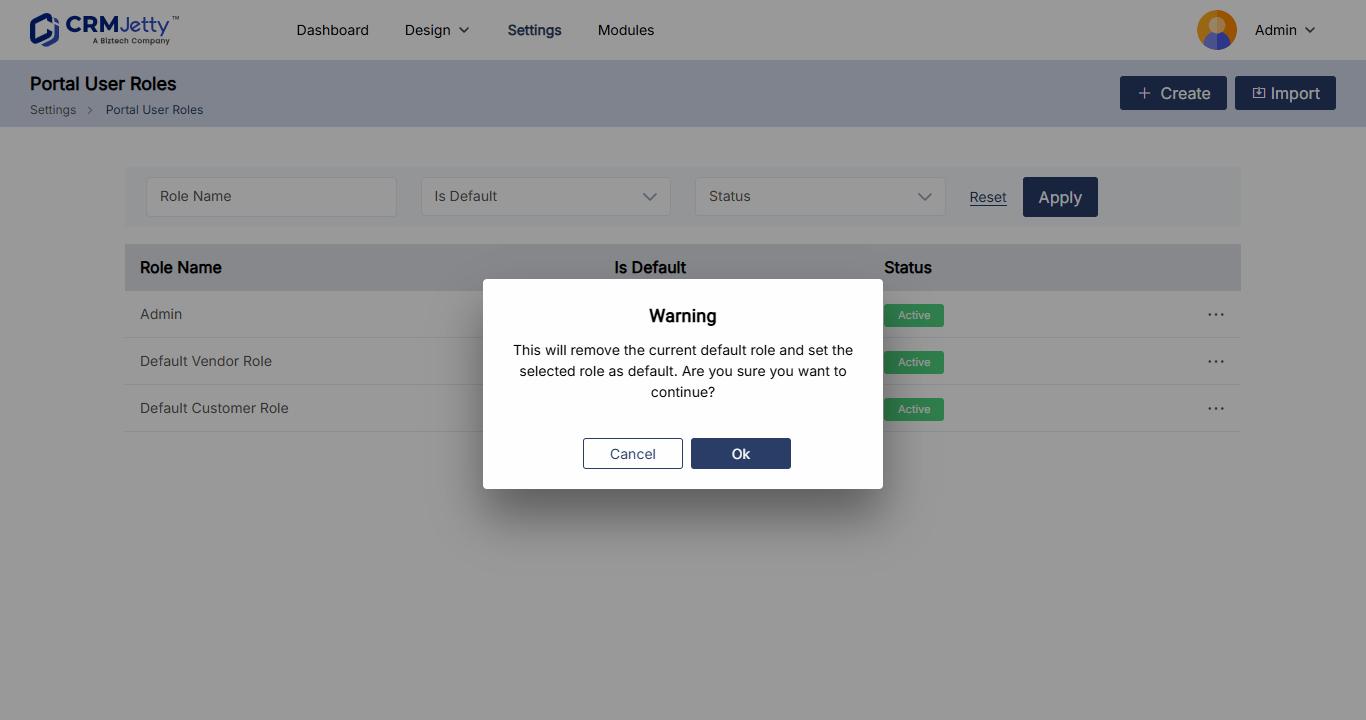
- Select Default Role. A warning pop-up appears.
- Select OK to make this role the default, or Cancel to keep the current default.
The role now shows Is Default as Yes.
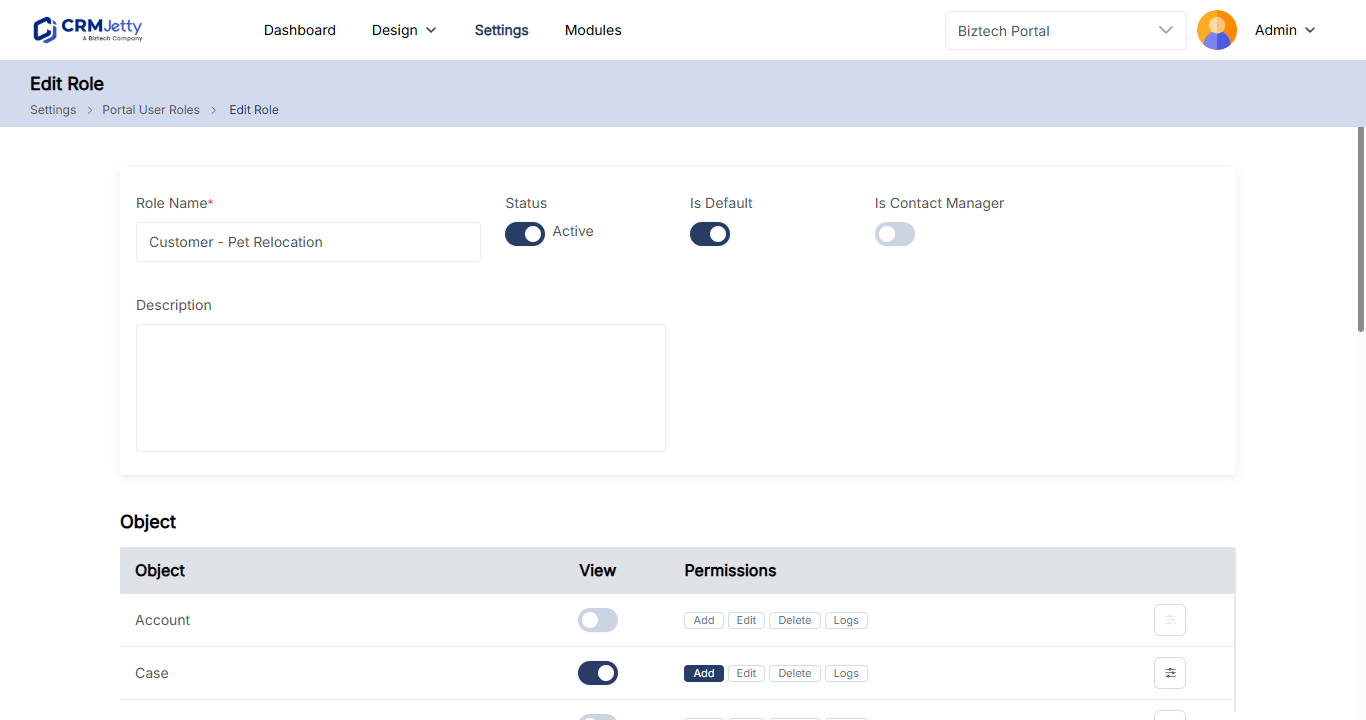
Set the default role while editing a role
- Go to Settings → User Settings → Portal User Roles.
- Select the three dots (…) next to the role, then select the Edit icon.
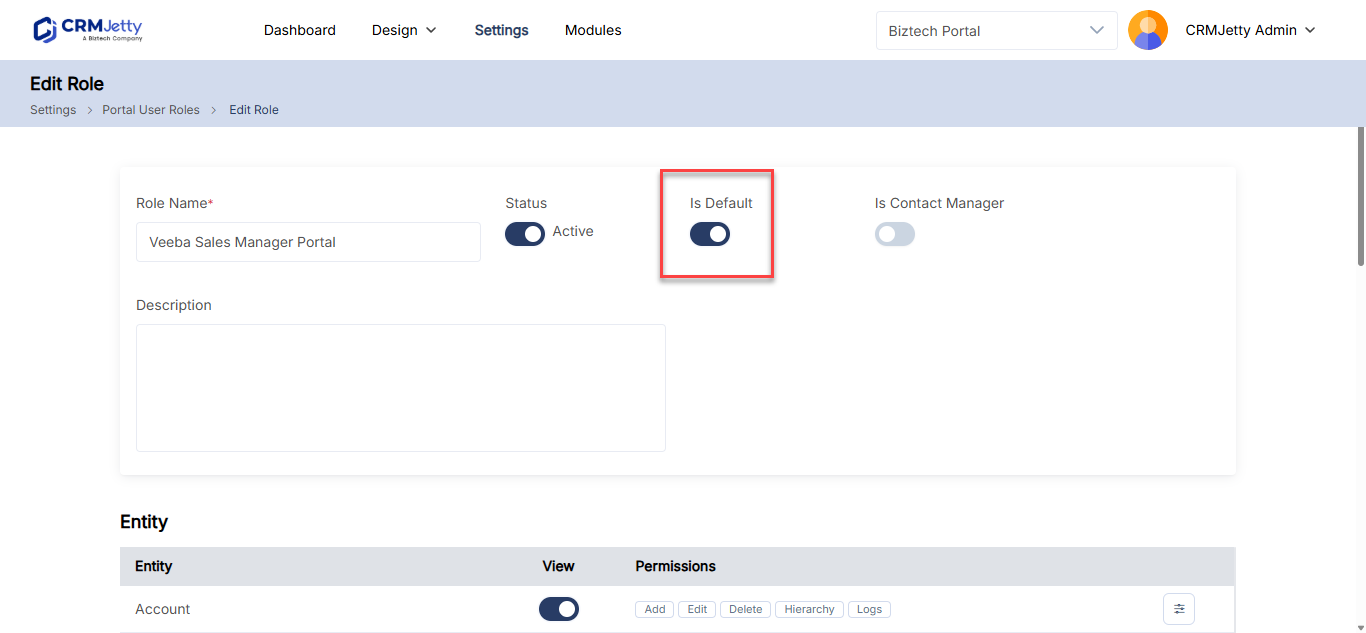
- Turn on Is Default.
- Select Save.
You can also turn on Is Default when you create a new role.
Give new registrations a specific role per page
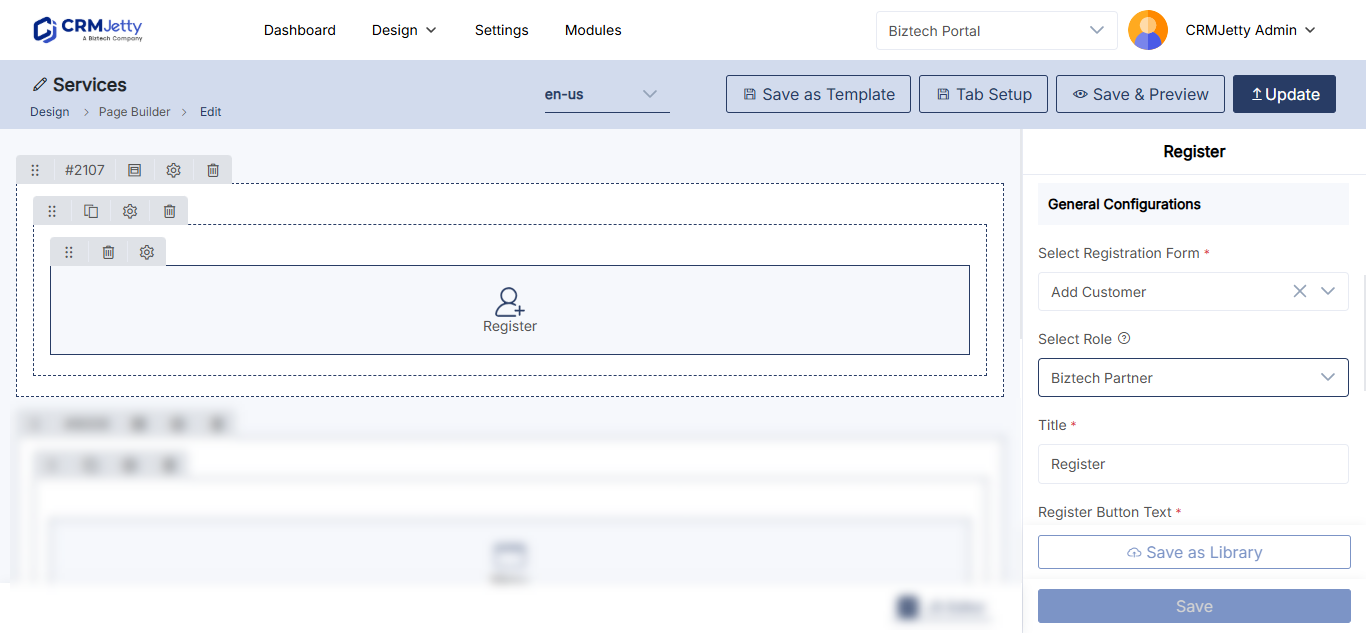
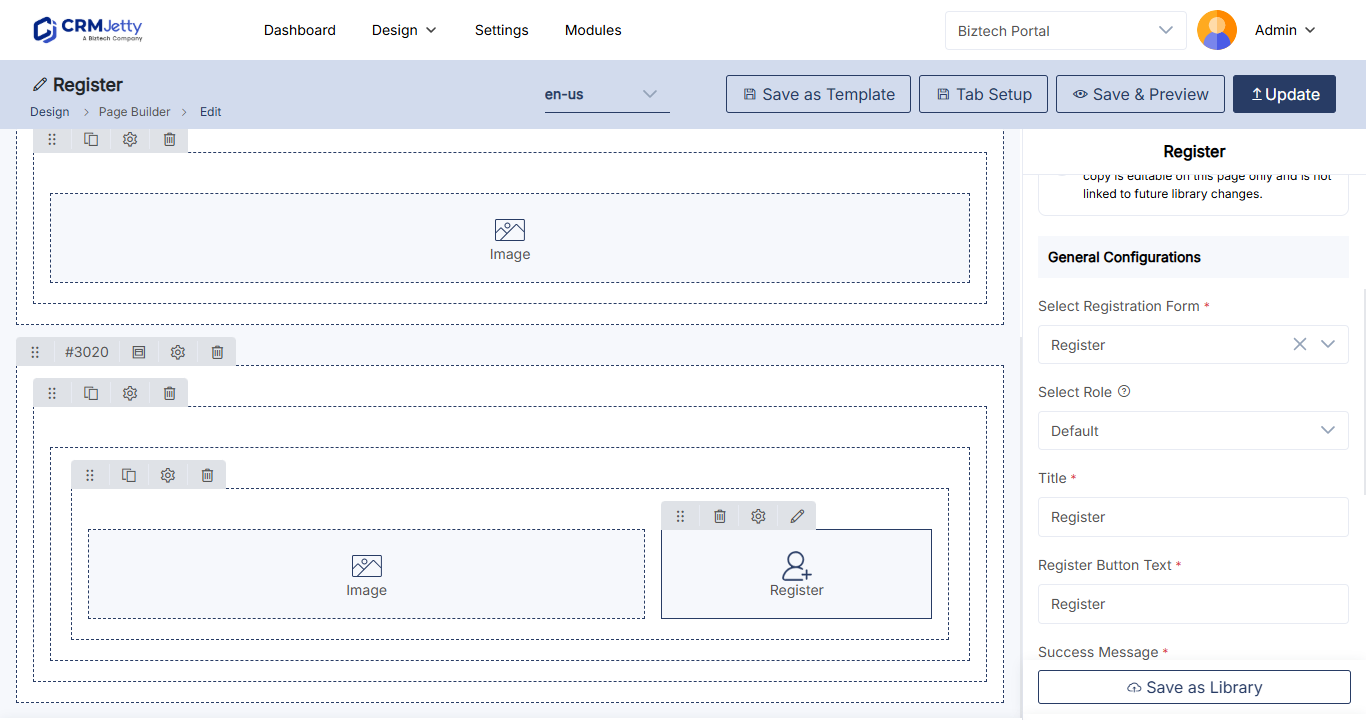
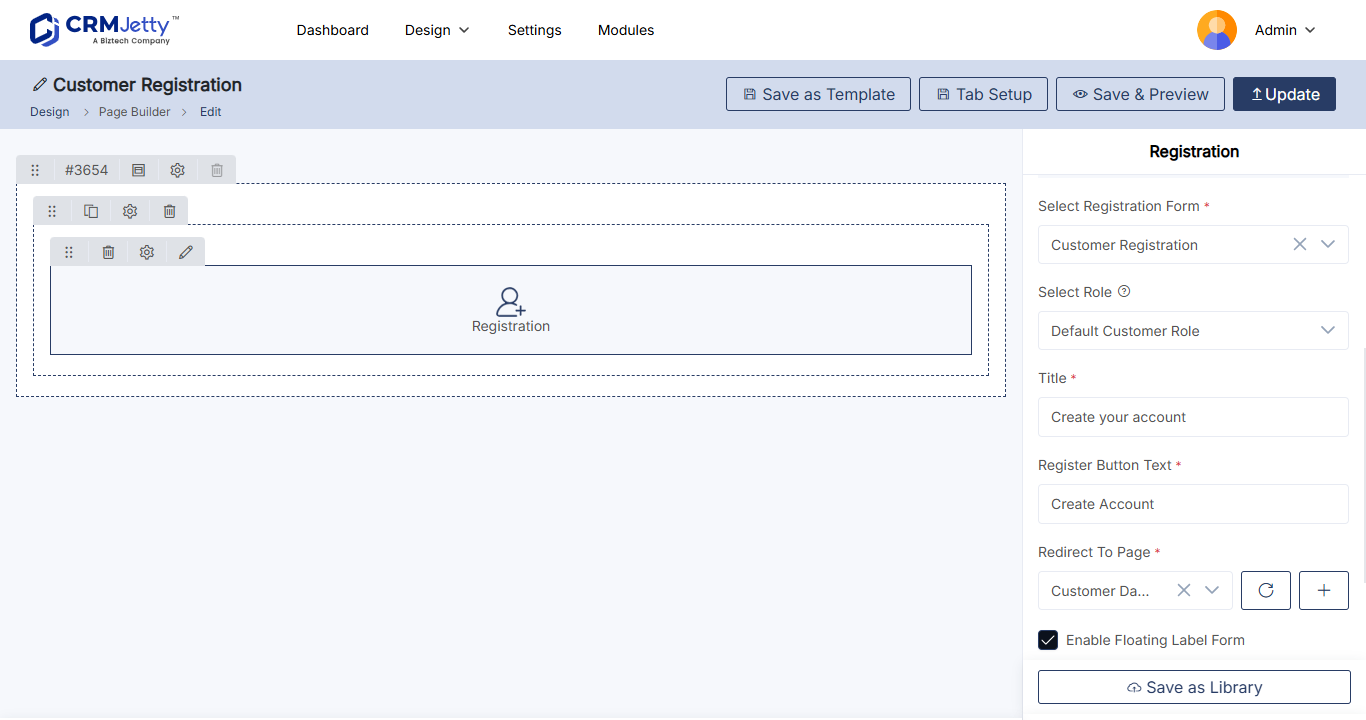
The Registration widget has a Select Role setting that assigns a role to users who register through that page. Use it if you have separate registration pages, for example one for customers and one for partners.
- Go to Design → Page Builder and open the registration page in edit mode.
- Select the Settings icon on the Registration widget.
- In Select Role, choose the role.
- Select Save, then publish the page.
Change the role of existing users
Changing the default role affects new users. To move existing users to another role:
- To move everyone with one role to another, use Replace Role in the role’s three dots menu. See How to Create Portal User Roles and Permissions.
- To change the role of selected users, see How to Assign Roles to Portal Users in Bulk.
Troubleshooting
You can’t delete a role: You can’t delete the default role. Make another role the default first, then delete the role.
Related articles
- How to Create Portal User Roles and Permissions
- How to Assign Roles to Portal Users in Bulk
- How to Enable Email Verification and Admin Approval